A Traveler’s Notebook Spread with Daniela Dobson

We love the traveler’s notebook craze happening in the papercrafting industry, and Daniela Dobson is with us today to illustrate just how well Elle’s Studio exclusive kits and add-ons work in your notebook! Let’s see what she created. 

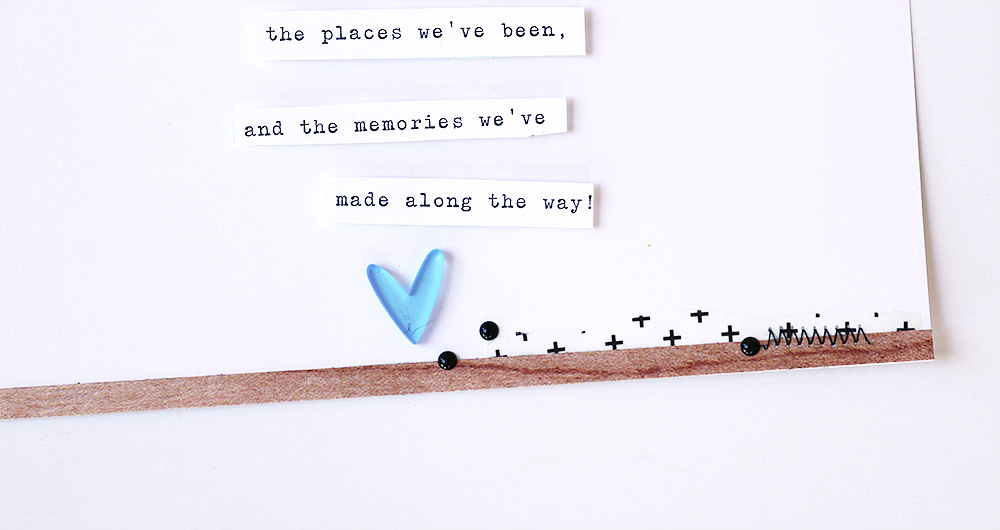
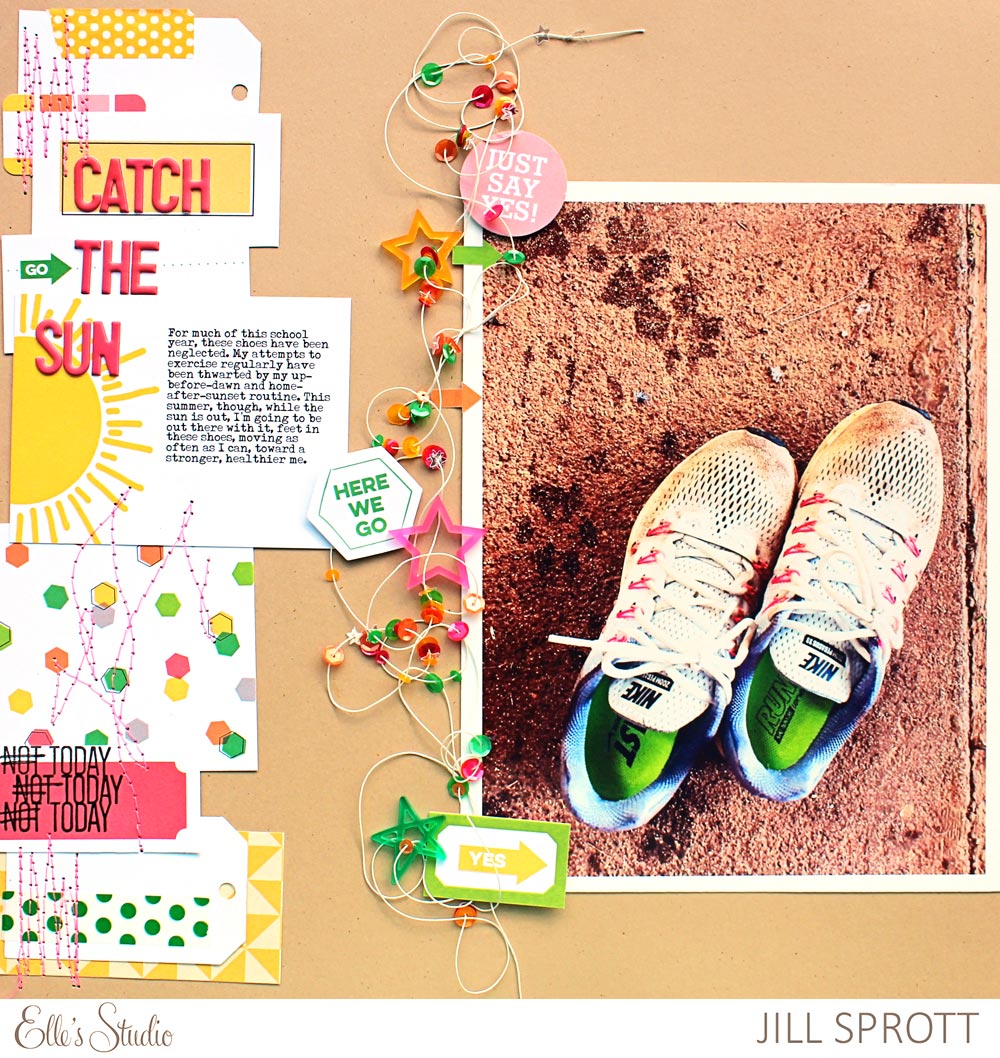
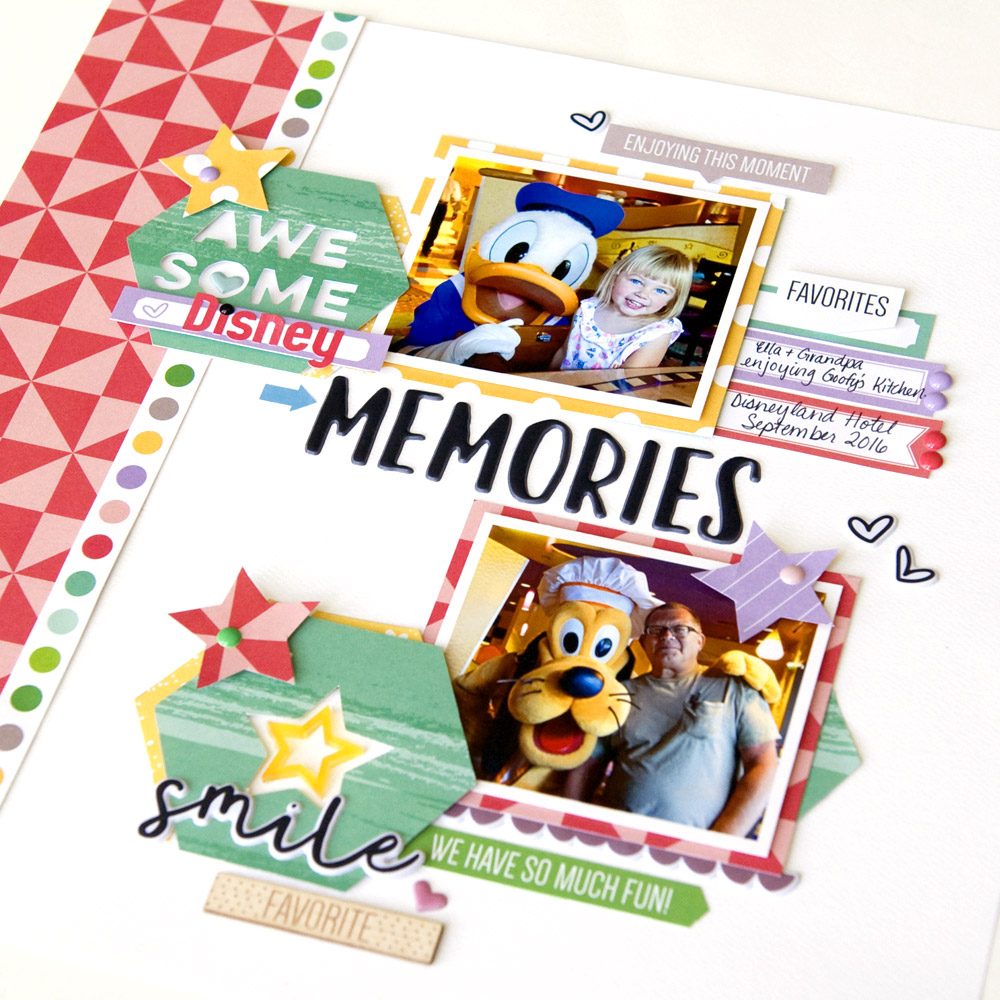
Welcome to the Elle’s Studio blog today. It’s Daniela here highlighting the exclusive May 2017 Kit and extras with a new traveler’s notebook spread to share with you. Both pages are separate events, but I was able to make them cohesive by using the same colors on both pages.


Supplies | May 2017 KitBike Ride StampAdventure Sticker LabelsArrow StickersWood Veneer HexagonsPuffy Heart StickersBack Puffy Alphabet StickersEnamel DotsLive Laugh Love Washi Tape StickersLive Laugh Love 6″ x 6″ Paper StackMalia Lowercase Alphabet StampRead Stamp

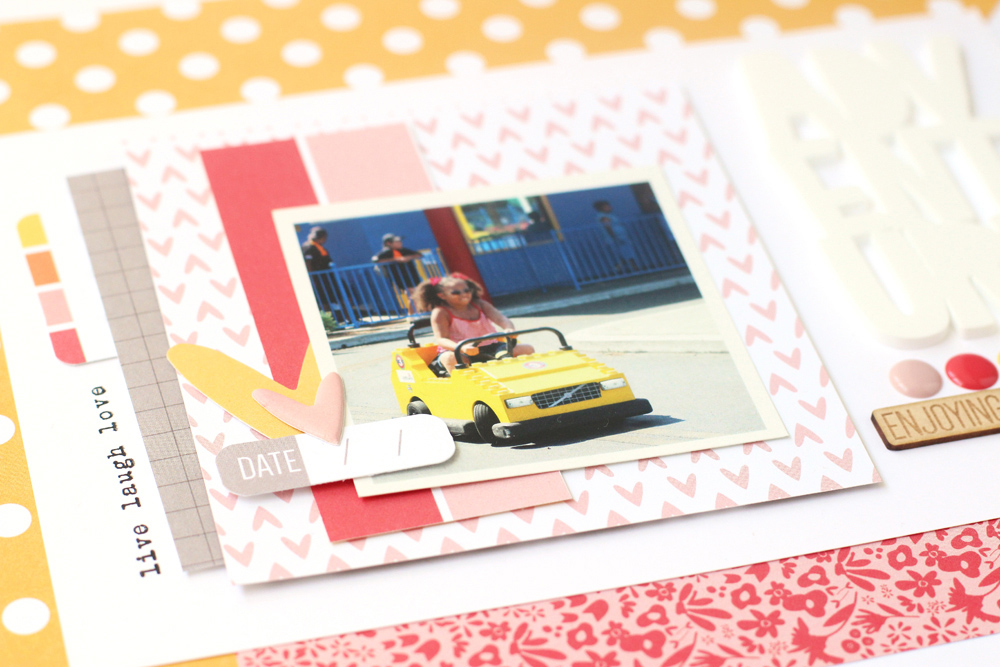
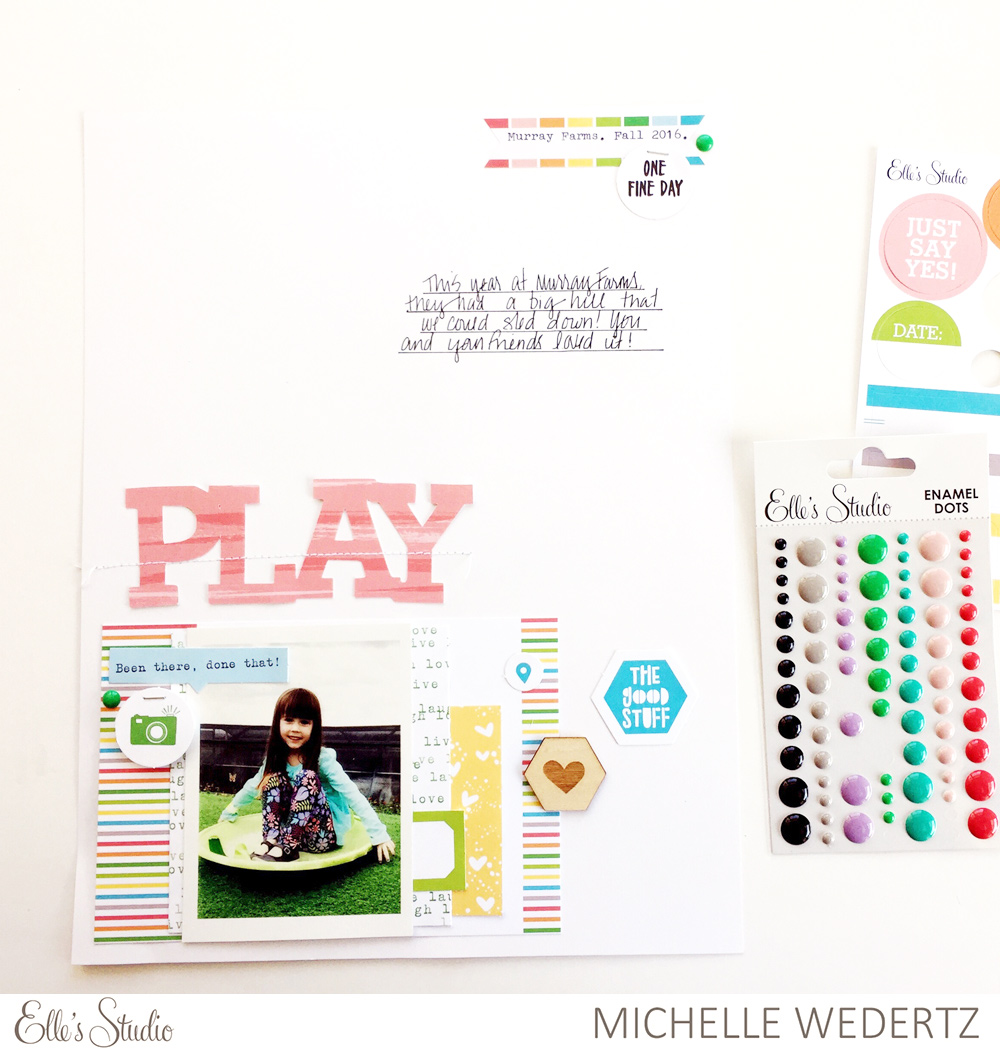
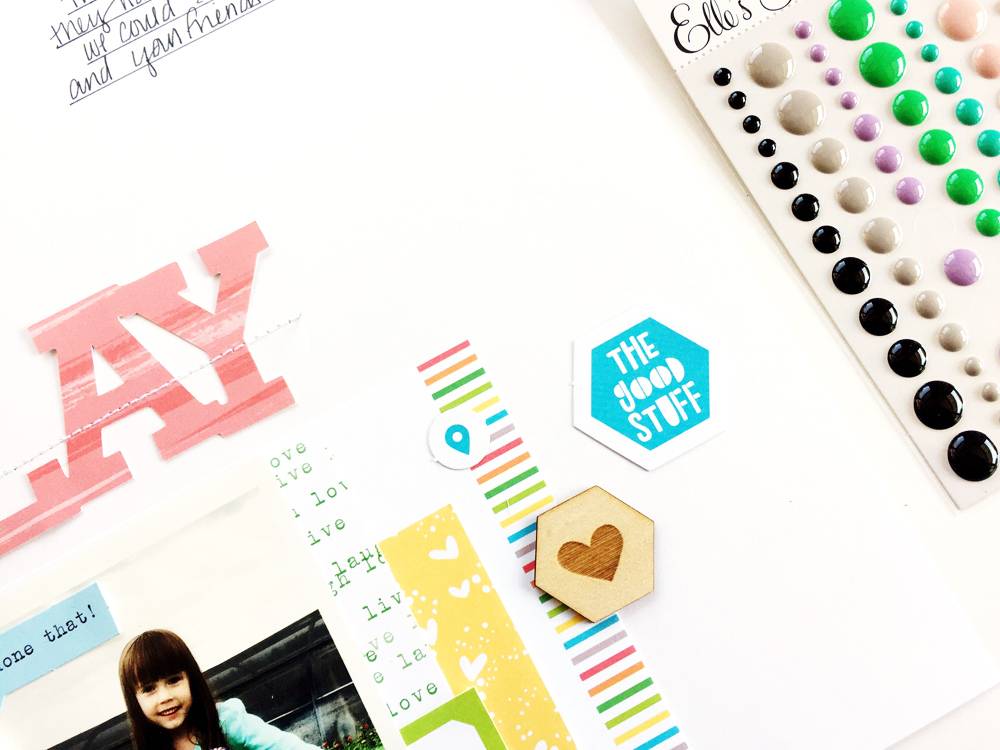
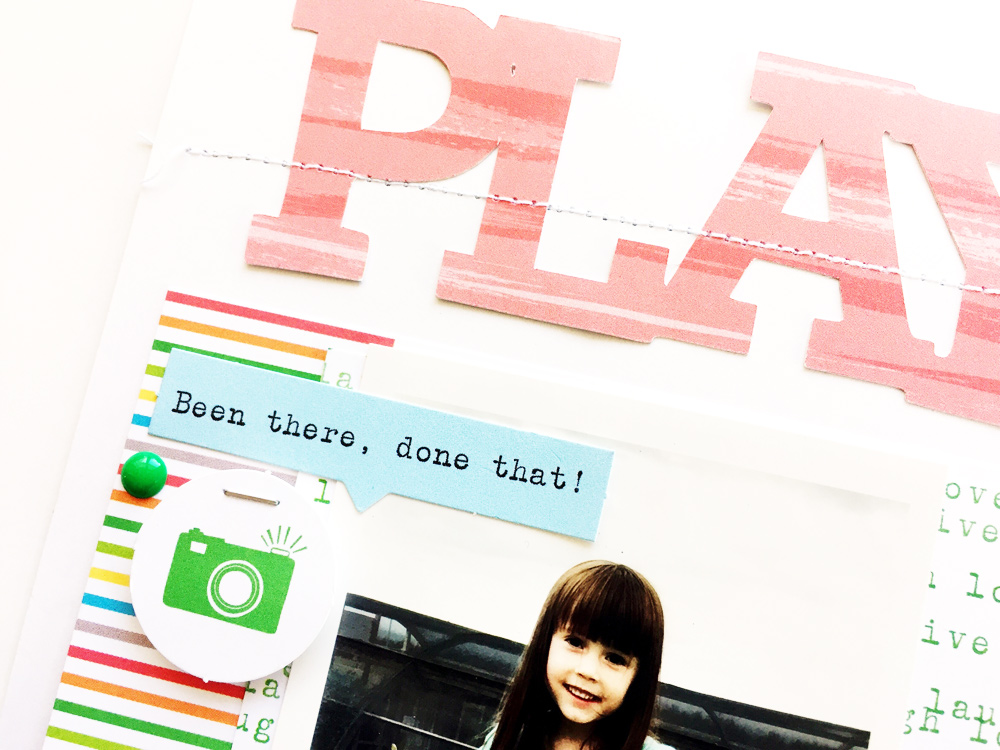
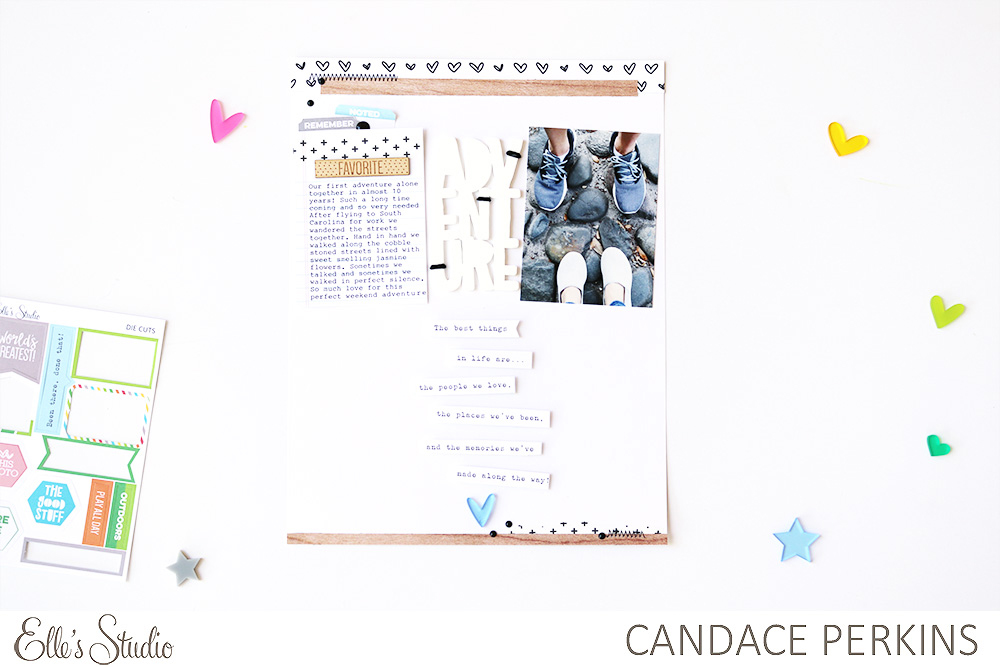
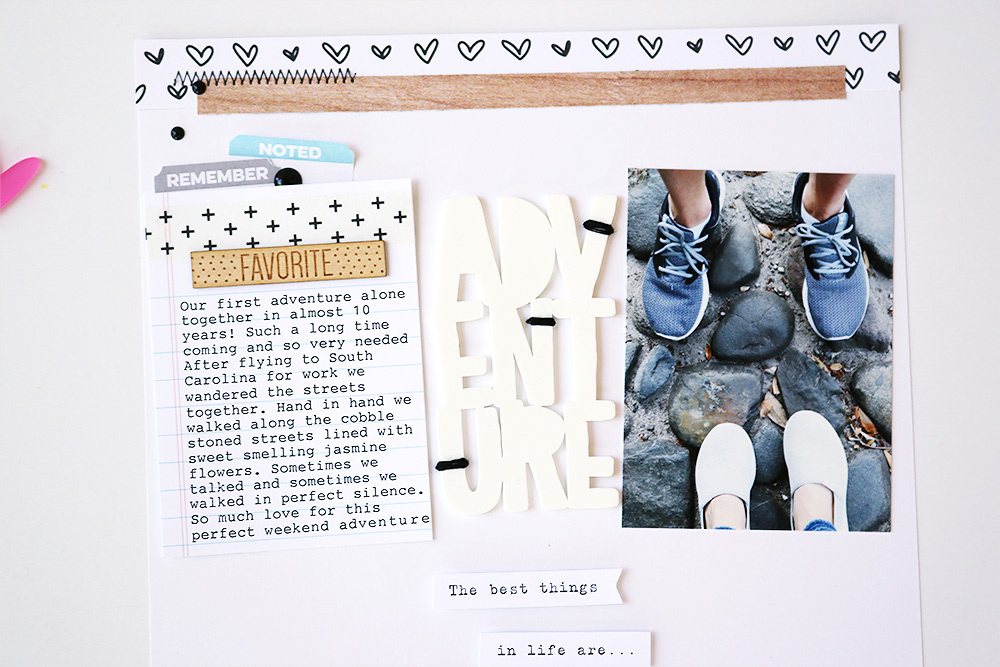
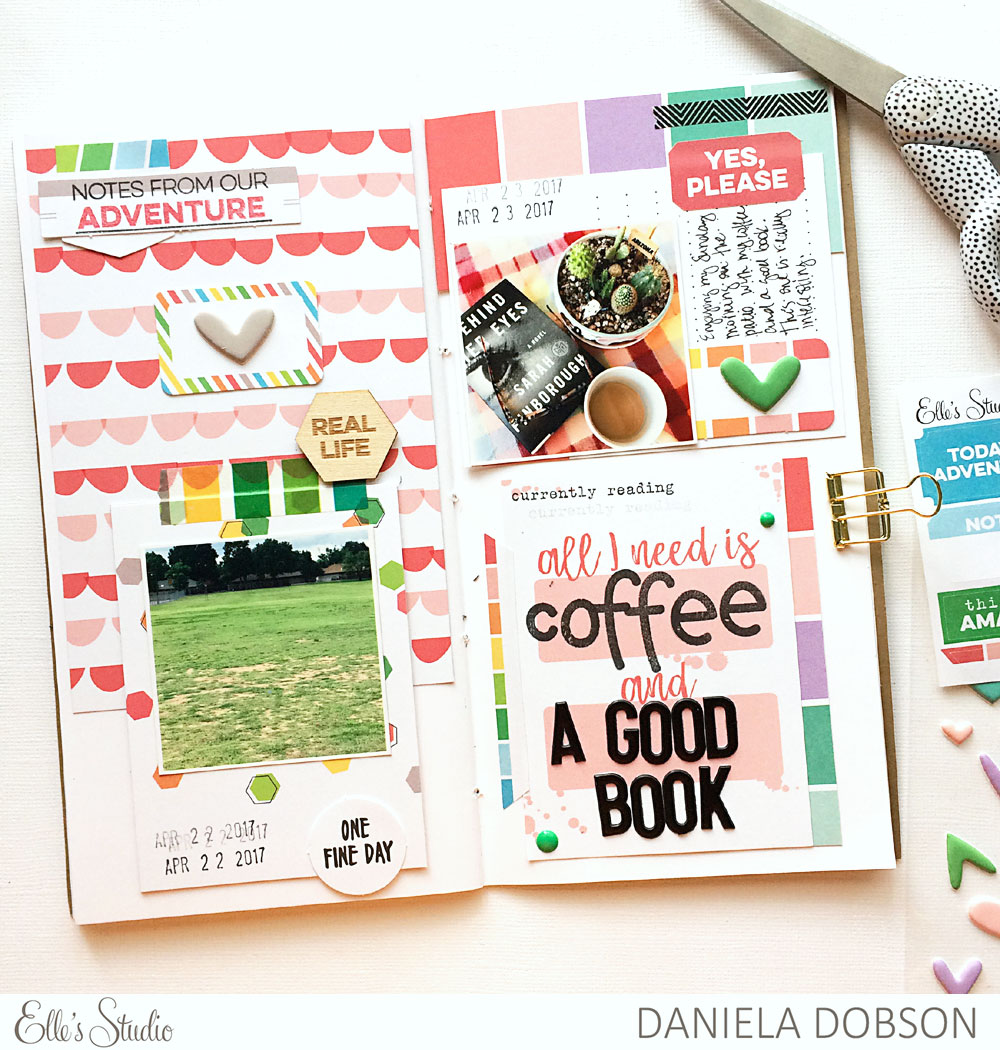
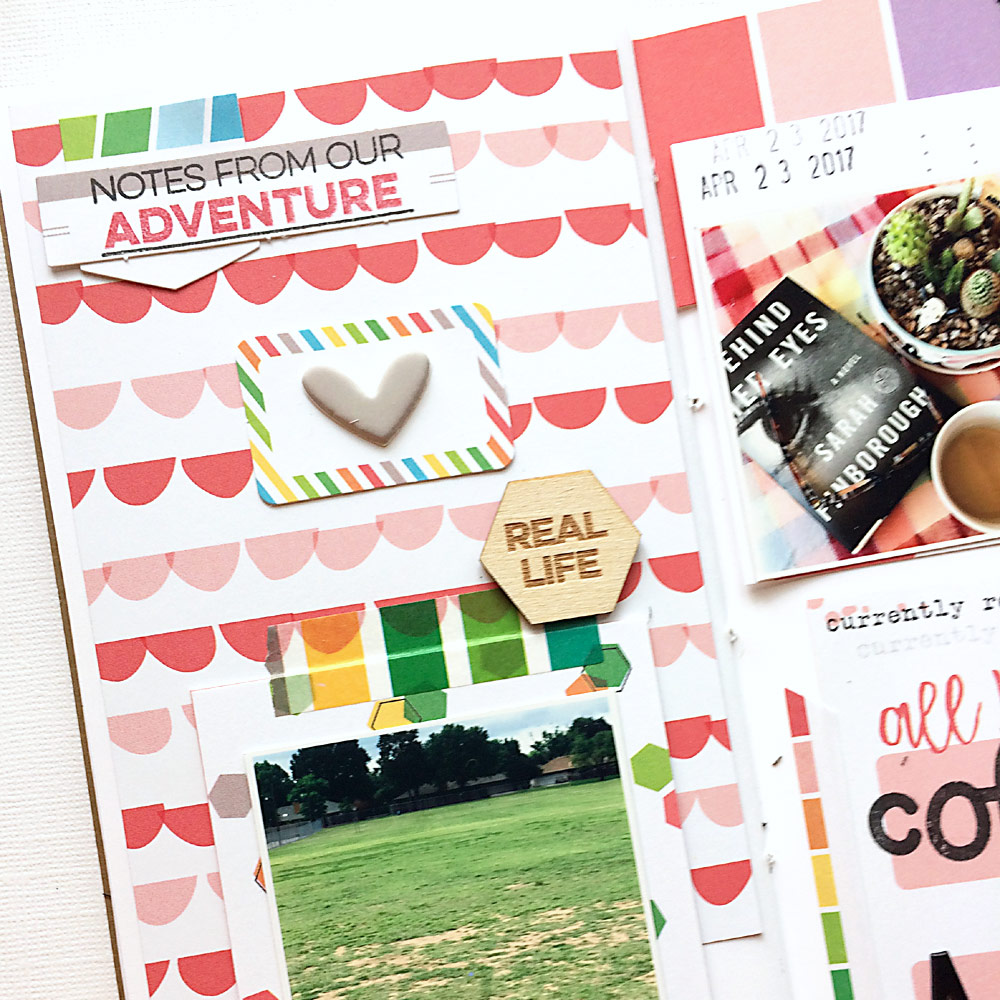
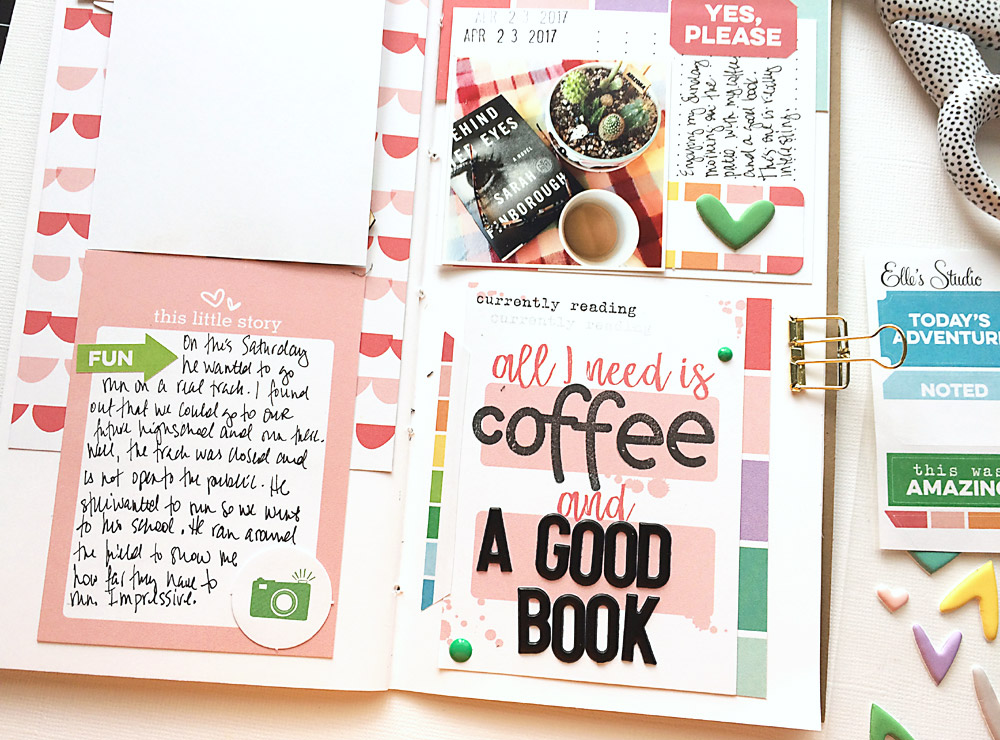
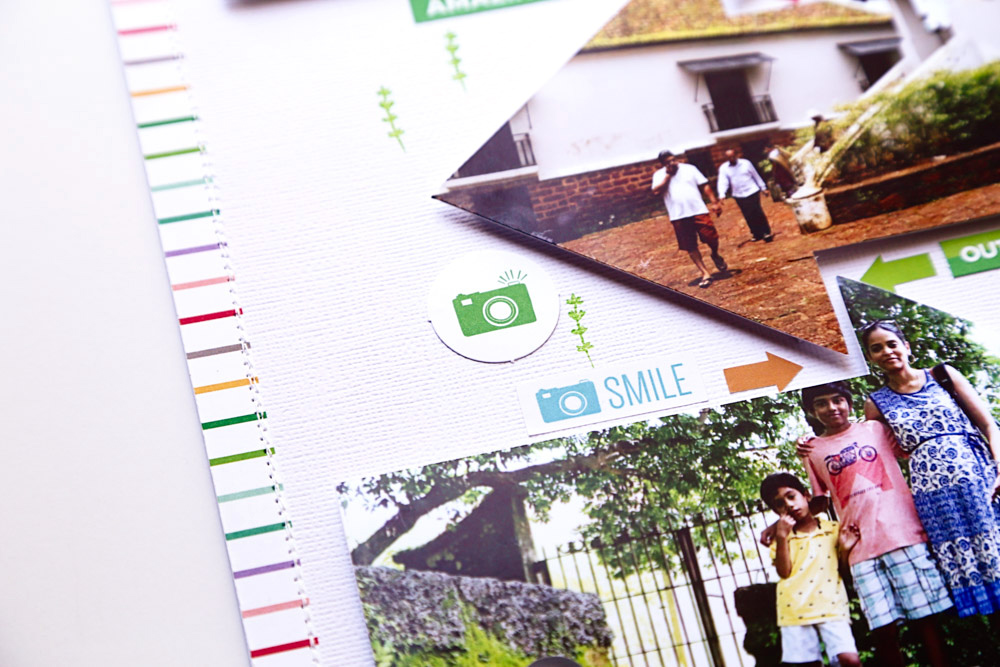
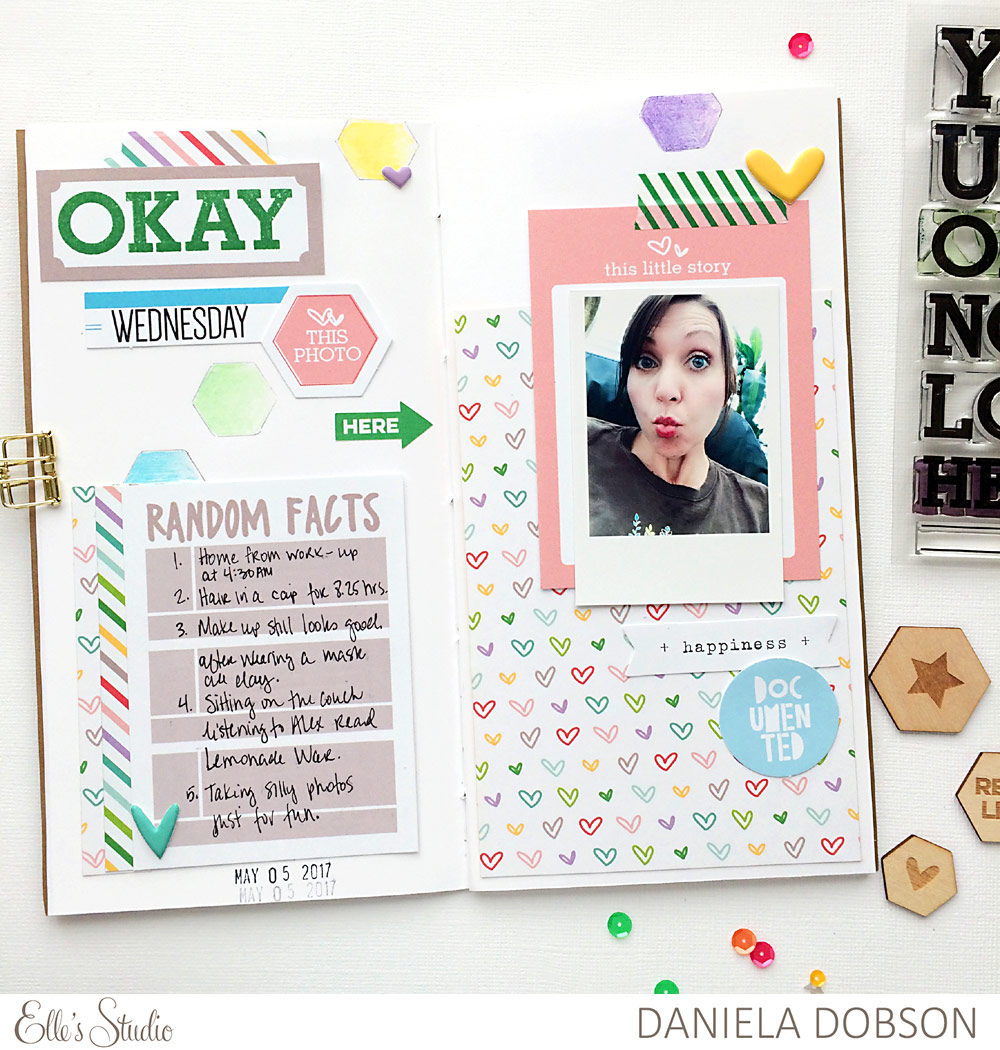
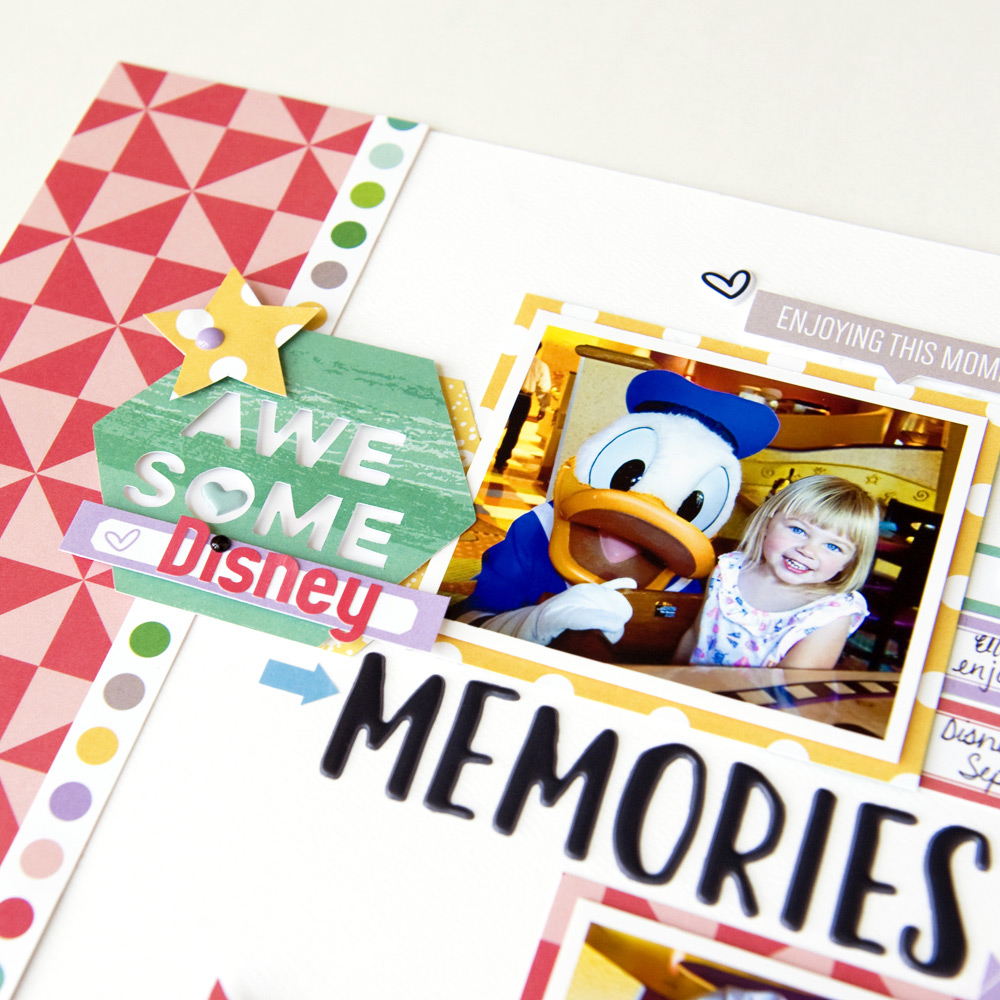
On the left side I used a 6″ x 6″ piece of paper from the Live Laugh Love 6″ x 6″ Paper Stack for the background and added a journaling tag from the May 2017 Kit at the bottom. The photo is adhered to the top and I secured the tag with a Live Laugh Love Washi Tape Sticker. I used some of the die cuts from the kit, along with a Wood Veneer Hexagon. I have hidden journaling on there that you will be able to see in the last photo.


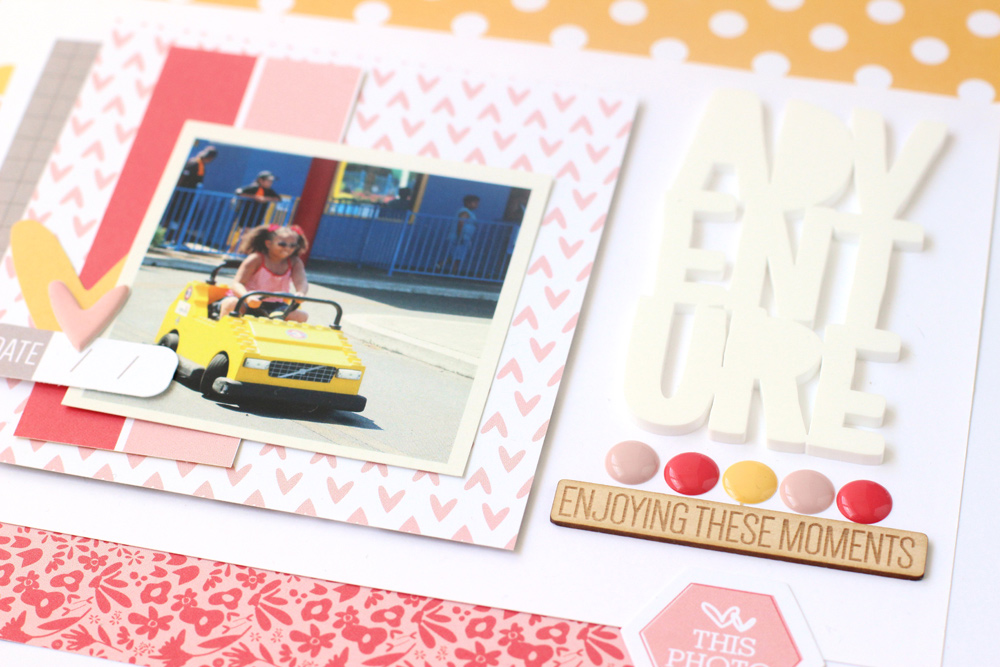
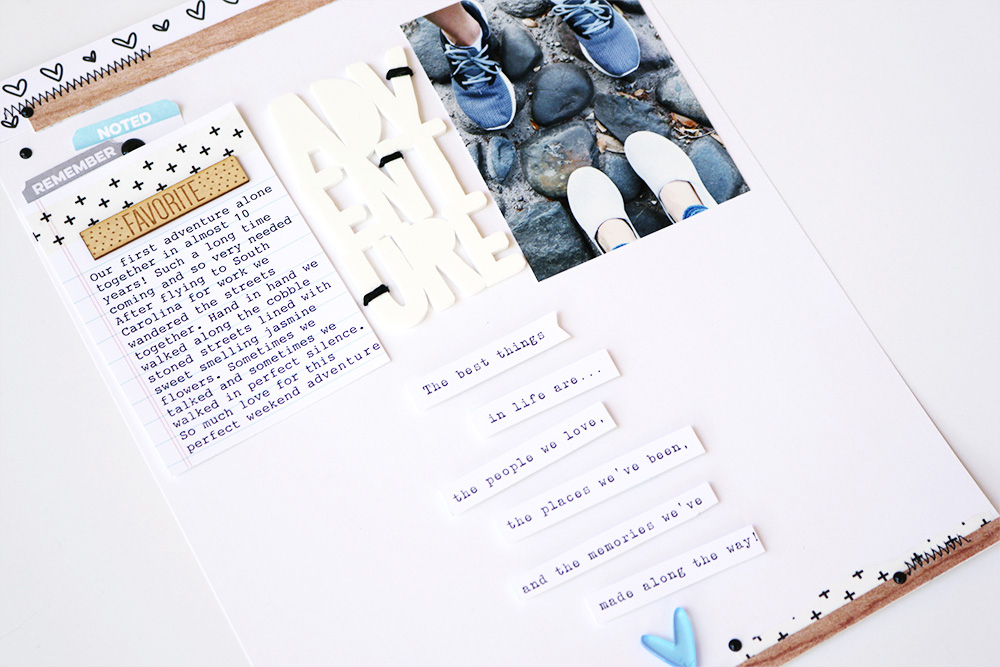
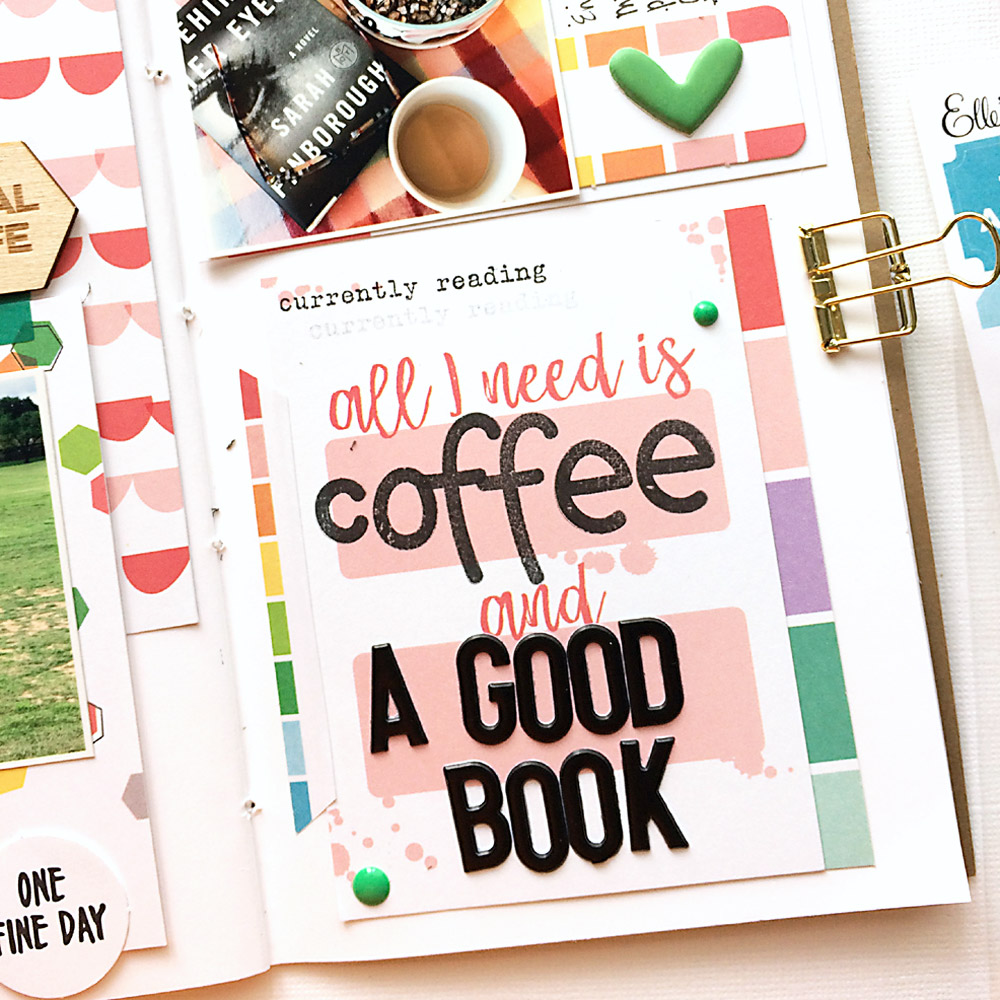
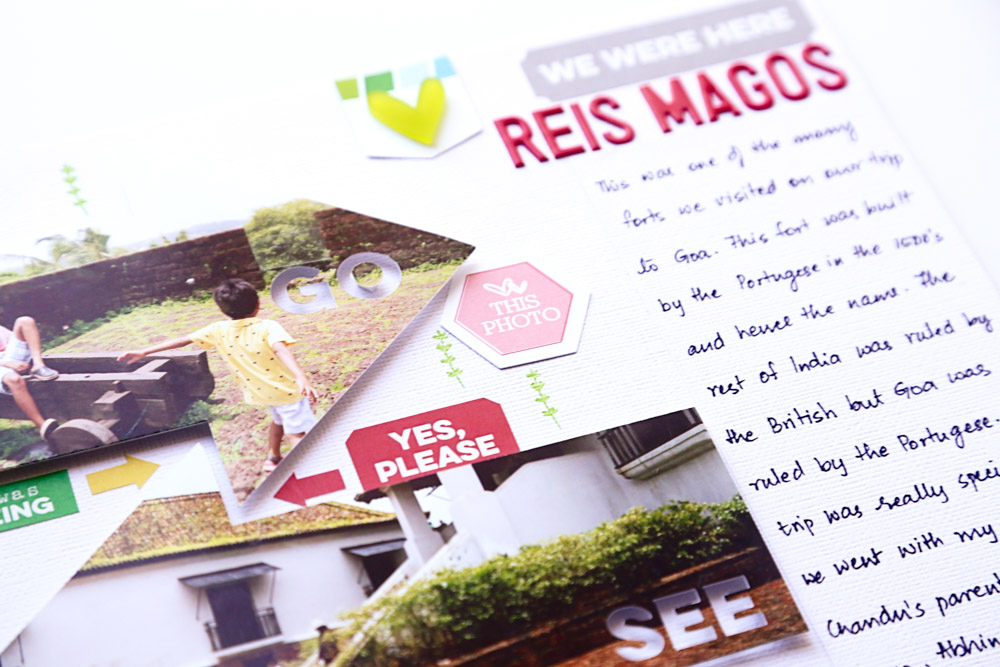
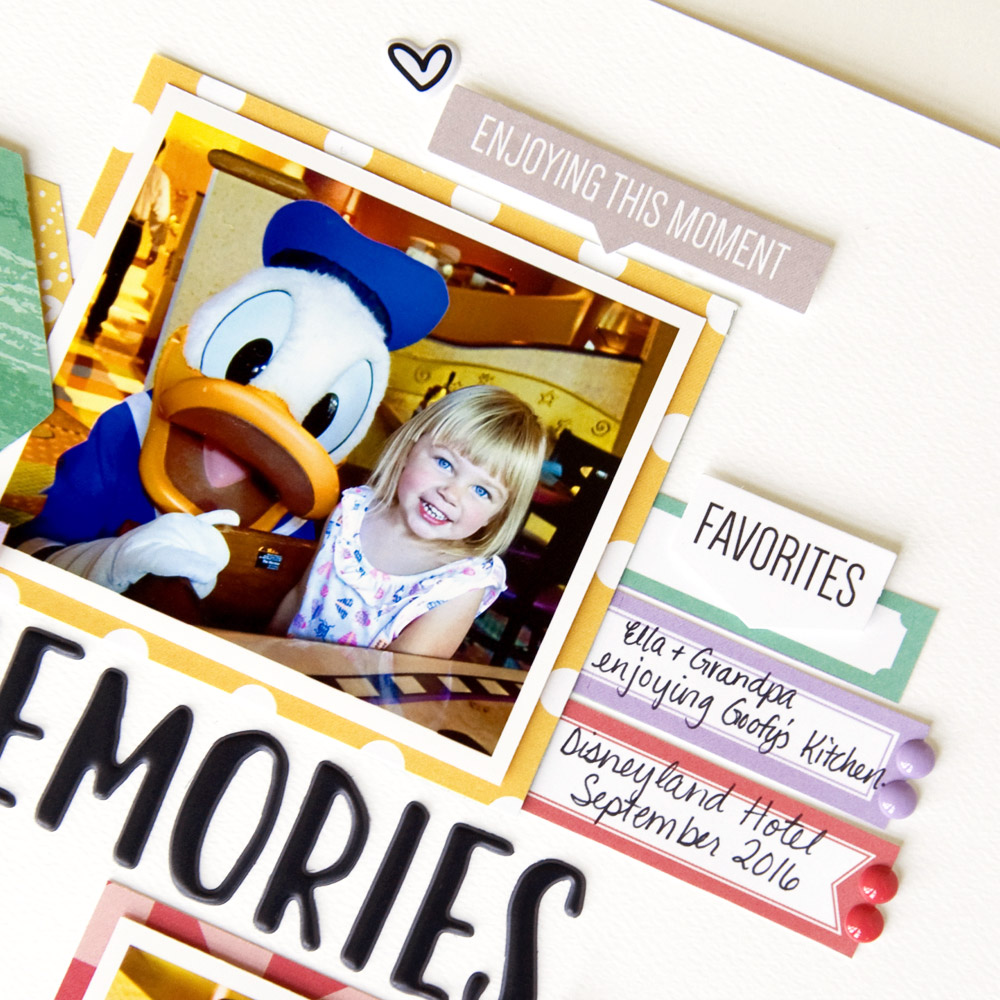
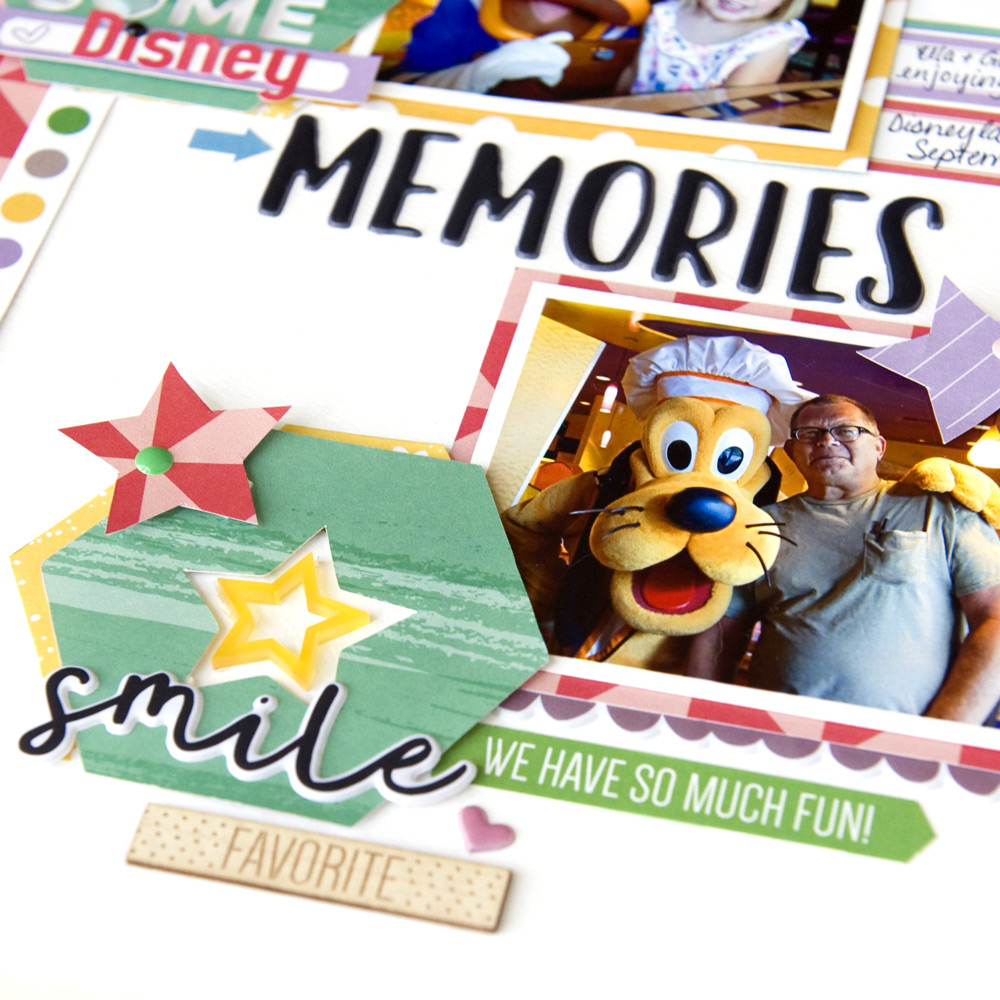
On the right side I used the same photo size, but I placed at the top, adhered to one of the journaling tags. On the bottom of the page I stamped on the “all I need is” journaling tag from the May 2017 Kit with the Malia Lowercase Alphabet Stamp and added Back Puffy Alphabet Stickers for another font. I added a Puffy Heart Sticker and some Enamel Dots to the page.


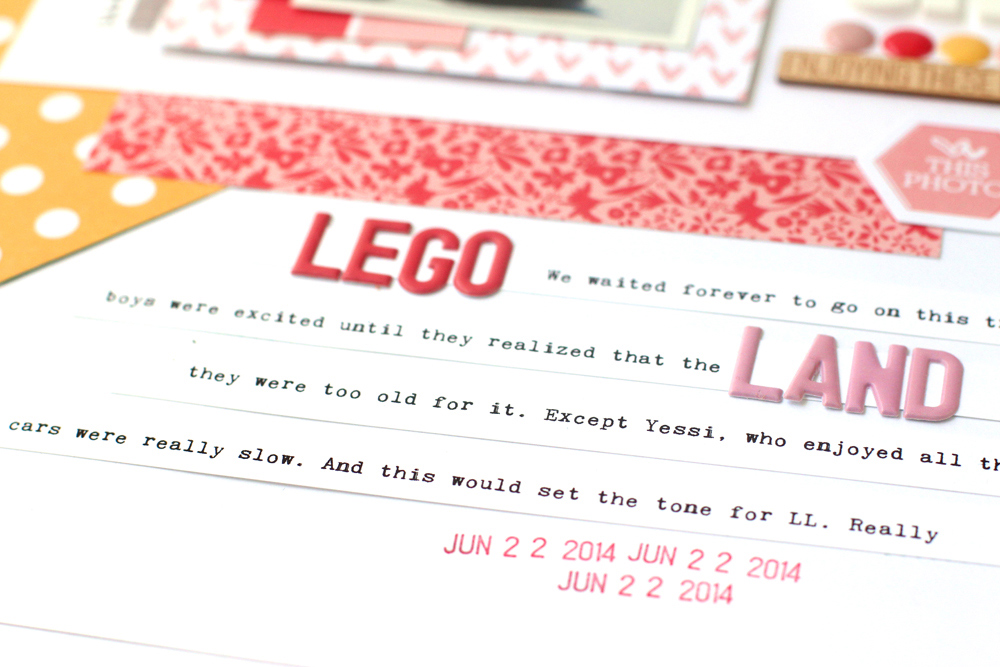
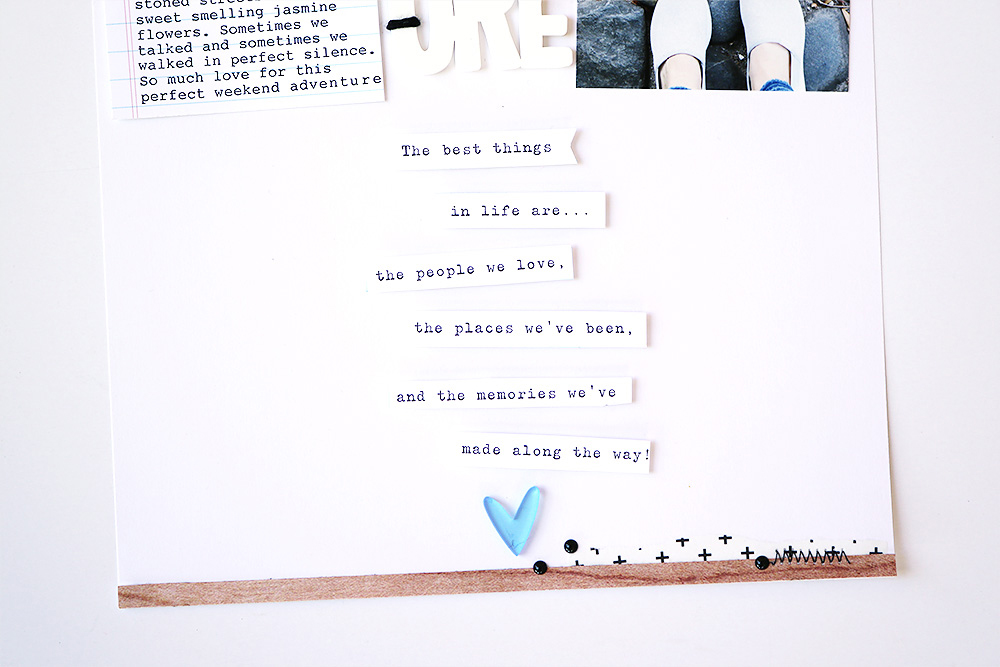
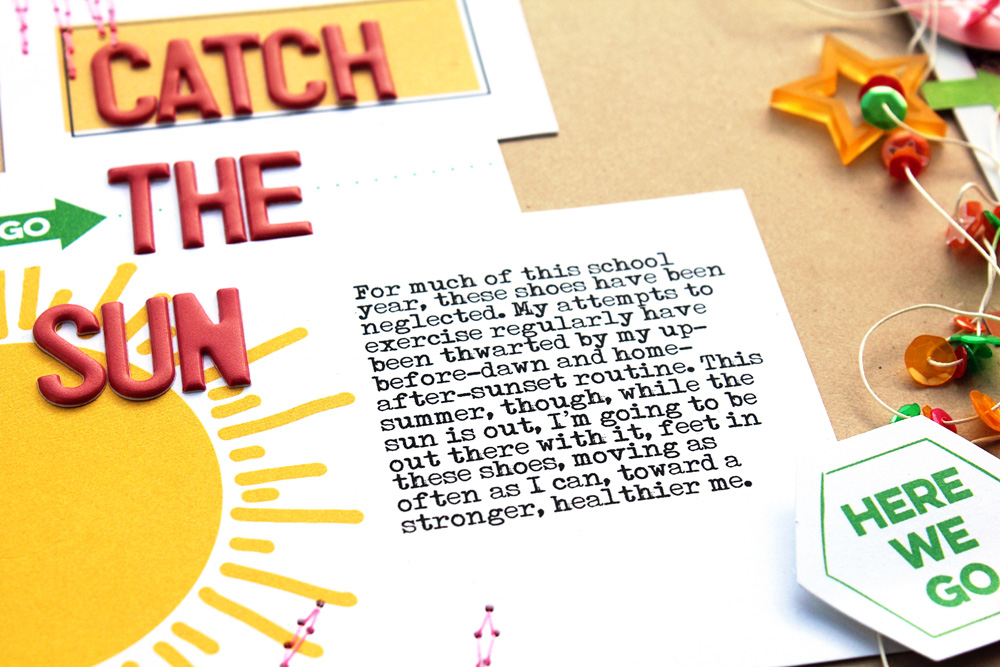
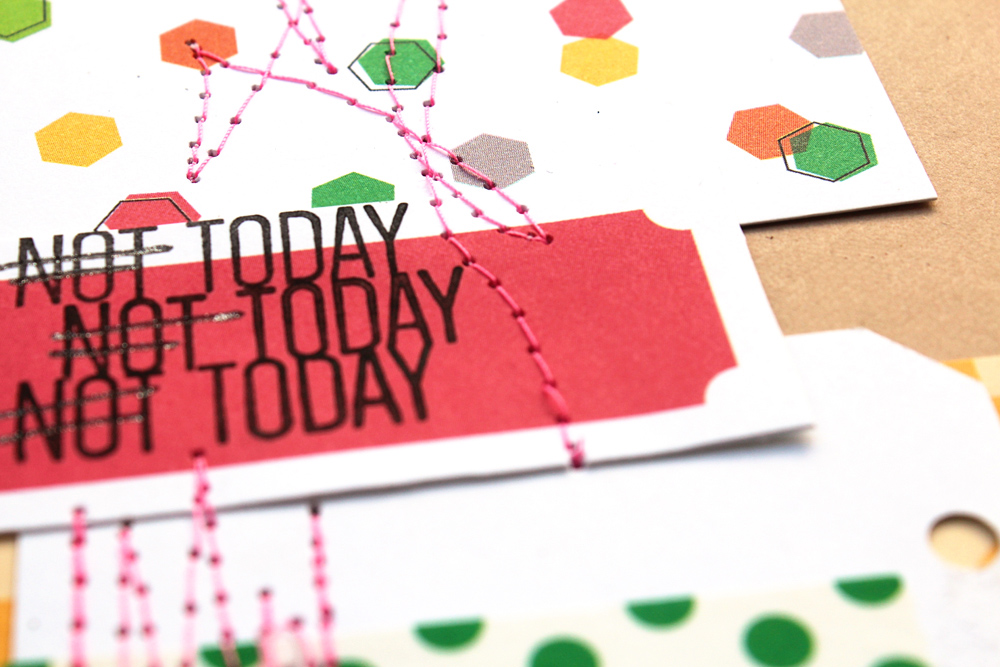
Under the photo on the left page, you can see where I added hidden journaling on another tag below. I love doing that in a small area, since it gives me plenty of space to write.


Thanks for stopping by and don’t forget to share your projects created with Elle’s Studio products on Instagram using the hashtag #EllesStudio!

Die Cuts and Adventures with Neela Nalam

Digital cut files are not just for cutting paper, and today Neela Nalam is showing you a different way of using them, that fits her style perfectly! Let’s take a look.

The theme of the kit this month totally reminded me of all the travels we have done over the past few years. I loved the hexagons and the arrows included in the May 2017 Digital Cut Files and physical embellishments. I already made a layout with the hexagons, so I decided to make one with the arrows.

I modified the arrows in the digital cut files by making them larger and moving the text to a convenient location so that faces weren’t cut out. I then used the arrow shapes to crop the photos using the Silhouette Studio software.


Supplies | May 2017 KitArrow StickersMay 2017 Digital Cut FilesBike Ride StampAdventure Sticker Labels, Stars and Hearts Mixed AcrylicPink Puffy Alphabet StickersLive Laugh Love 12″ x 12″ Paper Collection, Puffy Heart Stickers

The focal points on this layout are the arrows, and I’d love to share with you how I created them.

Step 1: Convert the png into cut file using the trace feature of silhouette. This is how the cut file looks:


Step 2: We now want to resize each of the arrows and move around the text. In order to do this, select the shape and click on release compound path so that you can make your modifications.


Step 3: Now resize the arrow and move the text out of the arrow as we only want to play around with the arrow and the photo first.


Step 4: Now open your photo in silhouette software. It will open in a new window. Move the photo to the window with the cut file and resize it so that it fits in the arrow.


Step 5: Make a copy of the arrow as the next step that we do will eliminate the arrow. Now select the arrow and the photo and go to Object-Modify-Crop. This will modify your photo from a rectangle to the shape of the arrow.


Step 6: Move the copied arrow back on to the photo so that you now have your cut line over the photo. Also move your text on to the photo. Enable the registration marks so that you can print and cut your photo.


I raised the die cut photos with dimensional adhesive and used the arrows from the Arrow Stickers around my photos. I also used more phrase stickers from the Adventure Sticker Labels and die cuts from the May 2017 Kit around the arrows. I stamped the cute plant from the Bike Ride Stamp around the arrows in green to match the bright green in the photos. I stitched a border strip on the left side of the layout using one of the papers from the Live Laugh Love 12″ x 12″ Paper Collection.


On the top I used a tab to house the cute acrylic heart from the Stars and Hearts Mixed Acrylic. On the right side, I added my title and journaling. I love the Pink Puffy Alphabet Stickers I used to create my title. Owning one of every color of these puffy stickers is totally worth it!


I hope you enjoyed this layout and by now have the May 2017 Kit in your hands. Don’t forget to also get the May 2017 Digital Cut Files as they can be modified to work perfectly for you, and share your creation on Instagram using the hashtag #EllesStudio!

Tags as Story Starters with Jill Sprott

Sometimes stories are in us, and it just takes a “spark” for us to realize that we need to tell them. This month, a particular tag inspired Jill Sprott to set a goal for herself, and create a page to document that goal. Let’s see what she made.

Potential story starters can be found in every Elle’s Studio kit. Even a single image can trigger an idea for journaling, as I found when I perused the little gems in this month’s kit and came across a tag featuring an image of the sun. Not only did this tag summon my longing for summer, it also inspired me to set a goal for the sunny months ahead.


Supplies | May 2017 KitToday StampStars and Hearts Mixed AcrylicArrow StickersSpring SequinsPink Puffy Alphabet StickersLive Laugh Love Bits and Pieces; Live Laugh Love Washi Tape StickersLive Laugh Love 6 x 6 Paper Stack

Most of the time, my layouts look back, but this one ultimately looks ahead, not just in the journaling, but in the design itself, which features motivational messages and onward-pointing arrows.


I added a no-excuses motivational message of my own by “editing” one of the phrases from the Today Stamp.


A sunny day and a good pair of shoes may be just what I need to help me achieve my goal of a stronger, healthier self this summer, but I know that discipline plays a huge role as well. Reminders of the ups and downs and long and winding roads ahead find themselves on the page in the form of playful stitching and a coiled garland.


I’d like to think that the first step forward is this page, with its sunny and summery vibe, and words that remind me that I am moving hopefully toward an important goal.

Design Team Inspiration

We’re back with our last round of inspiration from our design team, using the May 2017 Kit and extras! Let’s see what inspiration the team has for us today.


California Adventure by Allie Stewart – supplies used | Adventure Acrylic, Adventure Sticker Labels, Extraordinary Sticker Labels, Stars and Hearts Mixed Acrylic, Puffy Star Stickers, Orchid Pink Puffy Alphabet Stickers, Live Laugh Love Puffy Stickers, Live Laugh Love Washi Tape Stickers, Live Laugh Love 6″ x 6″ Paper Stack 


Okay by Daniela Dobson – supplies used | May 2017 Kit, Arrow Stickers, Today Stamp, Live Laugh Love Washi Tape Stickers, Live Laugh Love Bits and PiecesLive Laugh Love 6″ x 6″ Paper Stack, Puffy Heart Stickers


Outdoors by Jen Schow – supplies used | May 2017 Kit, Fun Outdoors Wood Veneer Words, Today Stamp, Adventure Sticker LabelsDated Stamp, Letter and Number Stickers – White


Traveler’s Notebooks by Jamie Leija – supplies used | Live Laugh Love Large Blank Labels, Enamel DotsLive Laugh Love 6″ x 6″ Paper StackLive Laugh Love 12″ x 12″ Paper CollectionPuffy Heart Stickers


Hello Weekend by Maggie Massey – supplies used | May 2017 KitToday Stamp, Fun Outdoors Wood Veneer Words, Wood Veneer HexagonsLive Laugh Love Puffy StickersLive Laugh Love 12″ x 12″ Paper Collection


Adventure by Melissa Mann – supplies used | May 2017 Kit,  Adventure AcrylicArrow StickersAdventure Sticker Labels, Spring Sequins


Me by Neela Nalam – supplies used | May 2017 KitToday StampPink Puffy Alphabet StickersAdventure Sticker LabelsLive Laugh Love Large Blank LabelsLive Laugh Love 12″ x 12″ Paper Collection


Play by Michelle Wedertz – supplies used | May 2017 KitArrow StickersAdventure Sticker LabelsWood Veneer Hexagons


Super Cool by Tessa Buys – supplies used | May 2017 KitWood Veneer HexagonsArrow Stickers, Live Laugh Love Washi Tape StickersLive Laugh Love 12″ x 12″ Paper CollectionDated Stamp

Thanks so much for stopping by the blog today! Be sure to use the hashtag #EllesStudio on Instagram to show us your projects using the May Kit and extras! By simply adding the hashtag, you could win a gift certificate to the Elle’s Studio shop!

Awesome Disney Memories with Tegan Skwiat

We are pleased to welcome Tegan Skwiat back to the Elle’s Studio blog for her final post with us. Tegan is certainly not afraid of color, or pulling out her die cut machine, and today she’s sharing her love of both in a happy layout! 

Hi everyone! I am so happy to be back today sharing my last layout as May’s guest designer. It has been an honor and a pleasure! I have loved creating with all of the amazing Elle’s Studio products this month, especially the Live Laugh Love Collection!


Supplies: May 2017 Digital Cut File, Stars and Hearts Mixed Acrylic, Arrow Stickers, Puffy Heart StickersLive Laugh Love 12″ x 12″ Paper Collection, Live Laugh Love Word Labels, Live Laugh Love Bits & Pieces, Live Laugh Love Puffy Stickers, Live Laugh Love Wood Veneers, Live Laugh Love Enamel Dots, Live laugh Love Small Blank Labels, Live Laugh Love 6″ x 6″ Paper Stack, Letter & Number Stickers – Pink

I am in love with the May 2017 Digital Cut File! First I enlarged the hexagon cut files to 3 inches wide and used my die cut machine to cut them out using the teal patterned paper. I then backed the cut file openings with solid white cardstock using foam adhesive. Did you notice the teal Puffy Heart Sticker that I used to fill in the “O” in  “awesome?” I then used the Pink Letter and Number Stickers to add color to my title. I completed the title with the super cool puffy sticker word, “Memories.”


I really wanted this photo of my niece to stand out, so I backed it with the bright yellow polka dot patterned paper from the Live Laugh Love 12″ x 12″ Paper Collection. I love that the Live laugh Love Small Blank Labels are just perfect for adding little journaling details to layouts, as well as a pop of color! Also, I think a gal can never have too many Bits & Pieces. They make super quick and cute page accents!


I made another fun page embellishment using the hexagon star cut file. This time I added a yellow acrylic star from the Stars and Hearts Mixed Acrylic. Seriously, these acrylic pieces are just the cutest little things! I decorated the hexagon with another cut out star and the “smile” puffy sticker. A wood veneer sentiment, enamel dot, and die cuts from the Live Laugh Love Bits & Pieces add color and interest to the bottom of my layout.


I love that Elle’s Studio collections are so colorful and the Live Laugh Love Collection is no exception. The beautiful palette coordinates perfectly with lots of my photos! I used this collection to document my most recent family vacation, but it would also be great for documenting everyday activities.


Thanks for joining me today everyone! I hope I have inspired you to document your latest family trip or everyday activity using the fun new Live Laugh Love Collection!

Hi crafty friends! My name is Tegan and I live in northwest Indiana with my husband and my fur kid, Pixie. I’ve loved stickers for as long as I can remember. I had a sticker album that I collected tons of stickers in when I was just a little girl. About 15 years ago my sister suggested we try this thing called “scrapbooking” that her friends’ mom did. I have been hooked on scrapbooking ever since!

When I am not papercrafting, I love to walk the dog and watch movies or football with my husband.

Thank you so much, Tegan, for your beautiful work using Elle’s Studio products! We’d love for you to see more of Tegan’s layouts by following her blog or Instagram account

A Sunny Adventure Layout with Nancy Damiano

With summer approaching, we may brighten our wardrobe with vibrant color, so why not do the same with our scrapbook layouts? The warming temperatures have us itching to document summer, and the May 2017 Kit and Live Laugh Love Collection are the perfect supplies to do that, as Nancy Damiano is showing us today! 

Hey everyone, it’s Nancy here with a look at a layout I created using the May 2017 Kit and Live Love Laugh Collection. This layout began with a pop of yellow. I love this bright, sunny polka dot print from the latest collection.


Supplies | May 2017 Kit, Adventure Acrylic, Pink Puffy Alphabet StickersOrchid Puffy Alphabet Stickers, Live Laugh Love 12″ x 12″ Paper Collection, Live Laugh Love 6″ x 6″ Paper Stack, Live Laugh Love Enamel Dots, Live Laugh Love Wood Veneers, Live Laugh Love Bits and Pieces

I wanted the photo to standout on that very bold background and to do that the solution is pretty simple— layers! The more, the better in this case. By combining paper from the Live Laugh Love 12″ x 12″ Paper Collection and 6″ x 6″ Paper Stack and die cuts from the May 2017 Kit, I created a bed of layers that makes the photo, from a trip to Legoland, pop.


This white acrylic title is bold, but by placing it on a white background, the effect is muted. That’s the beauty of a white-on-white title. To underline the title and add a contrasting circular shape, I used the larger Live Laugh Love Enamel Dots. A palette of red, yellow and pink match the energy in the photo.


The wood veneer subtitle from the Live Laugh Love Wood Veneers adds another line of text and a contrasting element of texture. The hexagon die cut from the May kit leads the eye to the words below.


Lastly, the story. A few strips of journaling sprinkled with the title made up of puffy alphabet stickers in both pink and orchid. They are smaller than the large acrylic title, but still stand out just enough to tell the “where” of our story. And that completes this design!

Thanks so much for stopping by the blog, I hope you’ve been inspired to make a sunny, bright layout of your own!

Sketch Challenge with Allie Stewart

Welcome to another Sketch Challenge day here on the ES blog! This month’s sketch was inspired by Jen Schow’s “Living the Dream” layout from our April DT inspiration projects:


Allie Stewart used the sketch to create a layout all her own. Let’s see what she made!


I used Jen’s clean and beautiful layout to inspire a page that was more my style. I flipped the layout and used just one 4″ x 6″ photo.


Supplies | Live Laugh Love 12″ x 12″ Paper Collection, Live Laugh Love Puffy Stickers, Live Laugh Love Washi Tape Stickers, Orchid Puffy Alphabet Stickers, Spring Sequins, March 2017 Digital Cut File

I added pops of color and floral pattern, using the Live Laugh Love 12″ x 12″ Paper Collection, but kept the layered background and stitching like on Jen’s layout.


Where Jen stamped, I used the March 2017 Digital Cut File, coloring it with oil pastels. I added Spring Sequins and Live Laugh Love Puffy Stickers for embellishment.


I love the bright and happy colors, and it’s fun seeing how two different layouts can be created with the same sketch!

Now it is your turn to be inspired by this month’s sketch! Link up a project in a comment on this blog post, using the sketch above as inspiration by June 13th, 2017, to be entered to win a $10 gift certificate to the Elle’s Studio shop! We will announce the winner next month on our next Sketch Challenge post. We can’t wait to see what you create! Congratulations to last month’s winner, June Swart, who created this lovely layout about her garden: 


June, please email us at info@ellesstudio.com to claim your gift certificate! We can’t wait to see what you all create this month!

Our Spring sale has started!

Our annual big SPRING SALE has started and will run until Friday, May 26th or while supplies last. There are a ton of can’t miss deals and specials – here is a quick summary:

30% to 75% OFF SELECT ITEMS: Select items are on sale and prices are already marked, so no coupon code will be needed! Some of these items are retiring, too, so once they are sold out, we will not be restocking! Shop all our sale items here!

GRAB BAGS: We have FOUR different types of grab bags to choose from. Our grab bags include:

Scrapbooking Grab Bag – $45 value for only $12 – these are our BIGGEST bags yet! This bag includes some of the following: cutouts, snippets, journaling tags, stickers, washi tape, wood veneer, puffy stickers, and/or acrylics. NO 12 x 12 papers or stamps are included in this bag. If you purchase more than one grab bag, you may receive duplicate items in the second bag. Each bag will also include a pack of mixed acrylics stars and hearts, so you may receive duplicate acrylic shapes in that mixed pack.

Stamp Grab BagThis bag includes a range of our stamps. You can purchase 2 without receiving duplicate stamps.

Journaling Tag Grab BagThis bag includes 30 tags in 3 x 4 and 4 x 6 inch sizes from our collections and exclusive monthly kits. You can purchase 3 without receiving duplicate tags.

Bits & Pieces Grab BagsThis bag includes a variety of die cuts on 4 x 6 inch sheets from our exclusive monthly kits. You can purchase 2 without receiving duplicate die cuts.

MYSTERY KITS: Pick up one of our exclusive kits for half the price and it will be a mystery on which one you receive! You can purchase two kits without receiving duplicate kits.

DIGITALS: All of our digital cut files and printables are 50%!

SHIPPING: Shipping is based on the weight of your cart and we only charge what it costs us to ship your items. Our site will quote you a shipping price before checkout. Due to an increase in orders during this sale, please allow us extra processing time. We will be shipping orders in the order that they are received. We expect to have all orders processed within 3 business days of the order being placed.

Thanks so much for joining us for our annual SPRING SALE!

Save

Save

Save

Paper Stack Love with Michelle Wedertz

The 6″ x 6″ paper stacks included in our latest collections are such a hit! They have a huge mix of patterns included at a smaller size, perfect for die-cutting! Michelle Wedertz is showing us how she put her Live Laugh Love 6″ x 6″ Paper Stack to good use on her latest layout. Let’s take a look.

The words included in the May 2017 Digital Cut Files were just perfect for documenting my family and I had to include at least one of them in this layout that features both the May Kit and the newest collection, Live Laugh Love.


Supplies | May 2017 KitWood Veneer HexagonsAdventure Sticker Labels, Live Laugh Love 6″ x 6″ Paper Stack, Live Laugh Love Enamel Dots
 
When it comes to cutting out shapes and titles, I always turn to the 6″ x 6″ Paper Stack for a few reasons. First, each sheet has a pattern on both sides which makes for a lot of choices. Second, they are the perfect size for die-cutting. Finally, the paper stacks make it super easy for me to quickly browse and through and find what I am looking for.


Paper stacks are also really convenient for layering, and I chose a few pieces of patterned paper that I thought would go well with the 4″ x 6″ multicolor tag from the May 2017 Kit. To embellish, I kept it simple and used a mix of die cuts from the kit, the new Wood Veneer Hexagons, and the enamel dots from the Live Laugh Love collection, as well as the Adventure Sticker Labels, included in this month’s add-ons. If you like using your typewriter, this label sticker sheet is a good choice because it slips right in and out of typewriter with no problem. Usually, when typing on labels I use washi to adhere it to a larger sheet of paper before slipping it into the typewriter and being able to skip this step was a big plus!


Wishing you a great day!

Adventure Documented with Candace Perkins

We love seeing our monthly kits and exclusives put to use on your projects! Today Candace Perkins is sharing a beautiful page about a special trip using these products along with the Live Laugh Love Collection, which proves that you don’t need multiple photos to document a special moment. Let’s take a look.

Hello Elle’s Studio friends! It’s Candace back with you today to share a fun 8-1/2″ x 11″ layout using the May 2017 Kit along with papers & embellishments from the Live Laugh Love Collection.


Supplies | May 2017 KitAdventure Acrylic, Live Laugh Love Wood Veneers, Stars and Hearts Mixed Acrylic, Adventure Sticker Labels, Live Laugh Love 12″ x 12″ Paper Collection, Live Laugh Love Washi Tape Stickers, Enamel Dots

I wanted to document a recent trip my husband I took together wandering the streets of South Carolina. I started the layout with a white 8-1/2″ x 11″ piece of white card stock. I wanted my photo block to run along the top third of the layout. For my block I used a 3″ x 4″ tag from the May 2017 Kit along with the Adventure Acrylic and a photo from our walk.


This block served as the focal point of the spread. Next, to add balance in both weight and color I started to add to the center of the layout pulling down towards the bottom. To do this I simply cut up the word strips from another 3″ x 4″ tag in this month’s kit and popped up the strips running down the page.


To ground the layout I added a few accent pieces of patterned paper from the Live Laugh Love 12″ x 12″ Paper Collection and Live Laugh Love Washi Tape Stickers to the top and bottom of the spread. For my final touches I added a little black stitching, Enamel Dots, Adventure Stickers Labels and an acrylic heart from the Stars and Hearts Mixed Acrylic.


I just adore the final layout and the memories captured here. I love that I can look back and read about these special times together. I love that my kids can read about how much their mommy and daddy love spending time together.


Memories made & memories captured and documented… this is what we do and it is so very important!

Thanks for stopping by today! You can follow the links in the post to the shop to find any of the items that I used on today’s project. Have a beautiful day!