Digital cut files are not just for cutting paper, and today Neela Nalam is showing you a different way of using them, that fits her style perfectly! Let’s take a look.
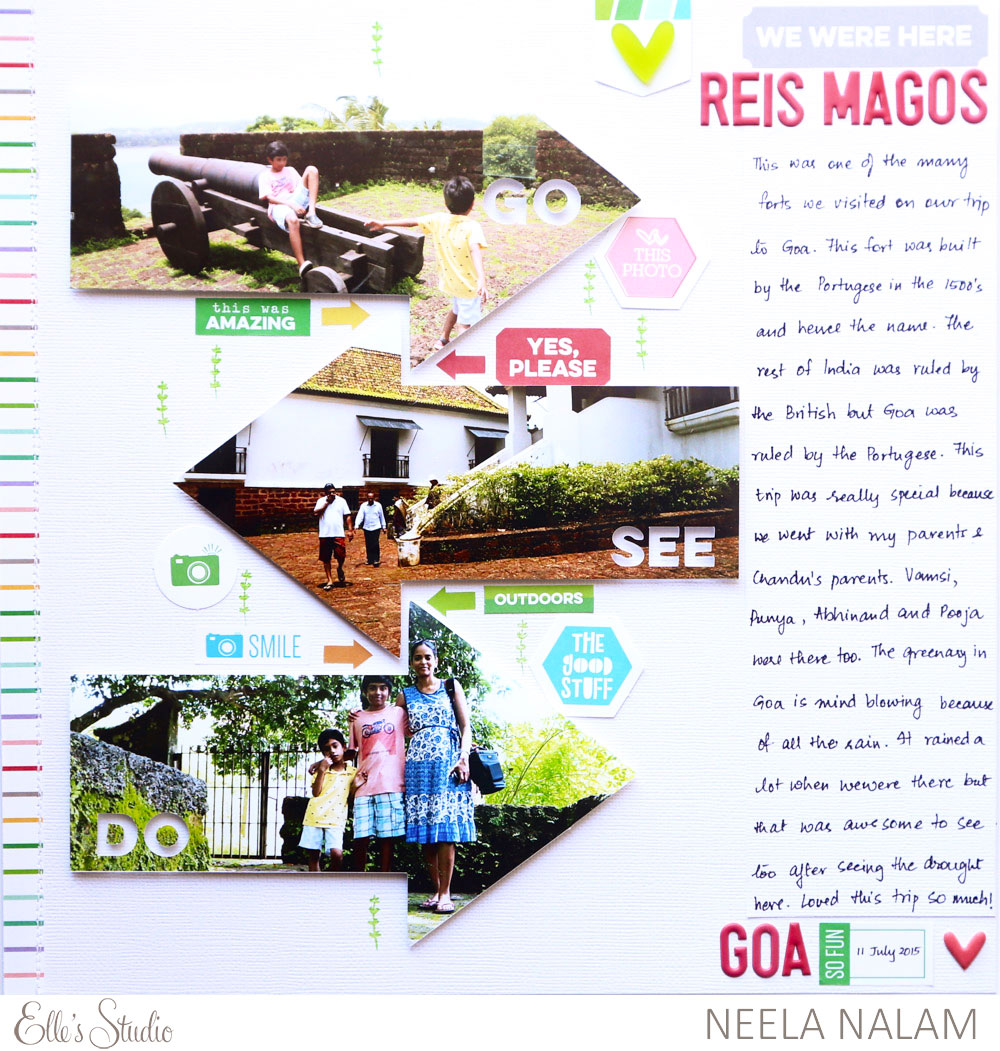
The theme of the kit this month totally reminded me of all the travels we have done over the past few years. I loved the hexagons and the arrows included in the May 2017 Digital Cut Files and physical embellishments. I already made a layout with the hexagons, so I decided to make one with the arrows.
I modified the arrows in the digital cut files by making them larger and moving the text to a convenient location so that faces weren’t cut out. I then used the arrow shapes to crop the photos using the Silhouette Studio software.
Supplies | May 2017 Kit, Arrow Stickers, May 2017 Digital Cut Files, Bike Ride Stamp, Adventure Sticker Labels, Stars and Hearts Mixed Acrylic, Pink Puffy Alphabet Stickers, Live Laugh Love 12″ x 12″ Paper Collection, Puffy Heart Stickers
The focal points on this layout are the arrows, and I’d love to share with you how I created them.
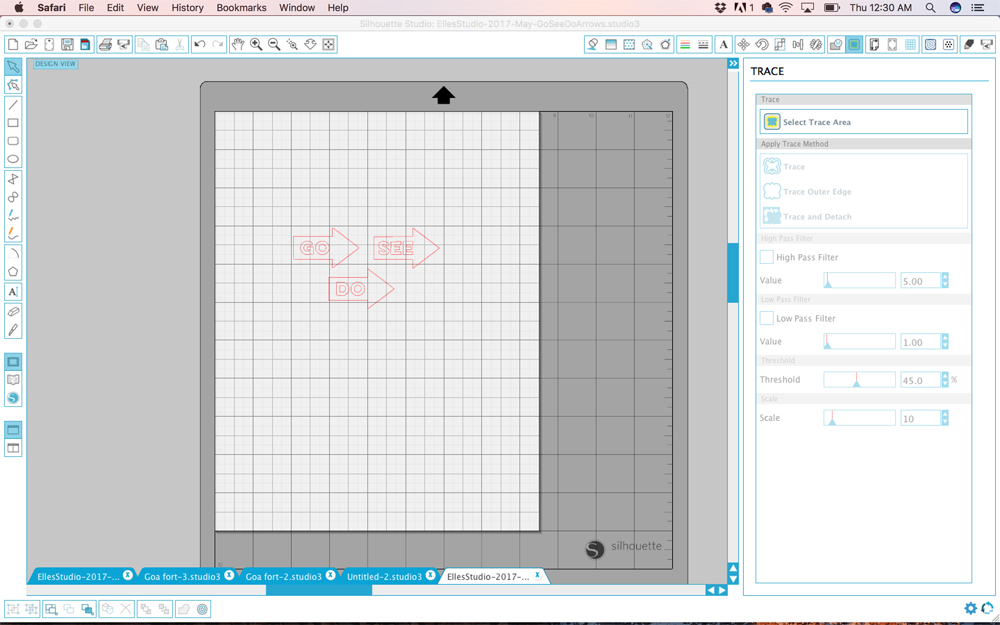
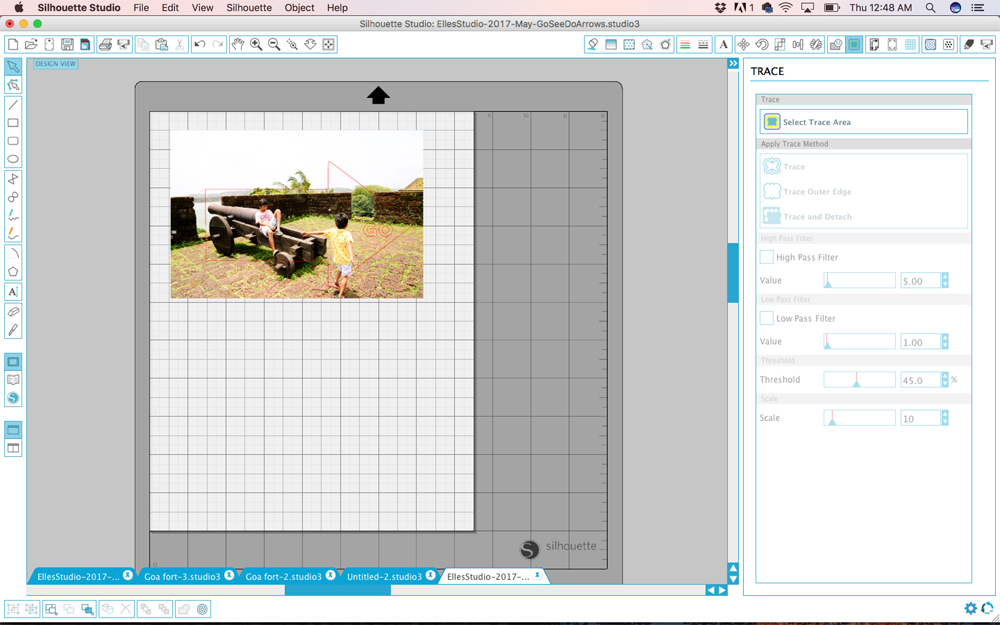
Step 1: Convert the png into cut file using the trace feature of silhouette. This is how the cut file looks:
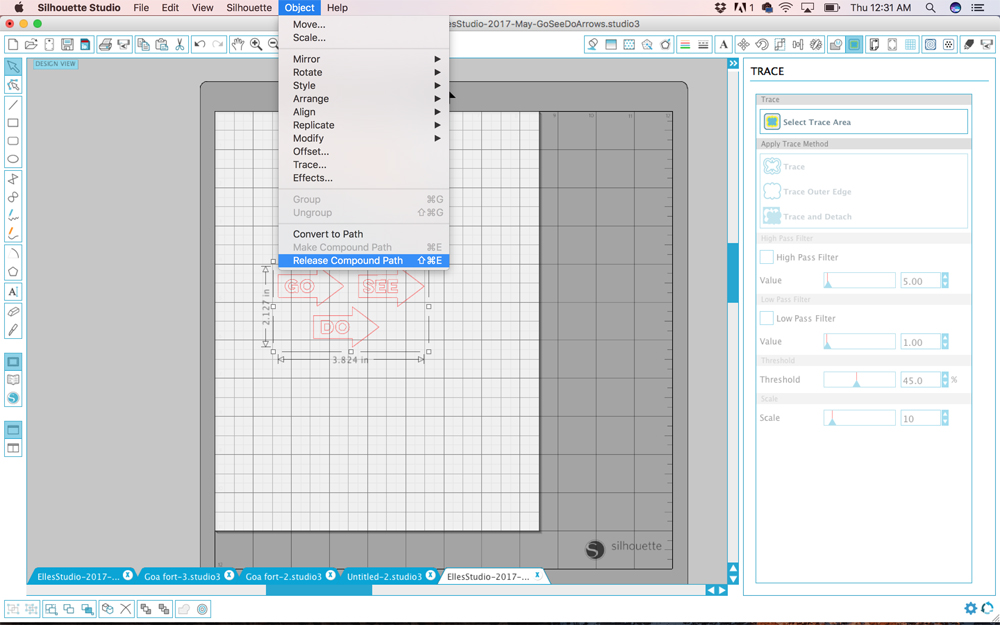
Step 2: We now want to resize each of the arrows and move around the text. In order to do this, select the shape and click on release compound path so that you can make your modifications.
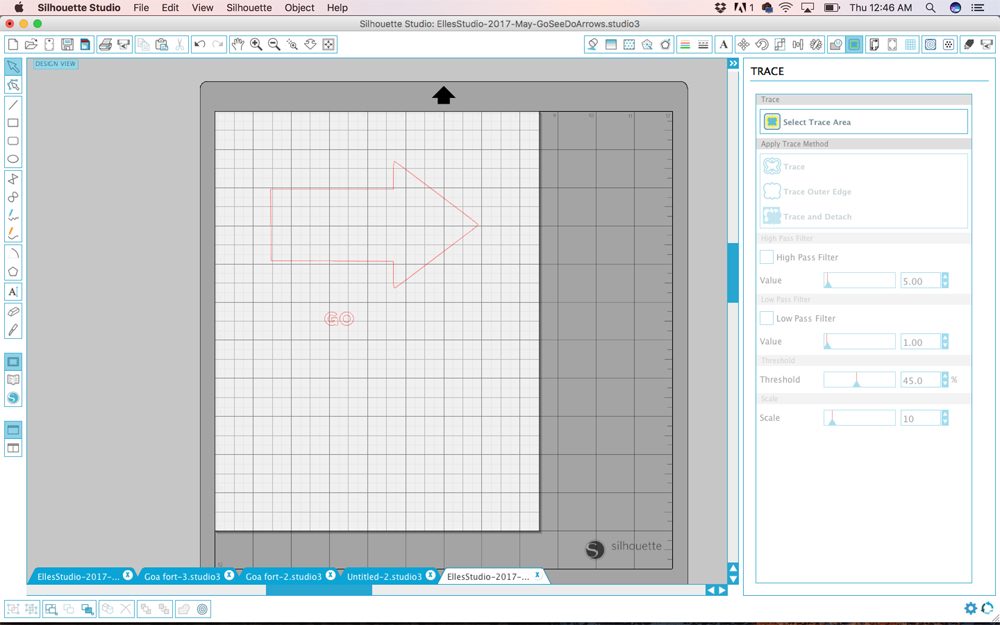
Step 3: Now resize the arrow and move the text out of the arrow as we only want to play around with the arrow and the photo first.
Step 4: Now open your photo in silhouette software. It will open in a new window. Move the photo to the window with the cut file and resize it so that it fits in the arrow.
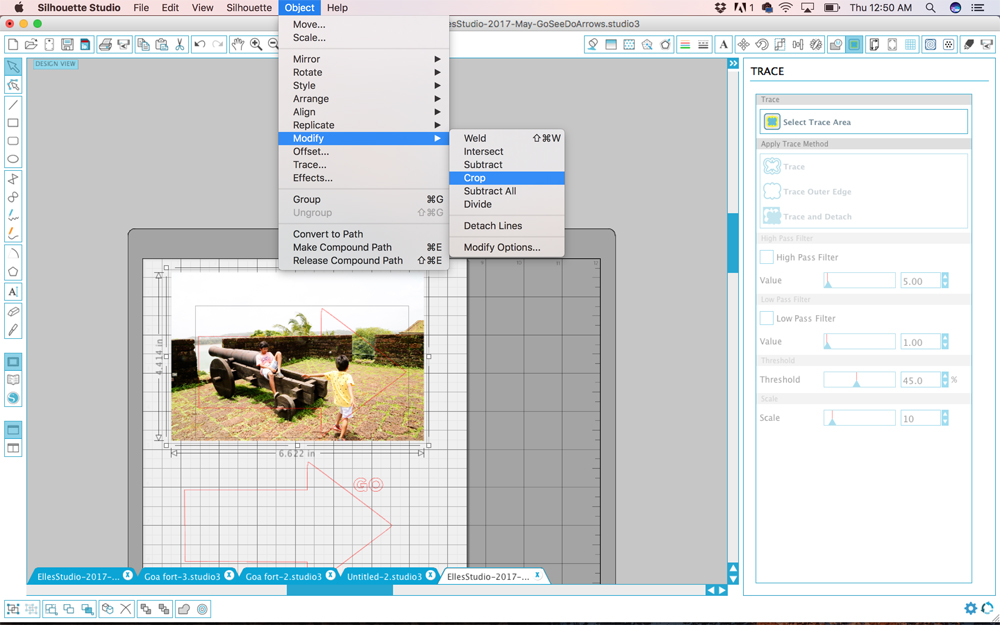
Step 5: Make a copy of the arrow as the next step that we do will eliminate the arrow. Now select the arrow and the photo and go to Object-Modify-Crop. This will modify your photo from a rectangle to the shape of the arrow.
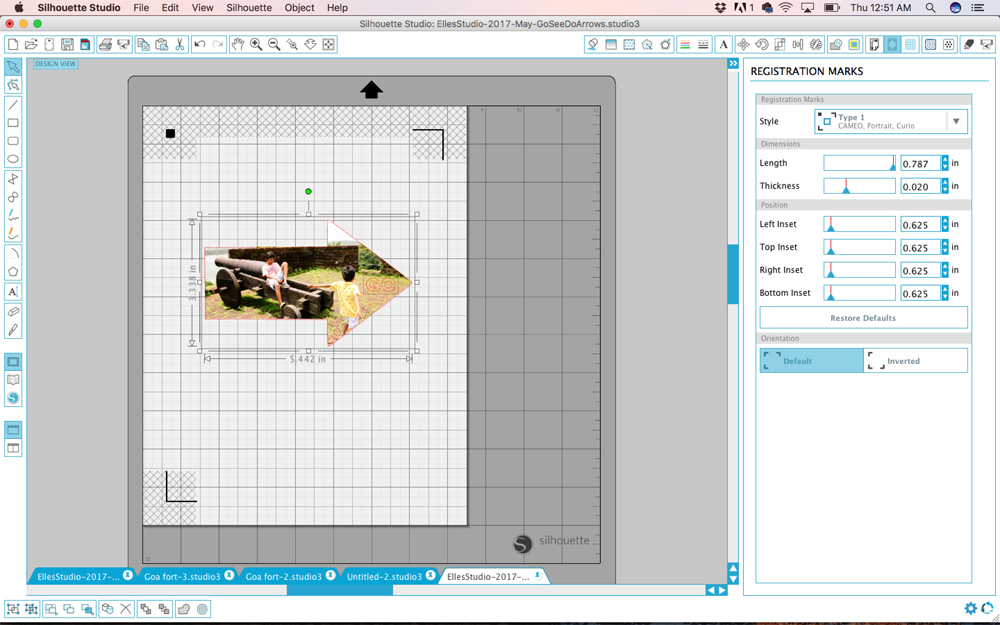
Step 6: Move the copied arrow back on to the photo so that you now have your cut line over the photo. Also move your text on to the photo. Enable the registration marks so that you can print and cut your photo.
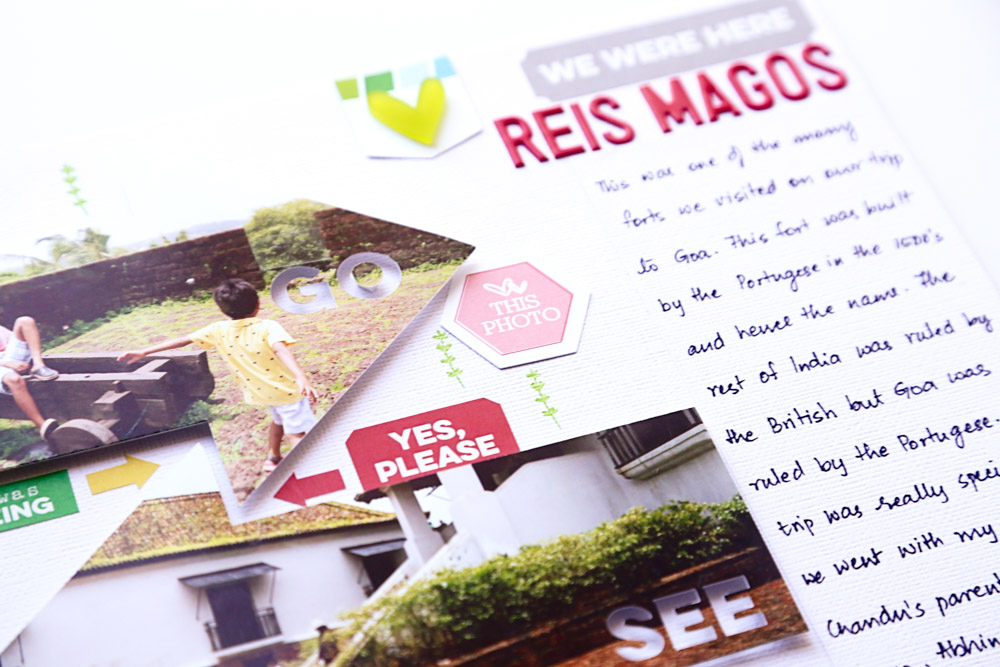
I raised the die cut photos with dimensional adhesive and used the arrows from the Arrow Stickers around my photos. I also used more phrase stickers from the Adventure Sticker Labels and die cuts from the May 2017 Kit around the arrows. I stamped the cute plant from the Bike Ride Stamp around the arrows in green to match the bright green in the photos. I stitched a border strip on the left side of the layout using one of the papers from the Live Laugh Love 12″ x 12″ Paper Collection.
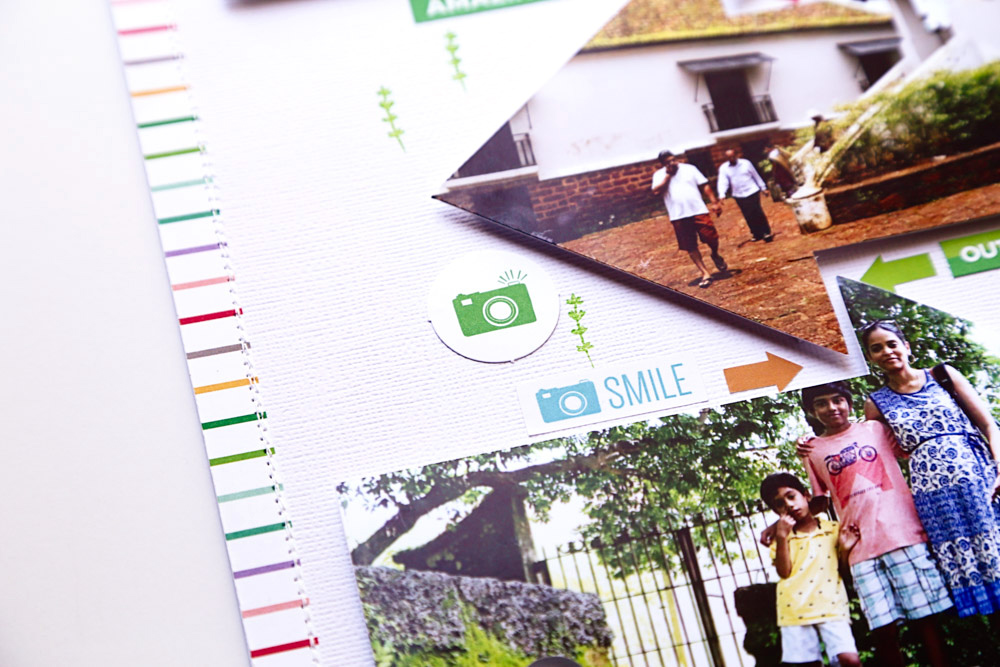
On the top I used a tab to house the cute acrylic heart from the Stars and Hearts Mixed Acrylic. On the right side, I added my title and journaling. I love the Pink Puffy Alphabet Stickers I used to create my title. Owning one of every color of these puffy stickers is totally worth it!
I hope you enjoyed this layout and by now have the May 2017 Kit in your hands. Don’t forget to also get the May 2017 Digital Cut Files as they can be modified to work perfectly for you, and share your creation on Instagram using the hashtag #EllesStudio!