With both warm and cool hues included in the February 2018 Kit and add-ons, you might just choose one or the other for your next project, however, you may just want to pair them up after you see the project below! Today, guest designer Steph Grimes is showing us that they can work together side-by-side, and sharing tips on how to keep the final project cohesive. Let’s see what she created!
Hello everyone! I’m excited to be back on the Elle’s Studio blog today to share my second project as this month’s Guest Designer. I don’t know about you all, but I’m still working on a few weeks in my weekly album for 2017. The February Kit and Add-Ons ended up being the perfect fit for one of my weeks in early December. This was a crazy weather week where we had a beautiful warm day and then a bit of snow a few days later, so my photos from the week were both warm and cool. I was thrilled when I started piecing this together and realized the variety of colors in the kit would work so well with my photos!
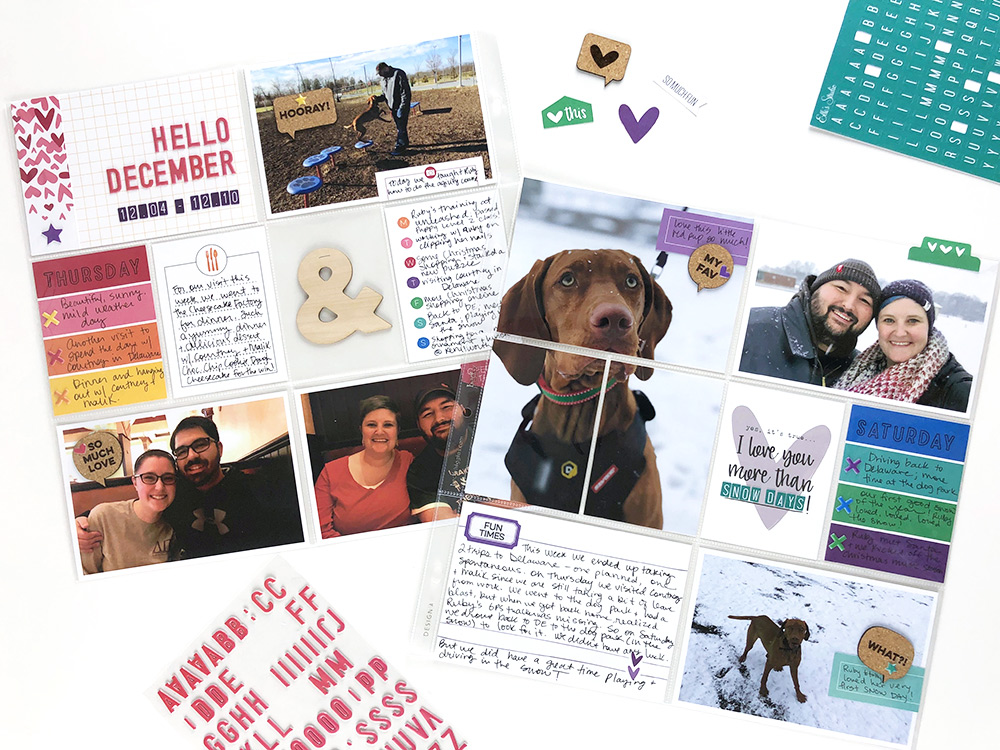
Supplies | February 2018 Kit, February Icon Labels, February Blank Label Stickers, Dark Purple Cardstock Alphabet Stickers, Dark Teal Cardstock Alphabet Stickers, Star Chipboard Stickers, Cork Speech Bubbles, Ampersand Wood Veneers, Pink Puffy Alphabet Stickers, Shapes & Dots Puffy Stickers, Icon Stamp, Stanley Jr. Alphabet Stamp — Outline
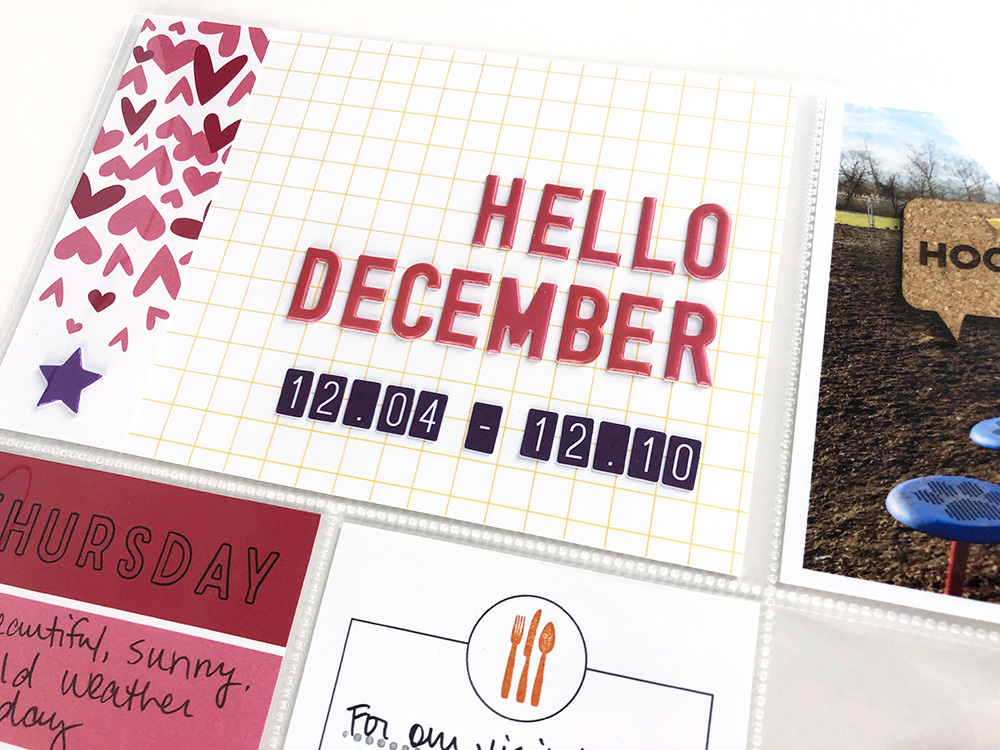
I really wanted to use a 4 x 6” tag for the title, but the yellow on this grid tag stood out too much. So, I chose the 3 x 4” falling heart tag that matched my main colors a bit better, trimmed it down to cover the yellow edge of the grid card and then added one of the Star Chipboard Stickers on top. I then used the Pink Puffy Alphabet Stickers for my title and added the week’s dates with the Dark Purple Cardstock Alphabet Stickers.
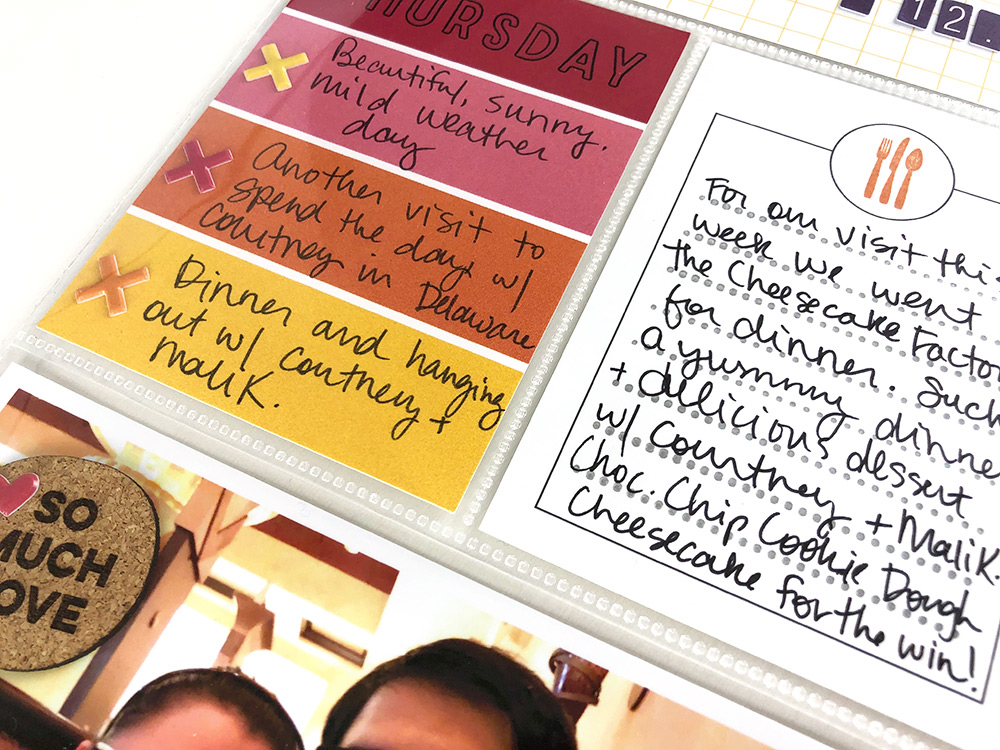
Given that I was using so many colors, and the two sides of my pocket spread were so different, I wanted to find some ways to bring a bit more cohesion to the spread. I started by taking the two color-blocked 3″ x 4” tags and adding them to opposite ends of the layout. Then, I repeated the treatment of each card. I used the Stanley Jr. Outline Alphabet Stamps to stamp the days of the week that these photos were each from. Then I added an “x” sticker from the Shapes & Dots Puffy Stickers in each color band in a contrasting color. Then, I added in my journaling in bullet format with highlights from each day.
One of my favorite elements of the February Kit are the white journaling tagshat coordinate with the Wood Veneer Icons and Icon Stamp. I love that the stamp set includes the outline for these cards so you can make more of your own! I think this is a product that will get a lot of use in my projects. I used one here to add some extra journaling about dinner with my sister. I topped it off by using the flatware stamp from the Icon Stamp.
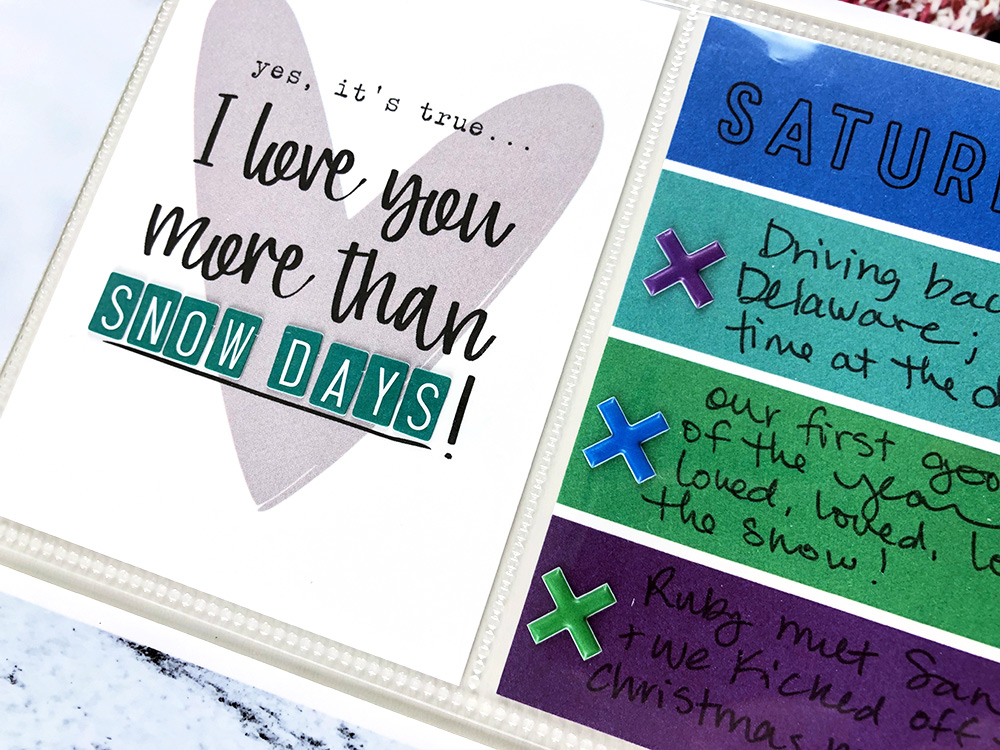
As another repeating element, I used the Dark Teal Cardstock Alphabet Stickers to embellish and complete the phrase on the “I love you more than” 3″ x 4” tag. (Anyone who knows me well can tell you this is a grand statement because snow days are pretty much my most favorite thing!)
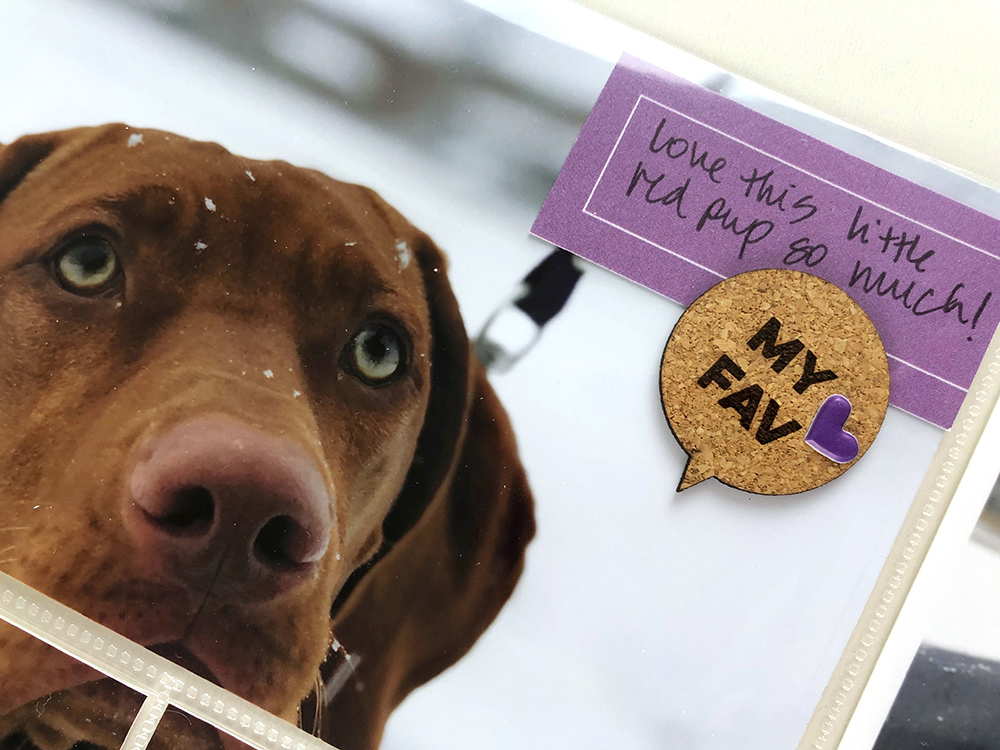
Finally, I felt like there needed to be just one more thing to tie this all together, add a little more texture and make it look like a cohesive spread. The Cork Speech Bubbles from this month’s add-ons were the right embellishment for the job! The phrases fit so perfectly with my photos. To elevate them just a little more, I added a small pop of color to each one by adding one of the tiny stickers from the Shapes & Dots Puffy Stickers and love how that turned out. I was pleasantly surprised by how much dimension layering these embellishments added to my pockets, without making them too bulky. For some of them, I also layered a February Icon Label underneath to add a little journaling.
I couldn’t believe how well the February Kit and add-ons coordinated with this project. It’s a lot more color and variety than I typically use in one layout or pocket spread, but I’m really tickled with the final product. I hope you might also be inspired to use all the colors and find a way to make it work for you!

Hi, friends! I’m Steph Grimes and I live in Maryland with my wonderful husband and our sweet little red pup, Ruby. I love crafting, Tom Petty, road-tripping, and playing tabletop games. I have been scrapbooking since I was in college in some form or other. I enjoy documenting all types of stories from our day-to-day life to our grandest adventures – like the three-week cross-country trip we took a couple years ago. You can find my work on Instagram or my recently-begun YouTube channel. I am honored to be an Elle’s Studio guest designer – thank you for having me!
Steph will be sharing one more project with us here on the blog next week, but until then, follow her at the links above to see what she’s been creating!
A Rainbow of Hues with Guest Designer Steph Grimes
