Hello Elle’s Studio friends!
It’s Jennifer here today with this month’s Five on Friday, where we challenge you to use only five products on a project. It is certainly true that creating with less product allows you to be more creative. While I am the first to admit that I have a very large stash of memory keeping products, sometimes I become overwhelmed and struggle to create as a direct result of this. Today’s challenge was perfect in helping me reign it all in and focus on what I really love, which is memory keeping.
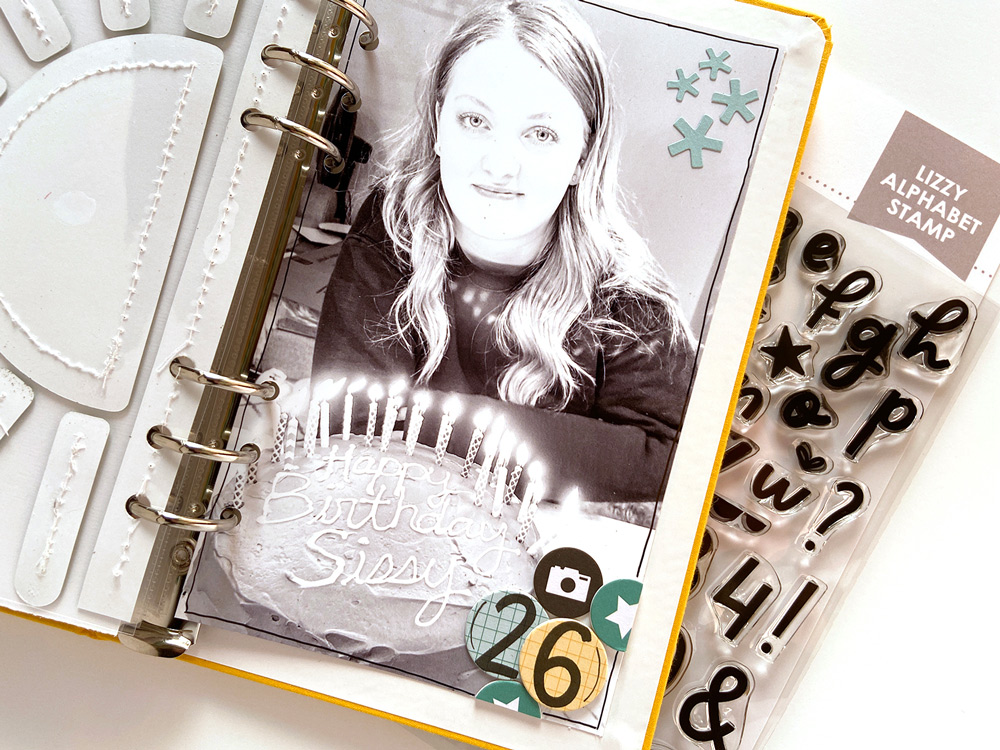
Let’s take a look at the completed project that uses the following products to document my daughter’s 26th birthday.
- August 2021 Cut Files – Half Sun
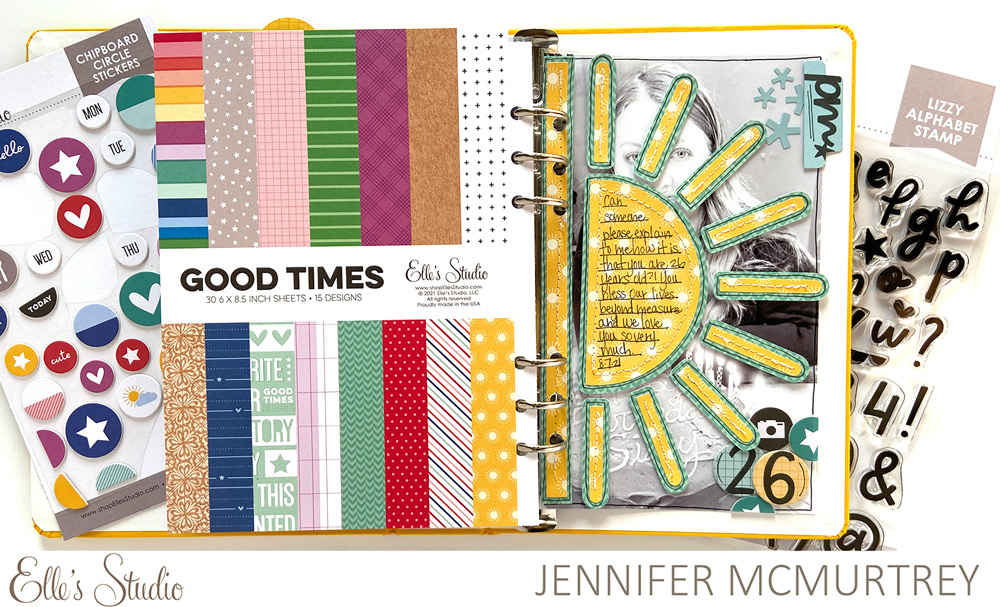
When deciding which five products to use, I knew the first would be a digital cut file—one of my go-to favorites, because I can manipulate the files to suit any and every project. Here, I turned the file sideways to fit the 5 x 8.25 inch transparency page and cut it using two of the patterned papers from the Good Times Paper Stack. Next, I tacked them in place with a very small amount of glue, waited for it to dry, and machine stitched them to the transparency
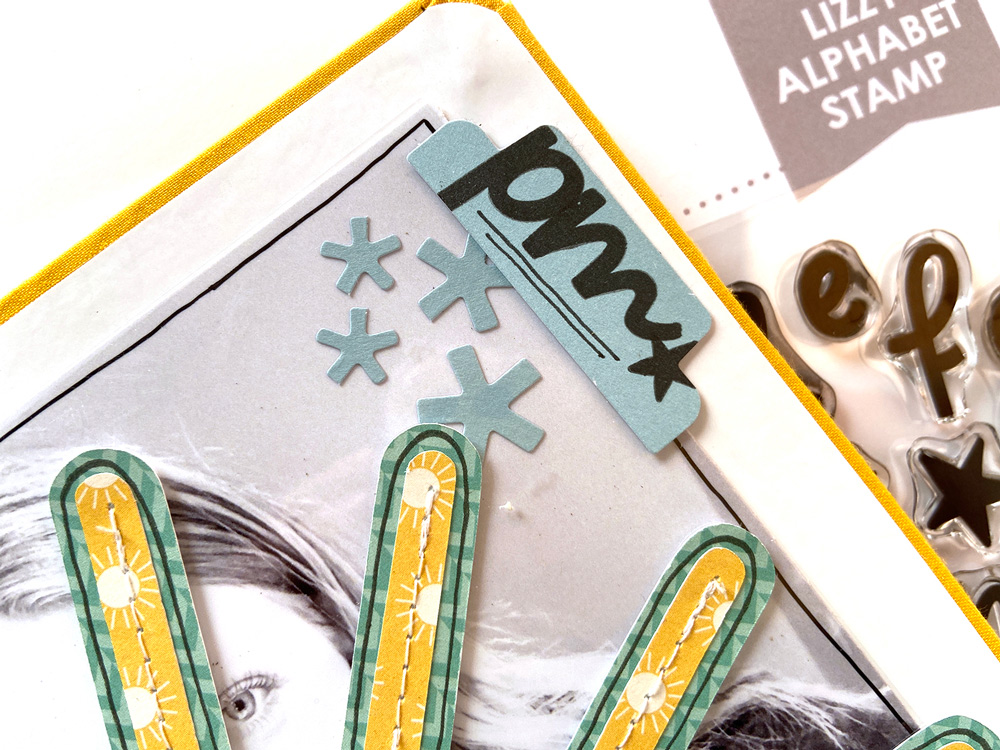
At the top-right corner of the transparency, I added two of the tab-shaped Light Teal Cardstock Basic Shape Stickers back-to-back. After masking the bottom of the tab, I used the Lizzy Alphabet Stamp (my new favorite) to add Phoebe’s initials.
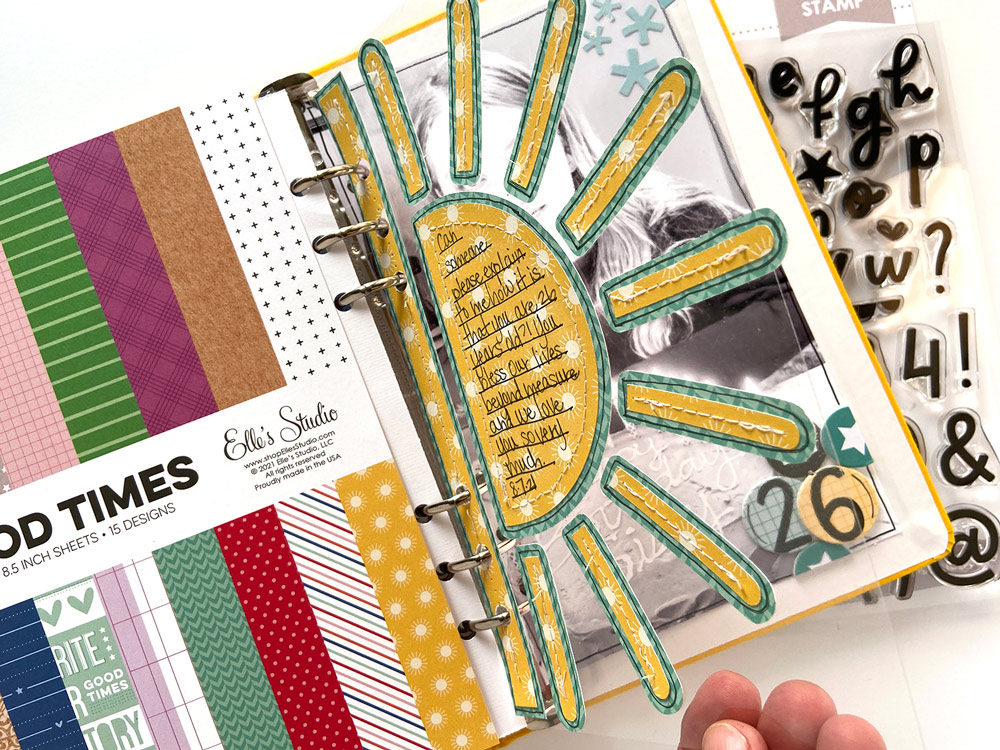
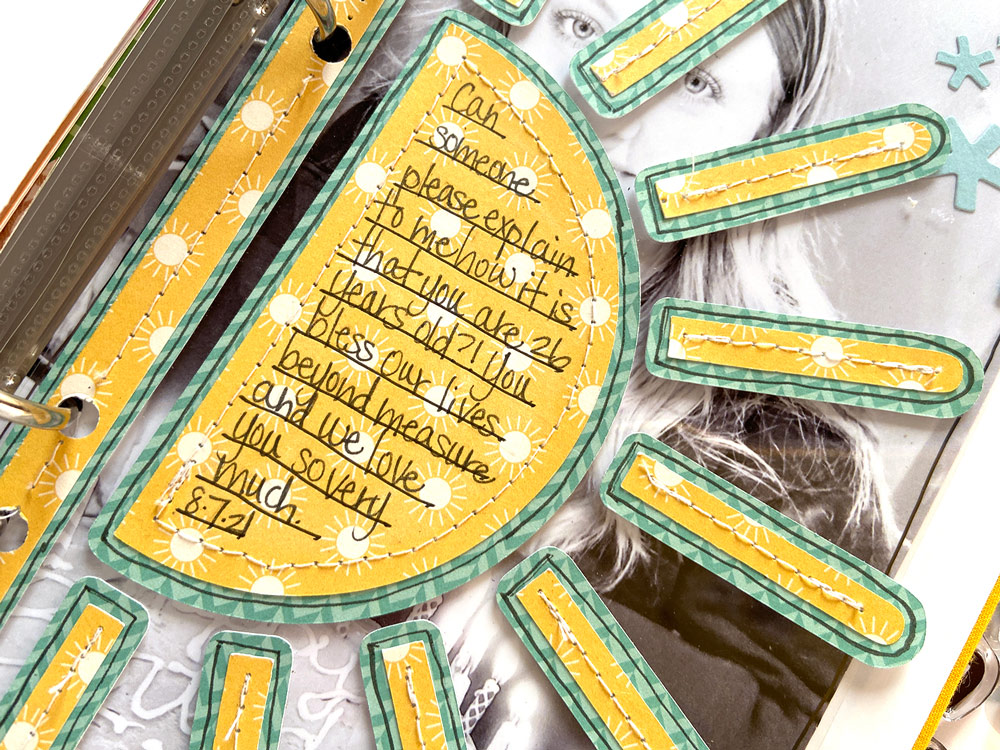
The half sun looks amazing on the transparency, and I love how the black and white photo peeks out from beneath. To give the sun more depth, I journaled in the center and then doodled around the edges with black ink. I seem to be doing that a lot lately, but I love the fun vibe it adds to projects.
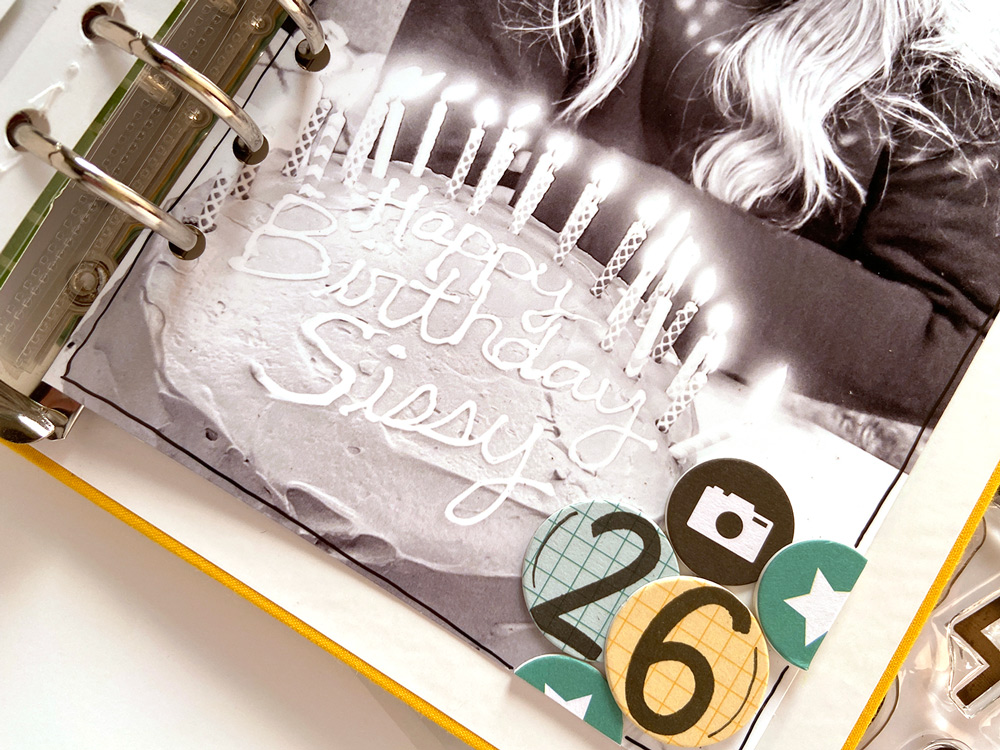
On the photo itself, I added several of the Light Teal Cardstock Basic Shape Stickers in the top corner with the Chipboard Circle Stickers in the bottom corner. Here, I again used the Lizzy Alphabet Stamp to add “2” and “6” to indicate Phoebe’s age at the time of the photo. To layer the stickers, I added foam squares to the backs before adhering them to the photo.
To create continuity between the transparency and the photo, I doodled a border on the picture using the same black ink as before. This simple addition really makes the photo pop and adds the whimsy that I so love.
As you can see, I was able to use five products to create an interactive layout with fun elements. I guess less really is more in this case!
Thank you for stopping by today! Be sure to play along with the Five on Friday Challenge and use the hashtag #EllesStudio when posting to social media so we are sure to see your creations. Who knows . . . you just might be featured on the Elle’s Studio blog!

Comments