If there’s one thing I’ve learned throughout the years, it’s that the small everyday moments are just as important as the big events in memory keeping. When I am scrapbooking, I get the most enjoyment from documenting these small stories . . . such as messing with my kids in our group chat. I can most definitely say that I believe myself to be much funnier than they actually think I am. However, that doesn’t stop me from being goofy and cracking myself up in the process!
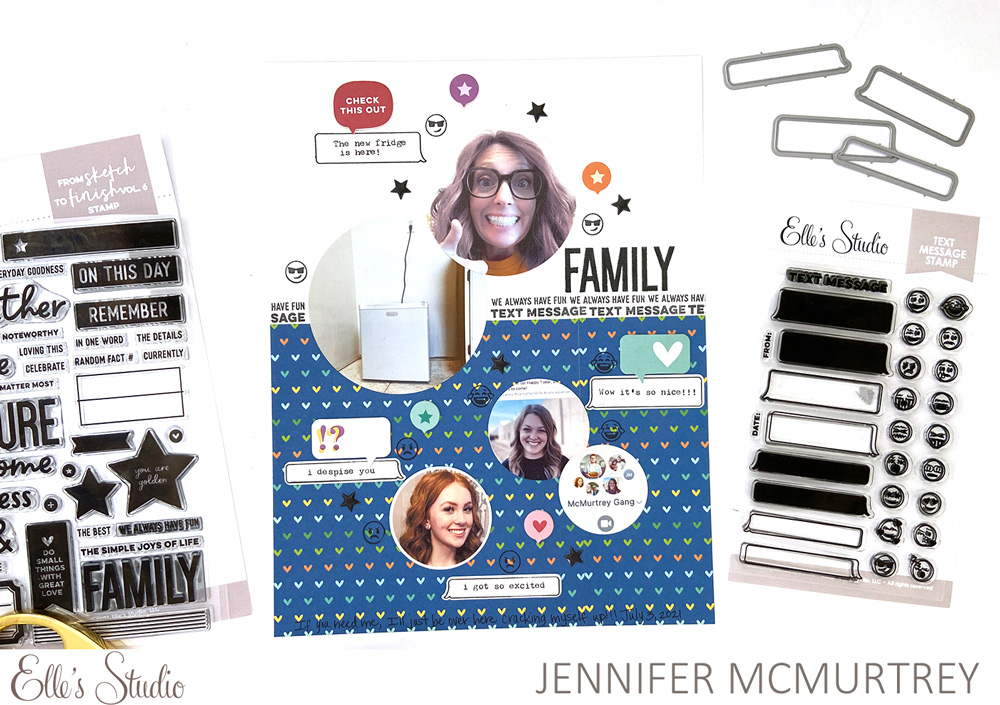
Supplies | Chipboard Speech Bubble Stickers, Tiny Shapes and Dots Puffy Stickers – Neutrals, Adventure Paper Stack, Text Message Stamp, Text Message Metal Die, From Sketch to Finish Vol. 6 Stamp
It was so fun creating this project using Sketch 18 and the From Sketch to Finish Vol. 6 exclusive class stamp that was recently released. When selecting a sketch to use, I wanted one that would mimic the pattern of speech bubbles in a text message, which is why I chose this sketch which you can find in the class, available as a download only, or with the exclusive stamp!
The new Text Message Stamp and Metal Die were perfect for documenting recent messages in our family chat. We’ve been going through a major home renovation project, but were not expecting the refrigerator to die during the height of construction. I ended up using the mini fridge I keep at work in the kitchen to hold the essentials (milk, eggs, coffee creamer) while we waited for the new one to be delivered. Of course, I took a picture of it and told the kids the new fridge was delivered. While my oldest thought it was funny, my youngest was not as amused.
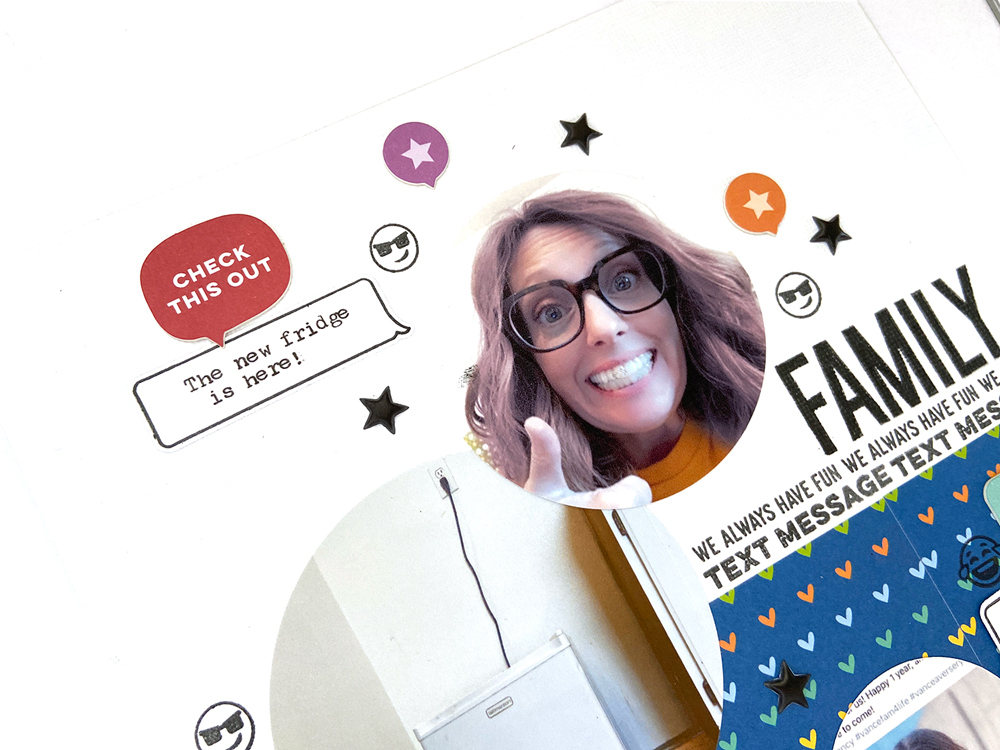
After typing the conversation on white cardstock, I stamped around each sentence with the Text Message Stamp before cutting them out using the Text Message Metal Die. Next, I printed the photos I’ve assigned each of the girls in my phone contacts along with one of myself and the mini fridge and used circle punches in different sizes to create the circular photos.
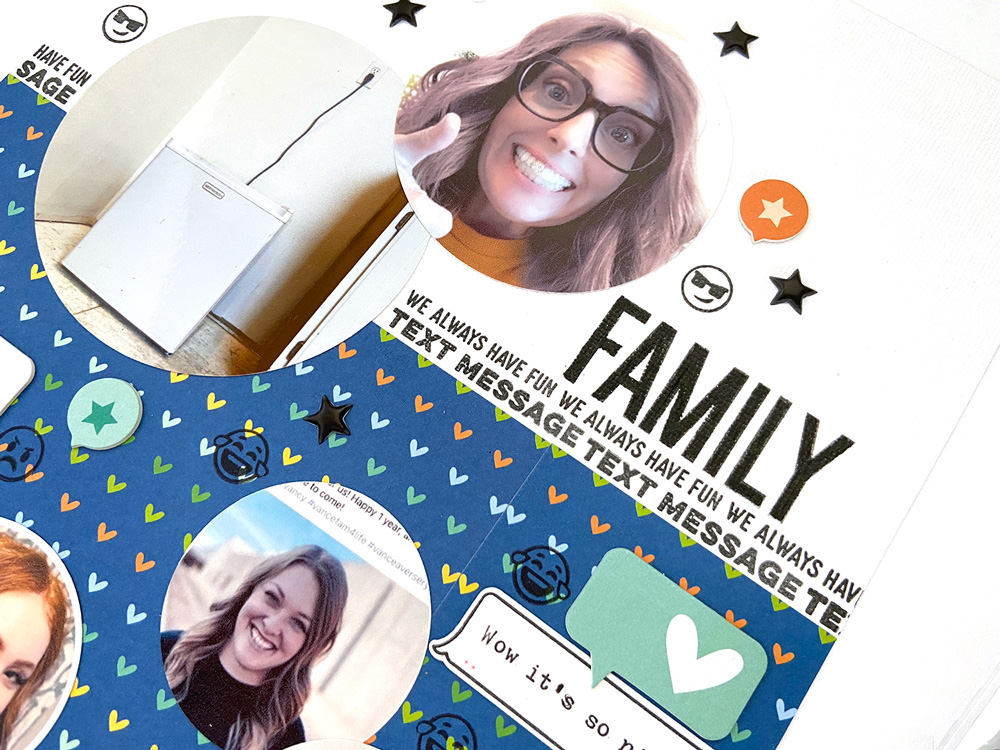
Originally, I planned on creating my usual 12 x 12 inch layout, but later decided to cut it down to 8.5 x 11 inches. I added the patterned paper from the Adventure Paper Stack on the bottom half of the cardstock before adhering the photos. To create the title, I used several of the words and phrases from the From Sketch to Finish Vol. 6 Stamp along the top edge of the patterned paper. The family sentiment did not turn out as dark as I would’ve liked (user error), so I went over it with a black marker to darken the letters.
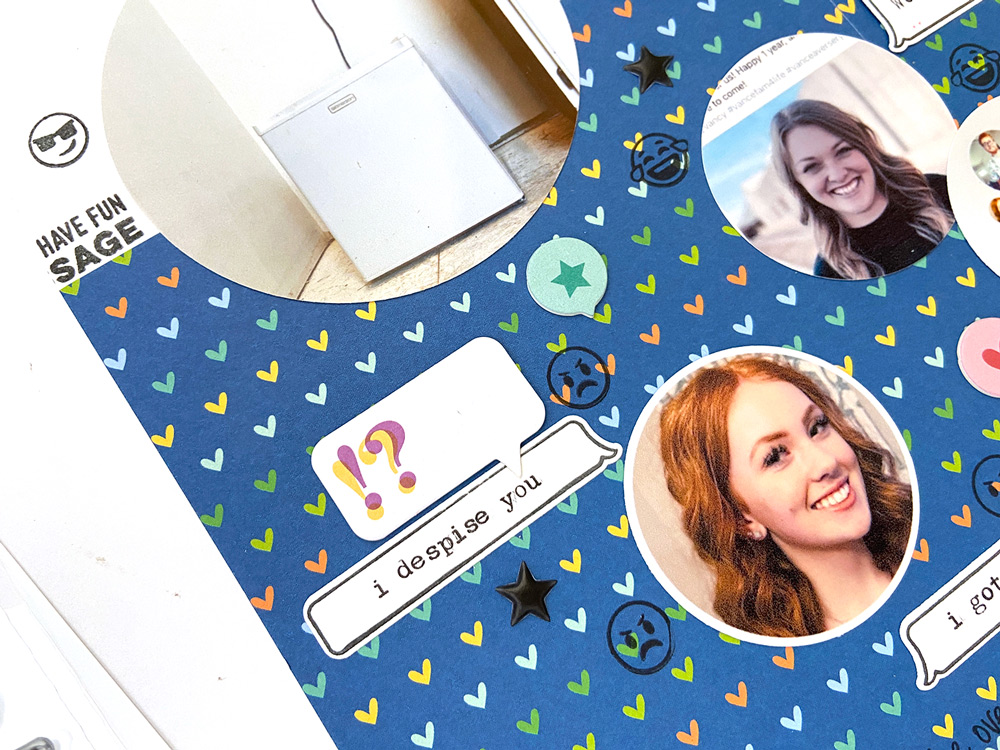
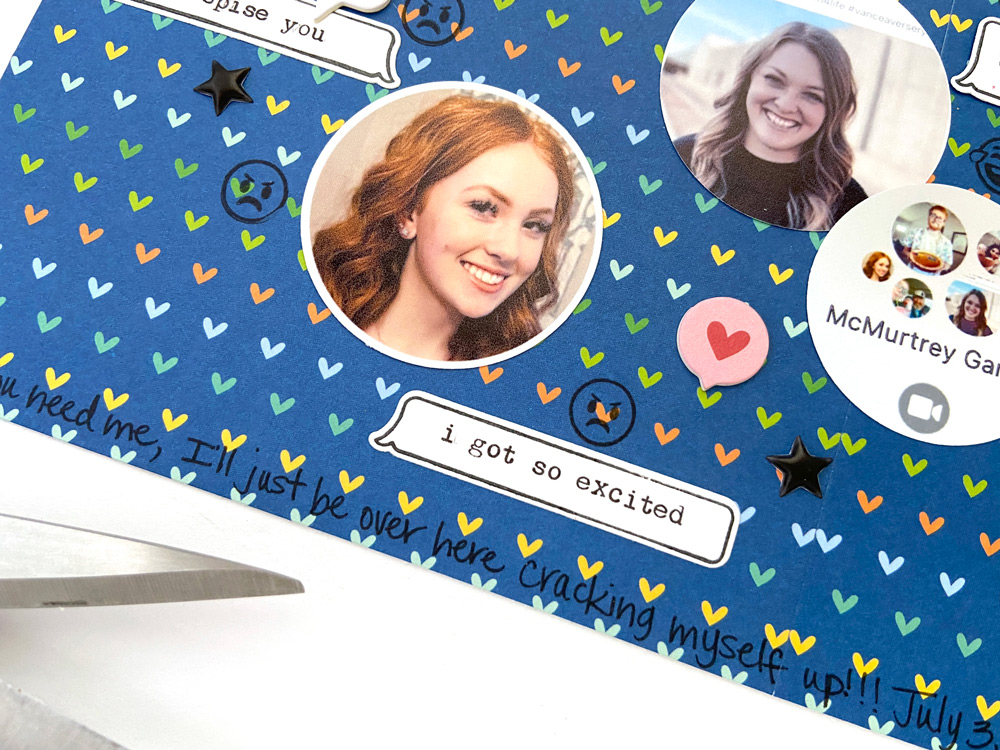
When you look at the layout, the photos and speech bubbles cascade down the page in the order they appeared in the chat. I placed each of our messages next to our photos so you know what was said and by whom. *Keep in mind that my youngest is a sassy teenager who was joking with me rather than being disrespectful!

The Text Message Stamp is so fun, and I used the emoji stamps to indicate everyone’s response around each of the photos. They are perfect! Next, I added a few of the Chipboard Speech Bubble Stickers and black Tiny Shapes and Dots Puffy Stickers to lead the reader’s eye from the top of the page to the bottom.
Last was a single line of journaling along the bottom of the page along with the date.
This is the most fun I’ve had making a project recently, and I know it’s because I find the topic to be very amusing! Don’t worry too much about being serious all the time because moments such as these are the ones you’ll look back on later and be glad they’re documented.
Remember to share your projects using our new Text Message Stamp and Metal Die on social media using #EllesStudio, so we are sure to see your amazing creations!

Pingback: Family Chat Scrapbook Layout – Scrap Booking
Pingback: Family Chat Scrapbook Layout - DIY GALAXY
Pingback: Household Chat Scrapbook Structure – Scrap Reserving | Pure Profitz