Hi, Elle’s friends! It’s me, Sarah, on the blog, and today I’m excited to share a fun little stamping technique using the March kit + extras.
So, you know how a lot of the Elle’s Studio stamps have fun, little sentiments or phrases on them, but sometimes you don’t know ever get around to using them? Have you ever considered stamping them to create a background?
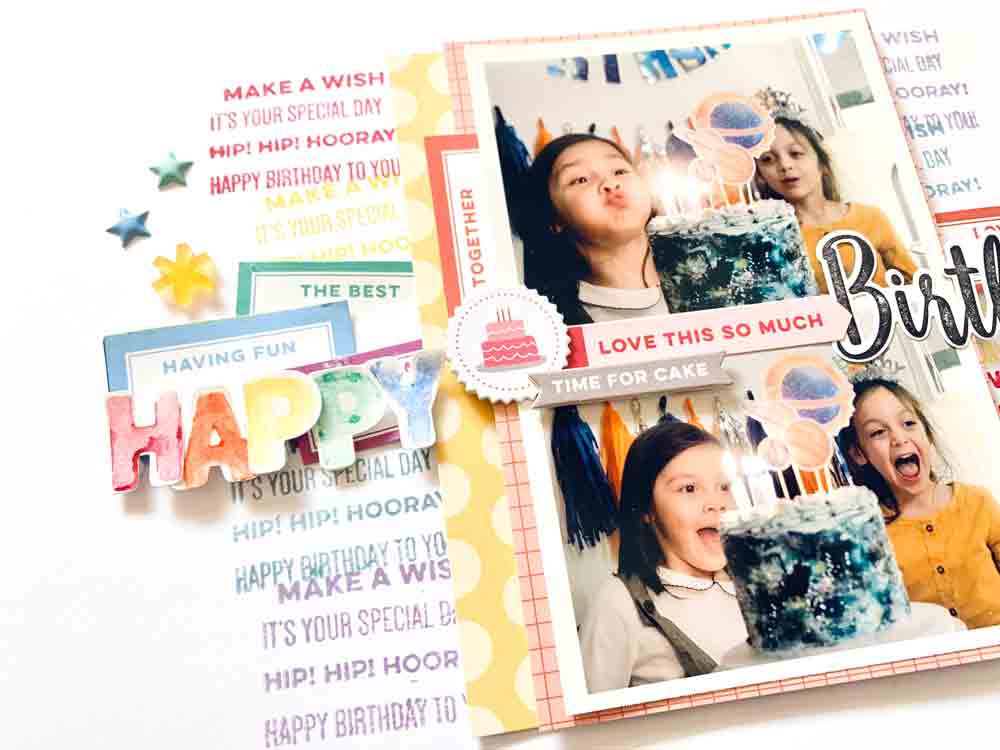
Here’s how I used the sentiments on the Make a Wish Stamp to create a fun layout.

Supplies | March 2021 Kit, March 2021 Labels, Happy Birthday Chipboard Stickers, Tiny Shapes and Dots Puffy Stickers – Cool Tones, Acrylic Balloons and Presents, Celebrate 6 x 8.5 inch Paper Stack, Make a Wish Stamp, Parker Alphabet Stamp, Make a Wish Metal Die, Parker Alphabet Metal Die, Daily Tabs Stamp
I always love the sentiments and phrases on my stamp sets, but I’m not much of a card maker. Thus, I don’t get around to using those little stamps as much. No fret! When there’s a will, there’s a way. I wanted to give them some extra love this time around, so here’s what I did:
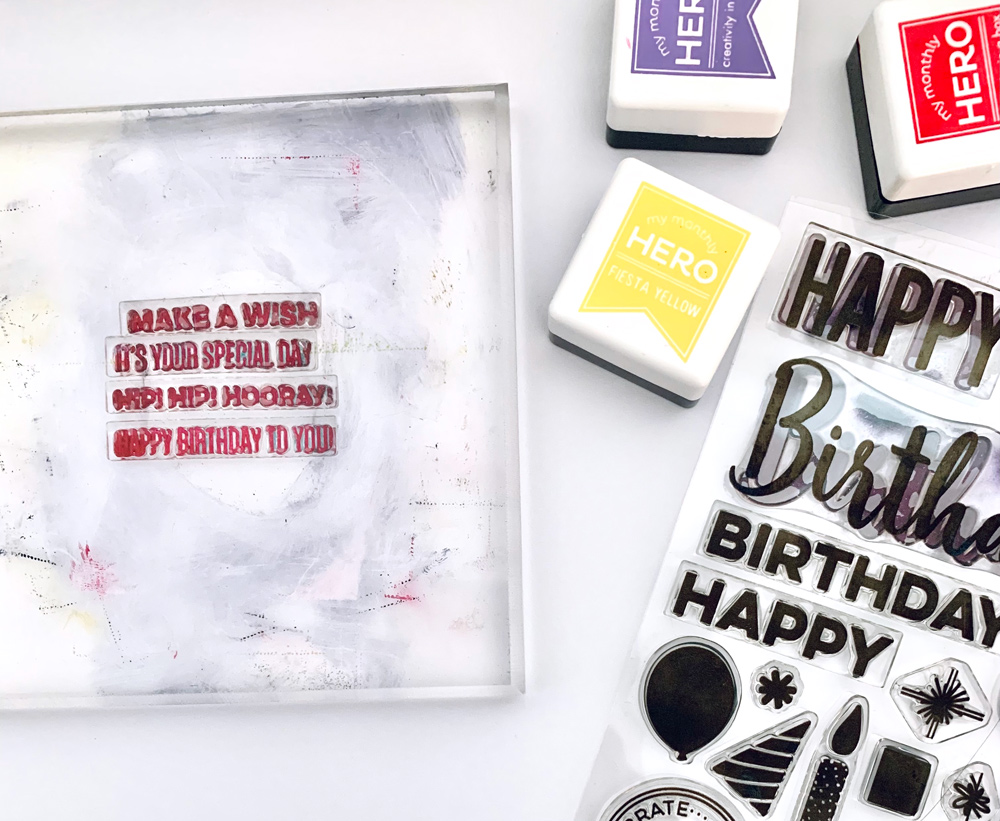
I lined the stamps right up and pulled out some coordinating ink pads.
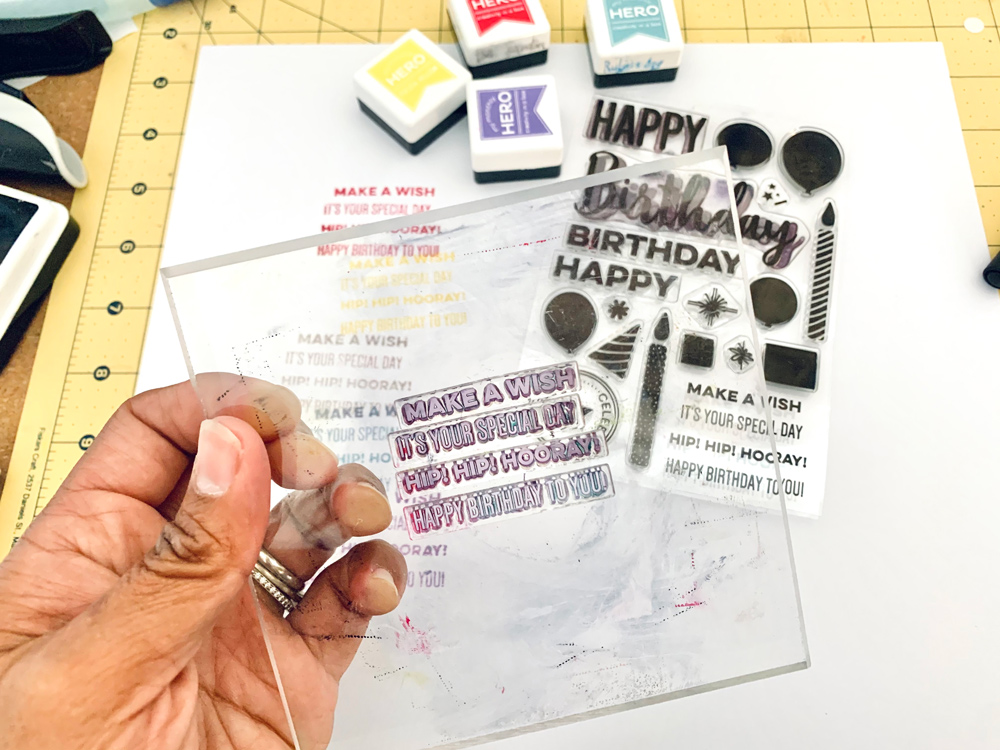
Then, I went to town with it. I didn’t bother trying to keep everything aligned to my 12″ x 12″ cardstock paper. I knew I wanted to create a layering look, so I freely stamped on my paper.
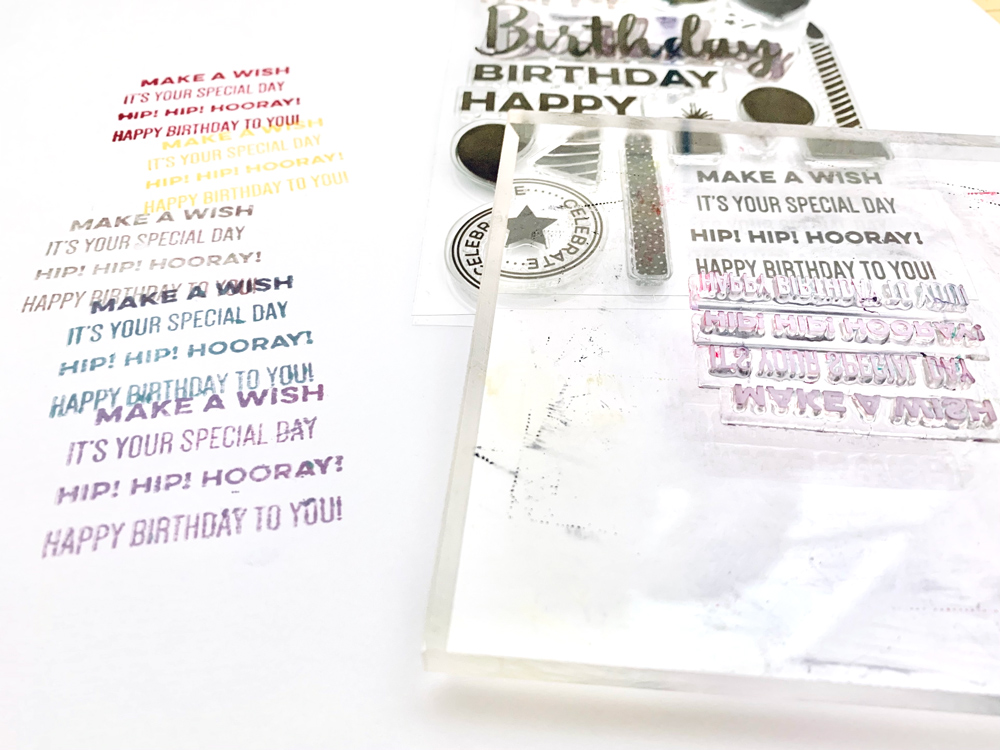
After repetitively stamping the sentiments on my cardstock in various colors, I embellished right on top of it with papers from the Celebrate Paper Stack and some Happy Birthday Chipboard Stickers.

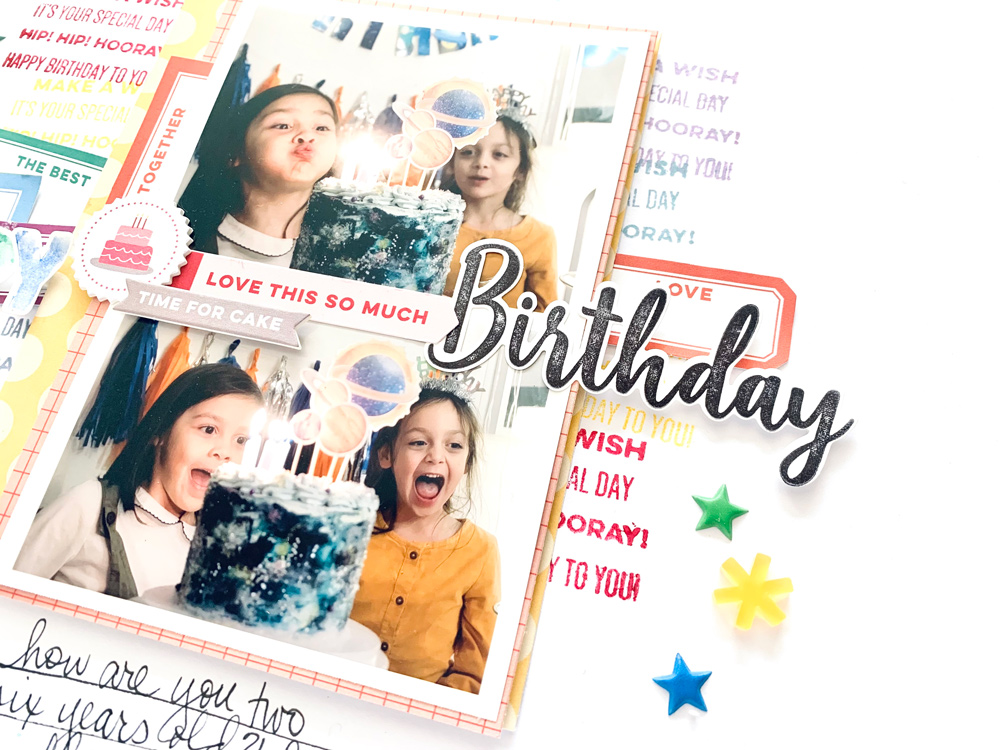
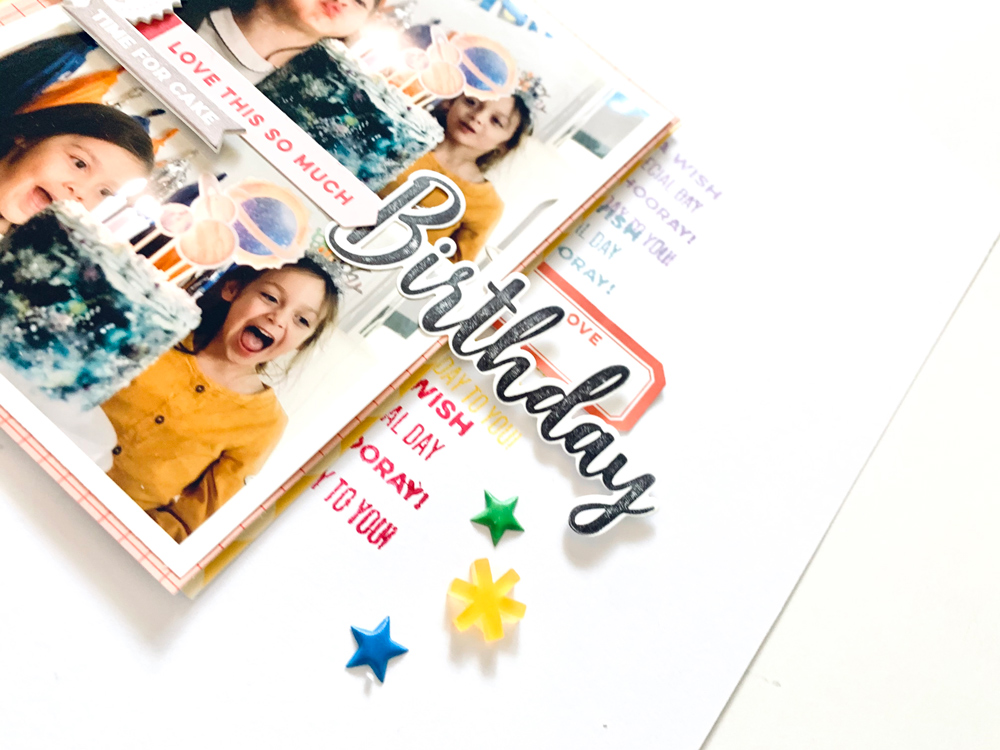
For the “HAPPY” in my title, I decided to stamp with watercolor using the Parker Alphabet Stamp.
The how-tos: basically, you just brush a little bit of watercolor right onto your stamp. Then, you stamp as you normally would.
Both “HAPPY” and “Birthday” were stamped and then cut out using their coordinating metal dies. Hooray for matching stamp and die sets!
My favorite part about creating this layout was using the sentiments in various colors to create a unique background. The possibilities are endless when you think about all the ways you can arrange your stamps to create backgrounds for your projects.
That’s all I have for today. What’d you think? We’d love to see how you use your stamps! Join us, and please do share your projects with all of us at our Elle’s Studio Facebook Group or on Instagram using the hashtag #EllesStudio.
And as always, thanks for letting me share my work with all of you!