Hello, Elle’s Studio friends! I am so excited for Elle’s Studio turning 14 and creating so many amazing products for us to also celebrate through our memories! One fun new product from the March release is the Make a Wish Stamp. It has so many amazing images. Today, I will walk you through a traveler’s notebook 3″ x 4″ pocket page spread using it to create my own custom tags. I also have a process video to share with you at the end of this post, so let’s start!
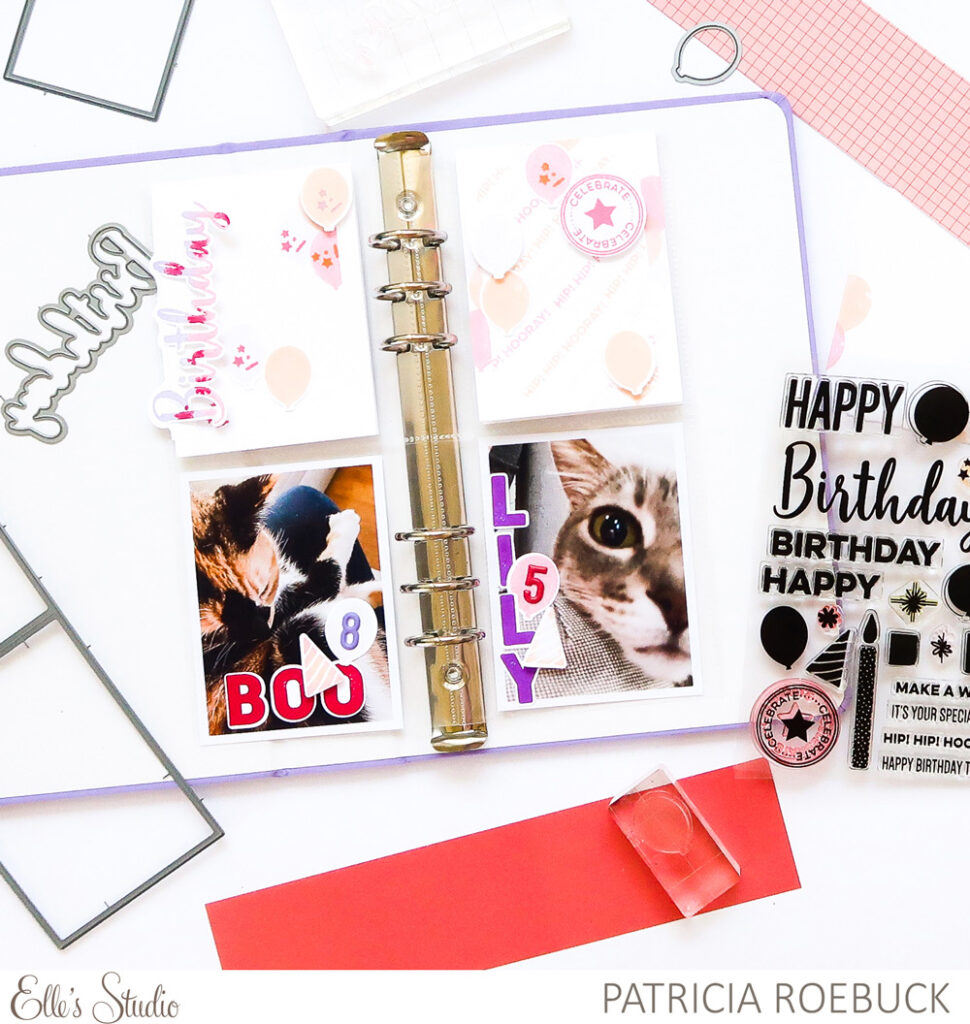
Supplies | Red Puffy Alphabet Stickers, Purple Puffy Alphabet Stickers, Make a Wish Stamp, Parker Alphabet Stamp, Good Times Tab Stamp, Mini Dated Stamp, Noted Vol. 3 Stamp, Make a Wish Metal Die, Parker Alphabet Metal Die, Pocket, Frame, and Flip Up Metal Die
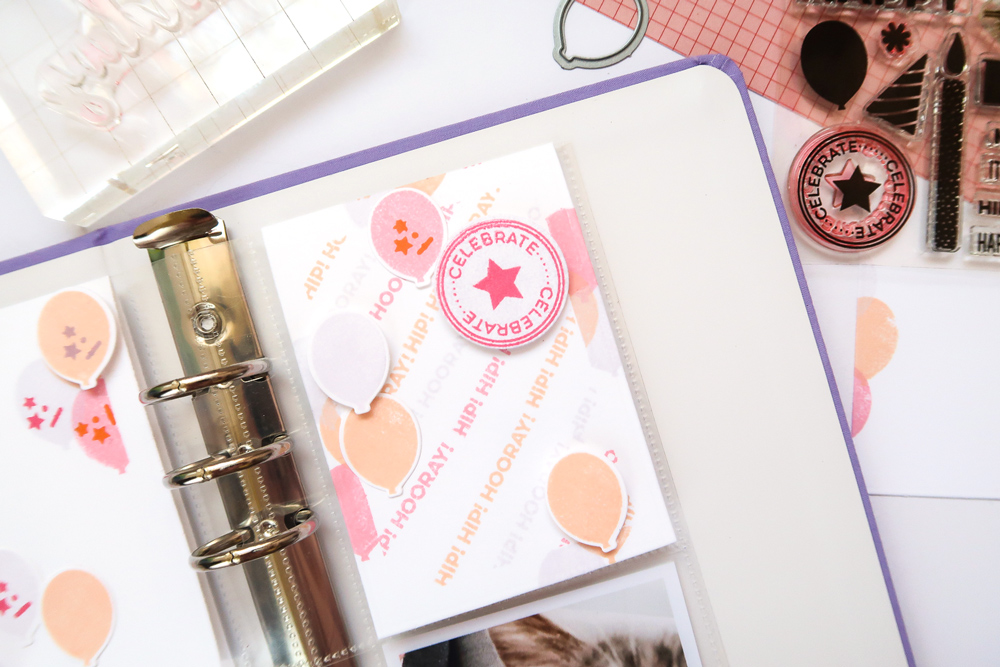
For this pocket spread, I wanted to create my own customized tags using the Make a Wish Stamp, but I also wanted to add journaling, so I used the Pocket, Frame, and Flip Up Metal Die to cut a folding tag from white cardstock. I used that same metal die set to cut out the smaller 3″ x 4″ rectangles and then I die cut again, using the negative of that metal die, being sure to trim the outside to fit my 3″ x 4″ tag. I used both of these cuts as masks. Trimming the negative to 3″ x 4″ allows me to see where I place it on my customized tag as I stamp.
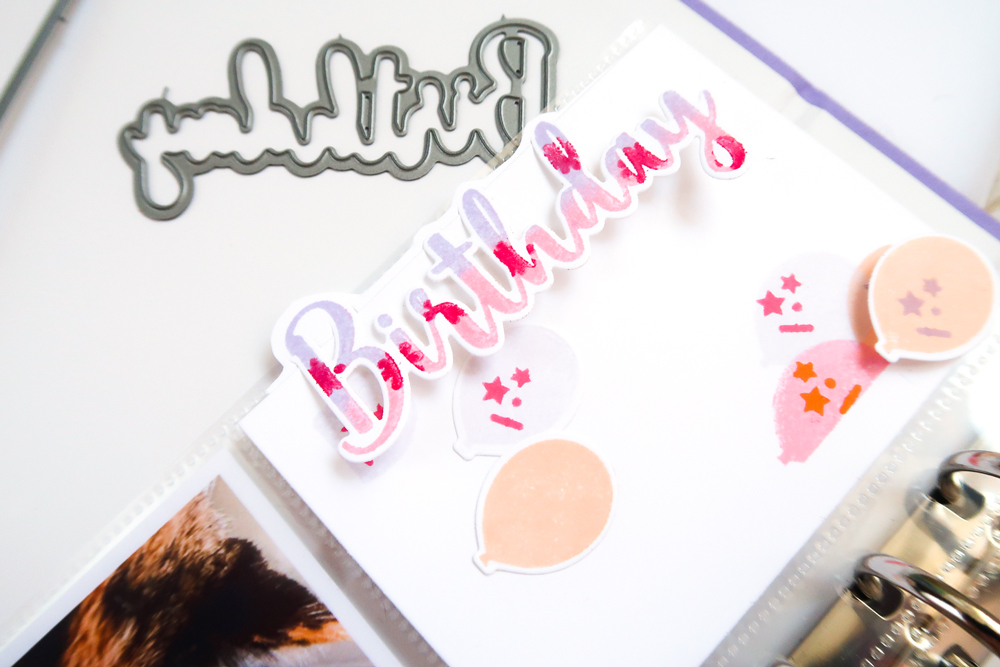
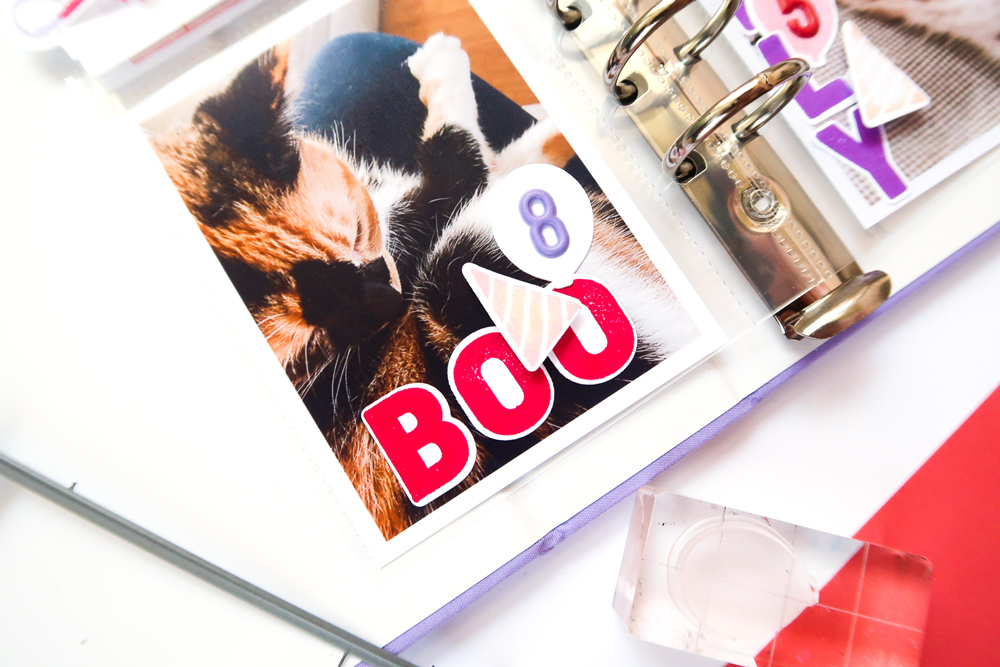
I wanted these two customized tags to be different. I used the masks to stamp one with the balloon images, giving me a look of balloons floating in front or behind. I used the negative of the metal die to stamp the sentiment “hip! hip! hooray!” on one of the tags in addition to the balloons. To add enough color without being too bold, I chose peach, lavender, and pink ink. To use the “birthday” sentiment image, I needed to use it vertically to fit my 3″ x 4″ pockets. To get the multicolored effect, I inked the image with two inks, then used the asterisk image from the Make a Wish Stamp in the third ink color and stamped directly onto the inked image before stamping. This technique is known as the ‘kissing’ method. I used the coordinating Make a Wish Metal Die to do a partial cut and attached this to the left of my first customized card.
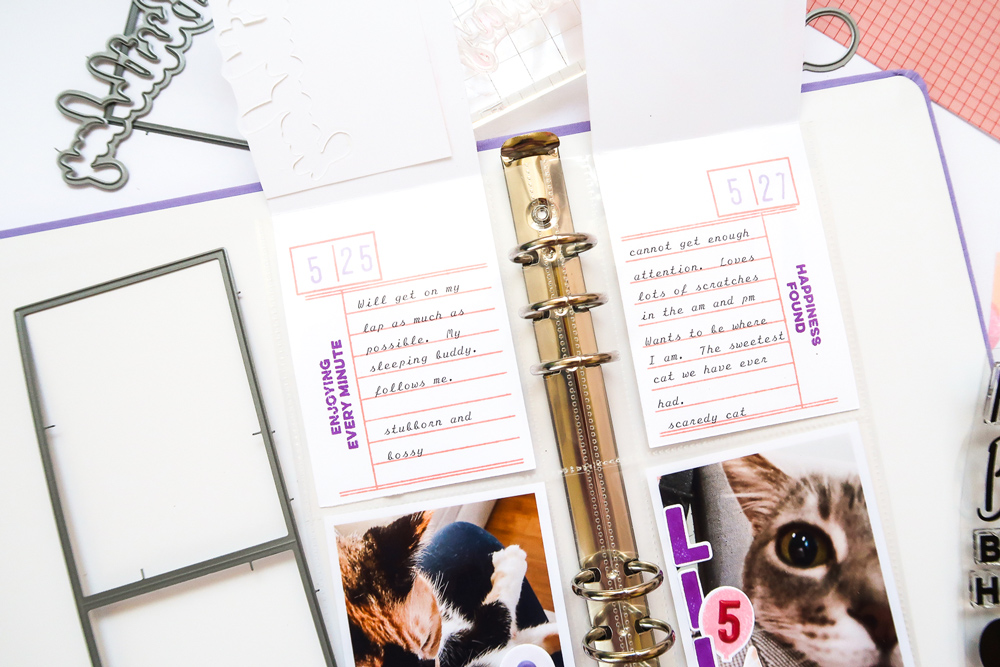
With the front of my customized cards stamped, I stamped the inside using the Noted Vol. 3 Stamp to add my journaling to the inside of each card.
As you can see, I used the Make a Wish Stamp to celebrate the birthdays of my fur babies. The stamp set really is perfect for all of our loved ones and friends. I hope you are inspired to grab this stamp to create your own customized tags using the masking technique, multiple inks, the kissing method (stamping or pressing another image to the inked image), and also grabbing the coordinating Make a Wish Metal Die to create a partial cut for a fun and quick way to use in your 3″ x 4″ pockets!
To take a closer look into my process, you can watch the video below.
Thanks so much for stopping by, and have fun stamping!

If you love this stamp as much as Patricia does, be sure to share what you create with it! Post your project to Instagram using the hashtag #EllesStudio, or share in our Elle’s Studio Facebook Group!