Hello to beautiful March my friends! It’s Michelle here today, and I am sharing a layout using the fun February 2021 Cut Files and the February Print and Cut Labels. I love hybrid scrapbooking and using digital files on my layouts or in my pockets. The best part about these digital files is that we get to use them over and over again and your creativity truly has no bounds! I used the February 2021 Cut Files several times this month already, and today I am excited to show you how I used them in yet another way to create this layout:
Supplies | February 2021 Kit, February 2021 Cut Files, February Print and Cut Labels, Happy Little Moments Chipboard Stickers, Dark Red Puffy Alphabet Stickers, Tiny Acrylic Hearts, XOXO 6 x 8.5 Inch Paper Stack, Hugs and Kisses Stamp, Pocket, Frame, and Flip Up Metal Die, Fa La La 6 x 8.5 Inch Paper Stack
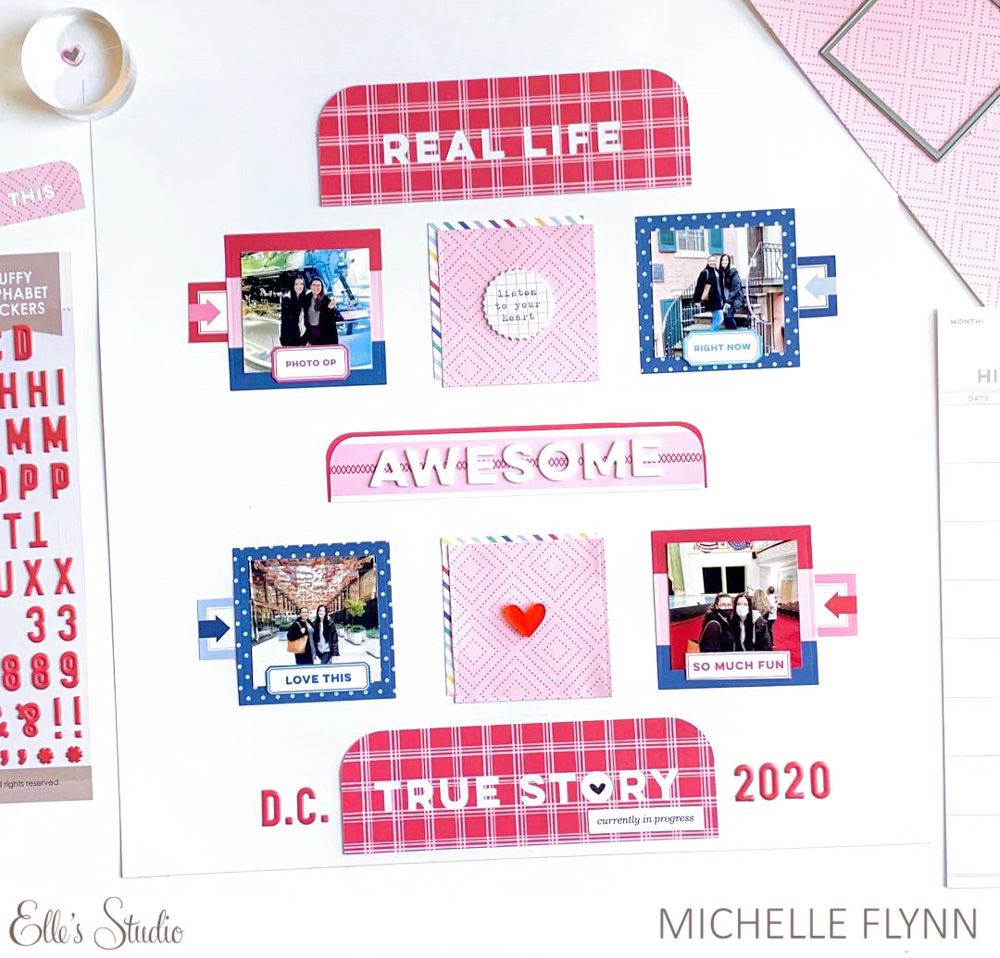
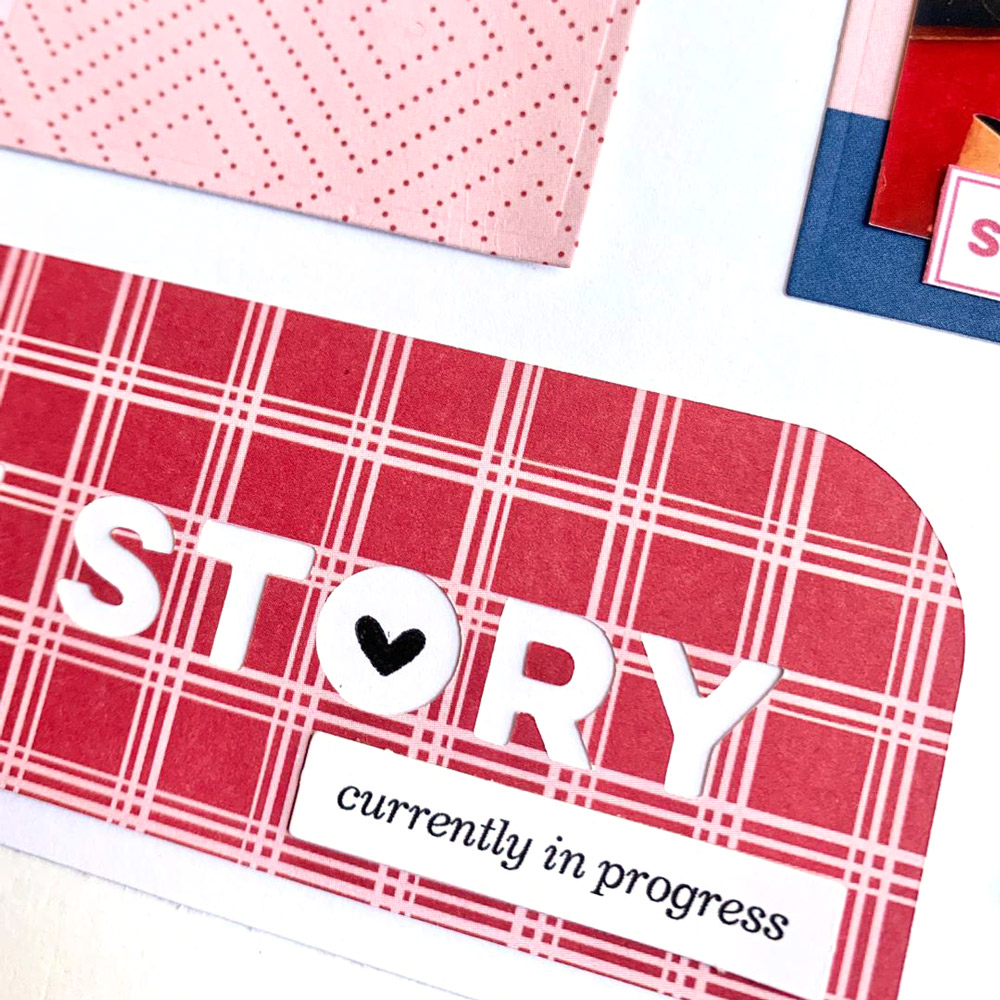
I documented this special day of my daughter meeting a close social media friend for the first time in D.C. and the “real life” and “true story” tabs from the February 2021 Cut Files were absolutely perfect to document this sweet story! The girls took so many photos that I wanted to document their time together using a grid-based design which would allow me to incorporate more photos in the layout—always a big win for me! Once I decided on the grid design, I knew I wanted these cut files to frame the top and bottom of the photo grid and be the focal point. I chose that gorgeous red patterned paper from the XOXO Paper Stack and cut the designs to 5.54″ x 1.793″. I really like the boldness they added to the top and bottom of the layout. I couldn’t help but add that perfect die cut “currently in progress” from the February Kit to the corner of the bottom title tab and I stamped a heart into the “O” of the True Story title using the Hugs and Kisses Stamp. I really love the way it turned out.
Moving on to the photo grid, I chose a different assortment of the amazing papers from the XOXO Paper Stack and I used the Pocket, Frame, and Flip Up Metal Die to create the small square grid frames to hold my photos and embellishments. Once I ran the paper and dies through my die cutting machine, I adhered my photos to four of the paper grids and layered two of the grids with just paper to embellish them a bit later. I downloaded the colorful and fun February Print and Cut Labels and chose a few to adhere to my photos, tucking the others away to use on my next layout! To complete the photo grid, I grabbed those super fun February Labels and cut a few out to tuck those into the sides of each photo frame.
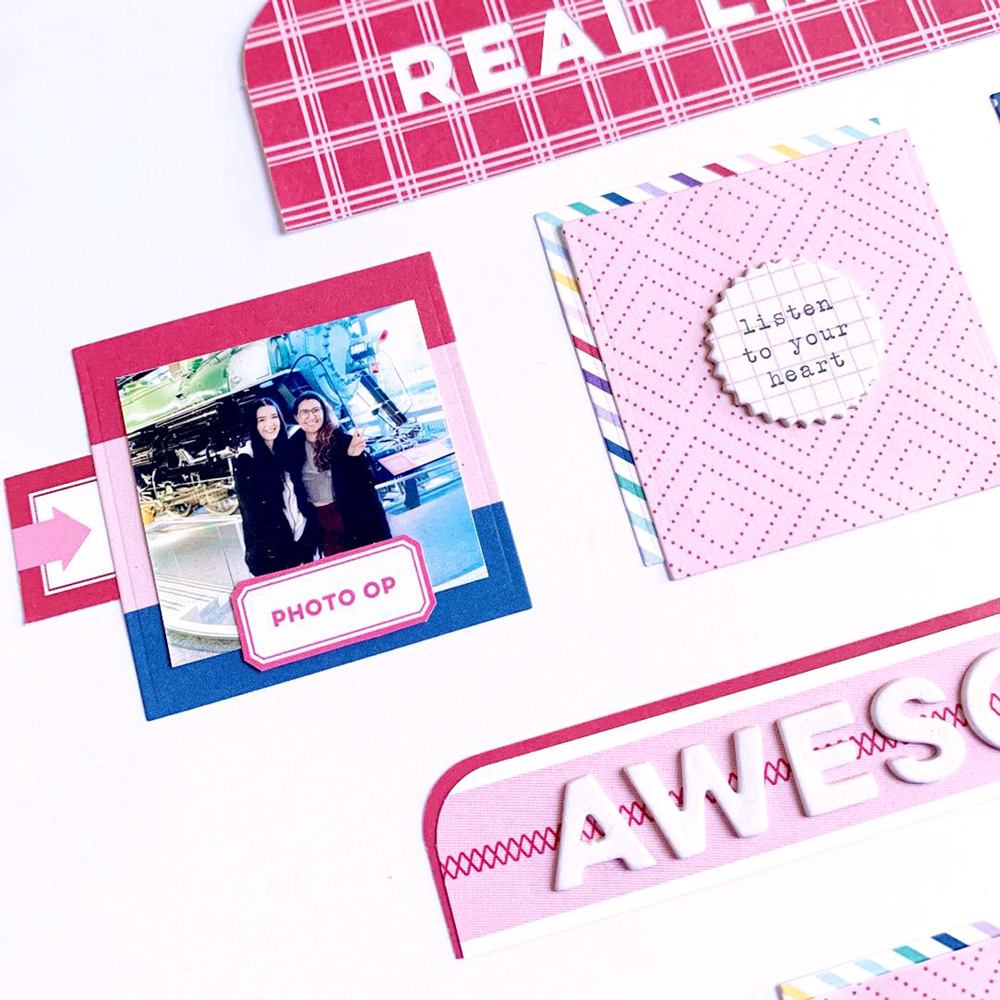
To wrap up this layout, I used that gorgeous red Tiny Acrylic Heart and a Happy Little Moments Chipboard Sticker for the center of the grid. I wanted a middle title to break up the grid and chose that Happy Little Moments Chipboard “awesome” word for some emphasis in the middle of the layout and to complete my title. The title actually reads top to bottom, “Real Life – Amazing – True Story” because it truly was just that! Last, but not least I couldn’t complete this layout without adding the location and date at the bottom using those adorable Dark Red Puffy Alphabet Stickers.
Thanks so much for sharing your time with me today! I can’t wait to see what you create using the February 2021 Cut Files and all of the other beautiful February add-ons in the shop! Don’t forget to share your creativity using the #ellesstudio hashtag on Instagram and in the Elle’s Studio Facebook Group! Until next time, happy creating my friends!
