Hi, Elle’s Studio friends! Today I want to walk you through two unexpected ways to use the new Good Times Tab Stamp in a traveler’s notebook. This stamp set is so useable and practical for documenting, giving you the options of phrases as well as tabs to create, but let’s give a more creative perspective in using this stamp set today!
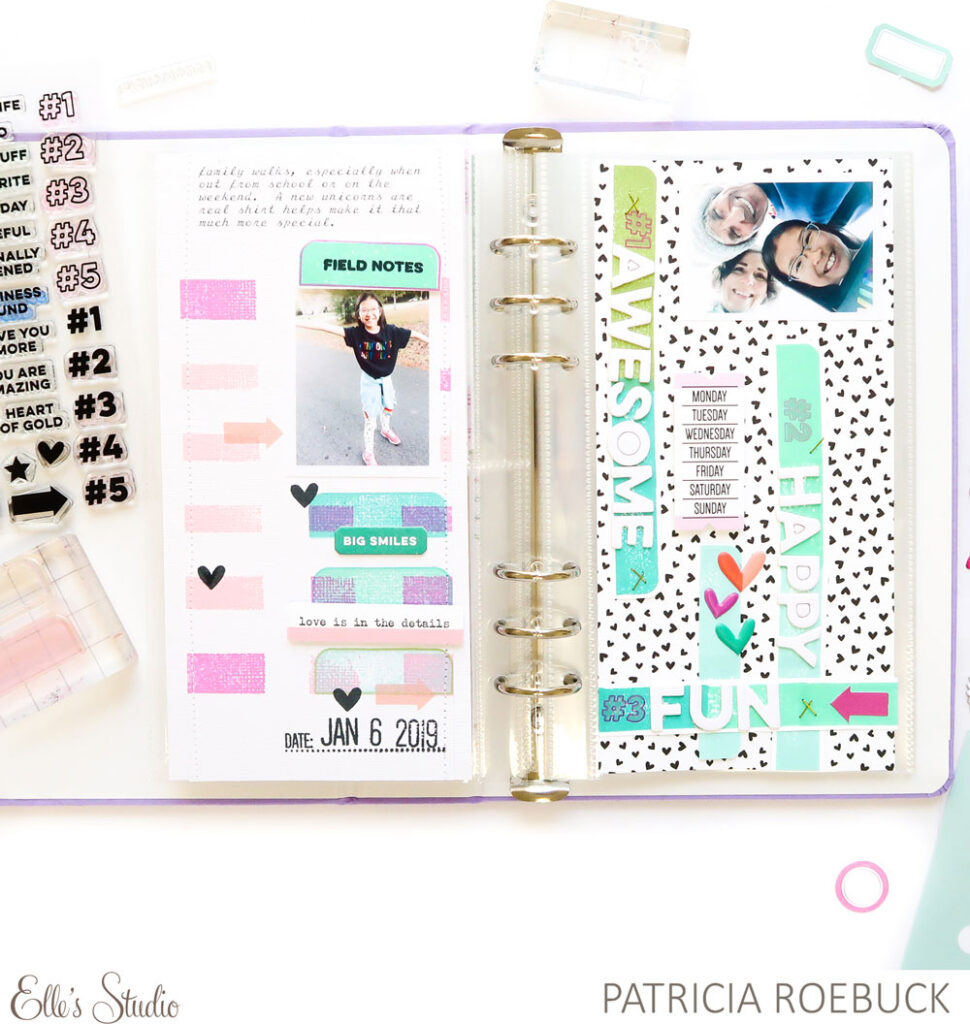
Supplies | February 2021 Kit, Happy Little Moments Chipboard Stickers, Puffy Heart Stickers, XOXO 6 x 8.5 Inch Paper Stack, Good Times Tab Stamp, Mini Dated Stamp, Everyday Tabs Vol. 2 Metal Die
I love the solid and outline version of the tab images in this set, and as you can see, I’ve used it as intended with the phrase ‘field notes’ above my main photo, using the Everyday Tabs Vol. 2 Metal Die to cut it out. I’ve also used both of these tab images under my photo which happens to be layered over the same stamp. That first layer on my textured white cardstock is from color blocking using the solid tab image. How I got this look was by using washi tape to create a grid and a mask on my cardstock background, and then used three different shades of pinks. Between the textured background of the cardstock and the washi tape mask, my stamping is imperfect and exactly the look I want. Once that was finished, I added the arrow image in a peach color to add another color to break up the pink inks and add another layer, next, I stamped the heart image in black ink to balance and coordinate with the XOXO Paper Stack, adding contrast to my background.
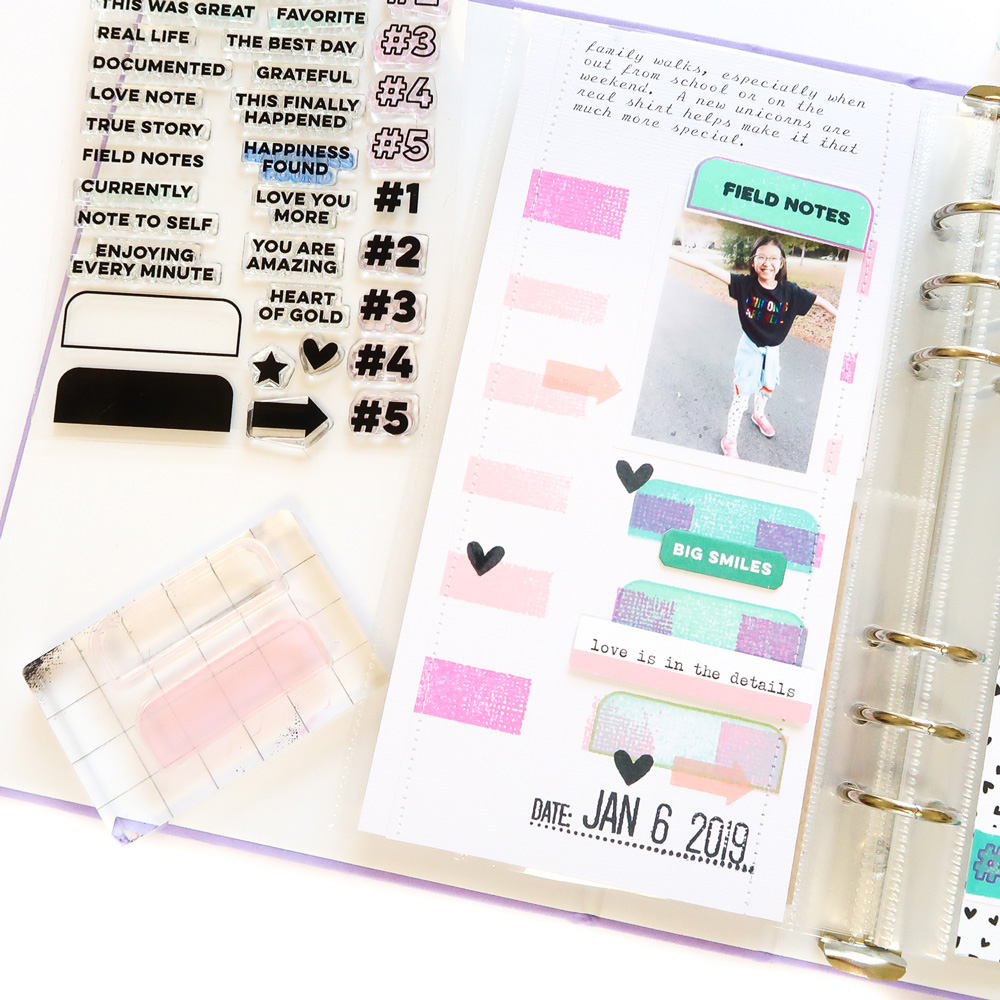
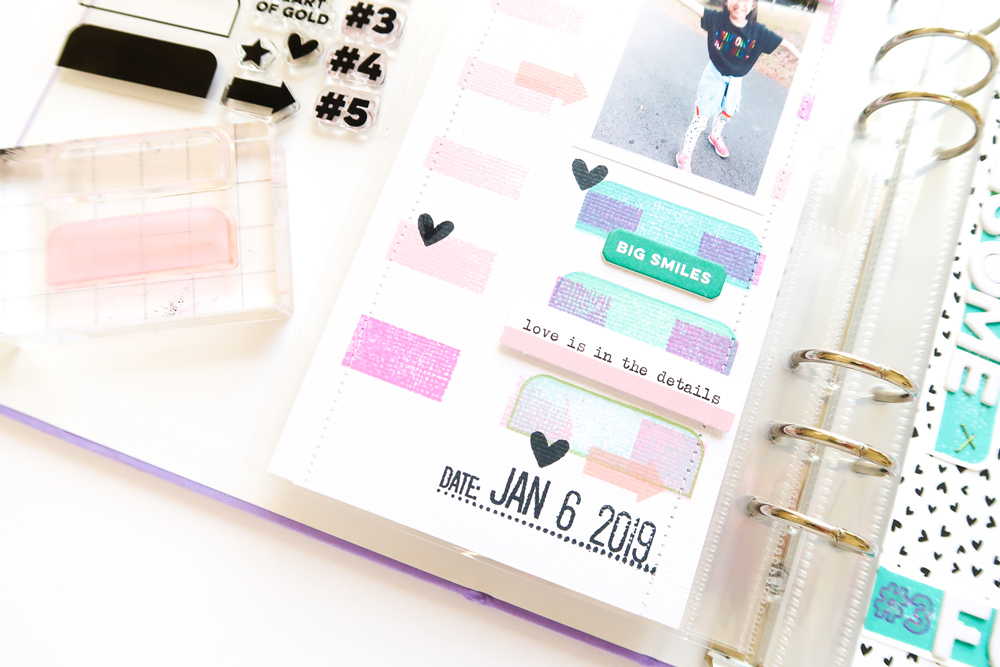
To finish this side, I used the same color inks for the outline tab image that I use on the right side to balance the spread, then added a Happy Little Moments Chipboard Stickers, and February Kit,t die cut, along with my date using the Mini Dated Stamp.
The right side uses the same solid tab image from the stamp set, but extending it to make one large tab in three different shades of green inks for an ombre look. To do this, I used washi tape again, but this time on my actual stamp to mask the corners of the image. For the first stamp, I applied washi to only one side of the image, inked it up, removed and discarded the washi tape, and then stamped. To get the extended look of the tab next, I applied washi tape to both sides of the stamp image to get just a rectangle, inked it up, removed and discarded the washi tape, and then lined up to my first image and stamped. I repeated this depending on how long I wanted my tabs. After I finished, I trimmed them out leaving a white border around them.
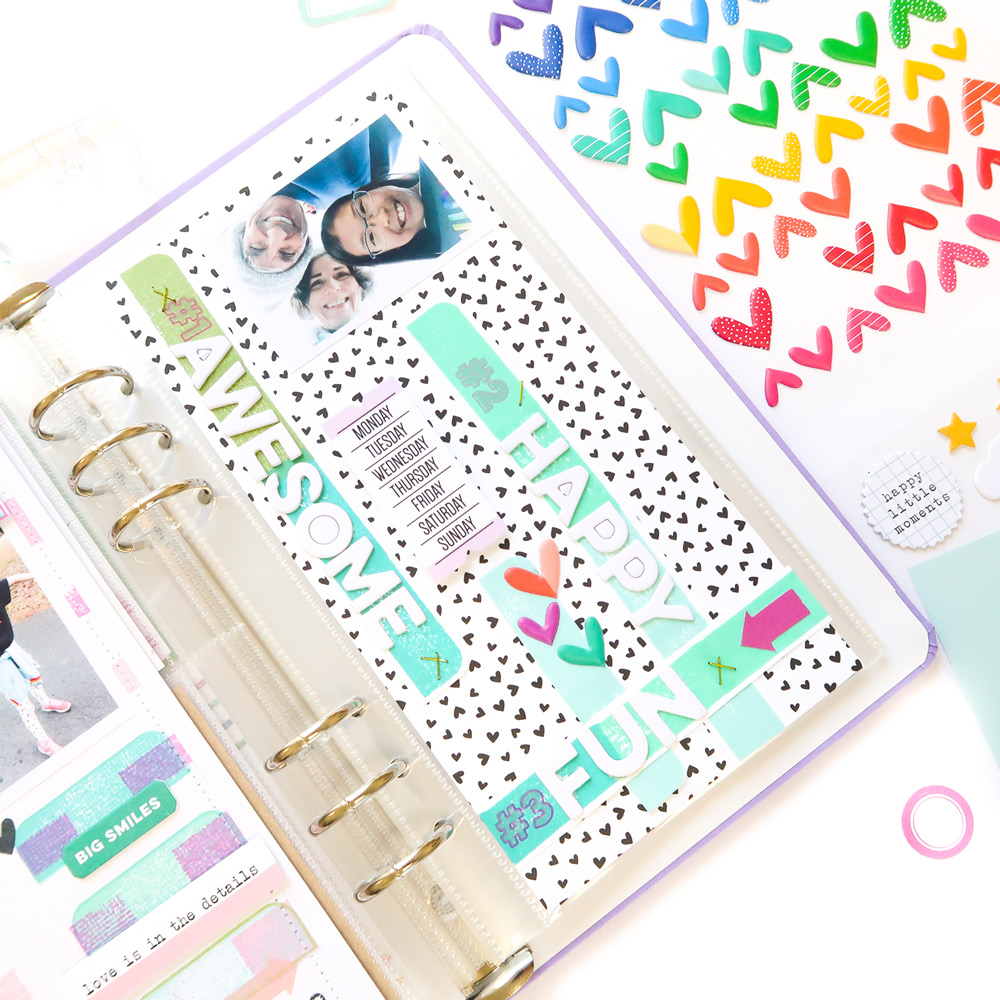
These long tabs can be used as is and would give a folder look to your project, but since I created the blocking look on the left, I loved the movement it created with lines, so I layered my fussy cut stamped images going vertically with three of them and horizontally with another, trimming where needed over the black and white heart XOXO Paper Stack. I used the chipboard words from the Happy Little Moments Chipboard Stickers on each one, and then added the #1, #2, #3 images from the Good Times stamp in both the solid and outline. Be careful stamping colors on top of any colors, as they can change. For the solid number image, I chose grey ink and then used the pink inks for the outline.
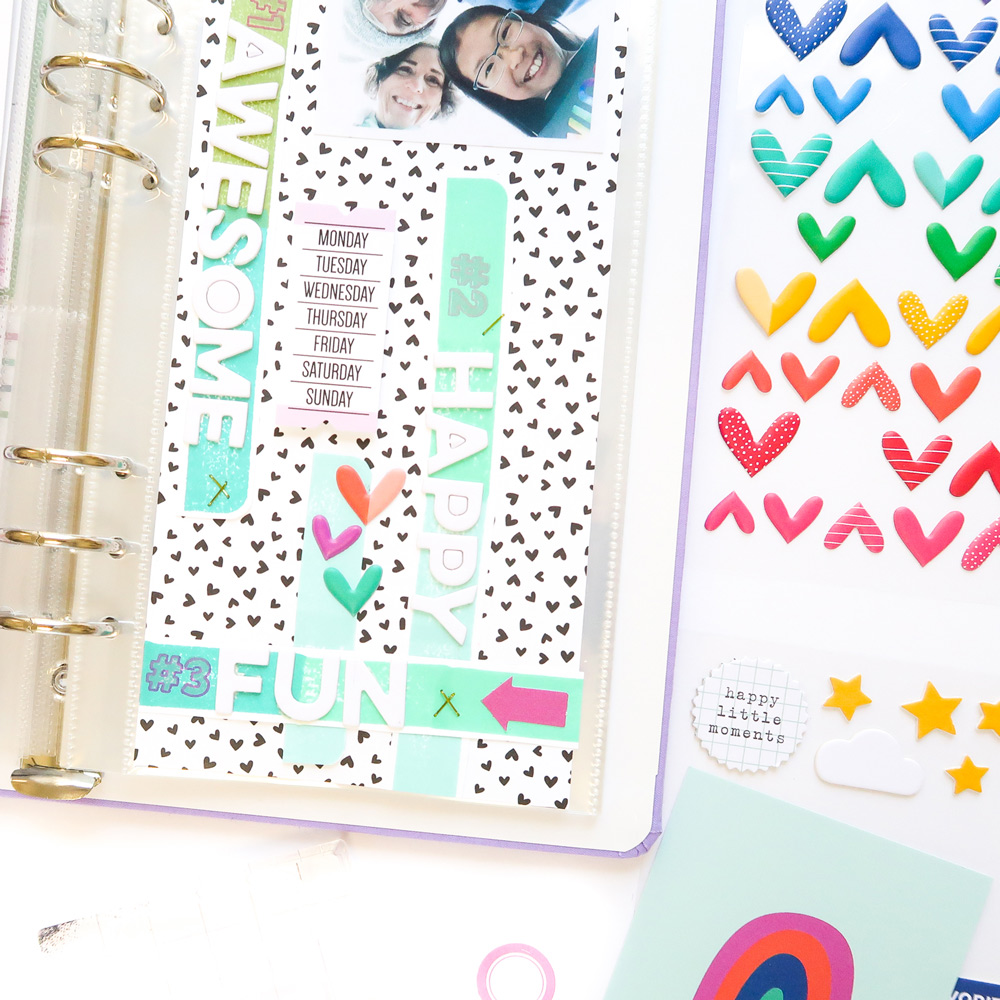
To finish, I added some staples, Puffy Heart Stickers, and a die cut from the February 2021 Kit. My tabs have created a unique grid which gives attention to my photo at the top. What other ways can you think of to use this set? Creating a background for your own tags would look amazing for your pocket pages. If you have never tried masking with washi tape, I hope you give this color-blocking method a try and then extend the tab to make longer ones, or, use them in creative ways on your next project! Have fun!

