We are so excited to celebrate our 14th birthday with you this month, and this week, our design team is joining in on the fun with a week of birthday-themed projects! From cards to gift ideas, we think you’ll love what they have in store for you! We’re kicking things off today by shaking things up—in card form! Let’s get some great tips from Amanda-jayne Baldwin on how to create shaker cards easily by using our March kit and add-ons!
Hi Elle’s Studio Friends! Hip, hip, hooray, it’s Elle’s Studio’s 14th birthday! Yay! It’s Amanda here, and to celebrate this momentus occasion, I have created a twin set of super fun, shaker cards! Woohoo! Let’s get this party started!

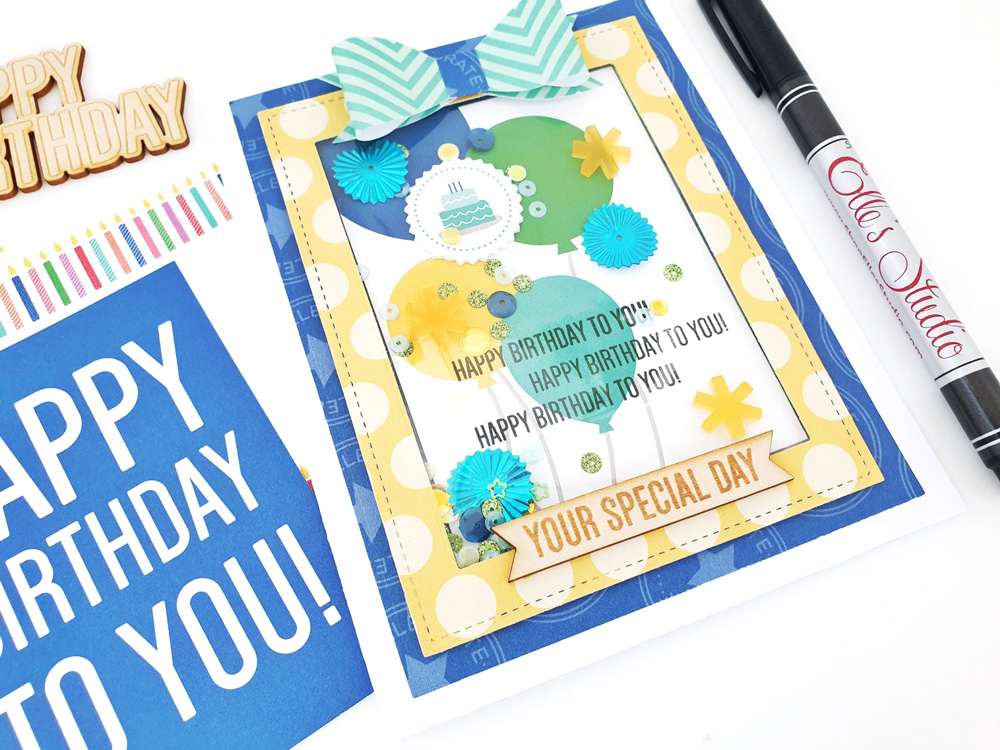
Supplies | Happy Birthday Journaling Tags, Happy Birthday Chipboard Stickers, Happy Birthday Wood Veneers, Acrylic Balloons and Presents, Celebrate 6 x 8.5 inch Paper Stack, Make a Wish Stamp, Layered Card Metal Die, Acrylic Stamp Block 3 x 4 inches
Oh my goodness! How cute ‘n’ fun is this card duo?! Oh, and did you spy my Elle’s Studio pen? All current and new subscribers will receive it with their March Kit subscription—another great reason to start a subscription! Just sayin’!
Let’s take a better look at each individual card…
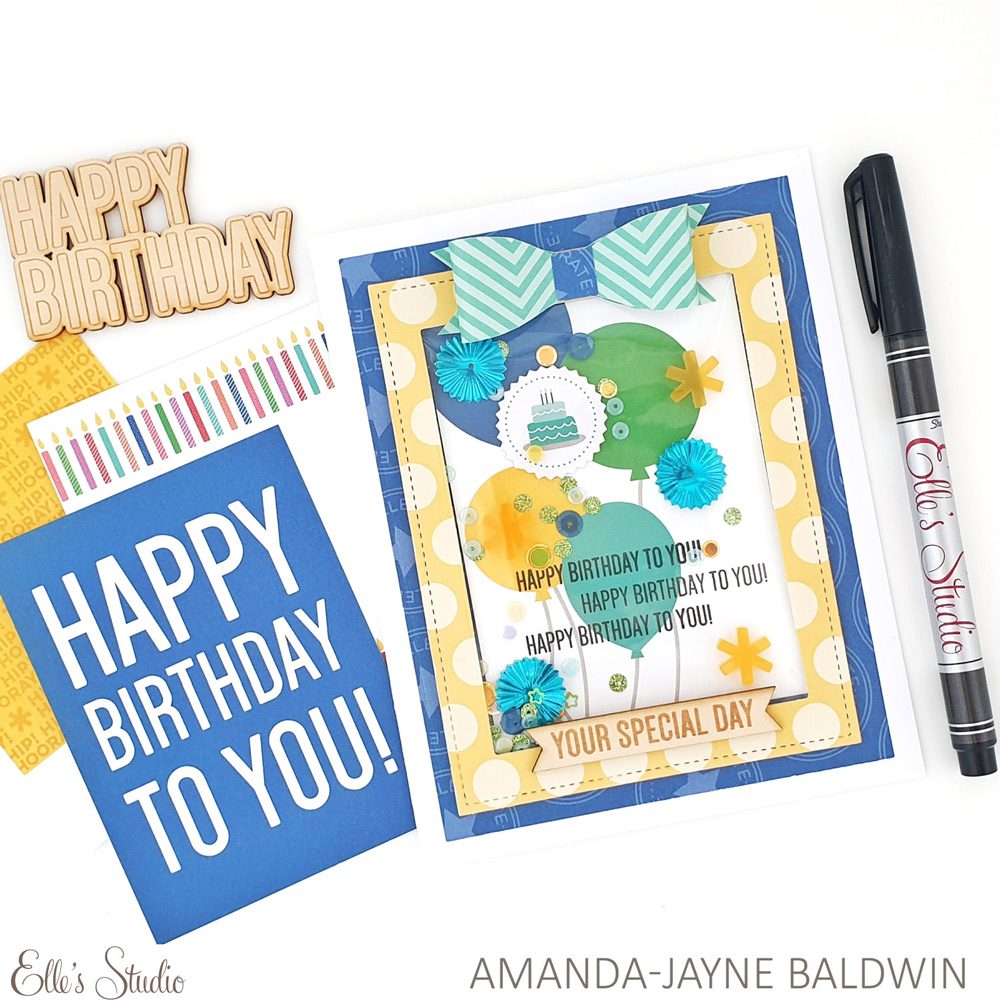
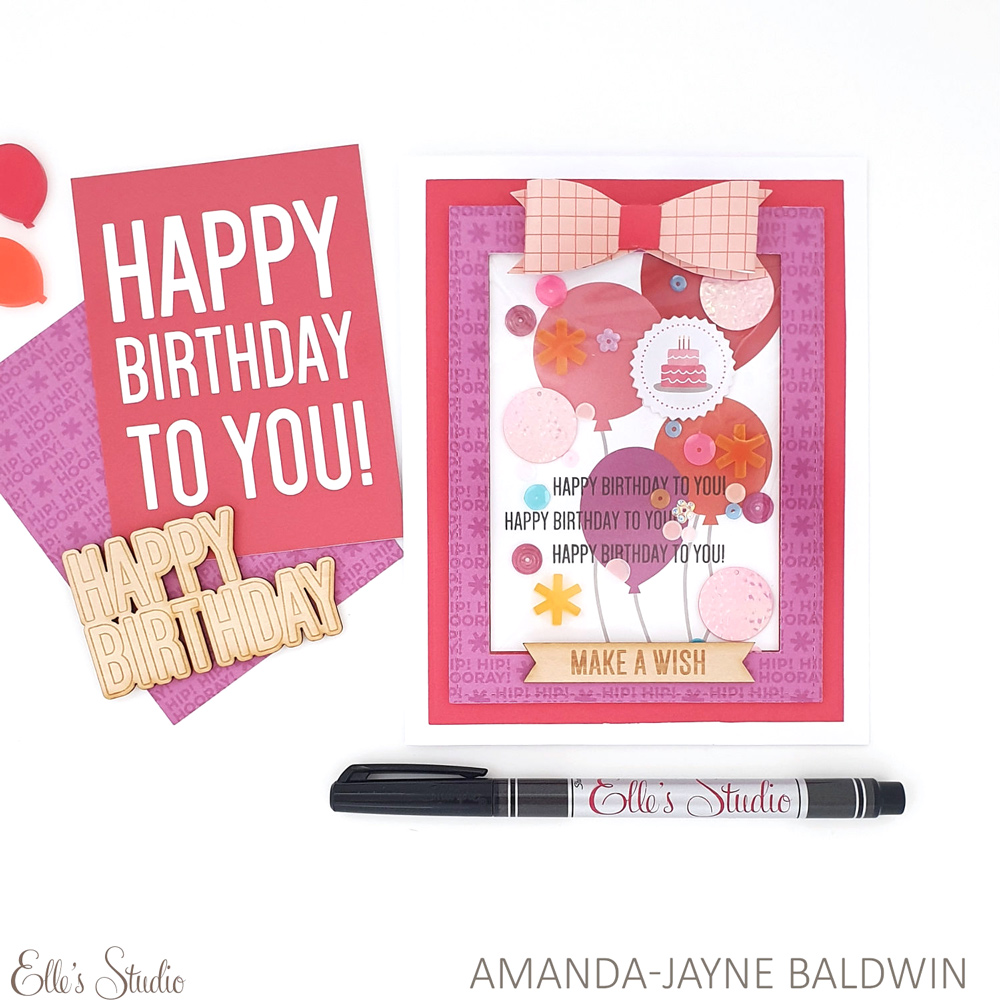
What a fabulous birthday card for someone special! The blue card definitely has my heart, but the purple and red version is pretty awesome too…
So gorgeous! I know, you’re probably thinking that shaker cards are tricky to make, but honestly these cards were really easy to assemble! Elle’s Studio products are cleverly designed to coordinate together—they make creating a dream! Here are my top tips for making these fun cards:
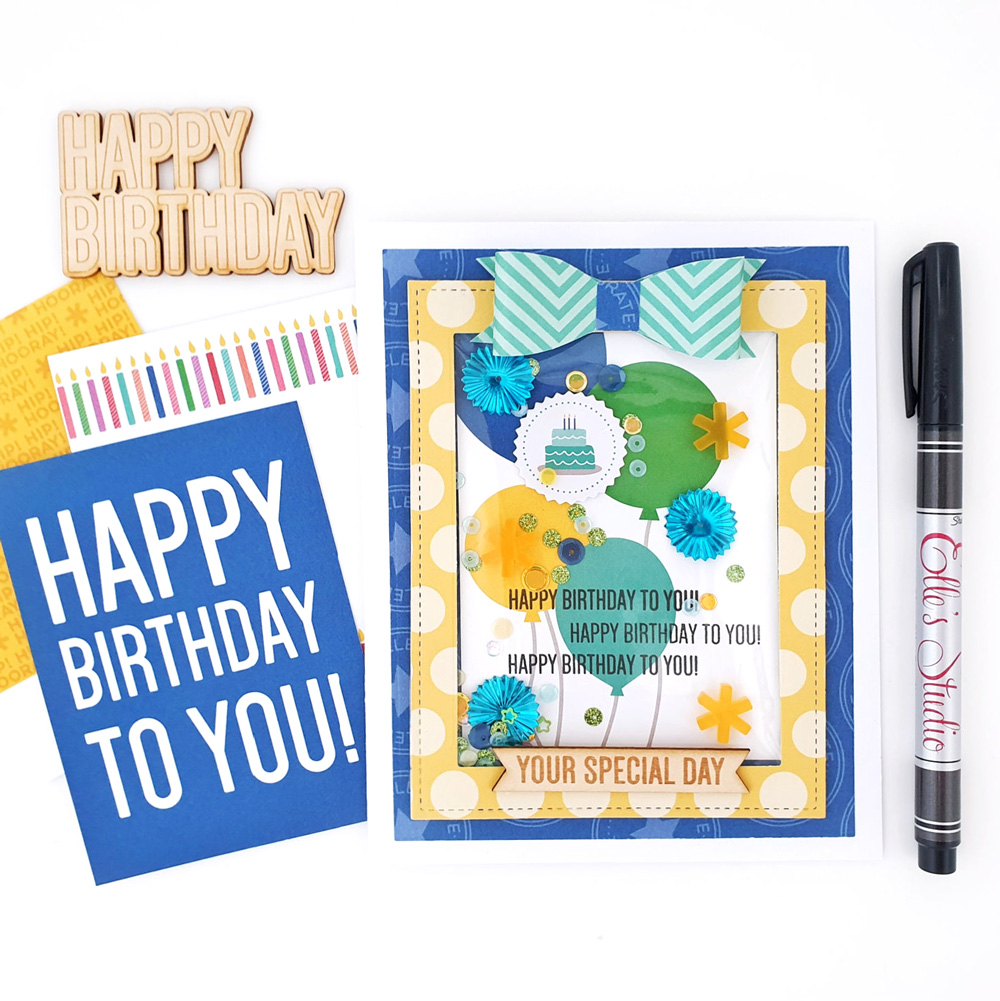
1. Take advantage of the Happy Birthday Journaling Tags! These tags are the perfect base to any layered birthday card design, and are super easy to customize too! I chose the balloons design for both of my cards, personalized them with repeat stamping from the Make a Wish Stamp, and used their colors to dictate my overall color schemes.
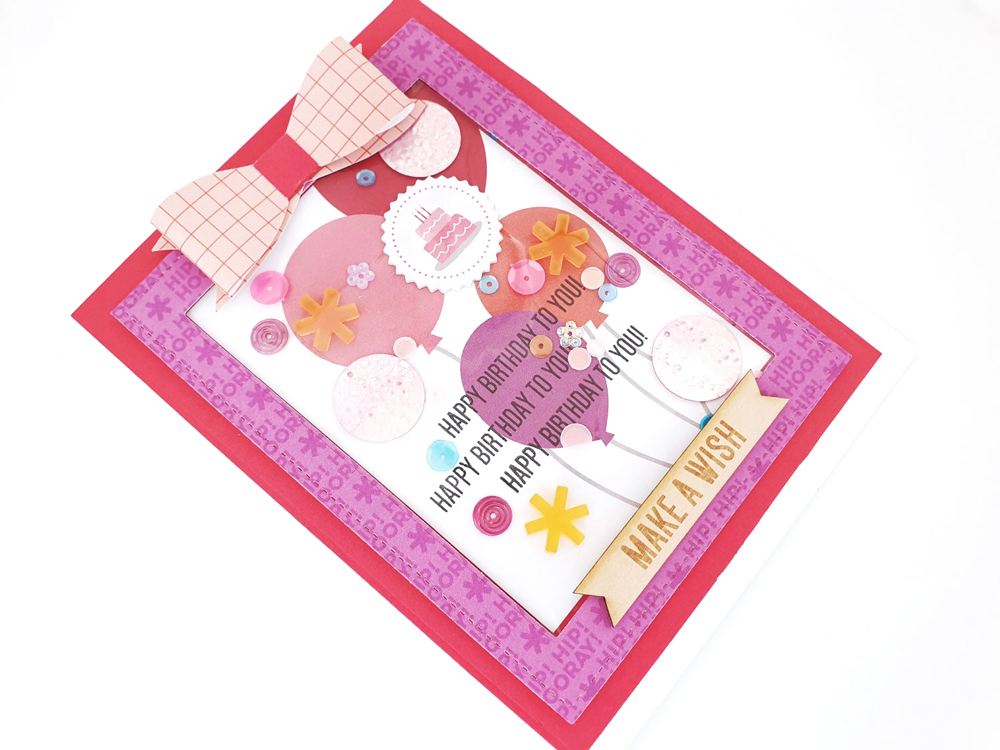
2. Select papers that coordinate with the color palette and theme. I used the new Celebrate Paper Stack to enhance both of my birthday cards. These papers are super cute, and the colors just pop! I even fussy cut some bows out of my papers to add that extra somethin’!
3. Use the Elle’s Studio Layered Card Metal Die! Possibly the most genius metal die ever invented! It ensures that all layered cuts are accurate, plus saves me so much time, and frustration, on measuring and cutting! This die set is so good, it even makes my Elle’s Studio ‘Hall Of Fame’ must-have product list!
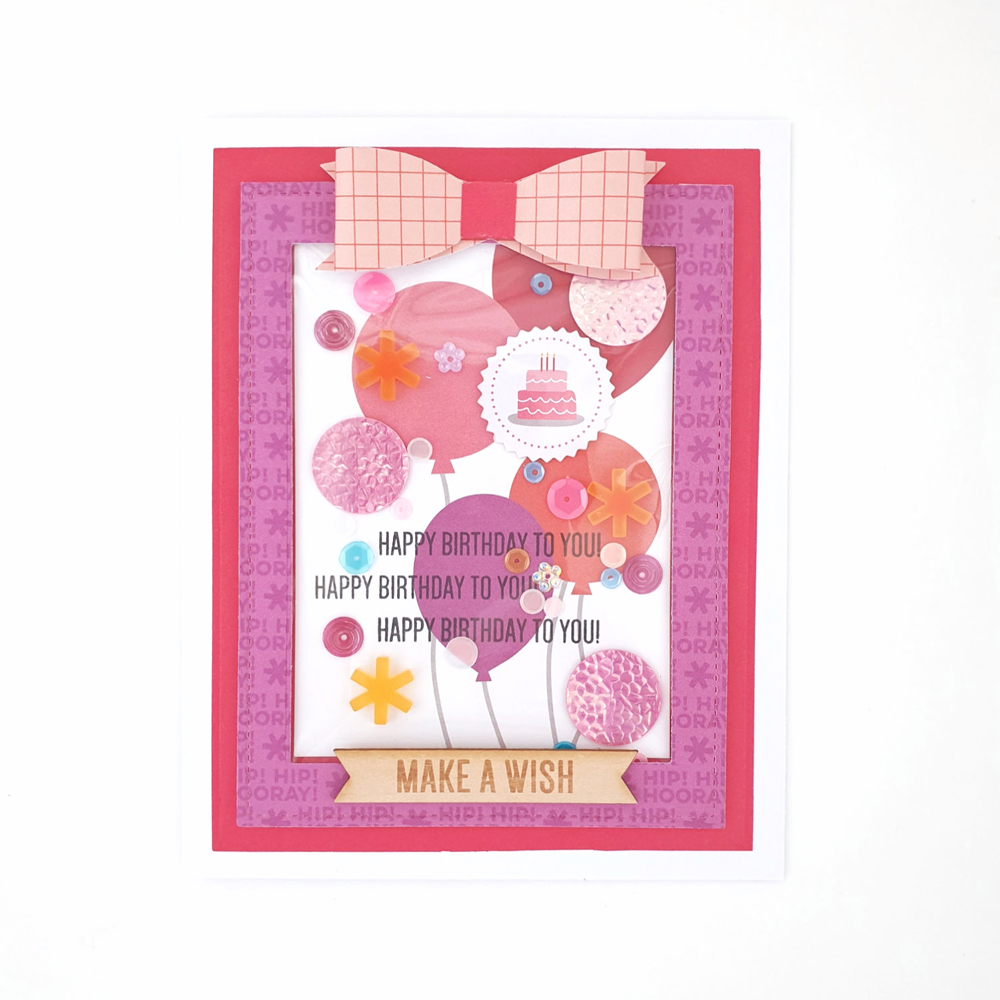
4. Use your old Elle’s Studio packaging to form clear acetate pockets! Such a simple idea, but it really takes the ‘tricky’ out of pocket shakers. I mounted these clear packaging bags onto the back of the layered die cut frames before filling them with a Happy Birthday Journaling Tag and all the sprinkles!
5. Maximize embellishments to create shaker ‘stoppers’. I adhered the Happy Birthday Chipboard Stickers and the balloons from the Acrylic Balloons and Presents to the Happy Birthday Journaling Tag to prevent the sequins and sprinkles from falling straight to the bottom of the card. Super pretty, and purposeful!
6. Last, add a sentiment that is easy to read, despite all the ‘shaking sequins’. The Happy Birthday Wood Veneers were ideal for this: the warmth of the wood cut through all the bright colors, created balance and were easy to see when positioned over the layered frame and shaker pocket.
Simple, easy tips for beautiful birthday cards! I hope my cards have inspired you to give shaker cards a try sometime soon using your new Elle’s Studio March kit and add-ons! Thanks so much for stopping by!

Share your cards with us—shaker or not—by joining our Elle’s Studio Facebook Group and posting there, or sharing your project on Instagram using the hashtag #EllesStudio!
Pingback: Birthday Week March Design Team Inspiration: Volume Two | Elle's Studio Blog