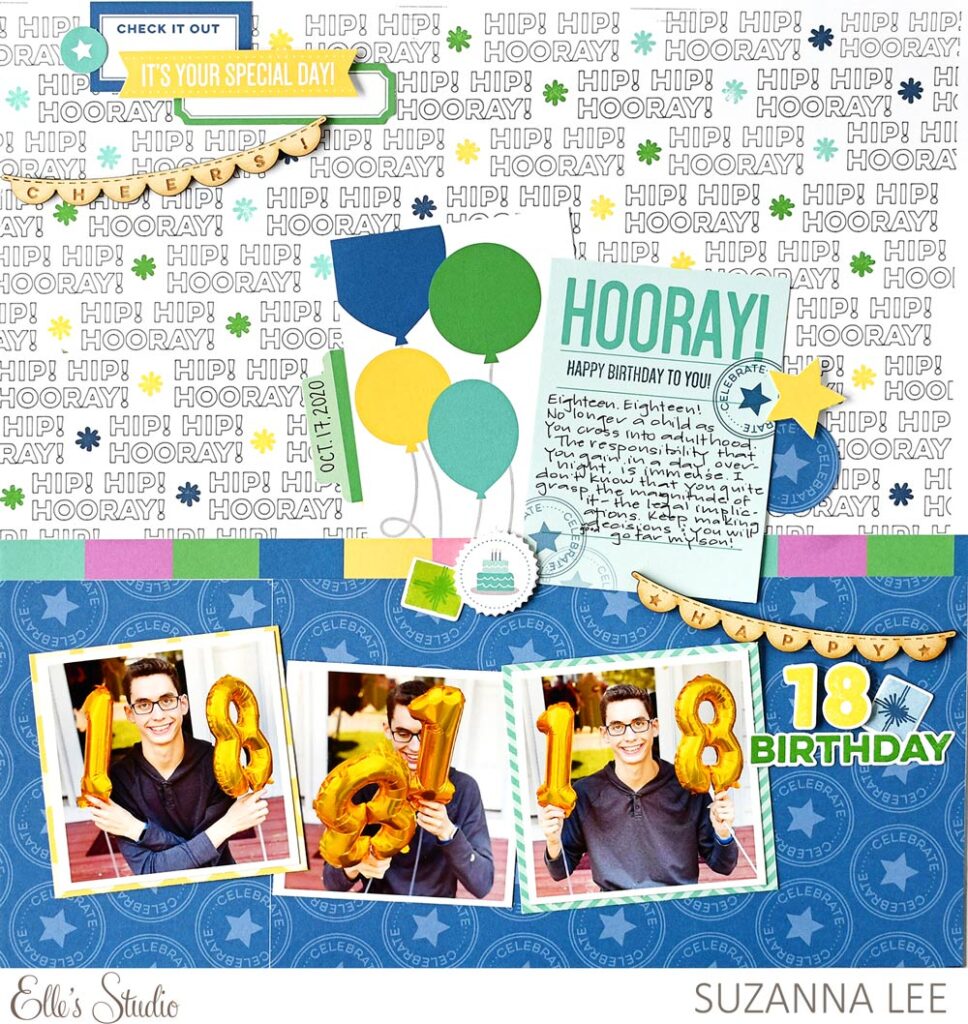
Welcome to day two of our 14th birthday celebration! Today we’re excited to share a new birthday-themed layout from Suzanna Lee, who is sharing some wonderful tips on how to use our March kit and add-ons to really add that “wow” factor to your project! Let’s take a look!
Hiya Scrappy Peeps! It’s Suzanna here today! Elle’s Studio is celebrating a birthday this month and what better way to celebrate than with a super special birthday release! I’m using these fabulous products to document celebrating my son’s 18th birthday.

Supplies | March 2021 Kit, Birthday Cut Files, Happy Birthday Journaling Tags, March 2021 Labels, Happy Birthday Chipboard Stickers, Hooray Wood Veneer Banners, Celebrate 6 x 8.5 inch Paper Stack, Make a Wish Stamp, Parker Number Stamp, Happy Birthday Metal Die, Make a Wish Metal Die, Parker Number Metal Die
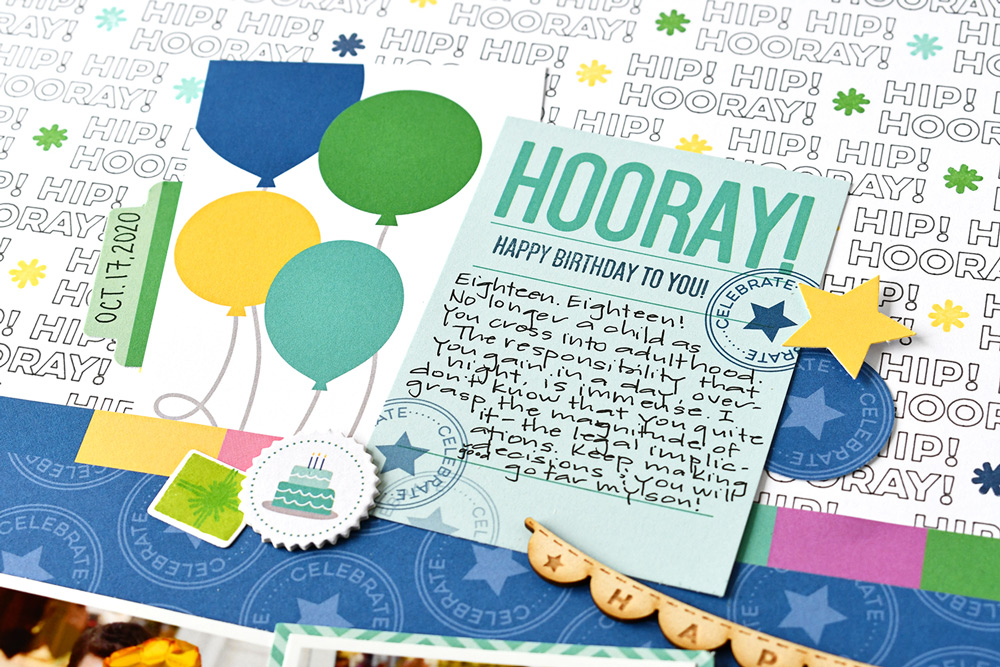
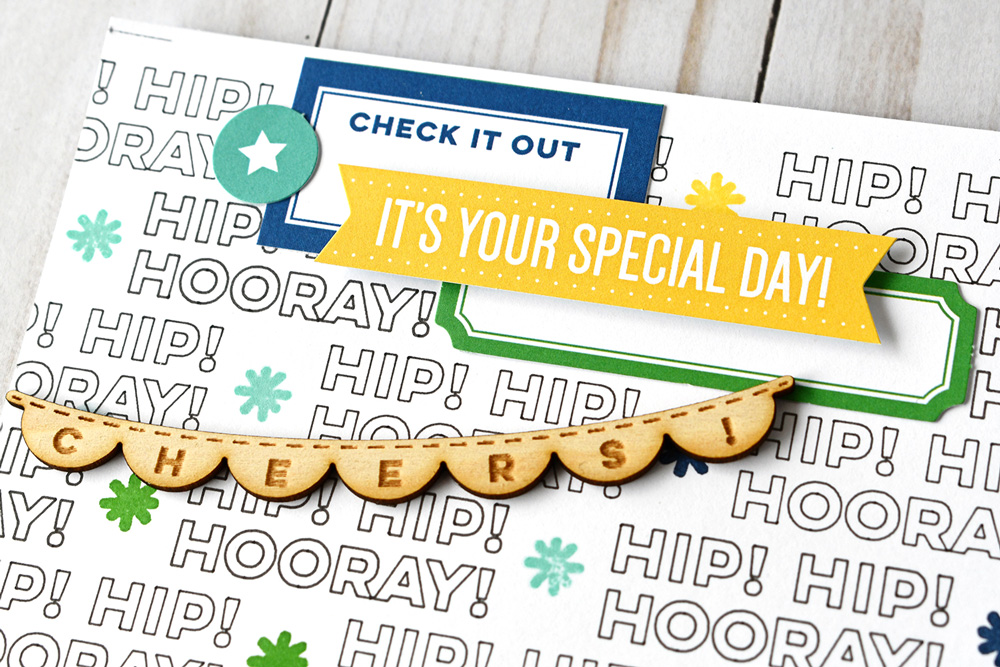
The highlight of this layout is, in my opinion, the top background. Self made, using one of the Birthday Cut Files and the asterisk stamp from the Make a Wish Stamp. Yup, a digital cut file, you read that correctly! I used the sketch pen function in Silhouette Design Studio with a pen and “sketched” out the saying “Hip Hip Hooray” on repeat. I intentionally left a gap between each saying to stamp the asterisks in between. It’s like confetti falling in motion down the page.

The Happy Birthday Journaling Tags are perfect not only for journaling but as a center piece to the page. The color inspiration for the page came from the blue, green, yellow and aqua balloon card found in this pack and serve as embellishment. Stamping the first letter of the birthday person’s name or their age would be a fun way to dress them up a little bit. Possibly even hand stitch around the balloons?

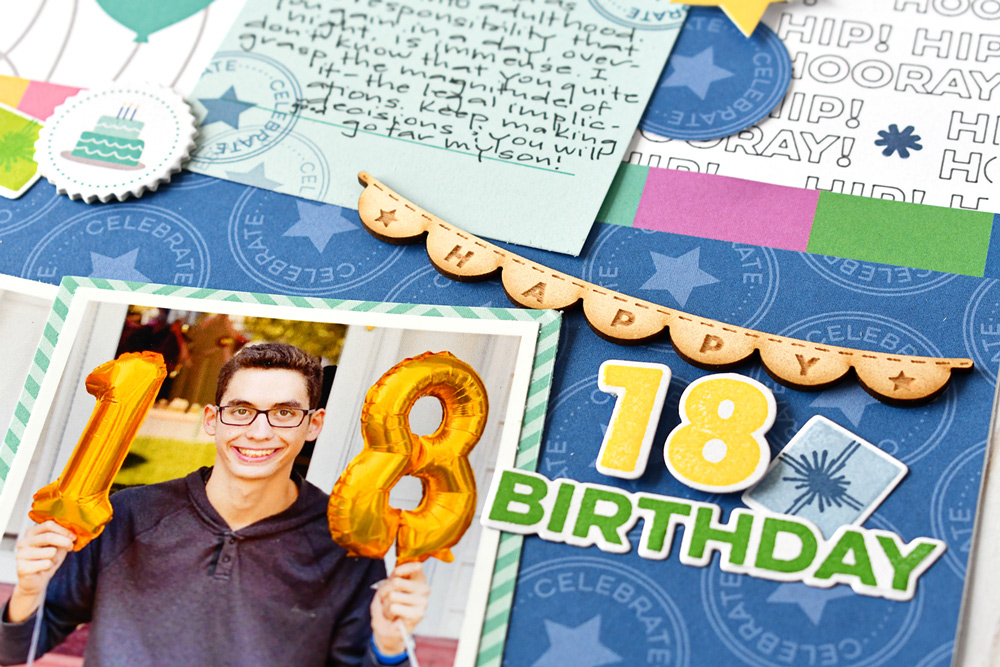
There are lots of embellishments available to add that celebratory feeling to your paper project and document a special memory; acrylic balloons and presents, chipboard stickers, stamps and dies, birthday die cuts and not one but two wood veneer packs! I used two of the Hooray Wood Veneer Banners as swags to tie the top, left embellishment cluster to that on the bottom, right of the page. The stamped Parker Numbers look just like the balloons that Nikolas is holding, wouldn’t you agree?

This top, right embellishment cluster is all die cuts from the March Kit. Layer them up and it’s a party in a cluster!
I do have a process video that will be up on my YouTube channel should you want to watch how everything came together.
Thanks for stopping by the blog today! I hope you’ll give some of these ideas and techniques a try on your next celebratory page!

“Pin” Suzanna’s awesome birthday layout to help you create when your March kit and add-ons arrive, and be sure to share what you’ve created inspired by her layout! Post your project to our Elle’s Studio Facebook Group, or on Instagram using the hashtag #EllesStudio!
