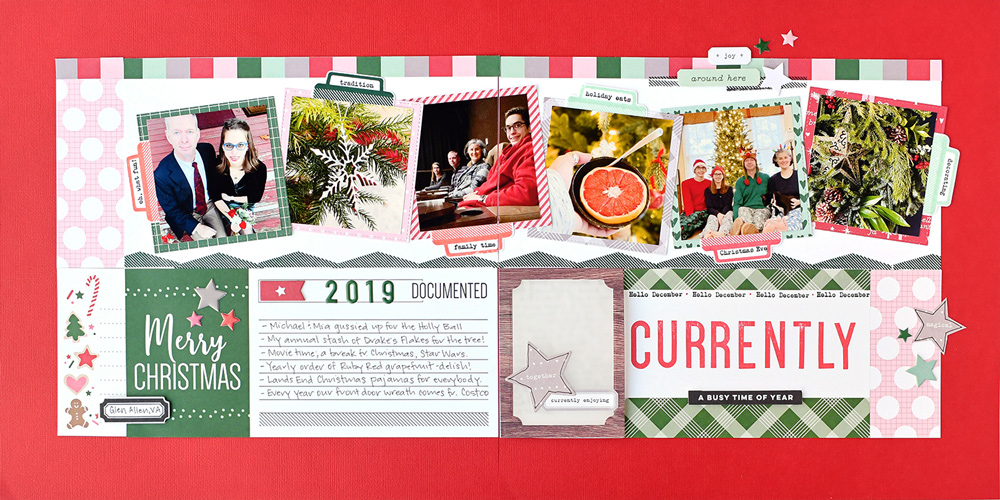
Hiya, scrappy peeps! It’s Suzanna here today to share with you a double page layout featuring the new November kit and add-ons, and lots of labels using the Christmas Tabs Stamp! This layout includes six square photos and one amazing stamp set with SO many possibilities!
Supplies | November 2020 Kit, Documented 4 x 6 Inch Journaling Tags, Merry Christmas Card Front Tags, Currently Label Stickers, Very Merry Chipboard Stickers, Dark Green Puffy Alphabet Stickers, Christmas Tiny Shapes and Dots Puffy Stickers, Christmas Tabs Stamp, Medium Jane Alphabet Stamp — Solid, Fa La La 6 x 8.5 Inch Paper Stack, Christmas Basics 6 x 8.5 Inch Paper Stack, Everyday Tabs Metal Die, Labels Metal Die
This layout documents traditions or events that stood out to me during our December last year, kind of a summary page, if you will! Let’s talk about all of the ways that I used the new Christmas Tabs Stamp!
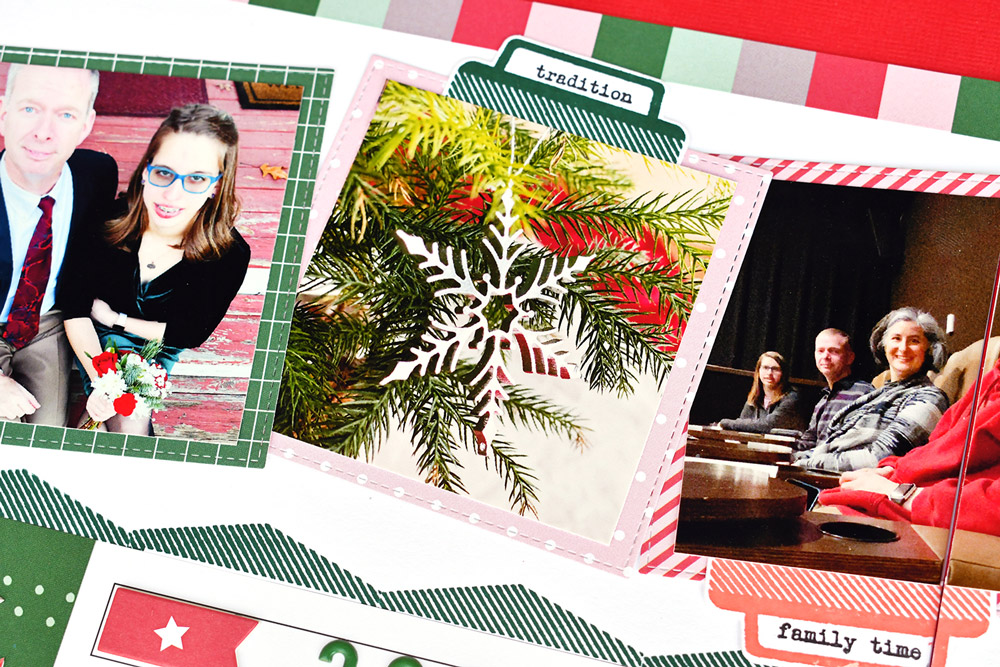
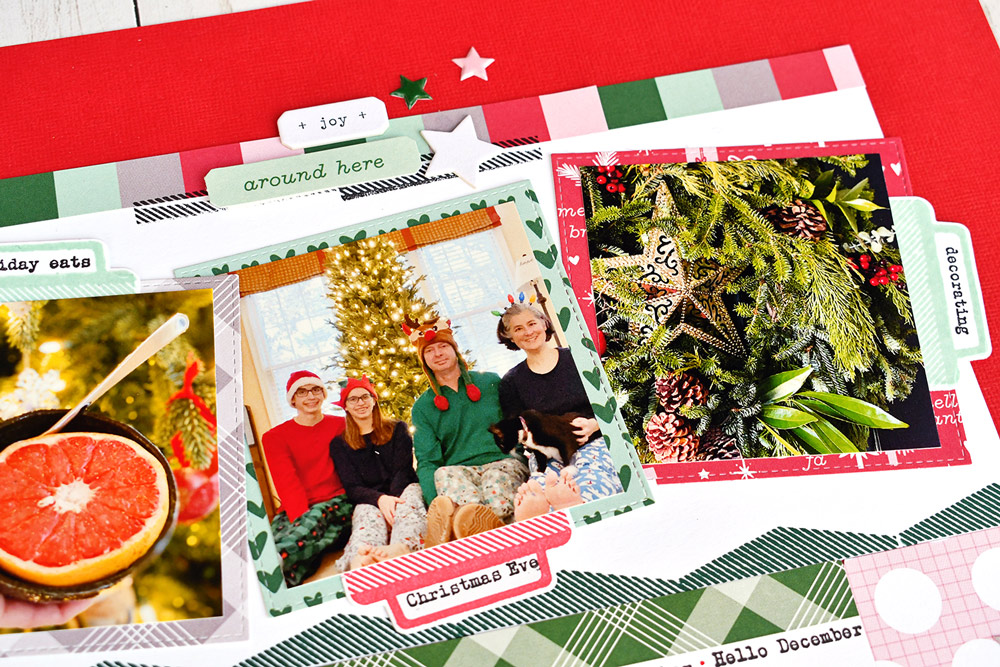
First, I used the Christmas Tabs Stamp in the traditional way combined with the Everyday Tabs Metal Die to create standard tabs. Each of the six photos has a tab that relates in some way to an event or a memorable moment. Something that I did not account for and I would like to call your attention to is that the “opening” in each of the tabs is different and thus not all phrases will fit in all three tabs. The longer phrases only fit in the downward, triangular tab. No worries, there are so many great words or phrases to choose from, that you are sure to find a great alternative, just as I did.
Another way that I like to use these words and phrases in the Christmas Tabs Stamp is to create a border as I have done on the 4″ x 6″ journaling tag from the November Kit. It’s a simple, but relevant border. Chose a word or phrase and repetitively stamp it. A simple red dot in the intentional space between words allows for distinction and a pause of the eye should one decide to try to read this decorative border.
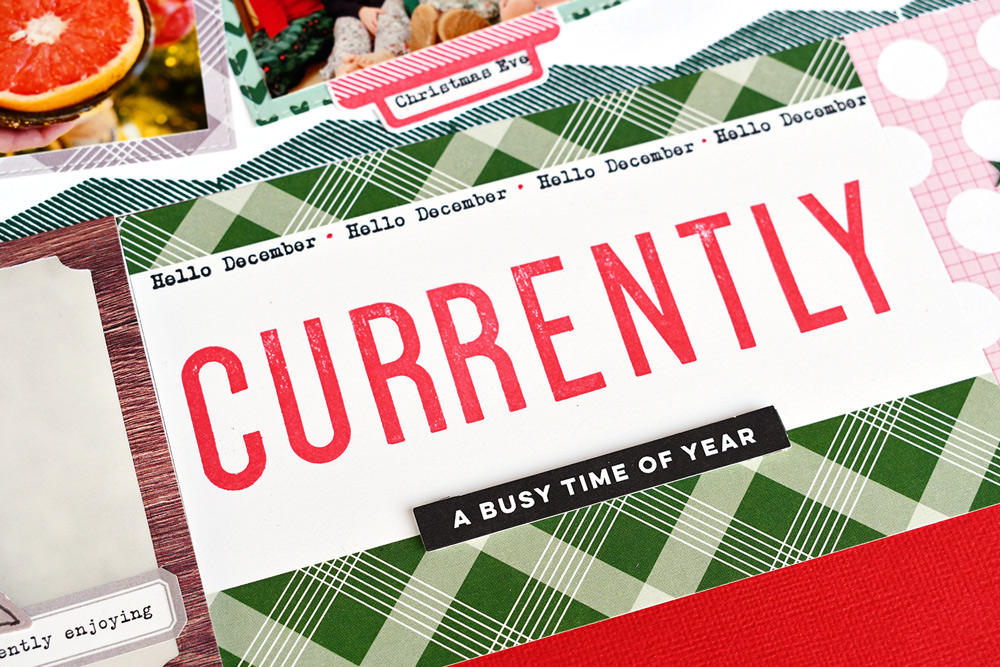
Third, and most unique and creative, you can also use the diagonal part of the Christmas Tabs Stamp to create borders as well! This involves masking, a technique that is best visualized. Be sure to check out my process video below to learn how I did this! Essentially, I covered the portion of the stamp that I didn’t want with a sticky note, inked up the stamp, removed the sticky note and stamped. I repeated this process down the length of the cardstock to create a festive border.
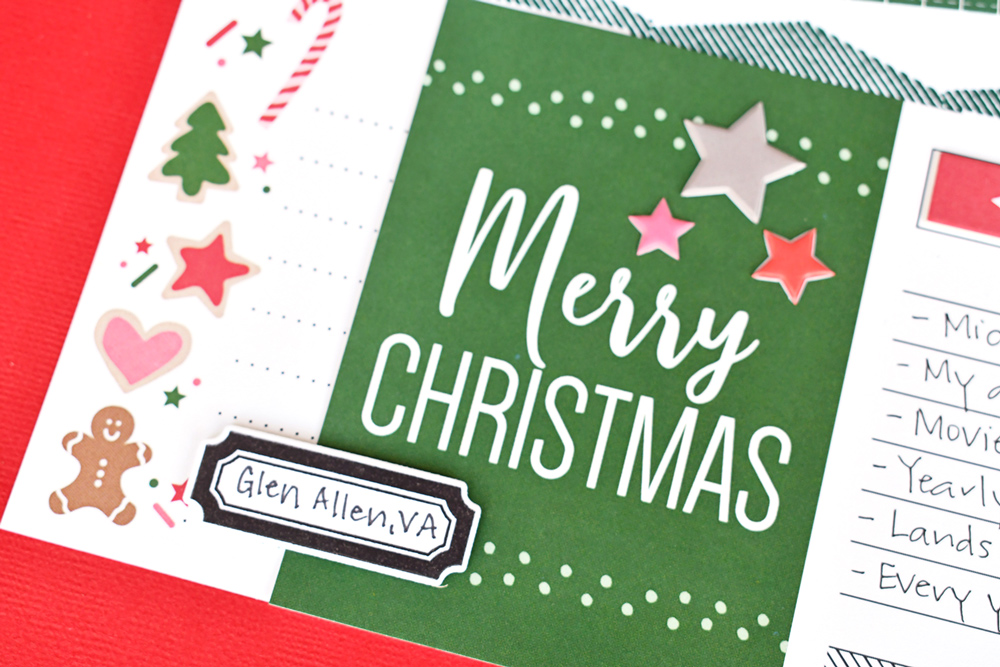
Last but not least, you can’t beat the label stamp included in this set. I needed the weight of black for contrast on the layout and stamping the label in black was a simple, yet effective way of obtaining that. Just as the tabs of the Christmas Tabs Stamp coordinates with the Everyday Tabs Metal Die, so too does this label, with the Labels Metal Die!
As you can see, stamping with the Christmas Tabs Stamp can dress up a layout nicely, enabling you to add “wordy” details to your memory keeping. Check out my process video to see how this double-page layout came together with all of these stamp possibilities:
Thanks for stopping by the blog today! I hope I have inspired you to look at your stamps with a discerning eye to use them “as is” and with a bit of a twist.
Did you add our Christmas Tabs Stamp to your November box? Be sure to share what you create using it with us in our Elle’s Studio Facebook Group, or on Instagram using the hashtag #EllesStudio!