
Hey, Elle’s Studio friends! It’s Marsha here with you today, and I’m excited to share a fabulous sketch and my frightfully fun Halloween layout based on it! I love working with sketches, and, when they are paired with Halloween documenting, they are even more fun! This week’s sketch features a grid design, and I thought it would be perfect for documenting a Halloween memory from last year.

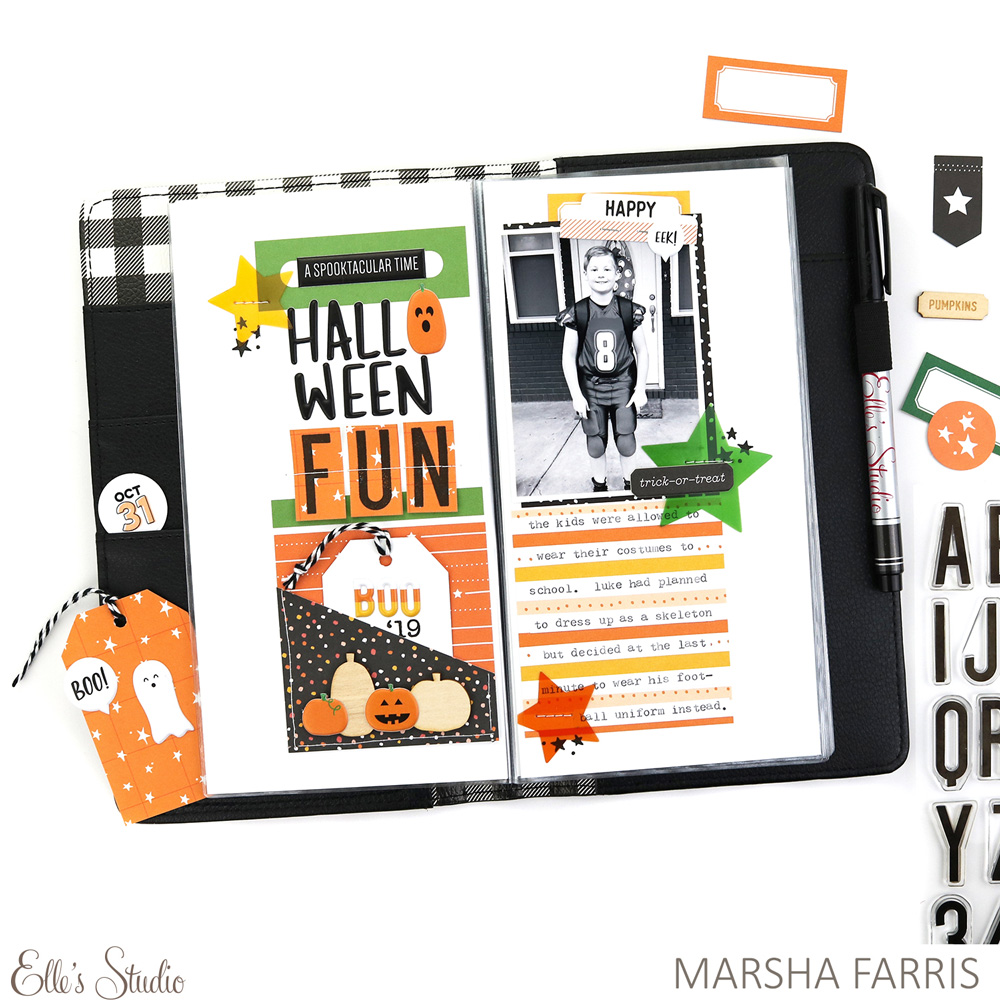
Here’s a look at the layout I created based on the sketch:
Supplies | October 2020 Kit, Jewel Journaling Tags, Halloween Journaling Tags, October Labels, Thankful Chipboard Label Stickers, Candy Corn Puffy Alphabet Stickers, Halloween Puffy Stickers, Autumn Wood Veneers, Acetate Stars, Autumn Days 6 x 8.5 Inch Paper Stack, Medium Jane Alphabet Stamp — Solid, Shine Brighter Stamp, Hazel Alphabet Stamp
For my project today, I chose to adapt the sketch from a 12″ x 12″ layout to a traveler’s notebook spread. By condensing the grid design of the sketch and dividing it down the middle, it was perfect to use for a TN layout!
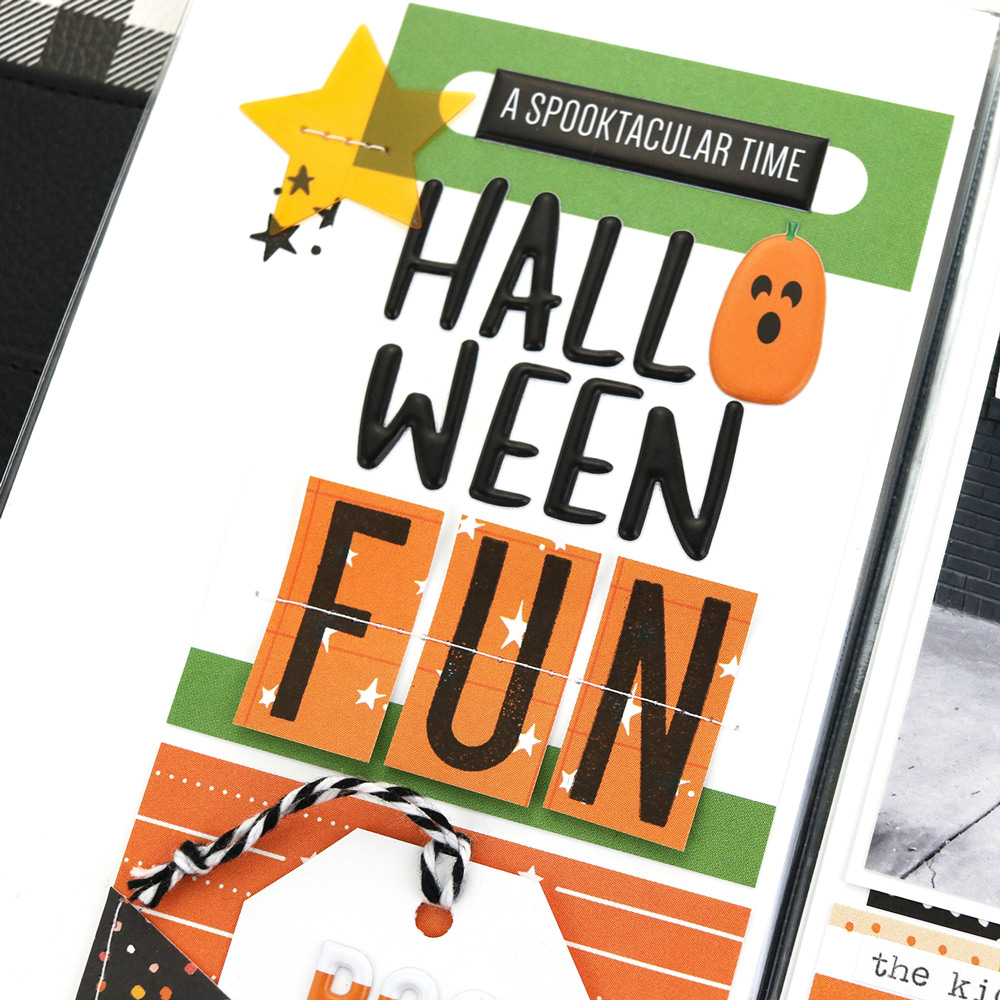
I followed the sketch and added the title at the top left of the spread. I used a Jewel Journaling Tag and letter stickers from the Halloween Puffy Stickers, replacing the “O” with one of the cute jack-o-lantern stickers from the same sticker sheet. To complete the title, I stamped the word “fun” onto a star patterned paper from the Autumn Days Paper Stack using black ink and the solid Medium Jane Alphabet Stamp. I trimmed out the letters individually and used my sewing machine to stitch them onto the page. I love the extra texture this adds!
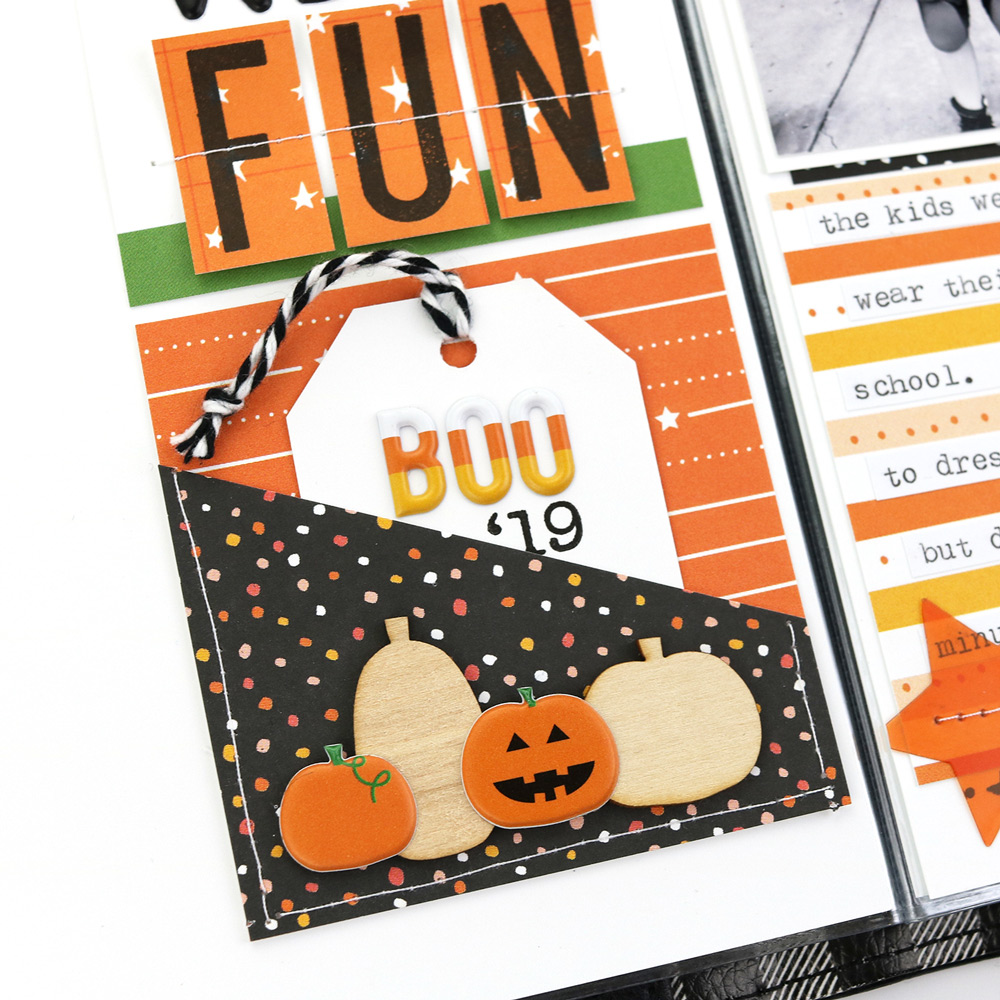
I used two journaling tags from the October Kit and machine stitched around three of the sides to create a mini pocket. To embellish it, I added a little row of pumpkins using the Halloween Puffy Stickers and Autumn Wood Veneers. Using white cardstock, I created a tag to tuck into the pocket and added the word “boo” with the Candy Corn Puffy Alphabet Stickers. I stamped the date with black ink and the Hazel Alphabet Stamp.
I continued to follow the sketch and added my photo to the top right portion of the spread. A black dotted patterned paper from the Autumn Days Paper Stack was perfect for layering behind the photo to provide some contrast against the white cardstock background. I stamped the word “happy” from the Shine Brighter Stamp onto a die cut tab from the October Kit and layered it over one of the October Labels. I also added a speech bubble sticker from the Halloween Puffy Stickers and a label from the Thankful Chipboard Label Stickers.
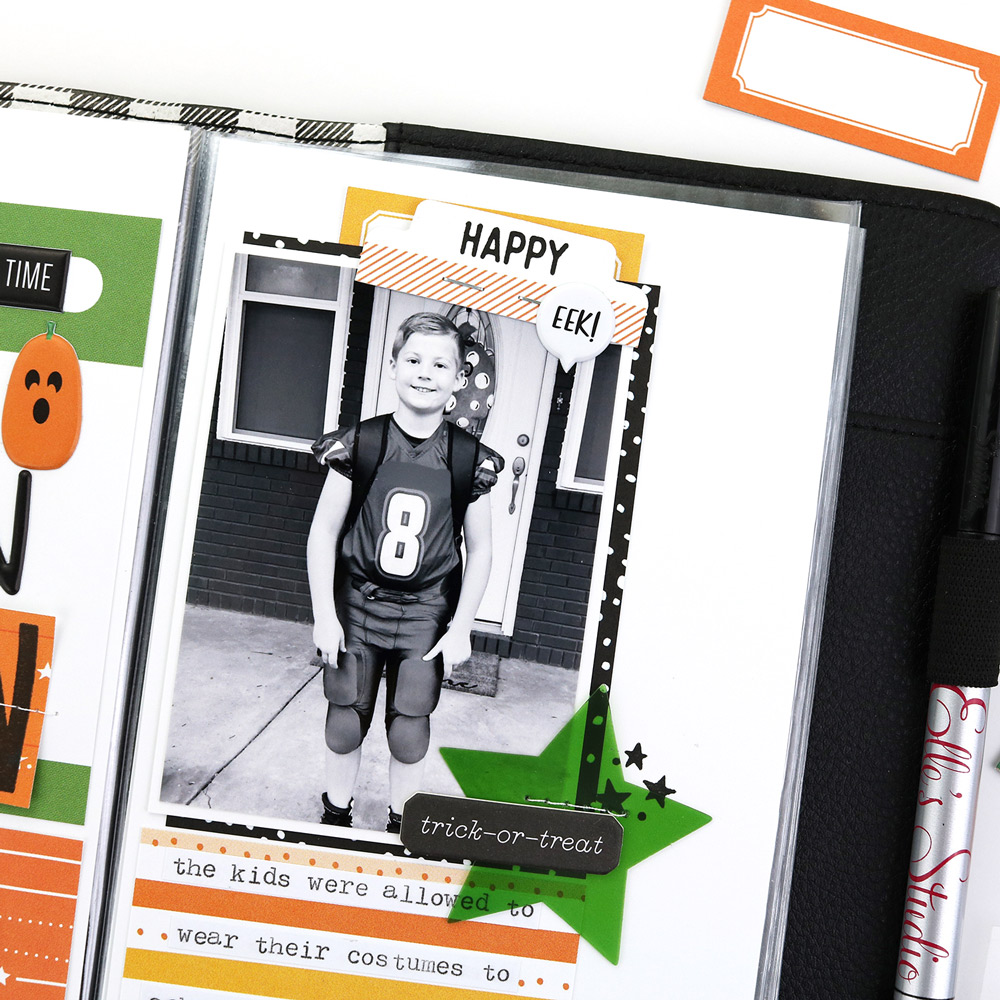
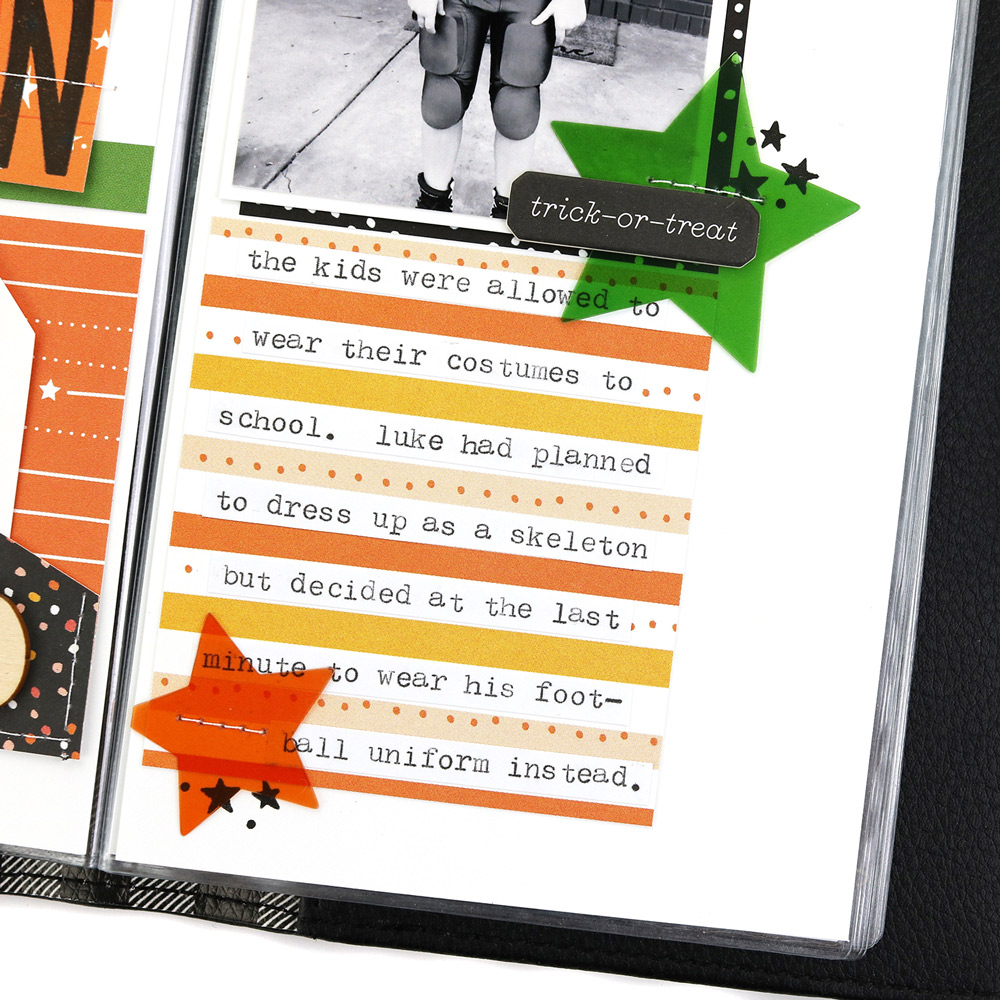
Below the photo, I added typed journaling strips onto a tag from the Halloween Journaling Tags. To complete the layout, I machine stitched Acetate Stars onto a few areas of the spread and stamped little clusters of stars and dots using black ink the Shine Brighter Stamp. I love how this followed the star design found on the sketch.
I hope I have inspired you to create a project based on this fun sketch—whether its a layout, traveler’s notebook or card! Be sure to share your creations with us in our Elle’s Studio Facebook Group or on Instagram using the hashtag #EllesStudio. We can’t wait to see your interpretation!