Have you ever wanted to use a wood veneer piece on a project, but thought it needed something to jazz it up a bit? Today’s post will show you how to customize a wood veneer piece to fit perfectly with any project you want to create, using only a few supplies! Let’s take a look!
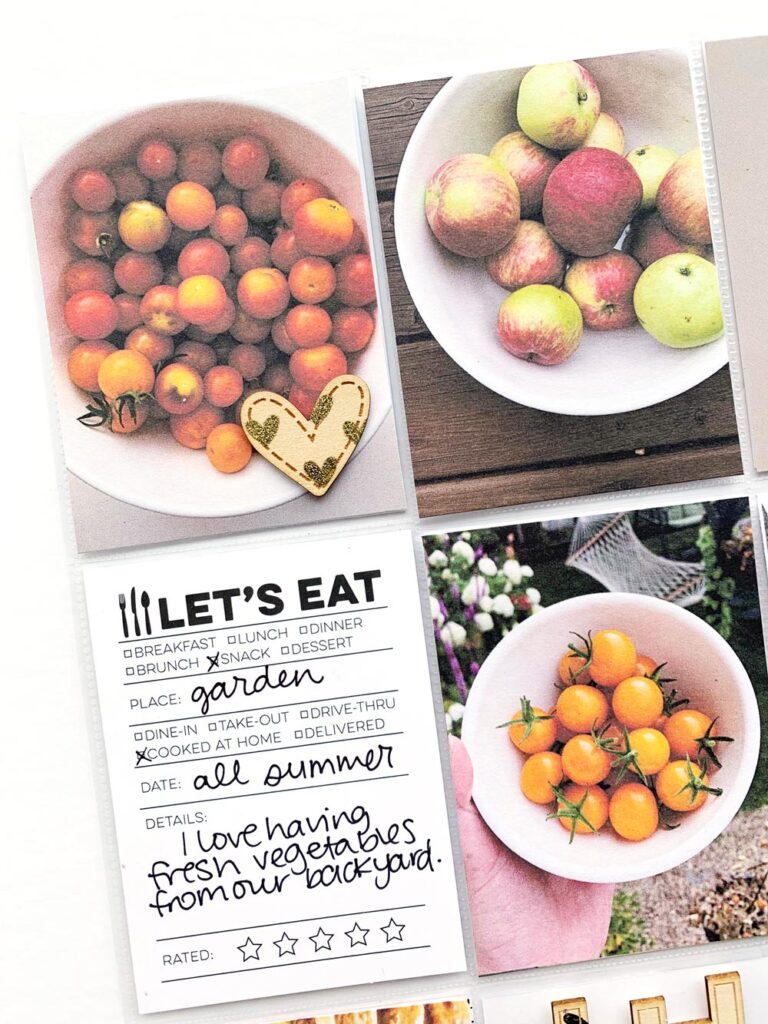
Hello, Elle’s Studio fans! It’s Amy Jo, and today I’m here to show you how to make your wood veneer pieces more exciting! I’ll be using the Home Wood Veneer and Stitched Heart Wood Veneers, and adding some stamping and embossing to make them have a fun polka dot style pattern.
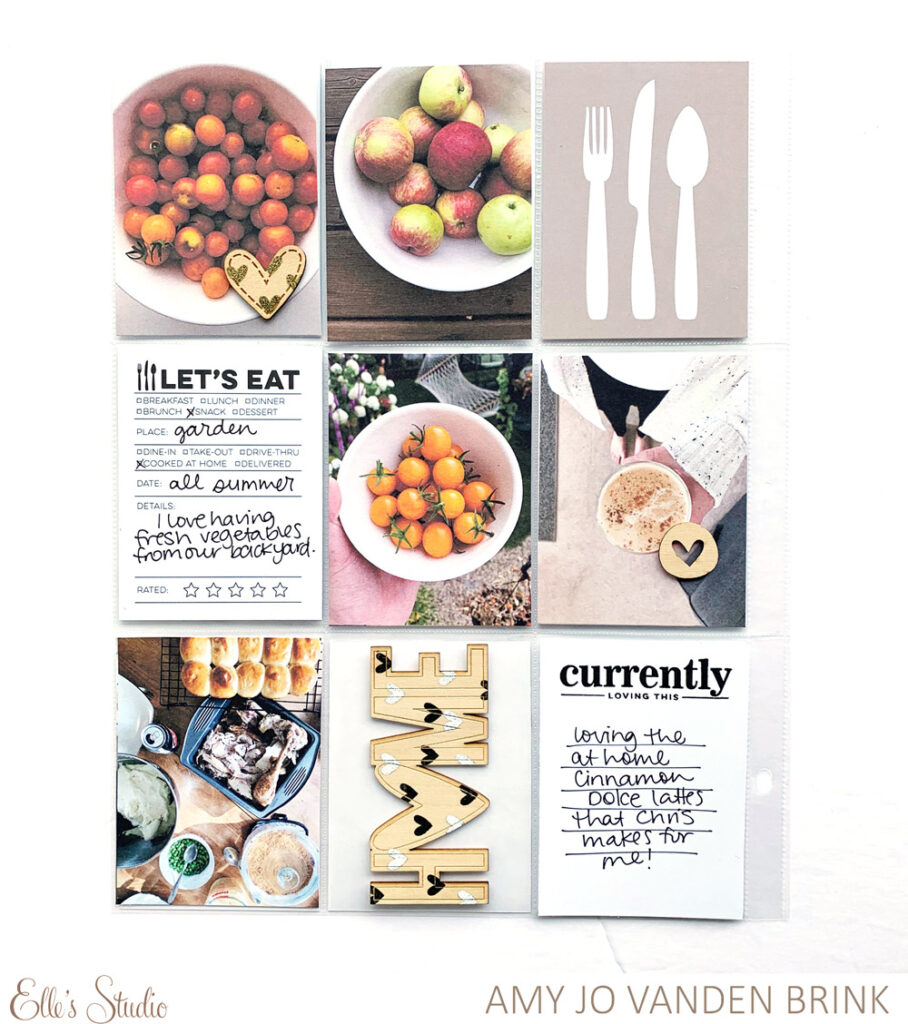
Supplies | September 2020 Kit, Home Wood Veneer, Stitched Heart Wood Veneers, Grateful Stamp
To re-create my project, you will need: wood veneer, a pigment ink stamp pad (or a stamp pad specifically for embossing), embossing powder, and a heat gun.
Start by putting out a piece of scrap paper to protect your work surface. Then, using the pigment ink pad, stamp your chosen design on the wood veneer. Add the embossing powder, then use the heat gun to set it. When working with wood, you can scorch it, so make sure you warm up your heat gun first, then set the embossing powder quickly. Look for the quality of the embossing powder to change (you’ll see it gel up) and then move onto the next area. Try not to hold the heat gun in one place for too long.
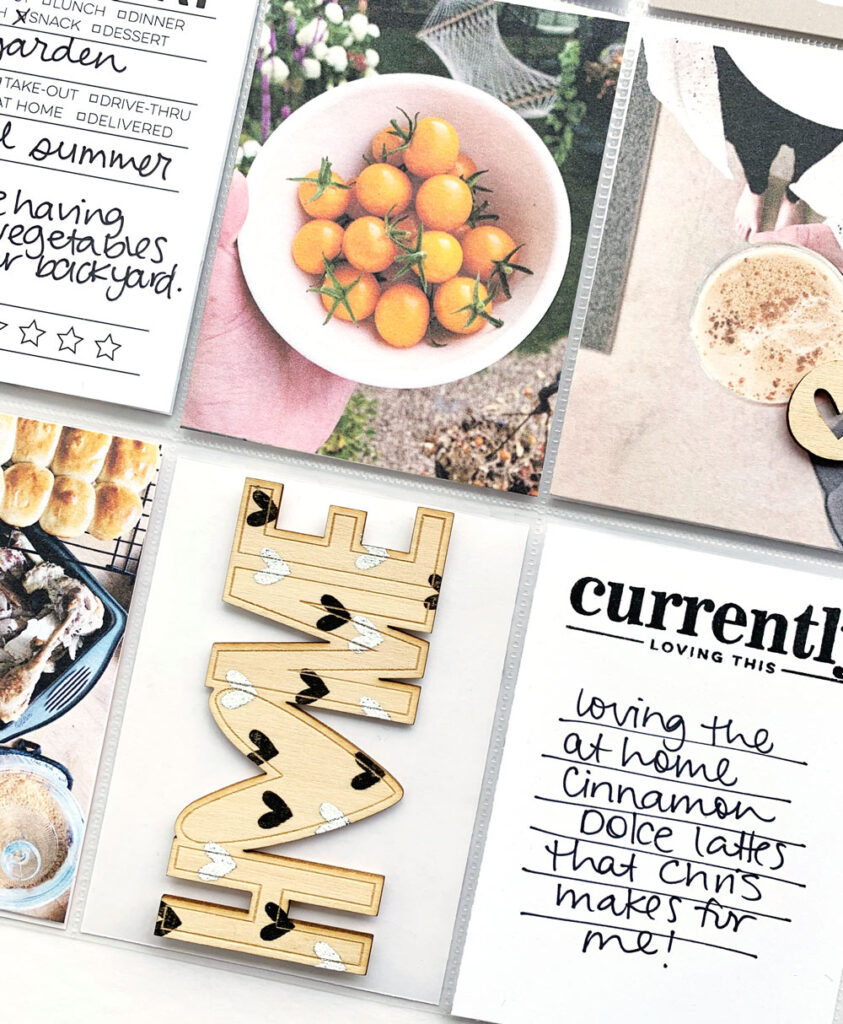
I did a mixture of embossed and plain stamped images on my last one, and the texture is really cool!
Watch as I show you how I customize my wood veneer in this video:
I hope this gives you some ideas to take your wood veneer pieces to the next level! Thanks for checking out my post today!

Show us how you incorporate Elle’s Studio wood veneers into your memory-keeping! Share in our Elle’s Studio Facebook Group or on Instagram using the hashtag #EllesStudio!