Pockets are perfect for recording any type of memory, and back-to-school photos are perfect for filling them! It’s unlikely we’ll only take one or two photos of that first day of school, so why not try out a pocket page for all of these important memories? Today Stacie Watson is sharing how she is recording her first days back, in a beautiful and colorful way. Let’s take a look!
Hey, hey, scrappy friends! It’s Stacie back today to share a back-to-school pocket page spread with you. I know this year back to school has taken on a whole new meaning from years past, but that’s just more reason to make sure to get your stories told! Being a middle school teacher myself and all of the unknowns (and stress) leading up to the first day/week of school didn’t leave me with a lot of time to work on my pocket pages. But, I knew that I wanted to get my photos and stories recorded while “in the moment” so to speak. I love the way this spread came together.
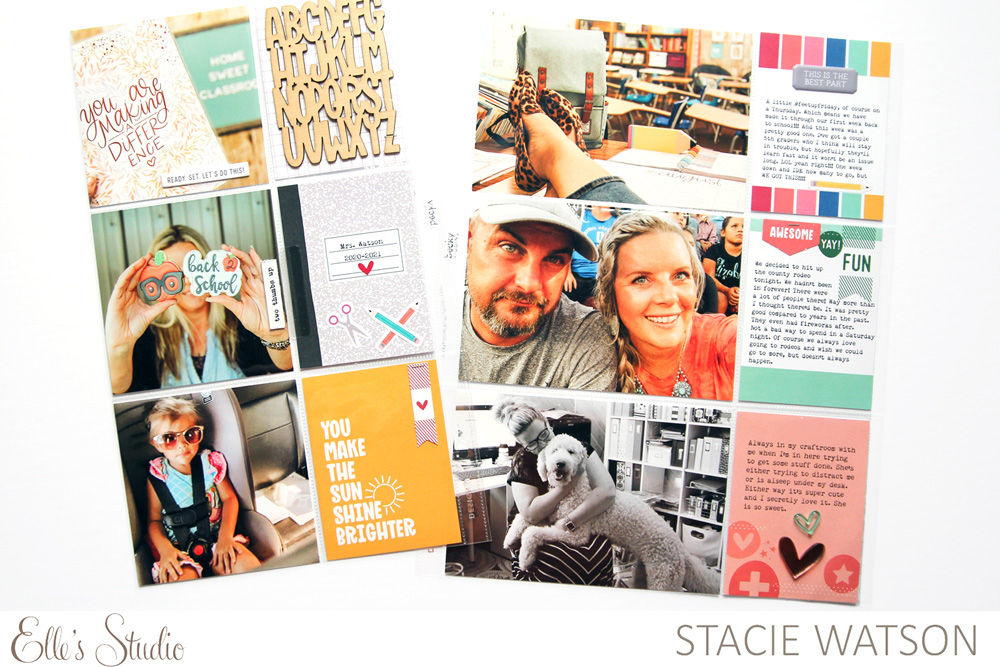
Supplies | August 2020 Kit, A New Day Stickers, Crafty Stickers, Chipboard Tags, So Cool Puffy Stickers, ABC Wood Veneer, Acrylic Hearts, Springtime Tabs Stamp
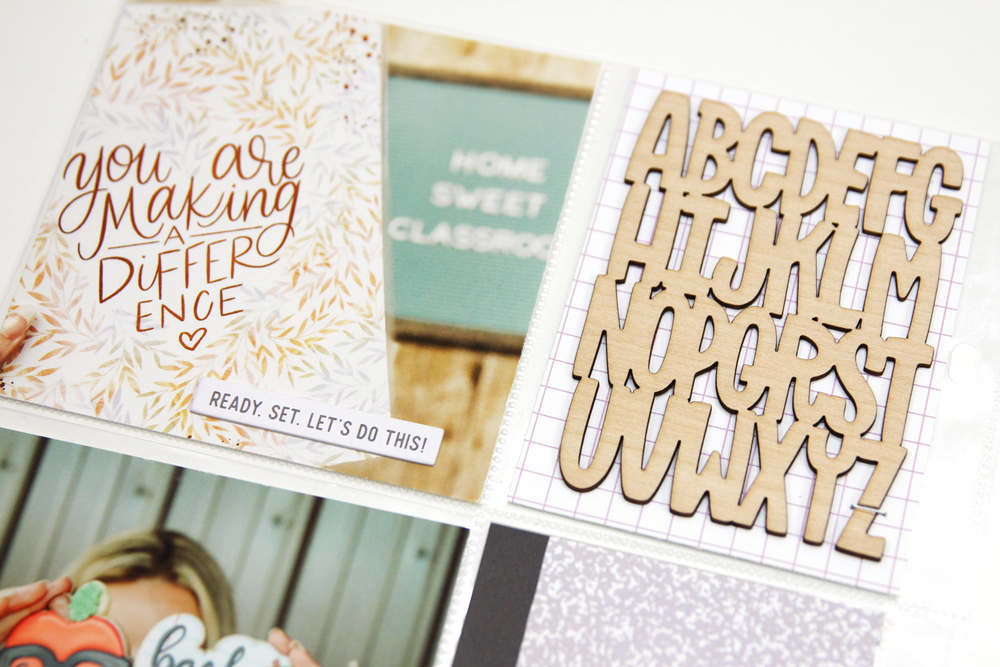
As soon as I saw the ABC Wood Veneer and the composition notebook journaling tag from the August Kit I fell in love and knew that they would be included in my first week back to school spread. I mean you can’t get more perfect embellishments than those for back to school! I almost painted the wood veneer, but in the end decided that I liked how it contrasted against the brighter parts of the spread in its natural state.
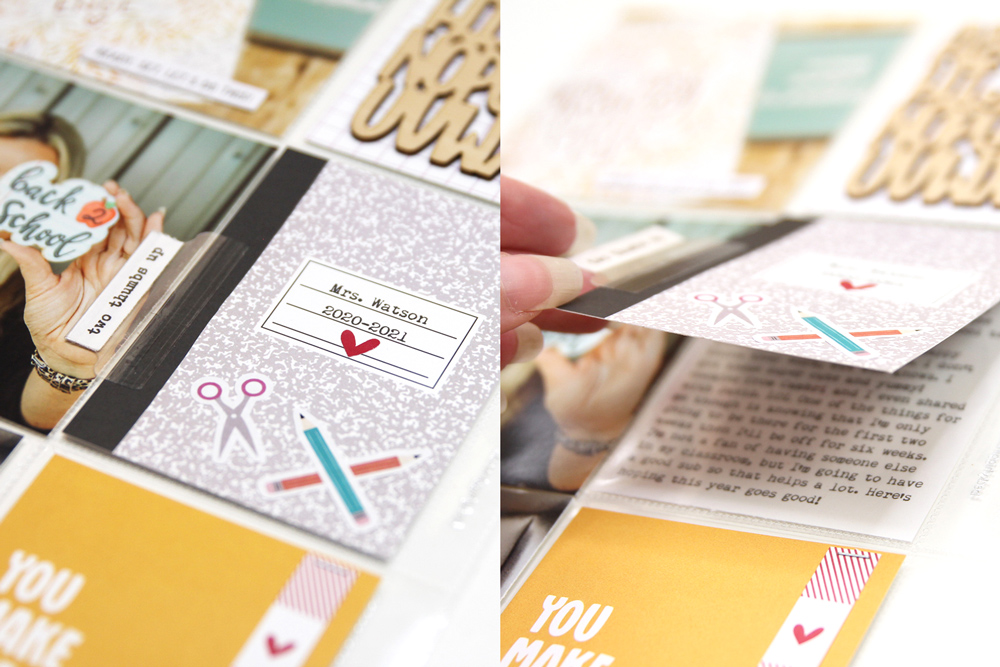
For the composition notebook journaling tag I added my name and the school year, along with the pencils, scissors, and heart stickers from the Crafty Stickers. For my journaling, I printed it out on white cardstock and created a flip up using washi tape. Since this is on the back side of the page protector and I wanted to easily access my journaling, I simply cut a slit into the page protector and added the washi-taped flip up into it. I also added an index tab with a stamped sentiment from the Springtime Tabs Stamp to the side so anyone looking at the album would know that this could be flipped up! This was super simple and an easy way to use more than one journaling tag or to hide your journaling.
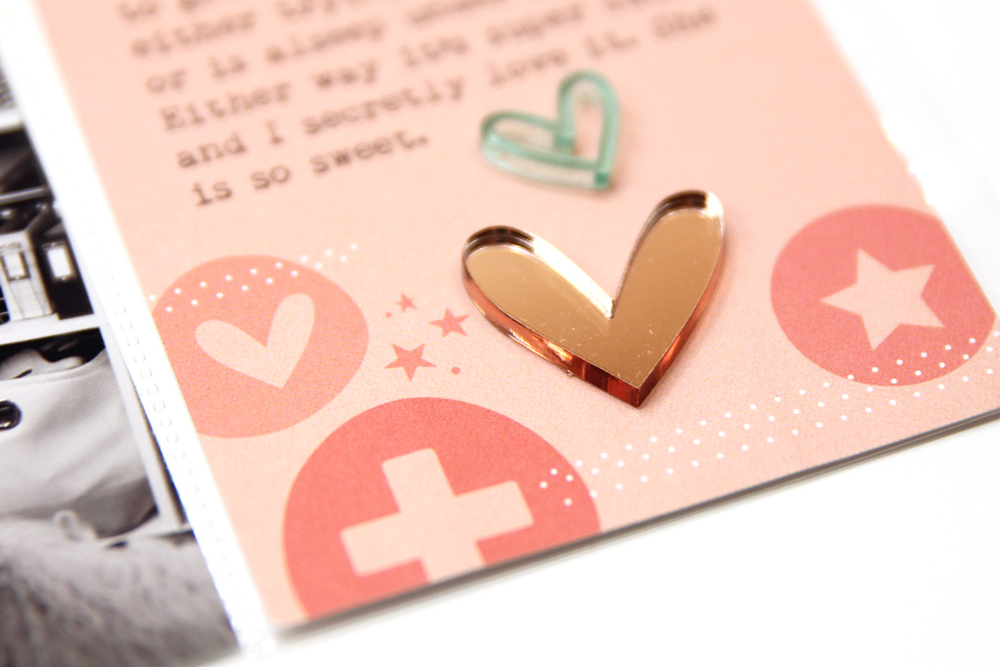
To finish off the spread, I printed out my journaling on the tags and embellished them with the So Cool Puffy Stickers or die cuts from the August Kit. The Acrylic Hearts are the type of embellishment that I would hoard because, “What if I end up doing some other project that they would be perfect for?” I’m horrible about doing that and I’m trying to make myself use my supplies. So, I changed my thinking and thought what else would be “more perfect” than the story about how my four legged fur ball is always by my side?
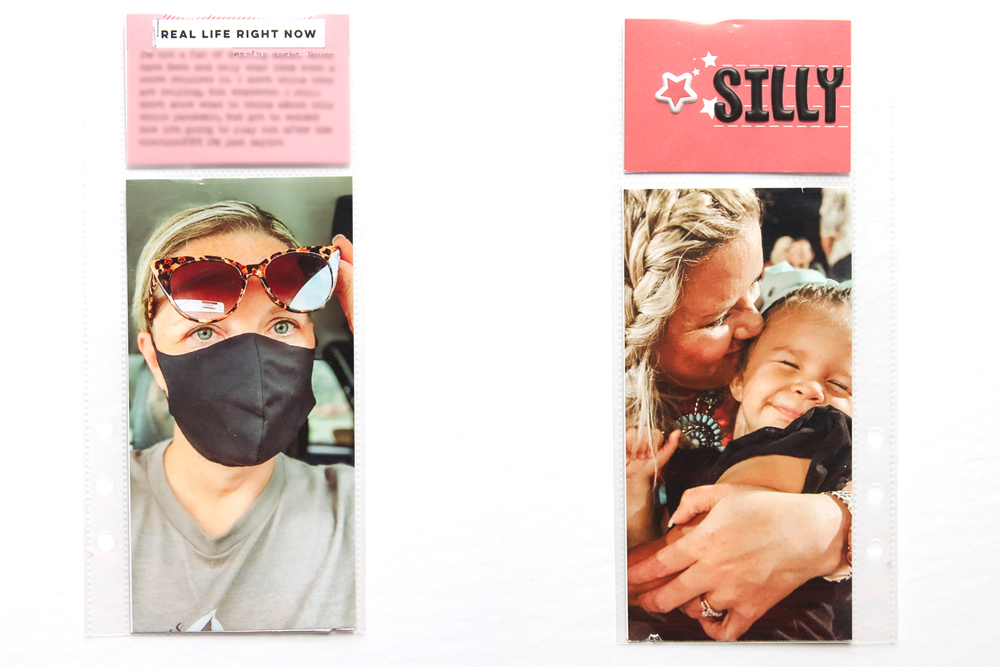
Just when I thought this spread was complete, I remembered two more photos that I wanted to include and decided to add a 3″ x 8″ insert into the album. Since I was short on time for this spread and I had already went with smaller size page protectors from my usual 12″ x 12″ size, adding the small insert was the best option. I don’t do inserts very often, but they are great for being able to add more photos or more of the story into your album.
I hope this inspires you to document your back to school memories, however they may look! Thank you so much for stopping by and make sure you share what you create with your Elle’s Studio goodies with us on Instagram using the hashtag #EllesStudio!

