Hello everyone! It’s Stephanie Grimes with you today! I don’t know about you, but I am not “caught-up” on my memory keeping projects! I’m working on it. Sometimes, you just want to create a page quickly and kits are a fabulous way to do that. If you are able to work just from one kit, it makes the work go so much more quickly. For today’s project, I am sharing how I used the April digitals: the Favorite Printables and April 2020 Cut Files; along with a couple of stamps, to create this pocket page for my 2015 yearbook.
Supplies | Favorite Printables, April 2020 Cut Files, Flourish 6 x 8.5 Inch Paper Stack, Springtime Tabs Stamp, Typewriter Alphabet Stamp
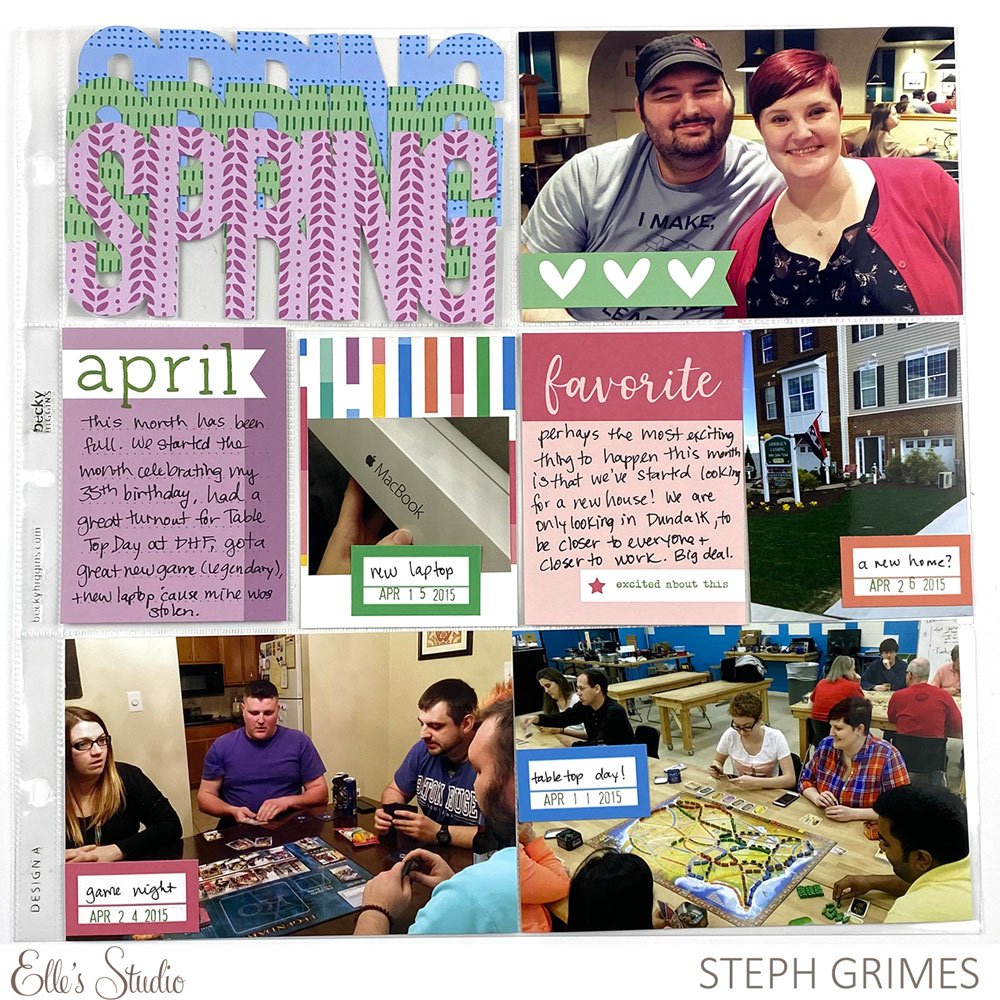
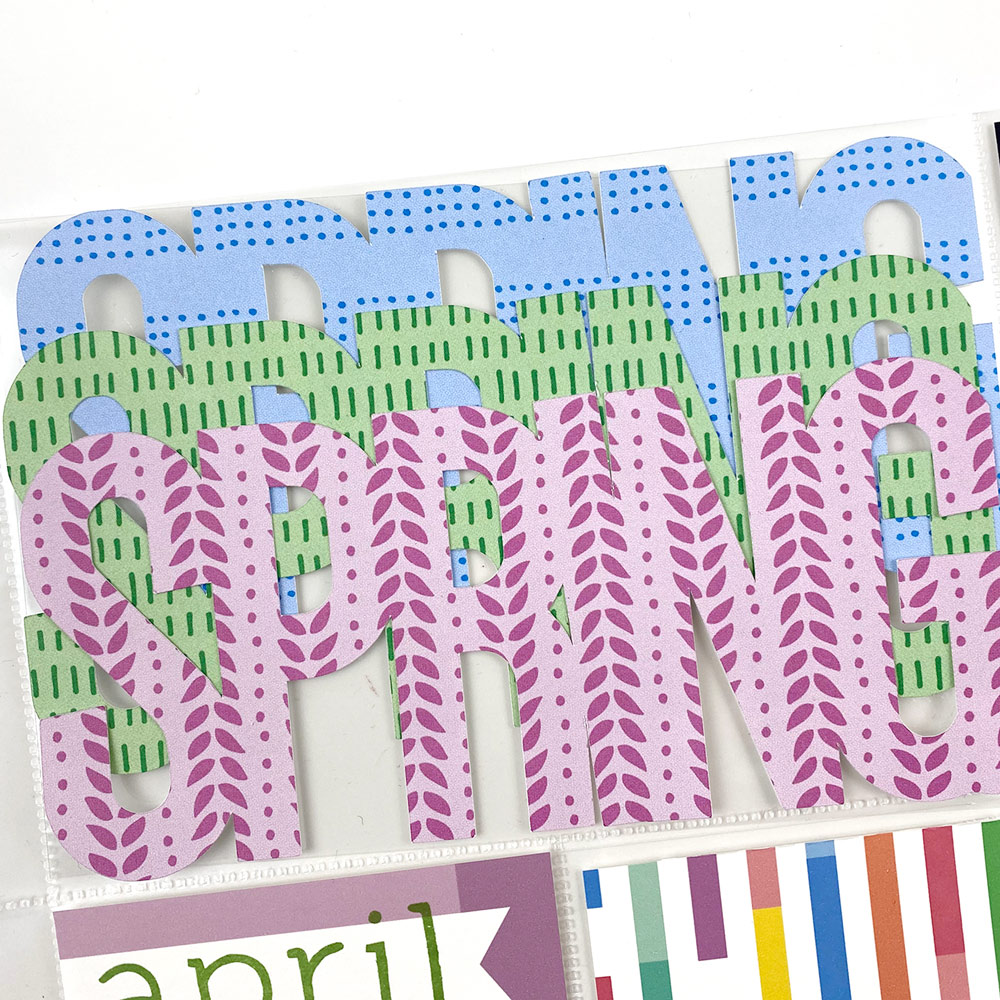
This whole page was inspired by the “Spring” word cut file. I had the idea to cut it in a variety of patterns from the Flourish 6 x 8.5 Inch Paper Stack and layer them on a transparency to preserve some the transparency of my 4″ x 6″ pocket. To cut the word, I downloaded the file and brought the .PNG into my Cricut Design Studio software, letting the Cricut make fast and easy work of cutting multiples for me. In preparation, I also printed this month’s printables on a sheet of white cardstock and cut them out.
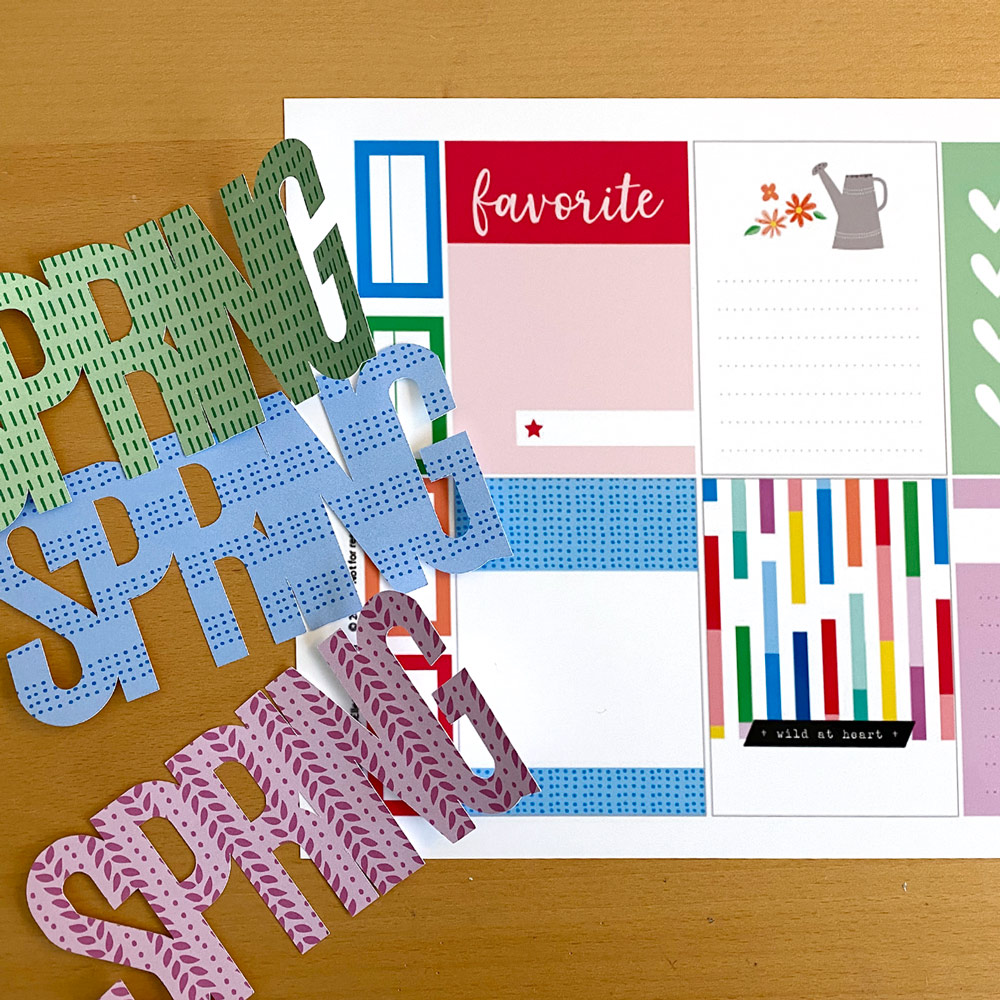
For the title, I cut a piece of transparency to 4” x 6” to fill my pocket. Then, I layered the three “Spring” cuts and adhered them to the transparency using vellum adhesive for minimal show through on the back of the transparent card. You could also use staples for this step.
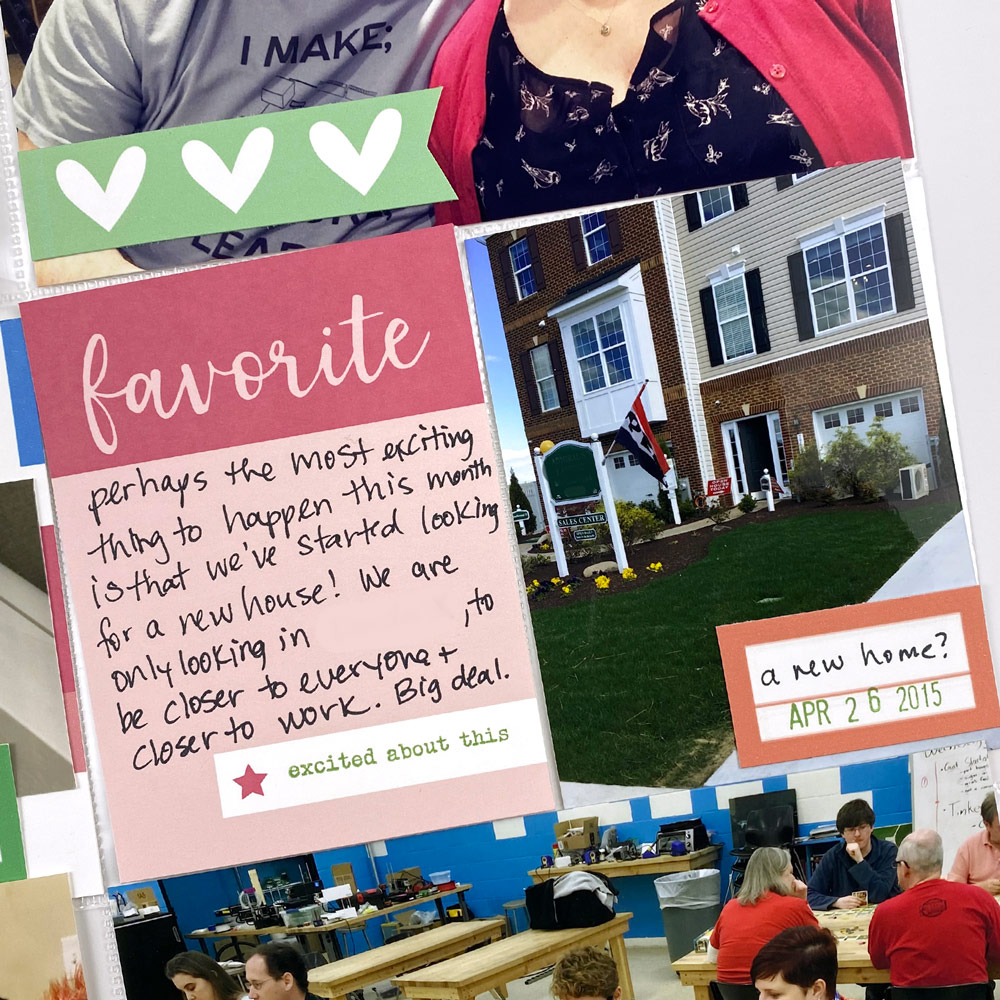
I used the title and my photos to help choose journaling tags from the April 2020 Favorite Printables. I chose three tags to use whole in my 3” x 4” pockets. For one, I used the Typewriter Alphabet Stamp to stamp the word “April” since this layout was about the month of April 2015. For the tag with the narrow multi-colored blocks on it, there was a printed sentiment that didn’t match my photos, so I just covered it with a photo I cut down to just smaller than 2” x 3” to fit on the tag. I cut down one of the journaling tags—the green one with hearts, to use a strip of hearts as a banner on the top photo of my husband and I. The remaining tags went into my stash for future use.

I used the red “favorite” journaling tag to tell the story of us looking for a new home and stamped a sentiment from the Springtime Tabs Stamp into the white space. Then, I used the labels to add the date to most of my photos and a little more information about the photo.
Because the digital files are designed to coordinate with each other and the monthly kit, it makes fast work of pulling a page together. With only a few decisions to make, once I had my printables printed and cut files cut, this page only took me 15 minutes to complete! When I am working to catch up on previous years, a page that comes together quickly and looks great because of the products is a total win to me!
Share your projects using April’s digital files on Instagram using #ellesstudio or in the Elle’s Studio Facebook Group. Happy crafting and be safe out there!