Hi Elle’s Studio Friends! Welcome back to the blog for more March Kit inspiration! This month’s kit and exclusive add on items are perfect for all your memory keeping needs, and today I am sharing how I used these supplies to create a completed, spring and Easter themed traveler’s notebook insert!
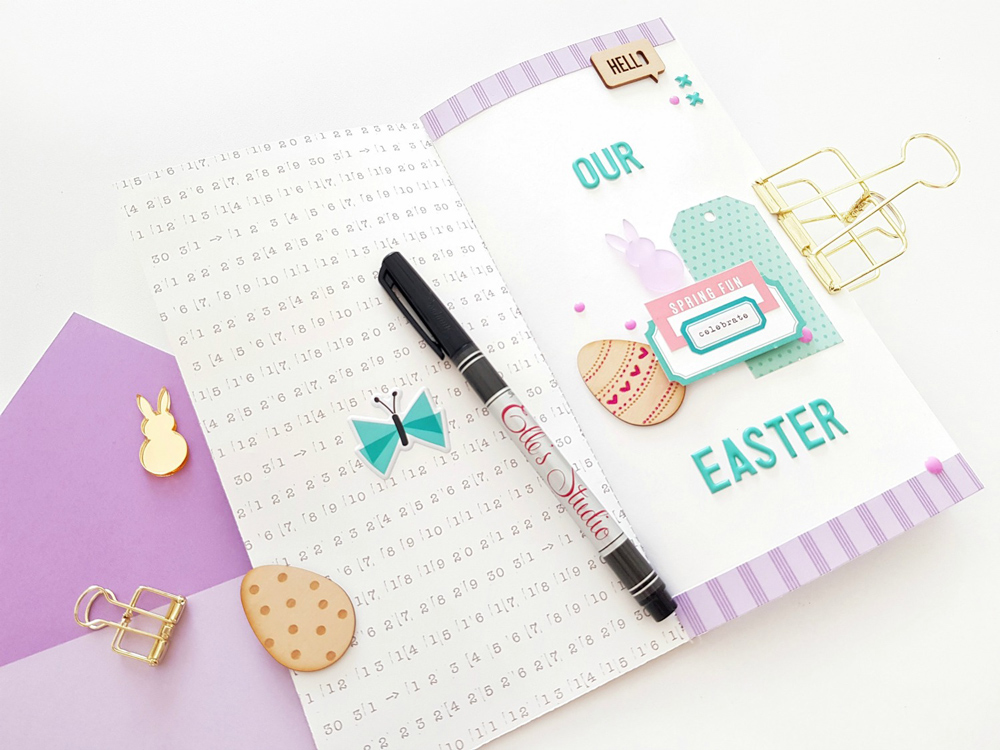
Think December Daily goes small scale & Easter style! Here’s a look at my TN front cover:

Supplies | Teal Puffy Alphabet Stickers, Chocolate Acrylic Bunnies, Happy Easter Wood Veneer, Noteworthy 12″ x 12″ Paper Collection
Isn’t this fun?! Such a simple, but very sweet traveler’s notebook insert to document all your Easter memories with!
To create this notebook, I trimmed a sheet of the yellow striped paper from the Noteworthy 12″ x 12″ Paper Collection to 8 3/4″ x 8 1/4″. Next I trimmed 10 sheets of plain white paper (I like to use 180gsm watercolor paper) to 8 1/4″ x 8 1/4″. I placed the patterned paper cover onto the slightly smaller sheets of white paper, and scored down the center to create a ‘spine’. To hold it all into place, I machine stitched along the scored line, and voila! A custom-made TN insert ready to record those memories!
I decorated the cover with the Happy Easter Wood Veneer and one of the Chocolate Acrylic Bunnies! I also added the date with the Teal Puffy Alphabet Stickers—gorgeous!
Let’s look inside!
Supplies | March 2019 Kit, March Labels, Teal Puffy Alphabet Stickers, Tiny Everyday Label Stickers, Little Acrylic Bunnies, Wood Veneer Easter Eggs, Wood Veneer Speech Bubbles, Springtime 6 x 6 Paper Stack, Noteworthy Puffy Stickers, Noteworthy 12″ x 12″ Paper Collection
What a sweet opening page! I decorated the reverse side of the cover with a simple butterfly puffy sticker from the Noteworthy Puffy Stickers. On the opposite page, I trimmed a 1/2″ strip of the Springtime 6 x 6 Paper Stack, and attached it to the top and bottom of my page. I also applied lots of lovely embellishments including that very cute Wood Veneer Easter Egg. To make it pop just a little more, I partly colored it with a magenta gel ink pen. Speaking of veneers, you’ll also spy that fabulous Speech Bubble at the top of my page! Love it! The pale purple Little Acrylic Bunny is a very sweet addition to the embellishment cluster too!
Further inside my TN, you’ll notice that I divide my Easter story into ‘chapters’. This helps me to organize how I will document, photograph and record our memories made this Easter. Chapter 1 is ‘Family Time.’
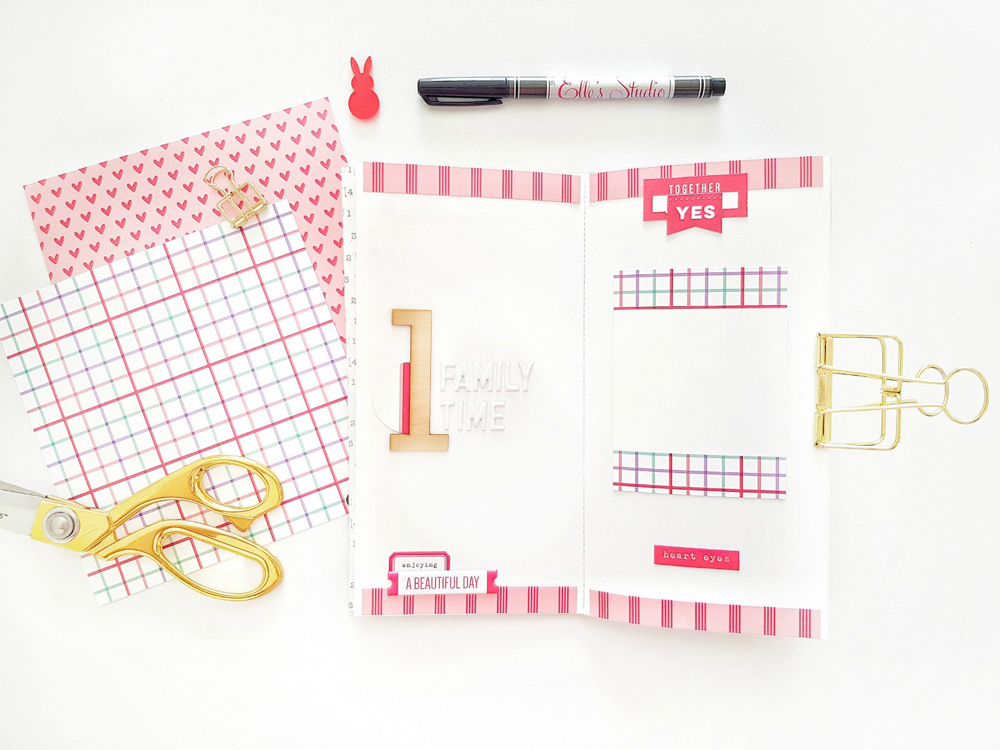
Supplies | March 2019 Kit, March Labels, Tiny Everyday Label Stickers, Spring Puffy Stickers, White Puffy Alphabet Stickers, Large Wood Veneer Numbers
I opted for a simple design here, and trimmed the colorful red stripe March Kit 3″ x 4″ journaling tag into 1/2″ strips. I attached these strips to the center tops and center bases of both pages. On the left hand side, I added the chapter number and title with the Large Wood Veneer Numbers and White Puffy Alphabet Stickers. I also tucked a small die cut from the March Kit beneath the number one. At the base of this page, I also added a Tiny Everyday Label Sticker, as well as a Spring Puffy Sticker. Cute!
On the right hand side, I glued a 3″ x 4″ journaling tag from the March Kit to the center of my page. This is where I’ll add my first family photograph from our upcoming Easter. For finishing touches, I adorned the page with more coordinating die cuts from the March Kit, and the “together” March Label, too!
Here’s another ‘ready to go’ page for this chapter:
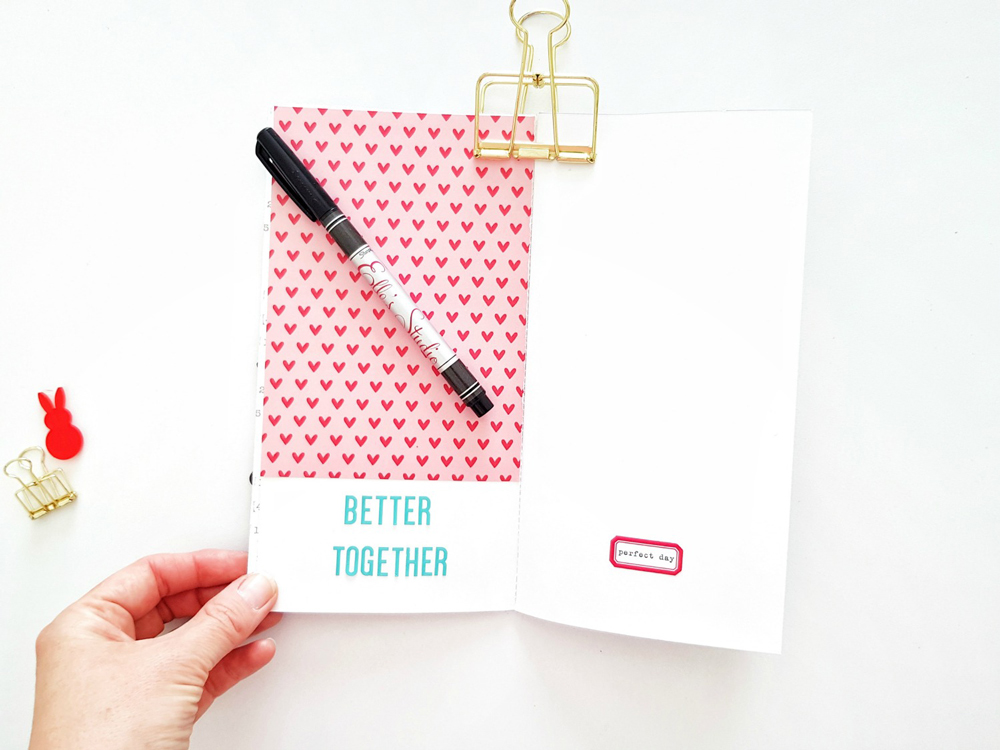
Supplies | Tiny Everyday Label Stickers, Jane Alphabet Stickers – Teal, Springtime 6 x 6 Paper Stack
How sweet is that Springtime patterned paper?! Again, I’ve kept to a simple layout design, and am just waiting for my 6″ x 4″ family portrait photograph to be glued onto the right hand side, to balance that patterned paper. Cute!
Let’s jump ahead to Chapter 2, ‘Hello Spring!’
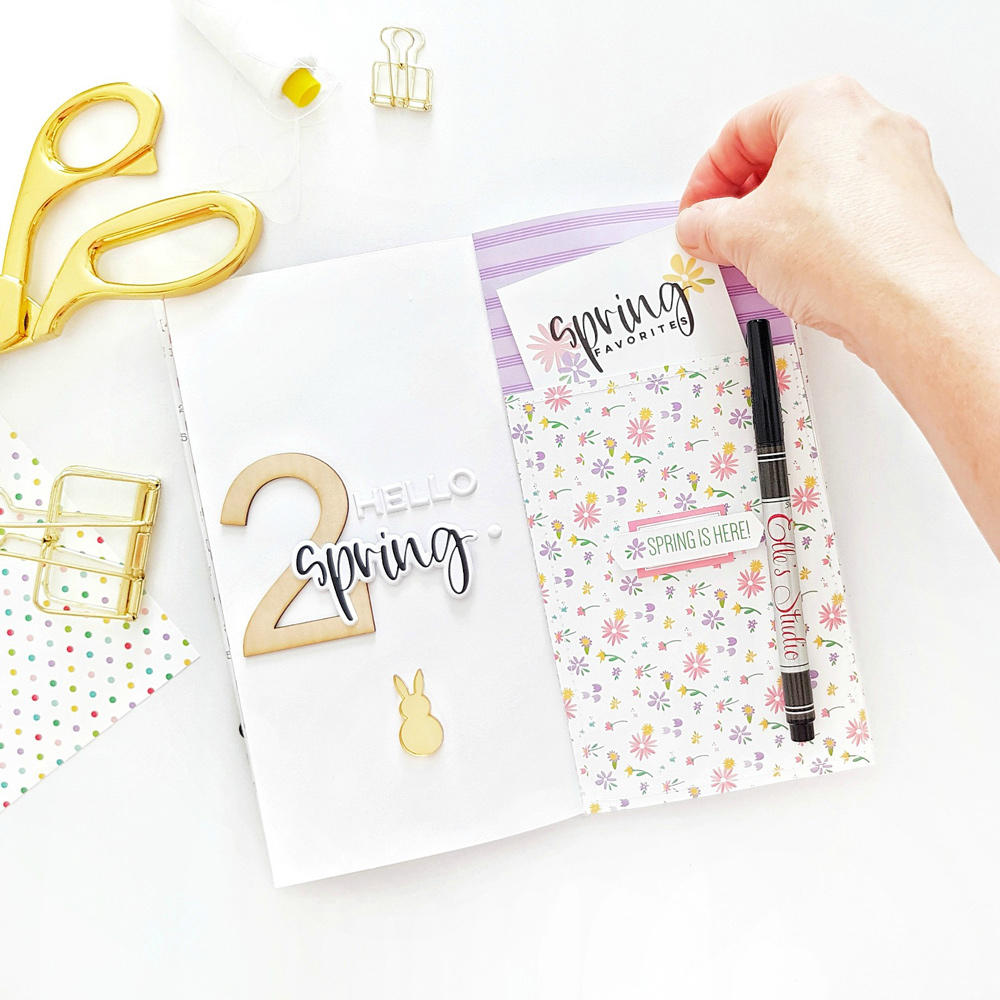
Supplies | March 2019 Kit, Spring Puffy Stickers, Little Acrylic Bunnies, Large Wood Veneer Numbers, Springtime 6 x 6 Paper Stack
I just adore interactive elements in any notebook or mini album, so stitching a journal pocket with the Springtime papers was a given! To highlight the spring feel, I chose that floral paper & coordinating journaling tag from the March Kit.
Here are a few more simple pages awaiting photos and memorabilia from this season:
Supplies | March 2019 Kit, Springtime 6 x 6 Paper Stack
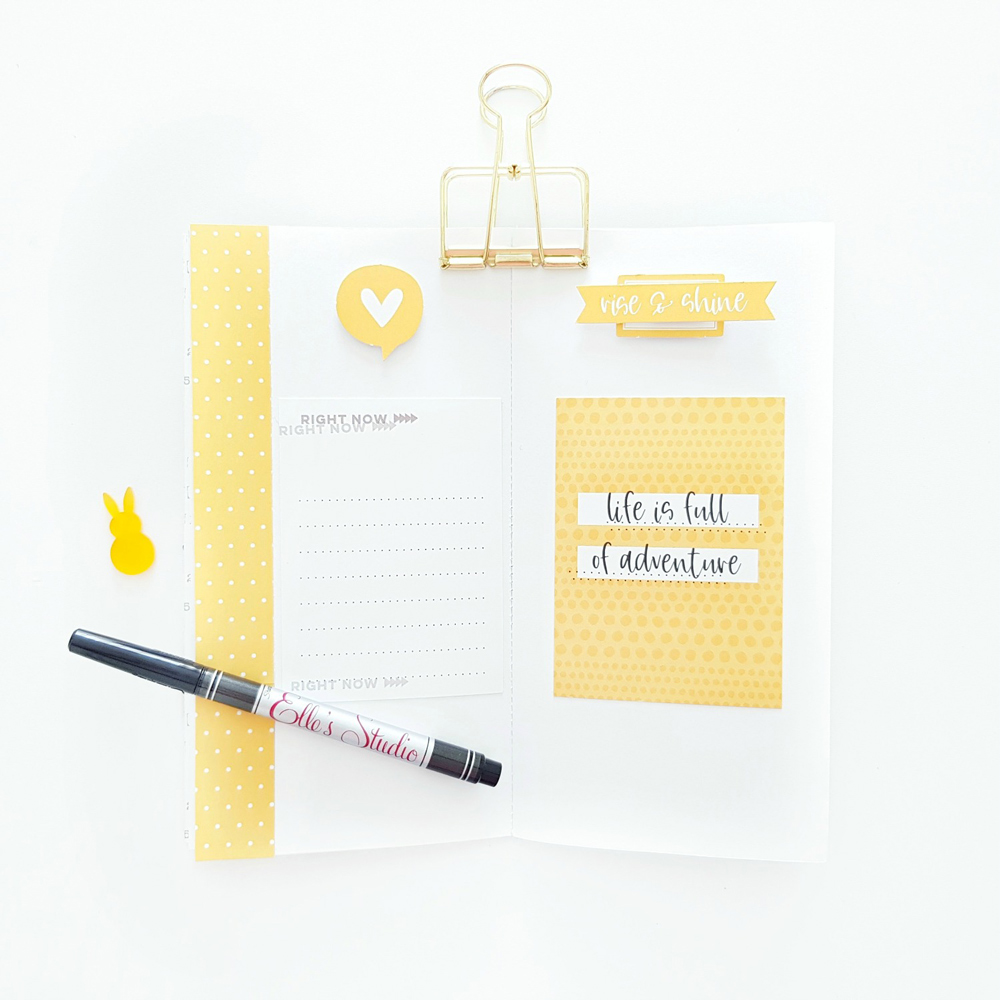
Isn’t this happy?! I created a monochromatic page with the all the yellow items in the March Kit. Nothing says sunshine and happiness more than yellow! I have ensured that my pages leave ample room for journaling and a photo, or two! Here’s another fun spring page:
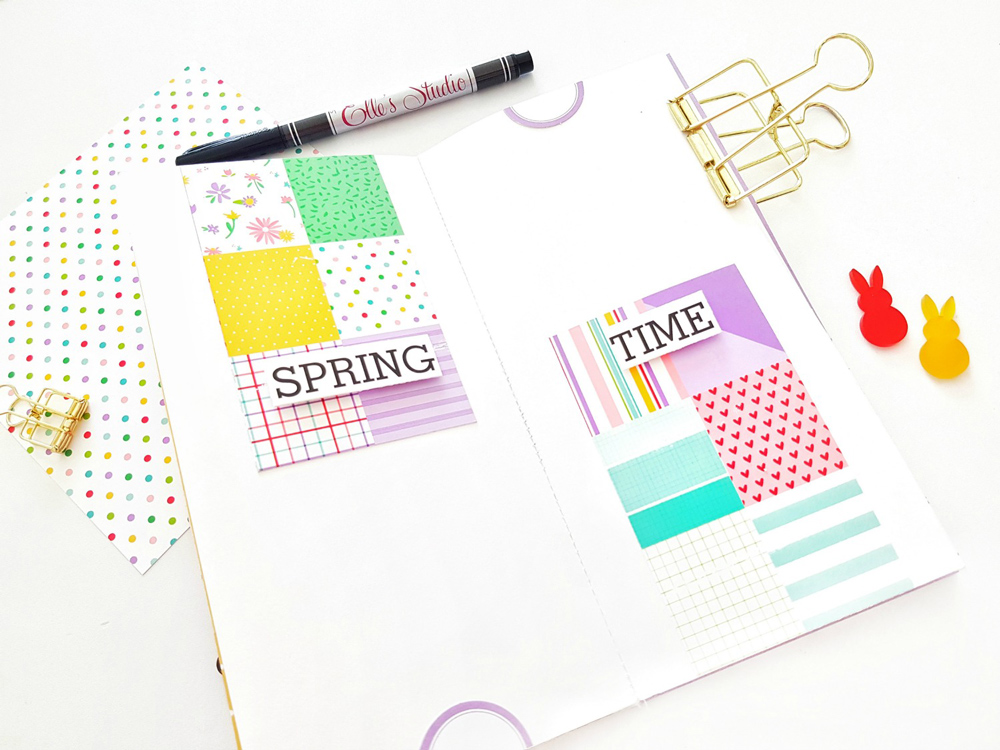
Supplies | March 2019 Kit, Springtime 6 x 6 Paper Stack
Oh, how cool is this? I created this fun spread by cutting up the Springtime 6 x 6 Paper Stack packaging label, and added a die cut from theMarch Kit. So simple, and so effective!
Let’s move on to Chapter 3, “Easter!”
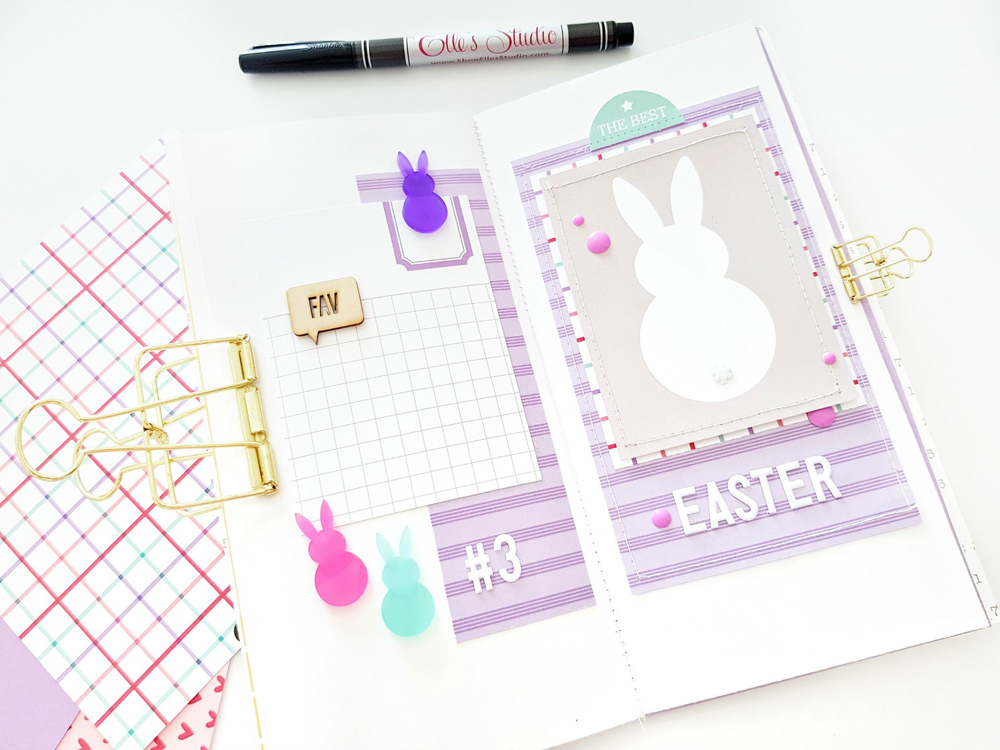
Supplies | March 2019 Kit, White Puffy Alphabet Stickers, Springtime 6 x 6 Paper Stack, Little Acrylic Bunnies, Wood Veneer Speech Bubbles
Oh how adorable! All the lil’ bunnies! Here’s another page in this chapter:

Supplies | March 2019 Kit, March Labels, Tiny Everyday Label Stickers, Tiny Everyday Label Stickers, Chocolate Acrylic Bunnies
Eeep! That Chocolate Acrylic Bunny is errrrything! Possibly my fave item from the add-ons this month!
That’s just a brief look at my Easter TN using the fabulous March Kit and new releases! Now all I need to do is get out my big girl camera for Easter, and take those photos! Ready, set, Easter is a GO!
I hope my post inspired you to go ahead & create a traveler’s notebook to record your Easter memories with! Thanks so much for stopping by today!

If you’ve been inspired by Amanda’s ready-to-document TN insert, share your own project on Instagram using the #EllesStudio hashtag, or in our Elle’s Studio Facebook Group!