Our guest designer Melissa Morrelli inspired us last week with a beautiful traveler’s notebook spread, and this week, she’s switching things up to share a fun mini album that’s easy to put together in just minutes using only paper! We know you’ll want to create your own after you see her post. Let’s take a look!
Hi Friends! It’s Melissa and I’m back today to share another style of project that I’m also very fond of. Today I’m sharing a mini album documenting Easters past.
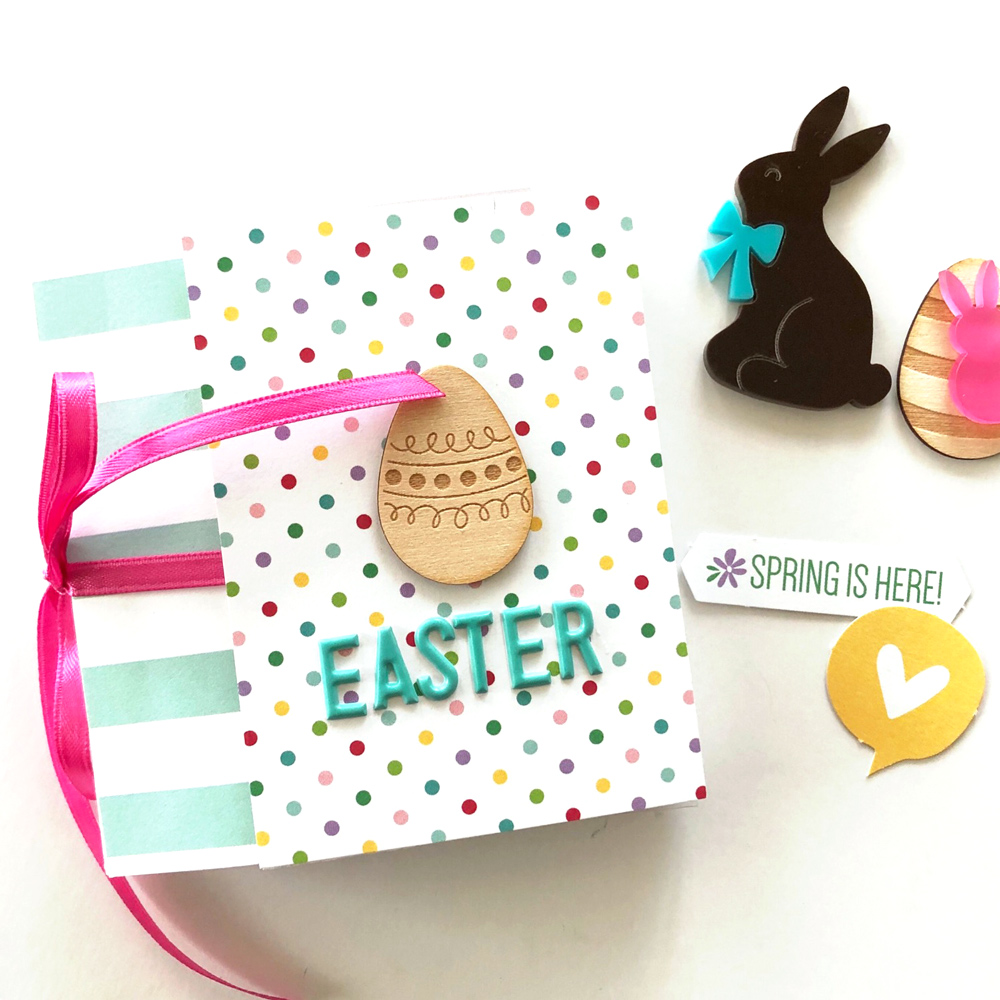
Supplies | March 2019 Kit, Tiny Everyday Label Stickers, Teal Puffy Alphabet Stickers, White Puffy Alphabet Stickers, Spring Puffy Stickers, Wood Veneer Easter Eggs, Chocolate Acrylic Bunnies, The Details Stamp, Springtime 6 x 6 Paper Stack
To get this project started, I got my mini album assembled. Assembling the album is really where the majority of the time goes into doing this type of project and it really is quite simple to assemble. Just follow these simple steps that I found from fellow scrapbooker, Enza Gudor:
- For the cover, use a 11.75” x 4.25” piece of white cardstock. Score at 4” and 4.25”, then again at 3.25” and 3.5” after rotating it 180 degrees.
- Cut the inside sheets at 4″ x 8″, score in the middle and fold. Adhere these sheets of paper back to back and adhere to the inside of the front and back covers of the mini album.
- For a bit of a change, use vellum and transparency for your pages and stitch your papers onto the the spine of your album. I will warn you, the clear transparency paper is stiff and made it a bit of a challenge to keep the book open by itself, especially while trying to photograph, but the transparency did not compromise turning the pages in the album at all.
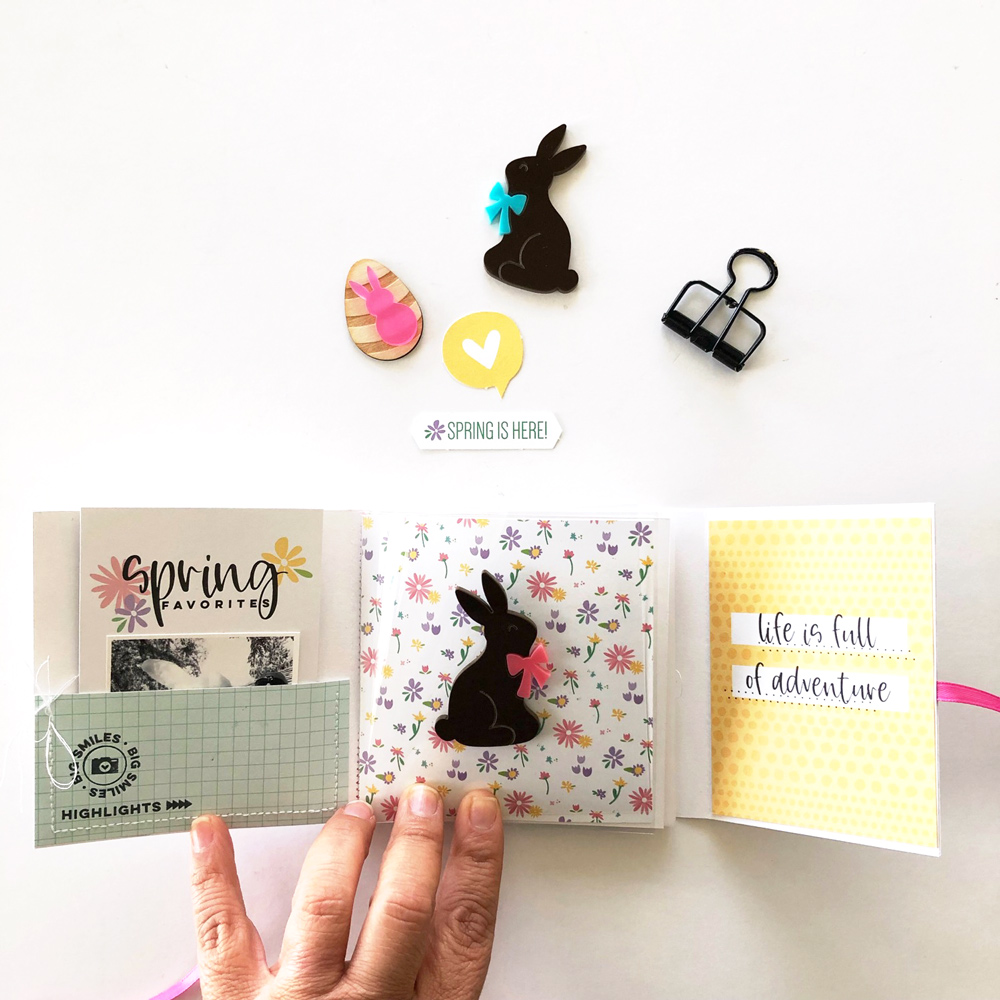
To be able keep my album closed, I attached some thin ribbon to the outside cover of my album (small, front cover and back cover) using double sided tape. Then, I created some pockets on the inside of my album (to the larger front cover and back cover) by stitching on a small piece of paper with my sewing machine. Lastly, I covered my album (all three sides) with cute paper from the Springtime 6 x 6 Paper Stack, which is the perfect size for a project this size! I embellished the small, front cover with one of the super cute Wood Veneer Easter Eggs and I titled my album “Easter” using the Teal Puffy Alphabet Stickers.
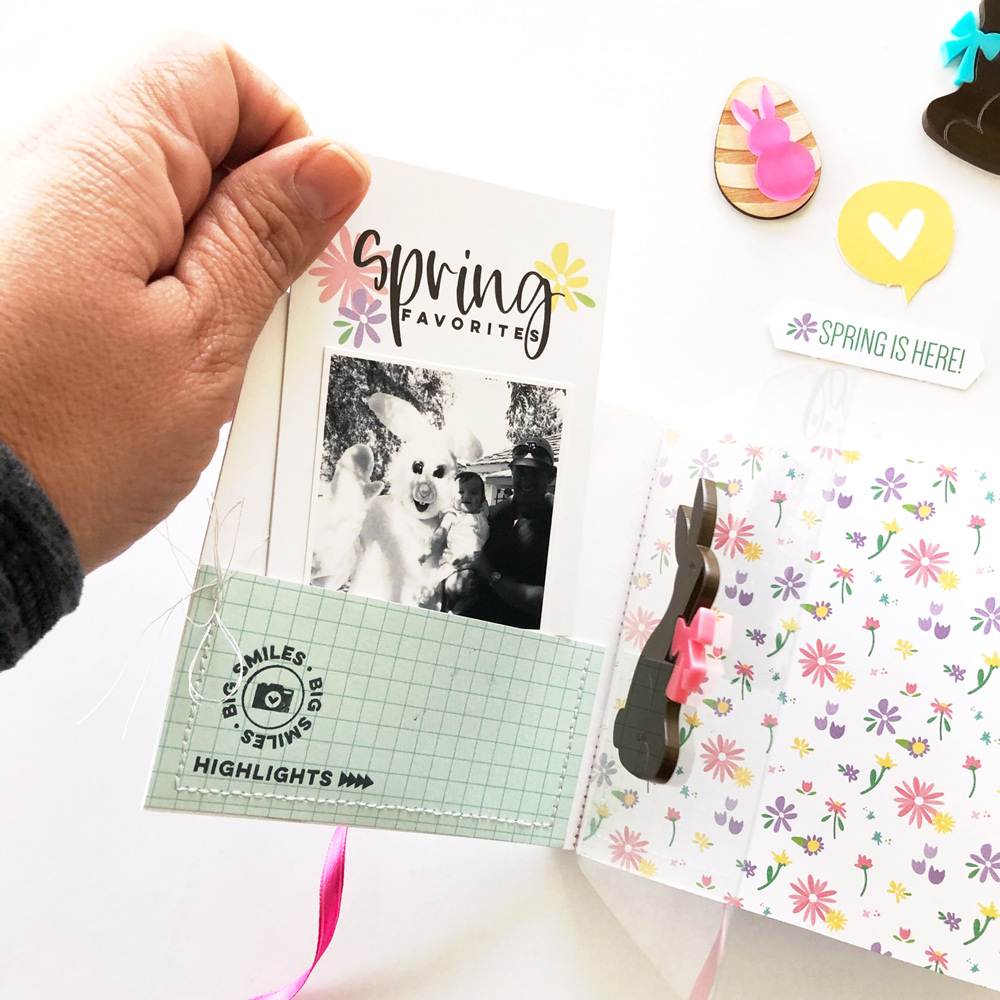
I printed quite a few of my favorite Easter pictures of my kids and family. To keep things simple, I printed all my photos at 2.25 x 2.25″. Another reason this project came together so quickly is the use of the coordinating March kit and extras. Using these supplies took all the guess work out of coordinating my supplies!
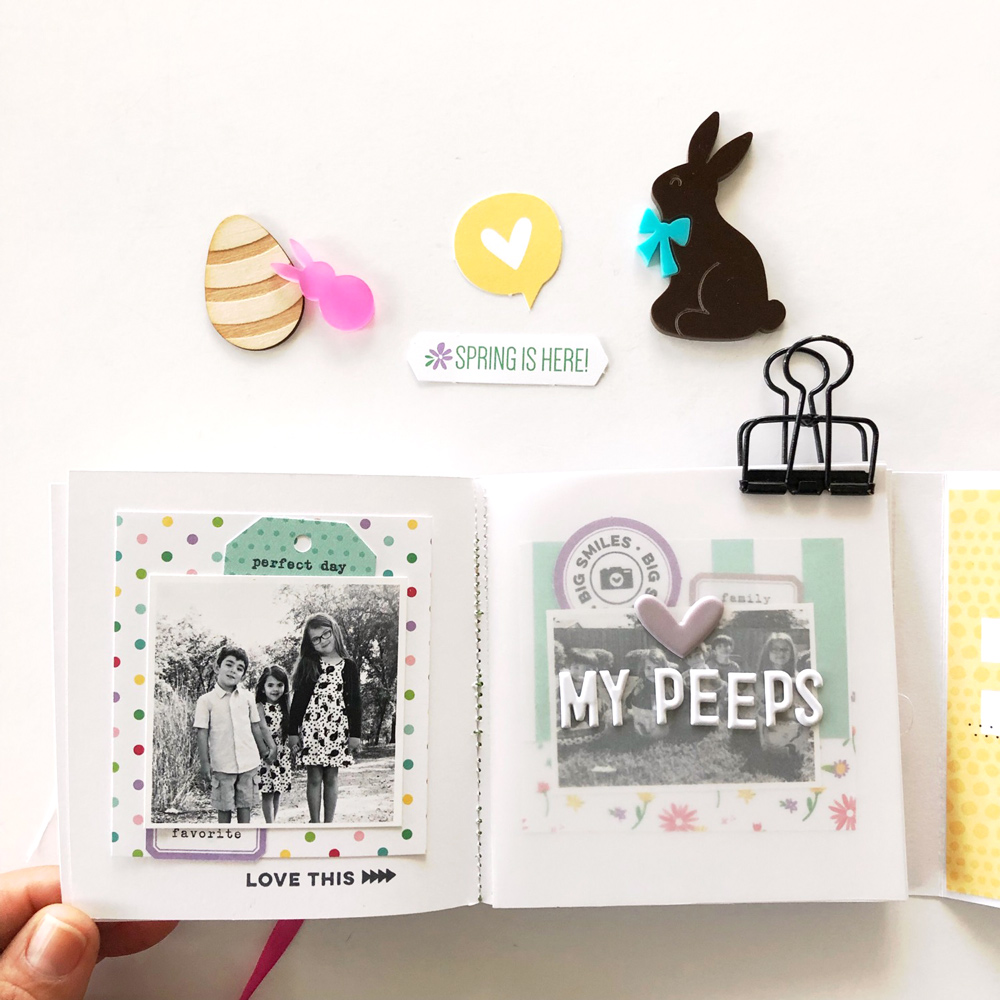
Using paper from the Springtime 6 x 6 Paper Stack and tags from the March 2019 Kit, I just added a few layers behind all of my pictures to add in fun colors to my black and white photos. After getting all my pictures and paper layers glued into the album, I went back and started embellishing with more wood veneer pieces, those yummy looking Chocolate Acrylic Bunnies, Spring Puffy Stickers, Tiny Everyday Label Stickers and phrases from The Details Stamp. I love the addition of the vellum and clear transparencies in the album and how the embellishments on them stand out.
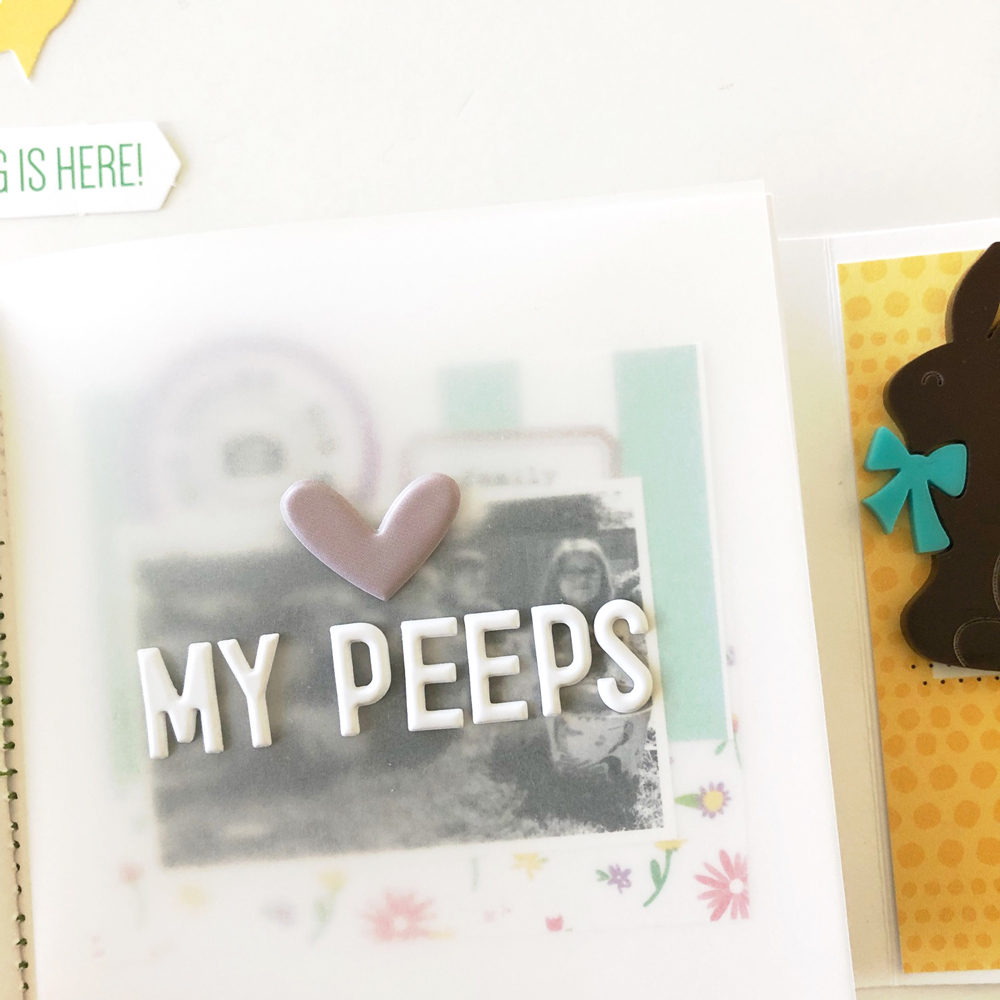
The addition of the pockets on the inside and back cover of the album gives me more space to add more stories for Easters to come! I hope this project has inspired you to get your Easter stories documented, too!

Hello, Elle’s Studio fans! I’m Melissa Morrelli, an obsessed picture taker and story teller. I am so thrilled to be a guest designer this month for Elle’s Studio. My absolute favorite method for documenting my family stories is in a traveler’s notebook—I really appreciate the compact size! My other paper love is making mini albums for special occasions (birthdays, holidays and vacations.) I live in California with my family, my favorite subject to photograph and tell stories about. We are an active family and we love the outdoors (you can always find us where the wild things are!) There’s never a dull moment in my life and there is always a story to tell.
I really hope I inspire you to make something fun!
We can’t wait to see what Melissa creates next week using the March kit and add-ons! Until then, follow her at her Instagram account, @melissamorrelli, for more mini album and traveler’s notebook inspiration.
