We love our new Title Builder Vol. 2 products for creating easy and fun titles for everything to scrapbook layouts to traveler’s notebooks, but what else can you do with the stamp, wood veneer and acrylic? Today, Amanda-jayne Baldwin is going to show us how we can create a beautiful background for a scrapbook layout that showcases the versatility of these fun products!
Hi, Elle’s Studio friends! It’s Amanda here, and today I am super excited to be shining the spotlight on the fabulous Title Builder Vol. 2 Stamp & Acrylic!
As the name suggests, these products are designed for creating the perfect project titles, but, as you’ll see from my layout today, they are crafted for so much more!
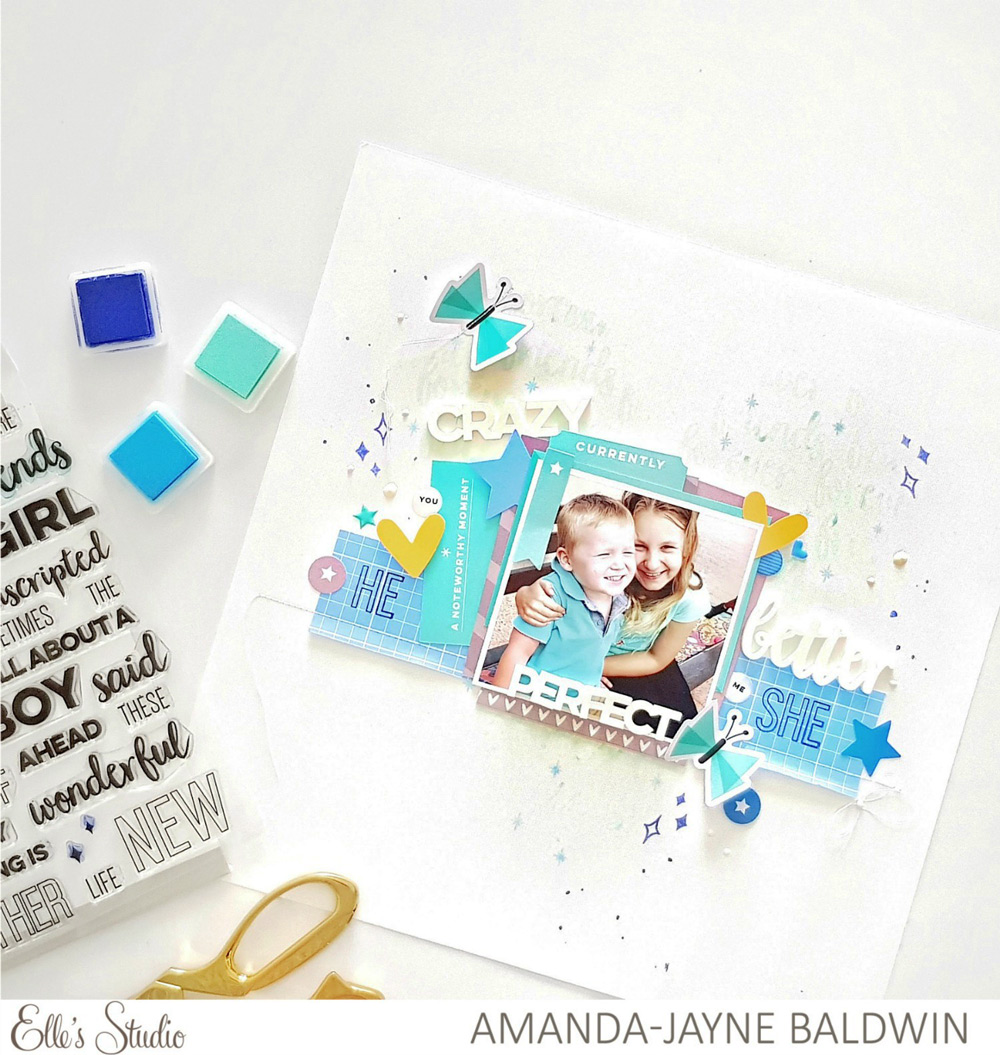
Supplies | Title Builder Vol. 2 Acrylic, Title Builder Vol. 2 Stamp, Noteworthy Double-Sided Journaling Tags, Noteworthy Bits and Pieces, Noteworthy Epoxy Stickers, Noteworthy Puffy Stickers, Noteworthy 12″ x 12″ Paper Collection
Oh how lovely! From that super fun title, to that dreamy soft background—this stamp has it all! Bold titles are amazing, but using the Title Builder Vol. 2 Stamp to create soft and delicate backgrounds too?! That’s crazy good! Let’s take a closer look:
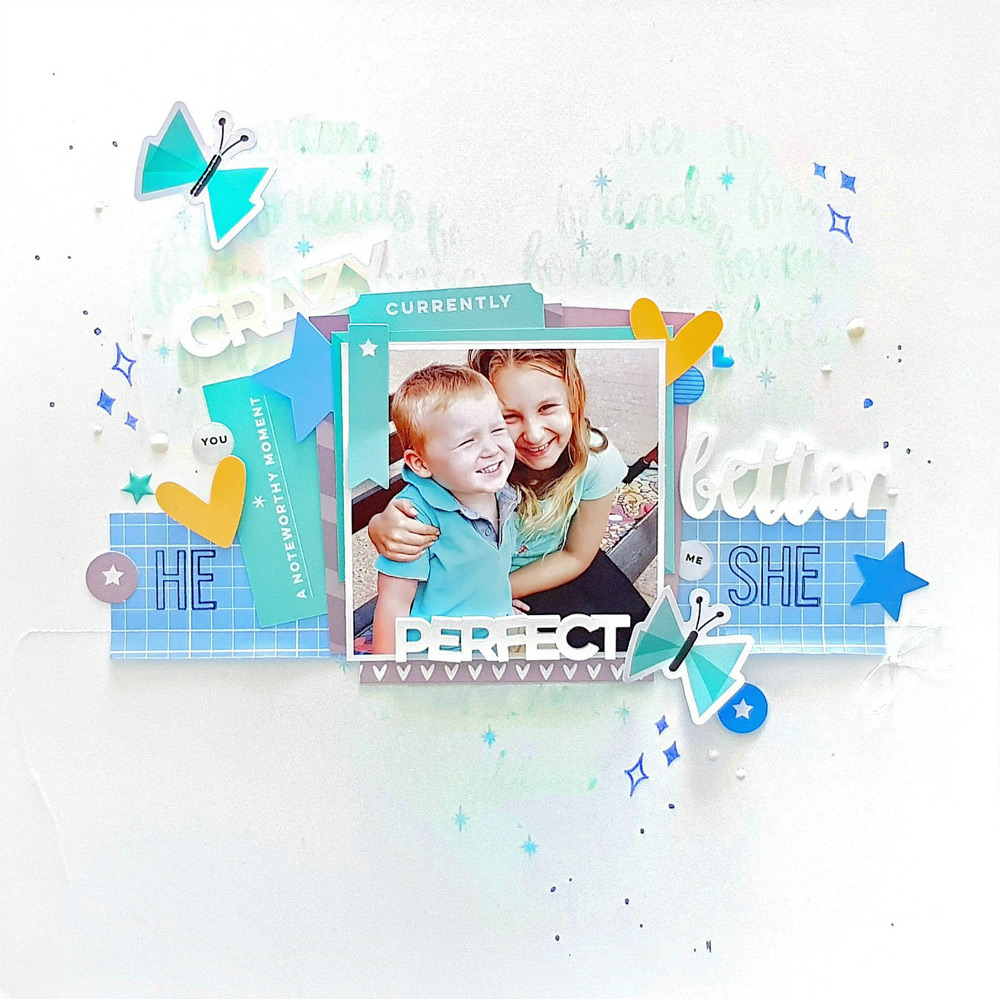
Crazy.Better.Perfect indeed! SO awesome! To create that soft stamped heart background, I repeat stamped “forever friends” in mint ink over a heart stencil. I then inked cyan asterisks into some of the “gaps.”
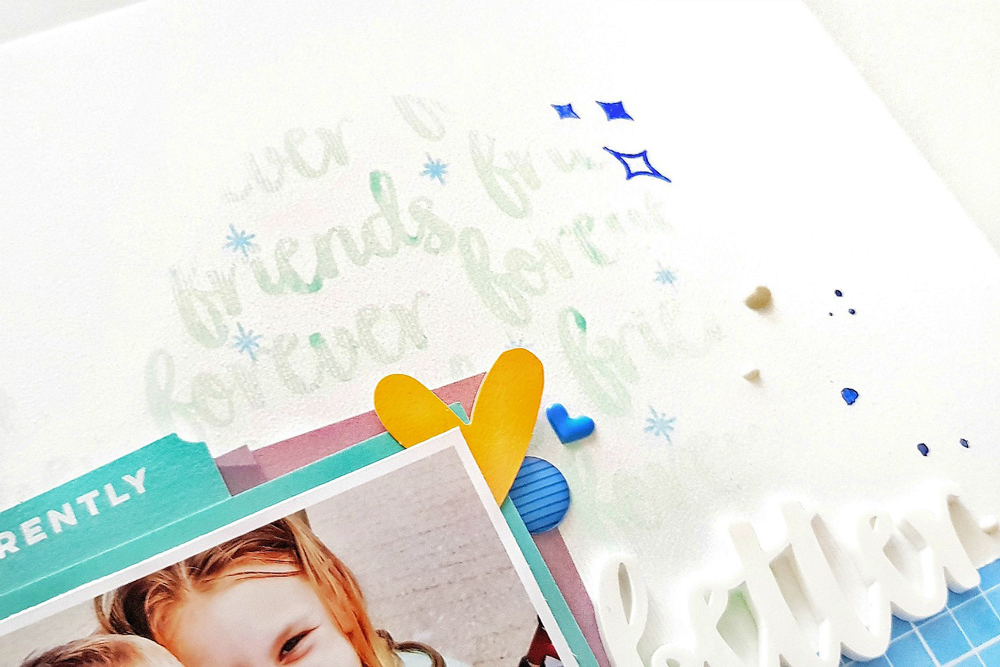
For finishing touches, I stamped the diamonds, which you can also find on the Title Builder Vol. 2 Stamp, in royal blue and flicked a few inky splatters for good measure. Love it!
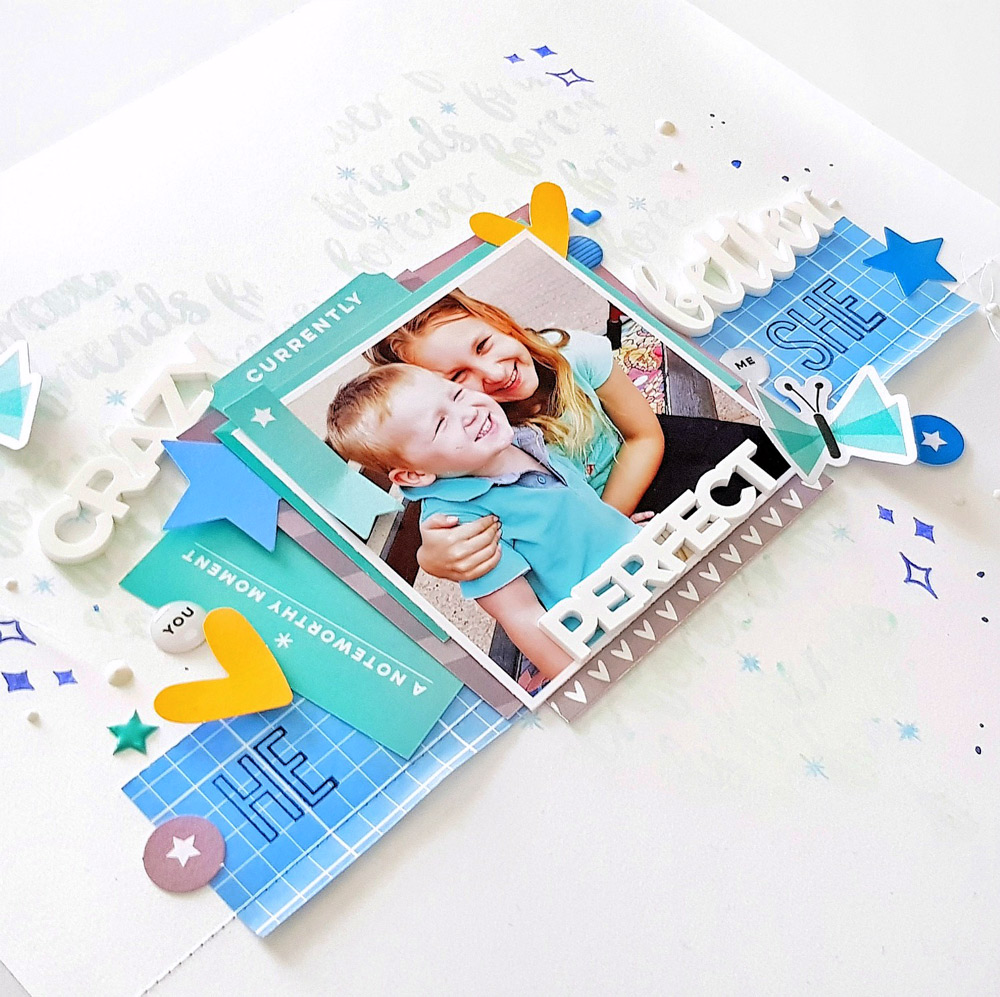
What a fabulous way to incorporate stamping into your layouts! Of course this is a Title Builder feature, so naturally I used the Title Builder Vol. 2 Acrylic plus the “he” and “she” stamps, which I stamped with black ink onto the pretty blue grid paper from the Noteworthy 12″ x 12″ Paper Collection to form my title too! All of those pretty layers beneath my photograph, as well as the embellishments are also from the Noteworthy collection.
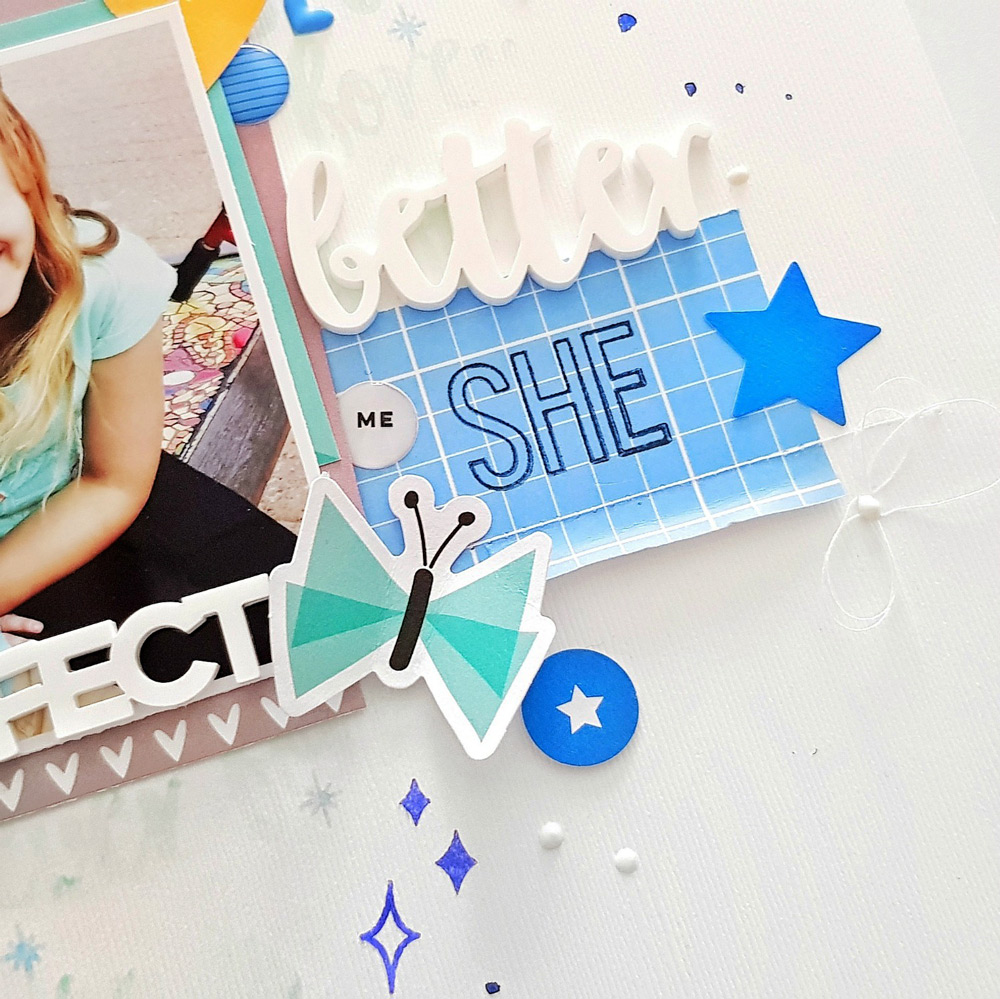
In keeping with the softness of this page, I kept the Title Builder Vol. 2 Acrylic white. Had I been looking for a more striking result with big impact, I would have treated them with permanent ink or even an opaque paint.
Here’s one last look at those fabulous acrylics:
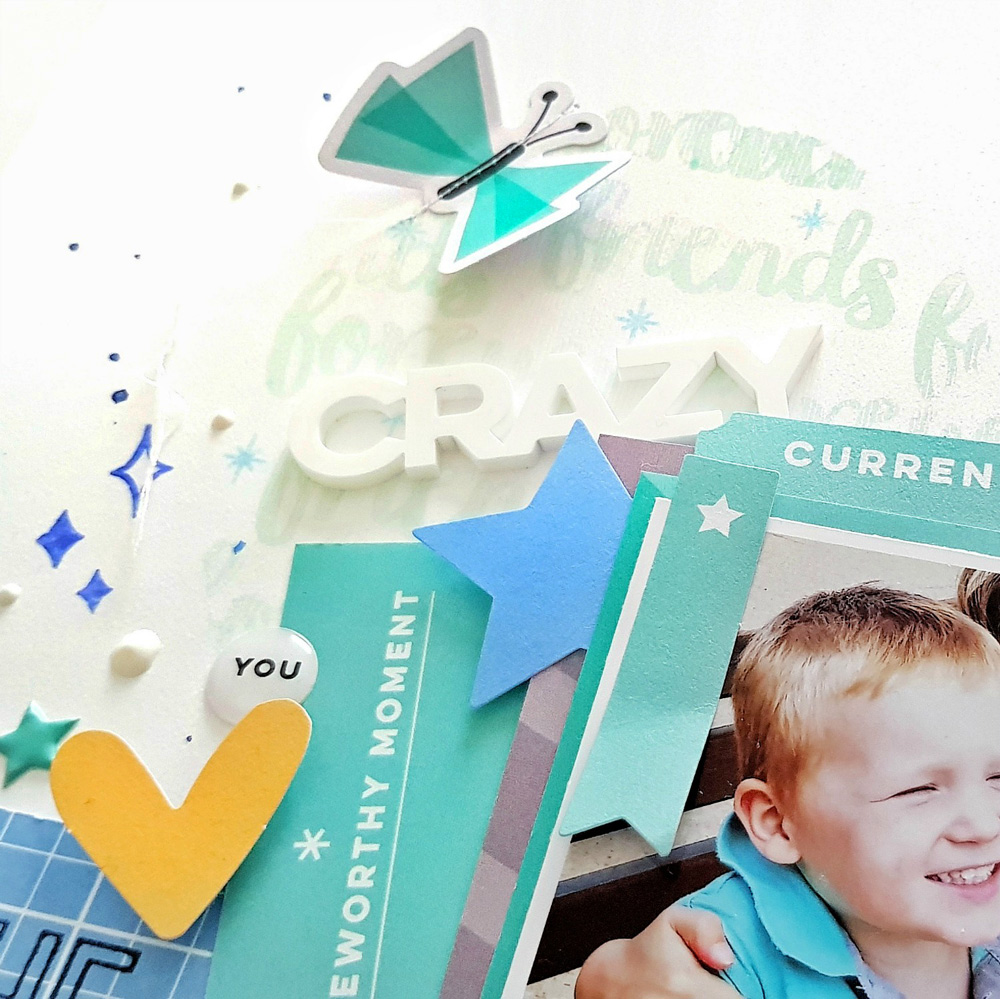
Crazy good! I hope that I have inspired you to use your Title Builder Vol. 2 products creatively!
Thanks for visiting!

Doing More with Title Builder Vol. 2!
