Have you seen that our Title Builder Stamp and bundle are back in stock in the shop? Today, we’re still documenting those summer memories with Maggie Massey, and she’s showing just how useful the Title Builder products are, as well as how to embrace the “not so perfect” on the layout she’s sharing with us! Let’s take a look.
Hello, hello everyone! It’s Maggie here with a look at a page I created using the new Title Builder Stamp.
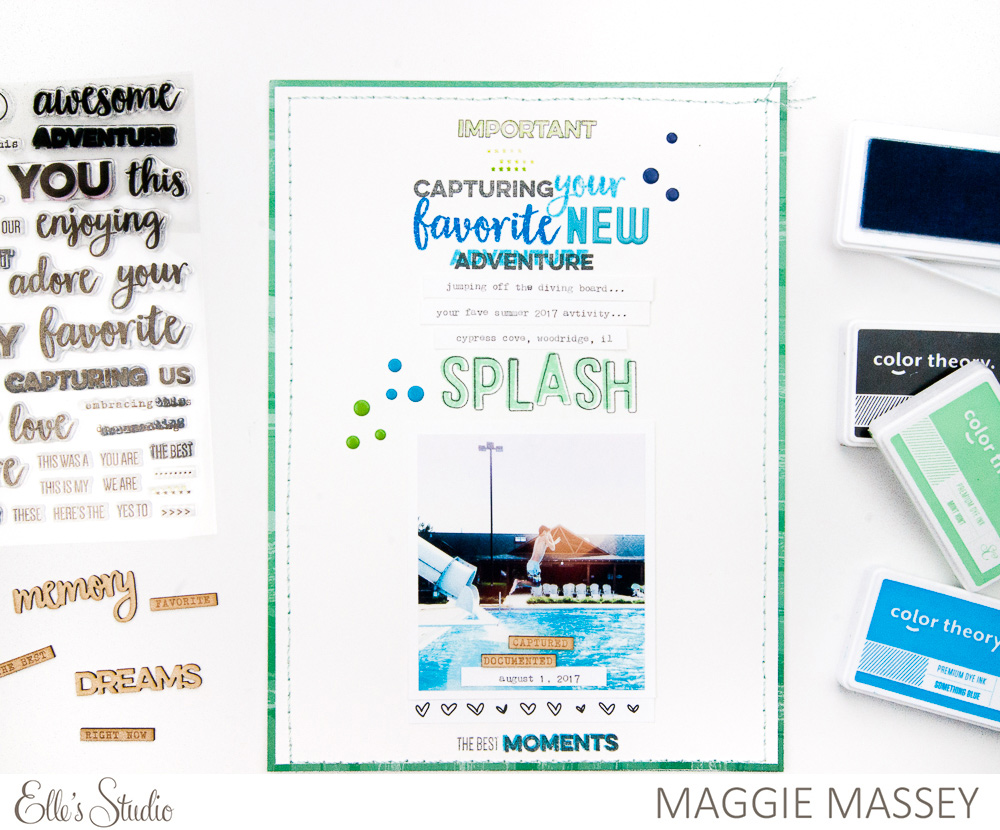
Supplies | Title Builder Stamp, Title Builder Wood Veneer, Sky Blue Puffy Alphabet Stickers, Stanley Alphabet Stamp – Solid, Stanley Alphabet Stamp – Outline, Summer Puffy Stickers, Live Laugh Love 12″ x 12″ Paper Collection
This summer has been packed with day trips, short little vacations & visits to one local pool or another. My younger son, especially, has been in HEAVEN. He adores being outside, and he’ll often leave to go play with his friends the minutes he’s done eating breakfast in the morning. I’ll see him for a few minutes during lunch & dinner, and that’s it. He just can’t get enough play time. One of the things he’s had the most fun doing this summer is swimming—along with his new favorite activity: jumping or diving off the diving board. I took a photo of him jumping one afternoon and I love it. Title Builder Stamp was the perfect tool to use to document it.
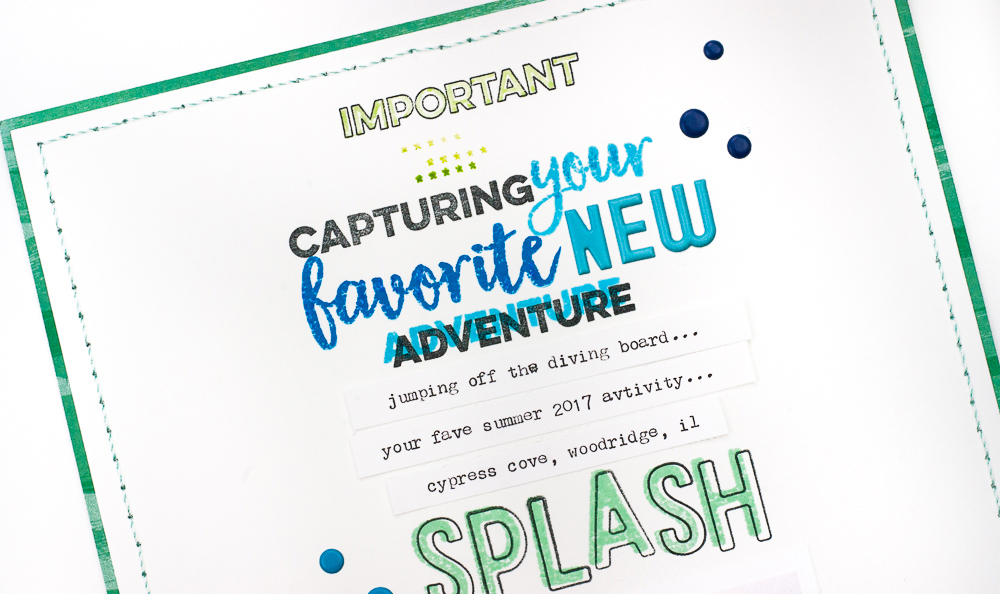
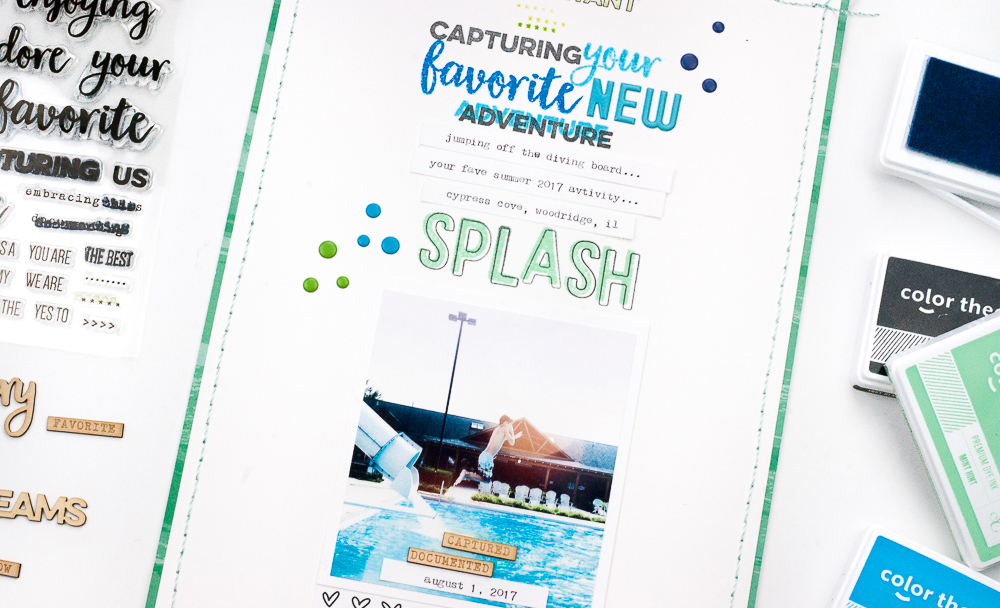
Each time I work with this set I start the same way. I scout the amazing title list PDF file that comes with your stamp purchase, then I try to customize the title to fit with my photo. For this page, I decided that the sentiment, “capturing your favorite new adventure” was just perfect.
I started this layout with my photo, and then just built up the rest as I went. I added the “SPLASH” sentiment first, using both the Stanley solid and outline stamps, a few lines of journaling second, and then my title last, working from the bottom up.
I didn’t want to stamp the entire title in black, but I sometimes feel that lighter colors don’t make enough of an impact. So, I decided to stamp the word “ADVENTURE” in blue first, and then go over it in black. I love the effect…and it really makes the word stand out. I used a couple of darker blues for both “your” and “favorite,” and, when the ink didn’t make a great impression, I simply went over the words with a marker to fill them in a bit. Why start over when you can just make do—plus the words resemble the rippling water in my photo, which fits in with my story!
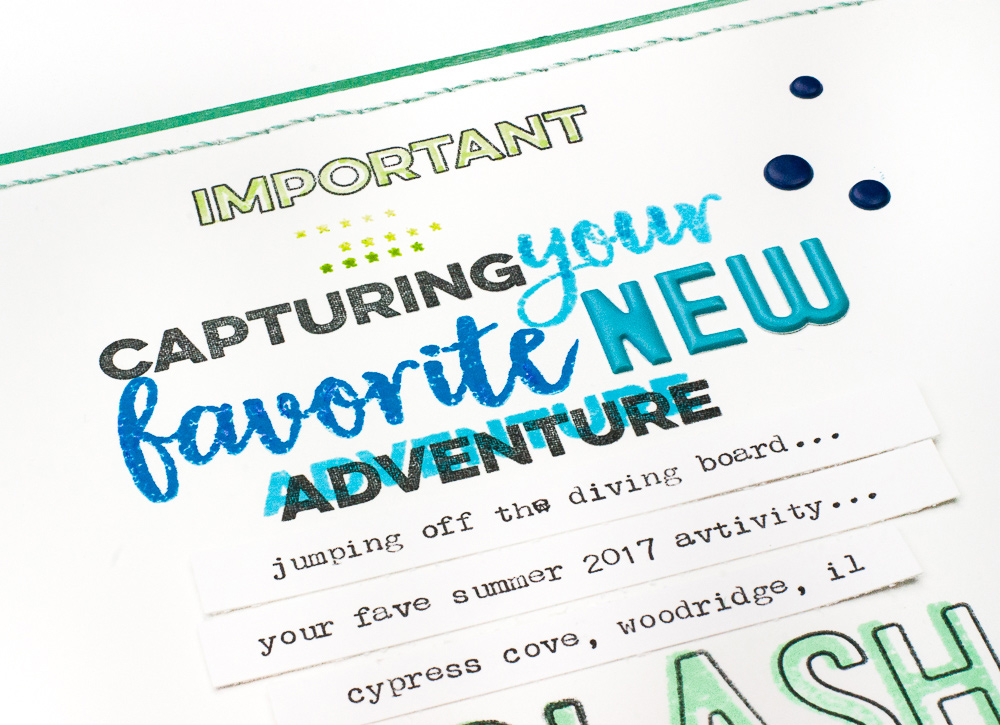
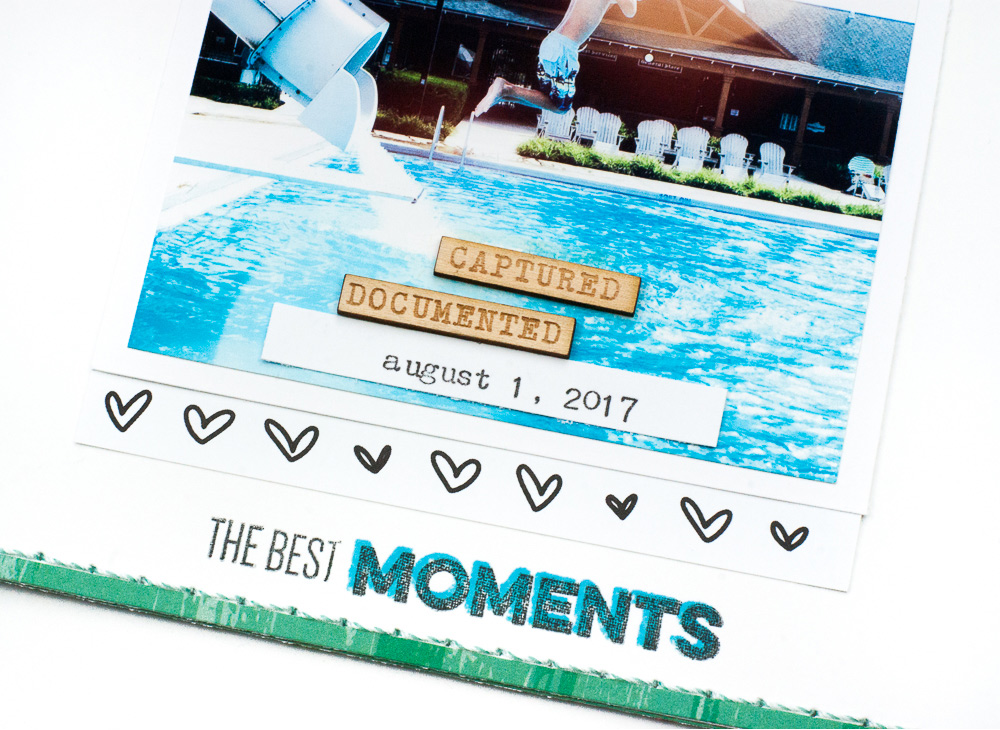
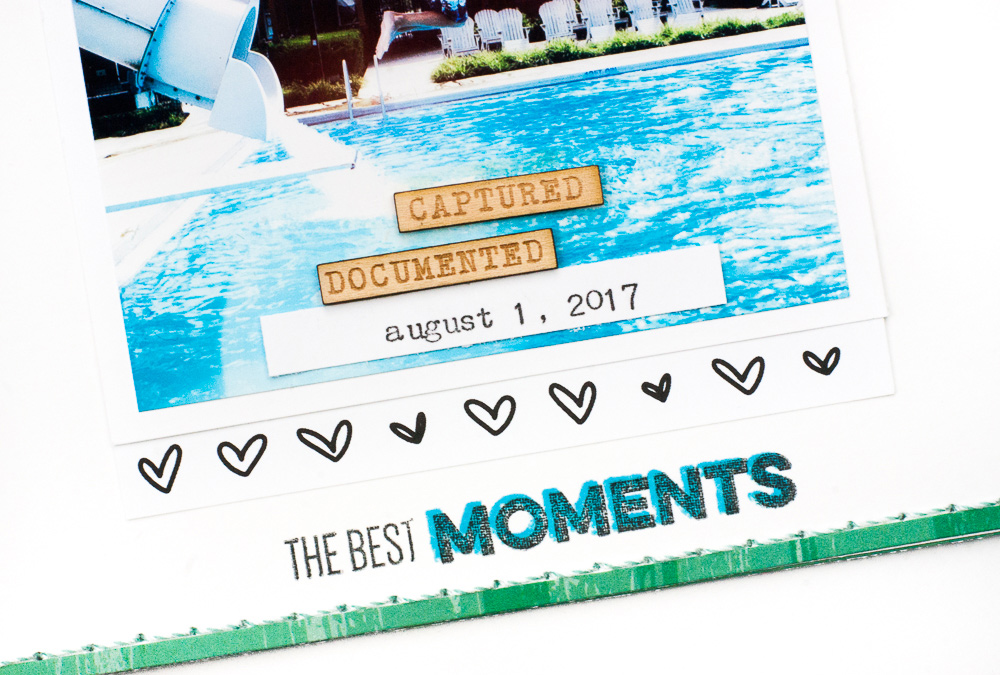
I finished off with a few more sentiments from the stamp set, “IMPORTANT” and “THE BEST MOMENTS,” stamped on the the top & bottom of my page. After adding “captured and “documented” from the Title Builder Wood Veneer to the negative space in my photo, along with the date, I called this one done!
I love using the Title Builder Stamp! It really is the most versatile, most use-able stamp set I own!
Thanks so much for taking a look!
Making the Perfect Title with Title Builder and Maggie Massey