
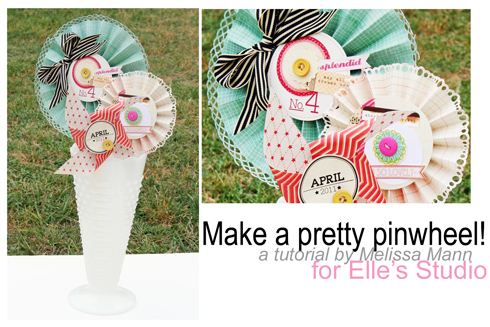
I am super excited to share my tutorial with you guys this month! I have been loving the different pinwheels I have been seeing in the online world lately! This is the project I’ve picked for my tutorial and they are SUPER easy to make!
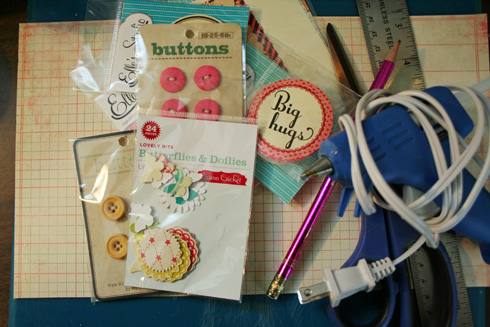
You will need:
Patterned Paper
Hot Glue Gun
Pencil
Ruler
Embellishments – buttons, tag, flowers, ribbon, etc.
Thin Dowel Rod (can be bought at a local hardware store)
Scissors
Paper Trimmer
Border Punches
Cardstock
Paint
Paintbrush
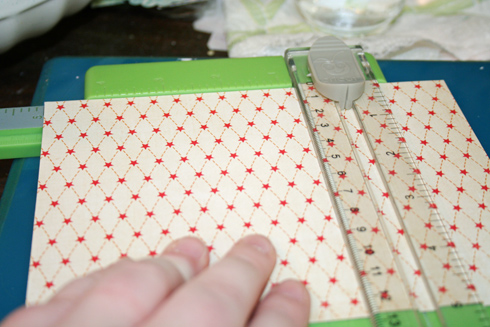
Start by trimming down piece of paper to a square. I trimmed mine down to 8”x8”.
Take your ruler and place it diagonally between two opposite points of your paper and pencil in a line towards the middle of the paper. Do this to all 4 points.
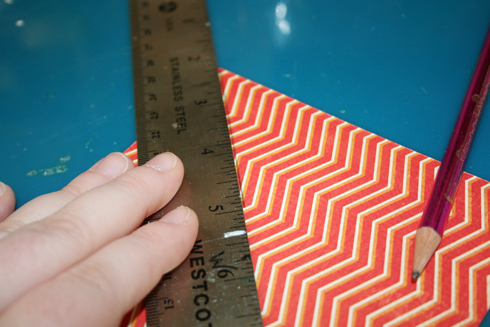
The end result should look like this:

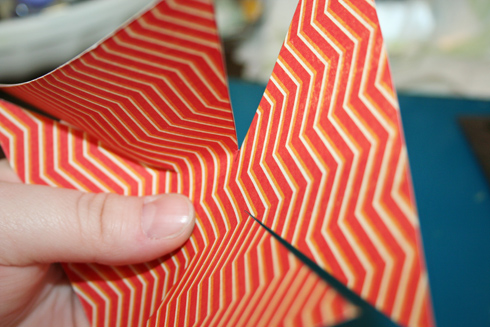
Using your scissors, cut from each point to the inside of the paper like this:
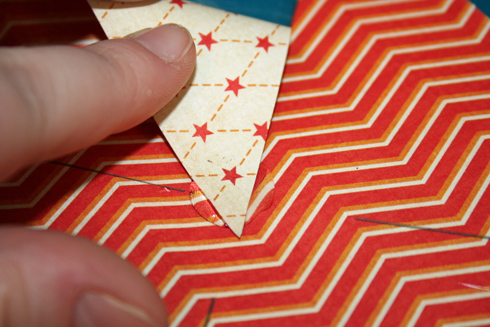
Now, you will need to put a drop of glue in the middle of the paper and bring one point to the inside and place the tip of it in the glue.
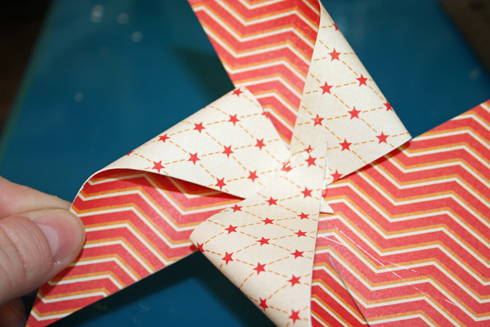
Continue this process using EVERY OTHER point until you have finished gluing all the points down. You should now have a traditional looking pinwheel!
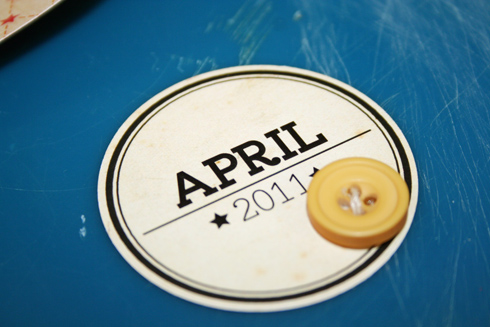
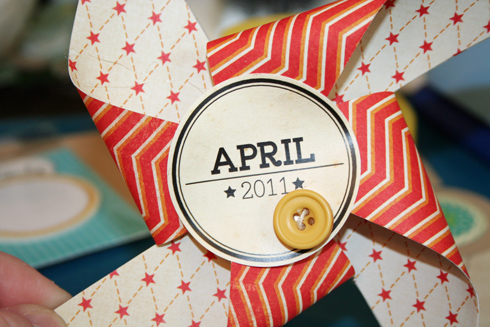
Take a tag and a button and hot glue the button to the tag. Then glue the tag to the middle of the pinwheel.
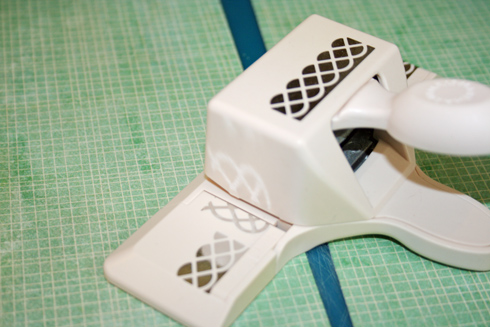
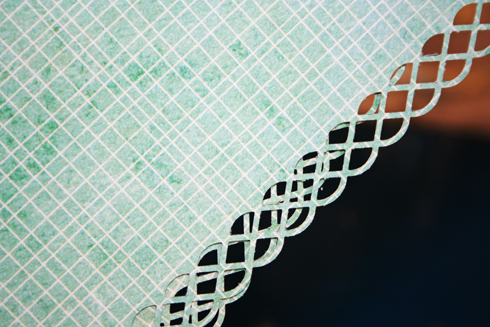
Now, to make a circular pinwheel, take a piece of patterned paper and cut out two strips 4” x 12”. After cutting those out, use a border punch on one side of the strip of paper.
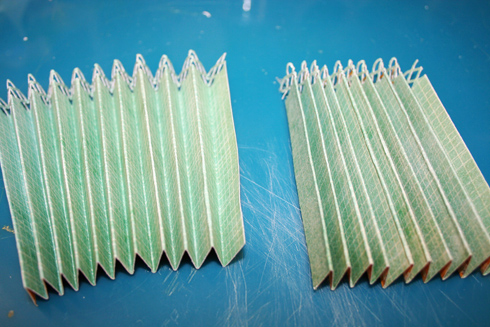
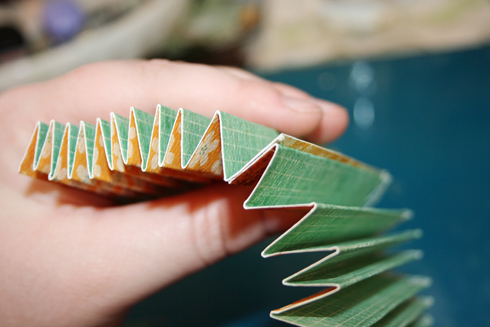
Then, you will need to fold these strips accordian style. They should look like this:
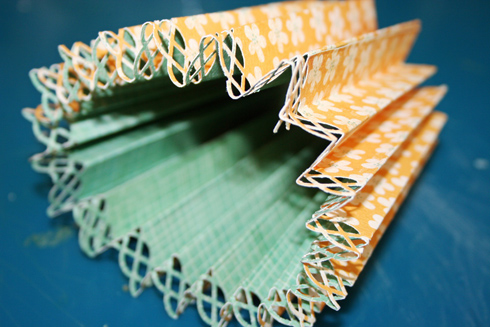
After both of these strips have been folded, you will need to glue these two pieces together. Take one end of each strip and glue the last folds together like this:
Then glue the ends of the other side together and you should have a circle of paper.
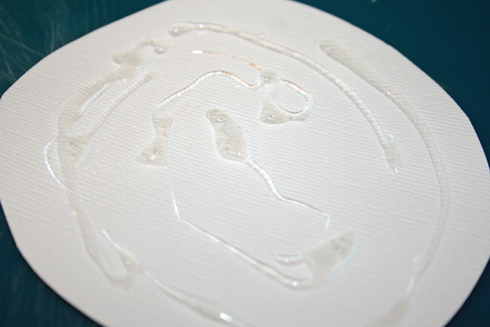
Now comes the tricky part! Take a piece of cardstock and liberally apply hot glue all over one side.
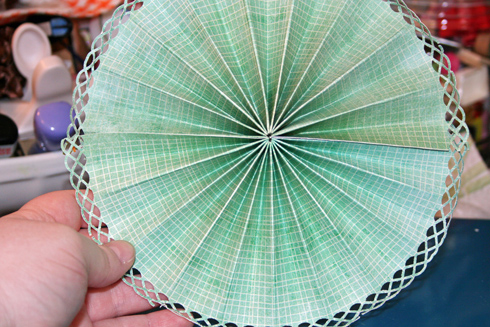
Take the circular piece of patterned paper that you glue together earlier and you will need to push out the sides to make a flat circle – all the inside points should come together like this:

Carefully lay this on the top of the cardstock with the hot glue and hold in place until it is solidly adhered down.
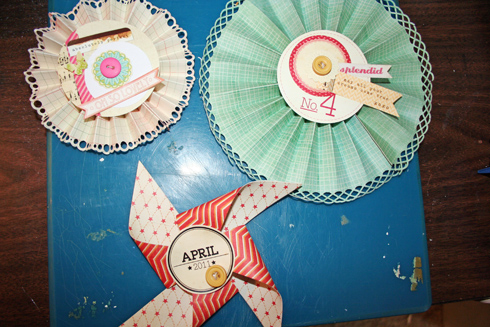
The end result should look like this:
I also made a smaller pinwheel by using smaller strips of paper 2 ½”x12” and followed the same steps.
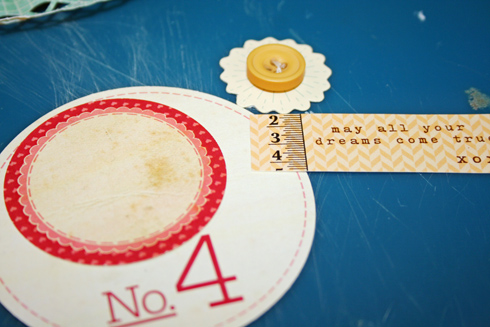
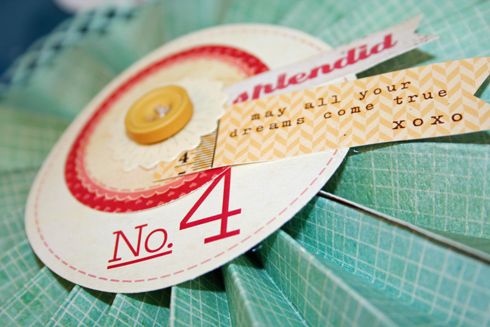
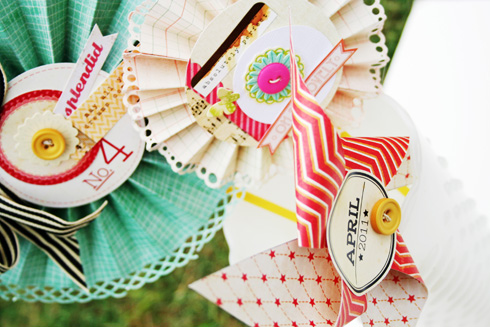
Now comes the fun part of decorating the pinwheels!
Gather your embellishments and layer them together to create the middle’s of the pinwheels.
Now, take your dowel rod and cut it down into appropriate lengths for your three pinwheels. Be very careful when doing this! I used my scissors to do this – just please be careful!
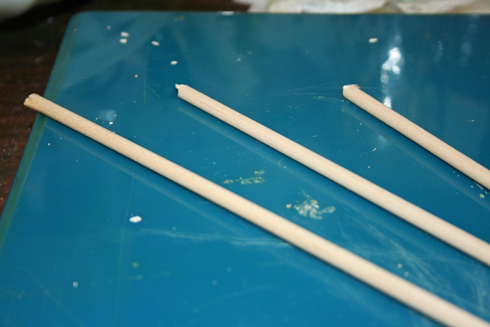
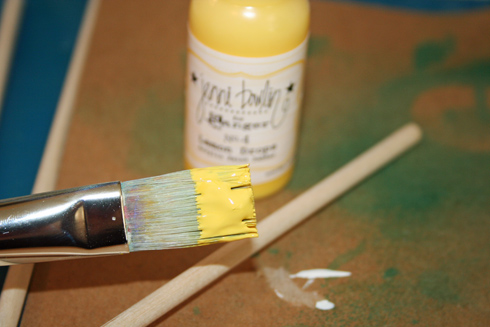
After you have them down to the length you need, pick out a color of paint and paint them. Let them completely dry. I did not completely paint the entire length of the dowel rod – I used one end to hold it while I painted and then made to sure to use that end to glue down to the back of the pinwheel.
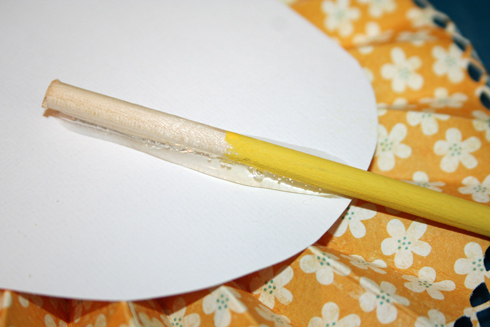
After they have dried, flip over your pinwheel and place a strip of glue in the appropriate place on the backside and then hold the dowel rod in place for a few moments for it to completely adhere.
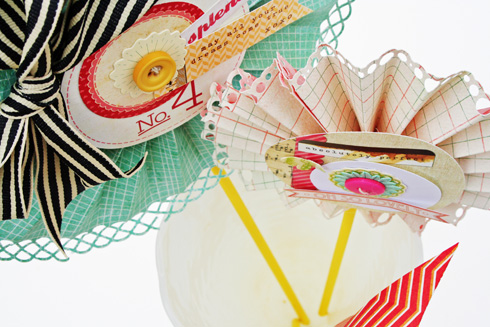
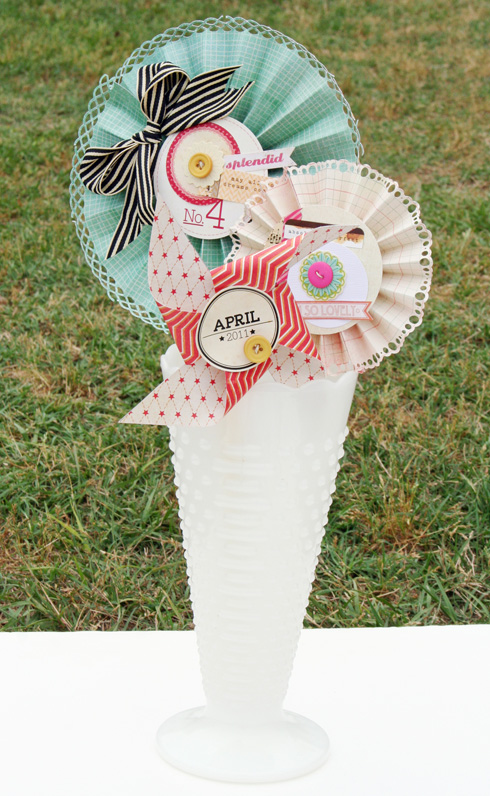
Do this for all three pinwheels and let the hot glue completely cool. After the glue has set, place your pinwheels in a pretty vase to decorate a room! I placed mine in a milk glass vase I recently picked up and they are gracing the top of my piano 🙂
I hope you enjoyed this little tutorial! If you make some pinwheels, be sure to share them with us! I would love to check them out!
Comments