Hello Elle’s Studio friends! It’s Nathalie here to share two greeting cards created with the April kit and a few add-ons. With Mother’s Day at the end of the week, I hope to inspire you to take some time to whip up a couple of beautiful and meaningful handmade cards for the mothers, grandmothers, sisters in your life.

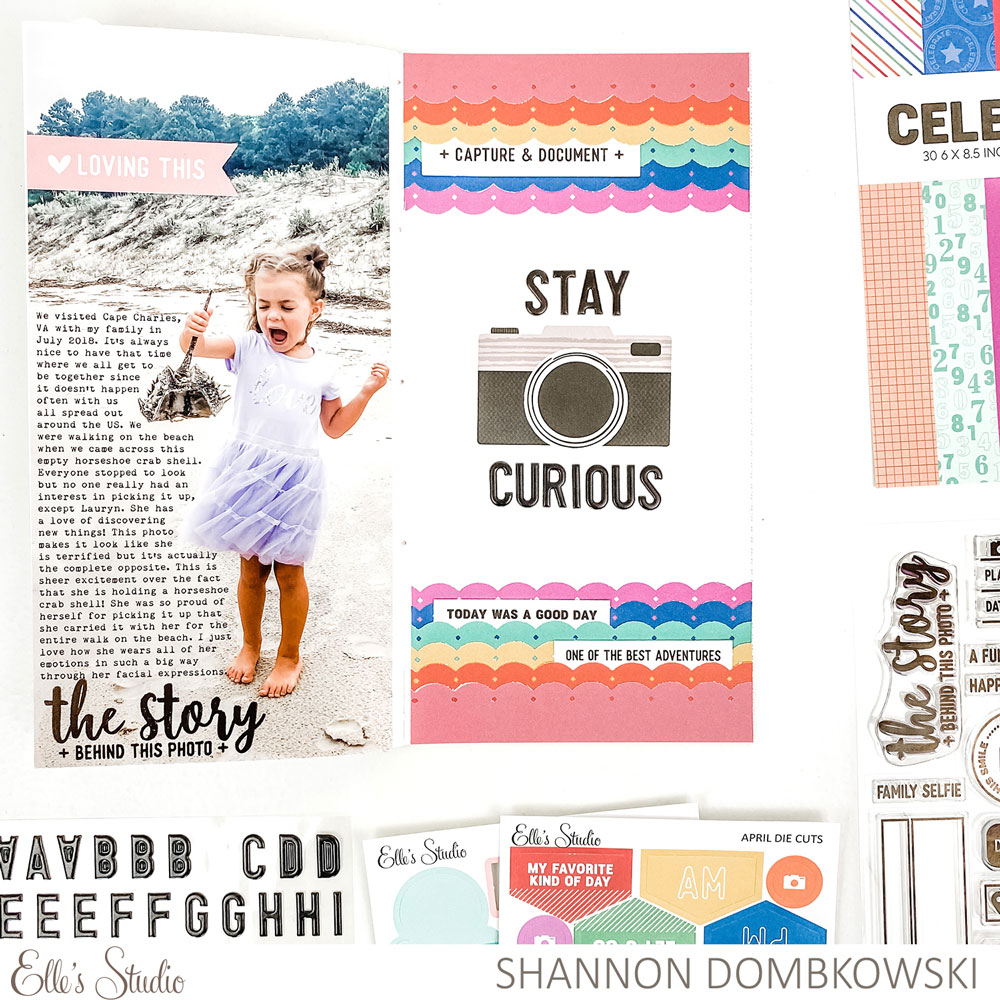
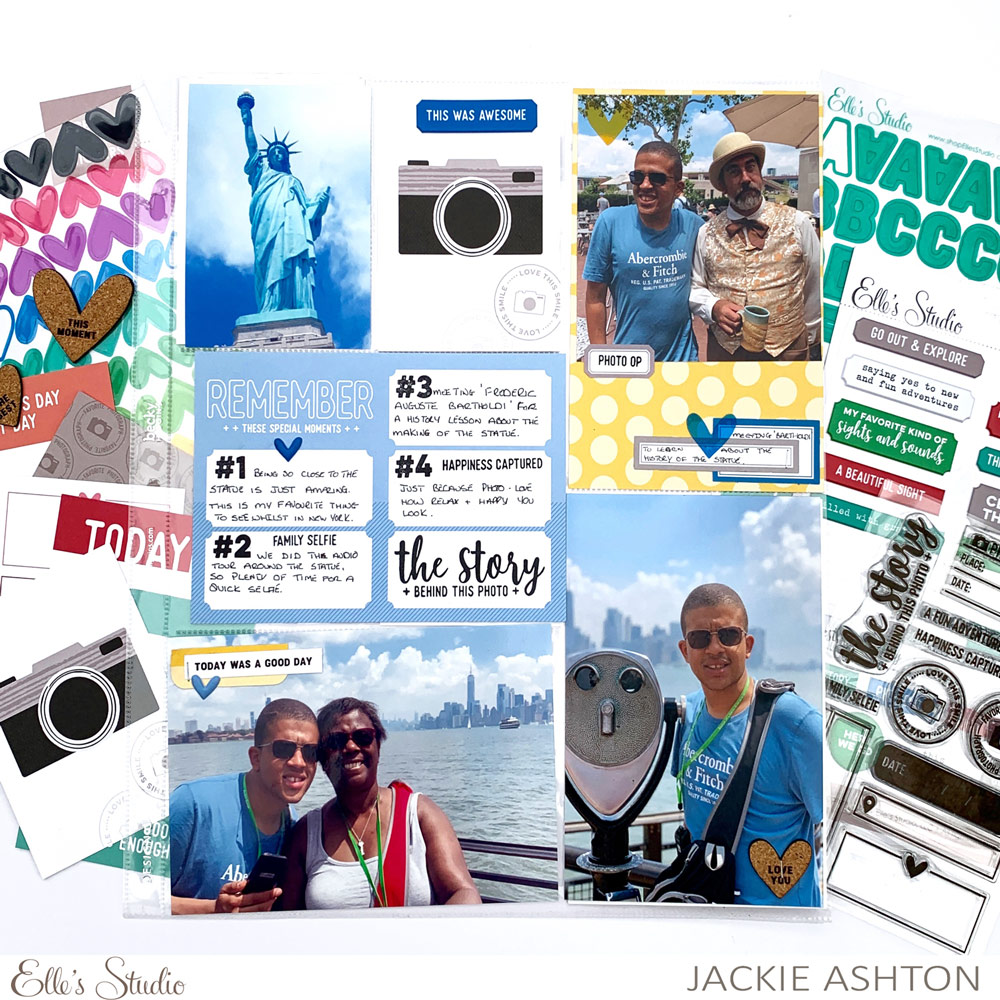
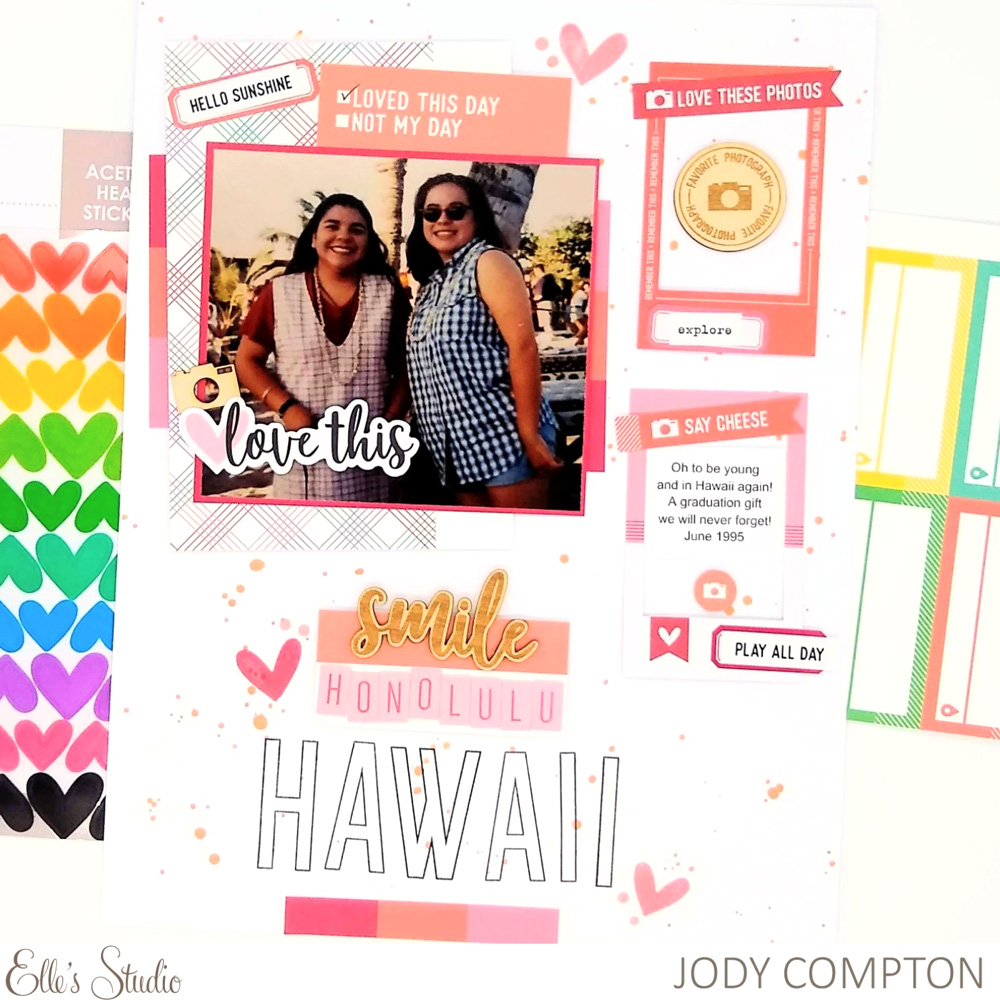
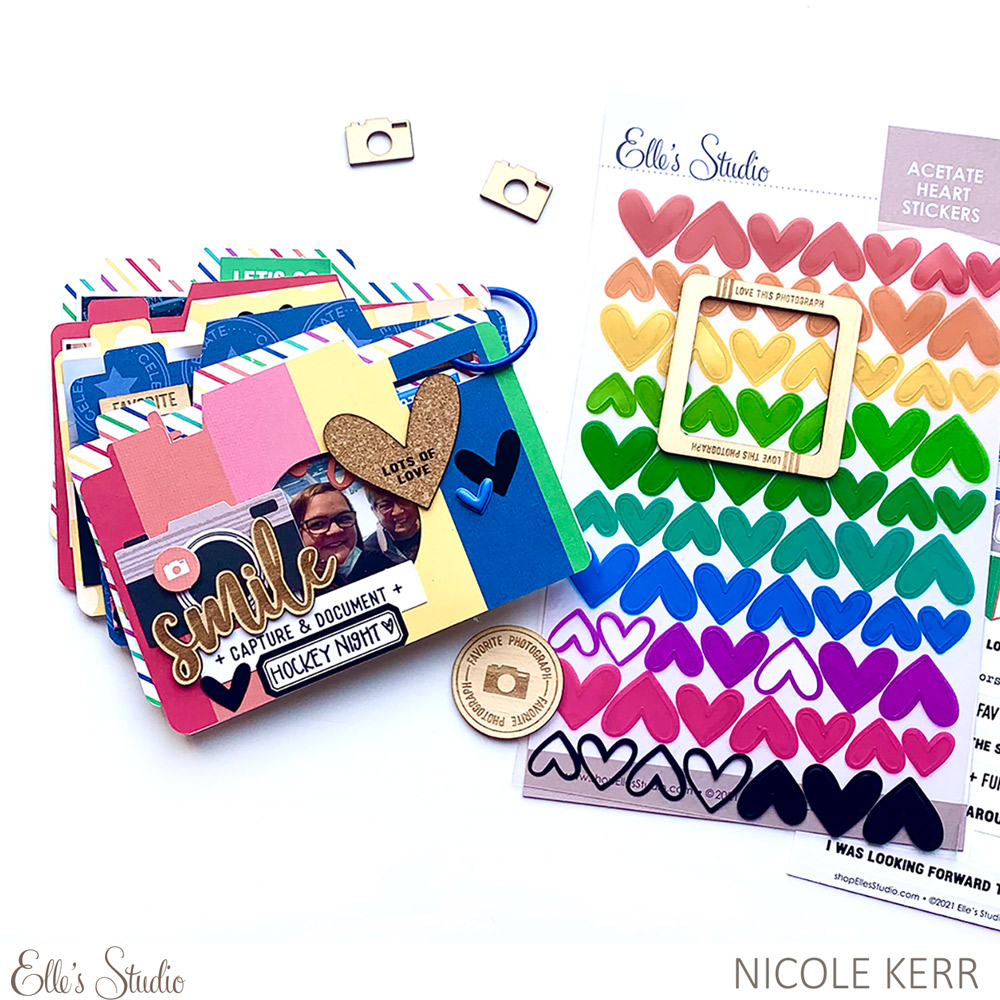
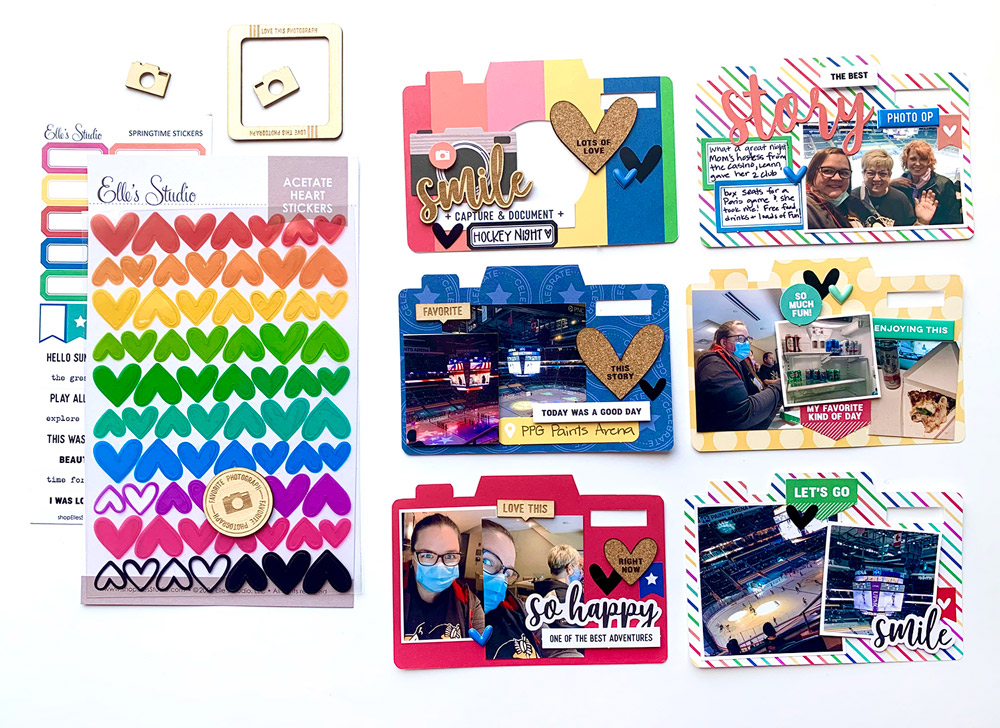
Supplies | April 2021 Kit, Smile Cardstock Die Cuts, Springtime Stickers, Adventure Puffy Label Stickers, Teal Parker Acetate Alphabet Stickers, Acetate Heart Stickers, Celebrate 6 x 8.5 Inch Paper Stack, Make A Wish Metal Die
Let’s start with the fun fact that I only used one 4″ x 6″ tag from the April Kit to create the background for both cards! The long card measures 3″ x 5.75″ and the square one is 4.25″ x 4.25″. The design of both cards was inspired by sketches found in the spring issue of Scrapbook and Cards Today magazine.
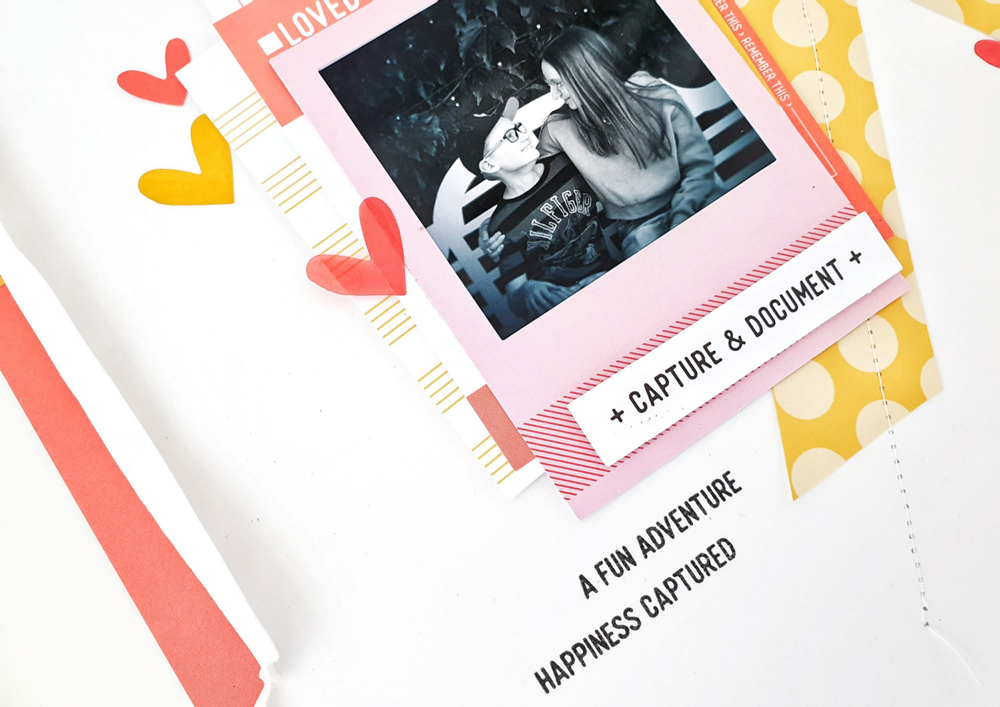
The first card features an assortment of die cuts and stickers in the colors of my background paper and arranged along a punched border.
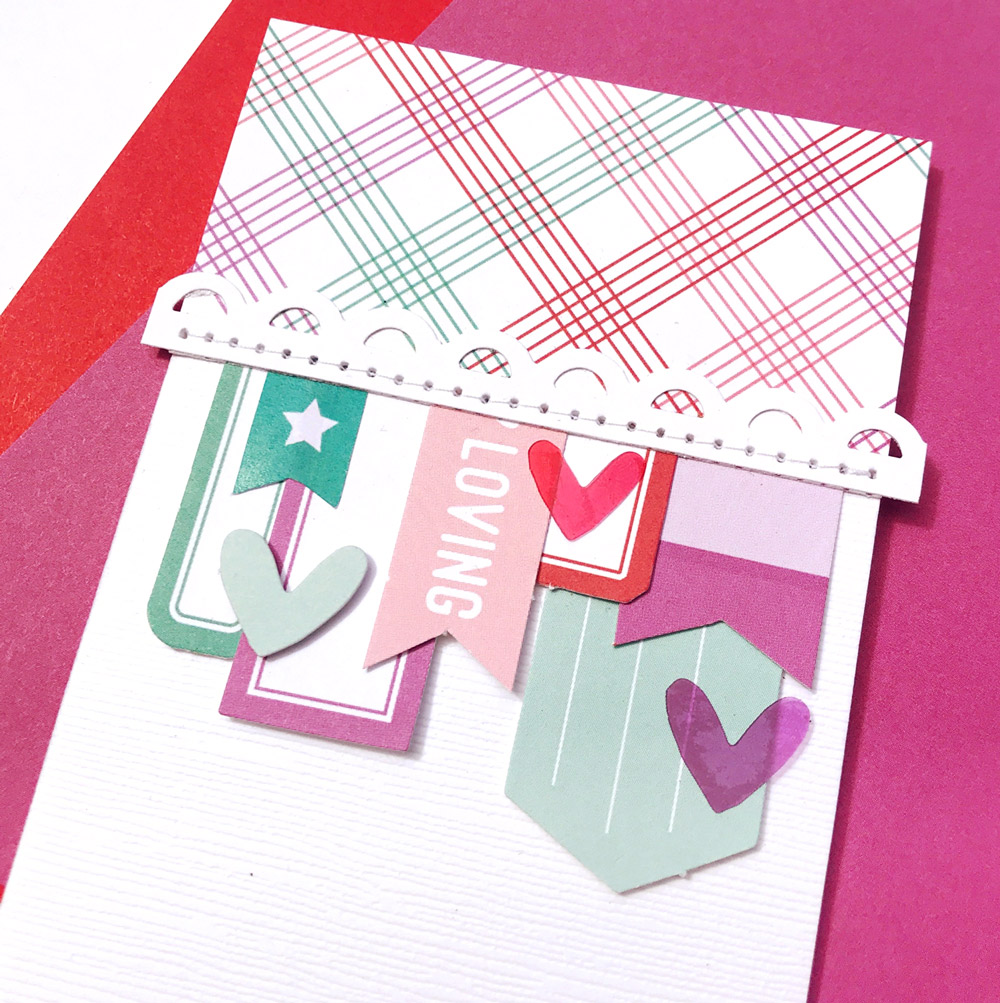
I love the transparency of the Acetate Heart Stickers, which adds to the layering effect. The sentiment was built with a portion of a sticker from the Springtime Stickers and the Teal Parker Acetate Alphabet Stickers.
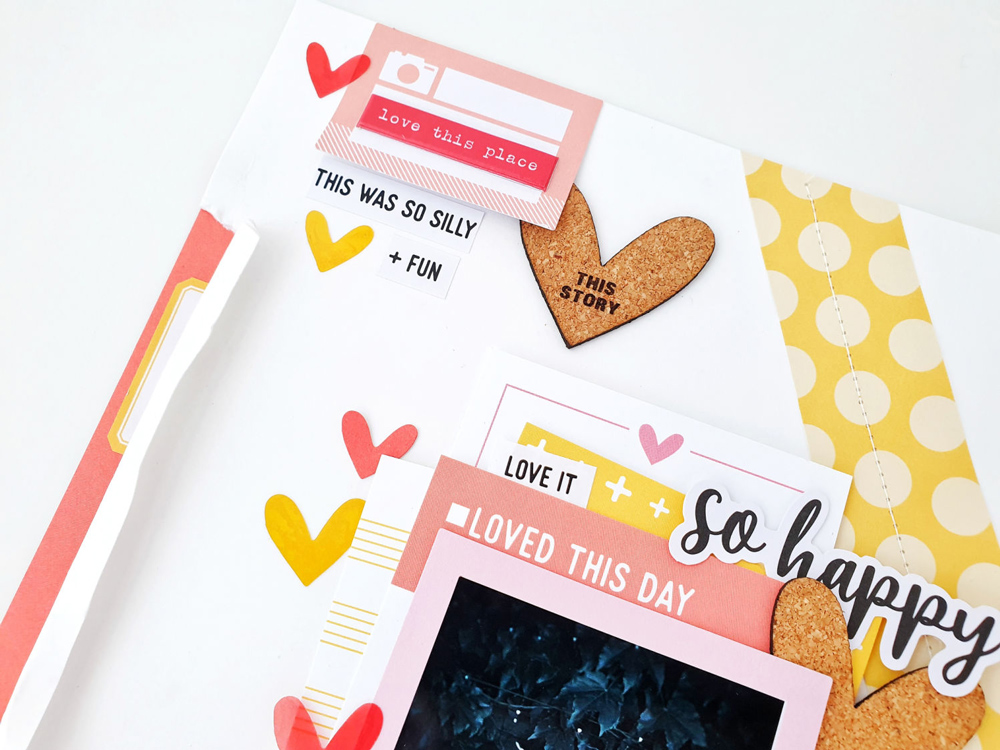
I played with a different type of transparency for my second card, creating a shaker pocket out of a diecut frame from the Smile Cardstock Die Cuts.
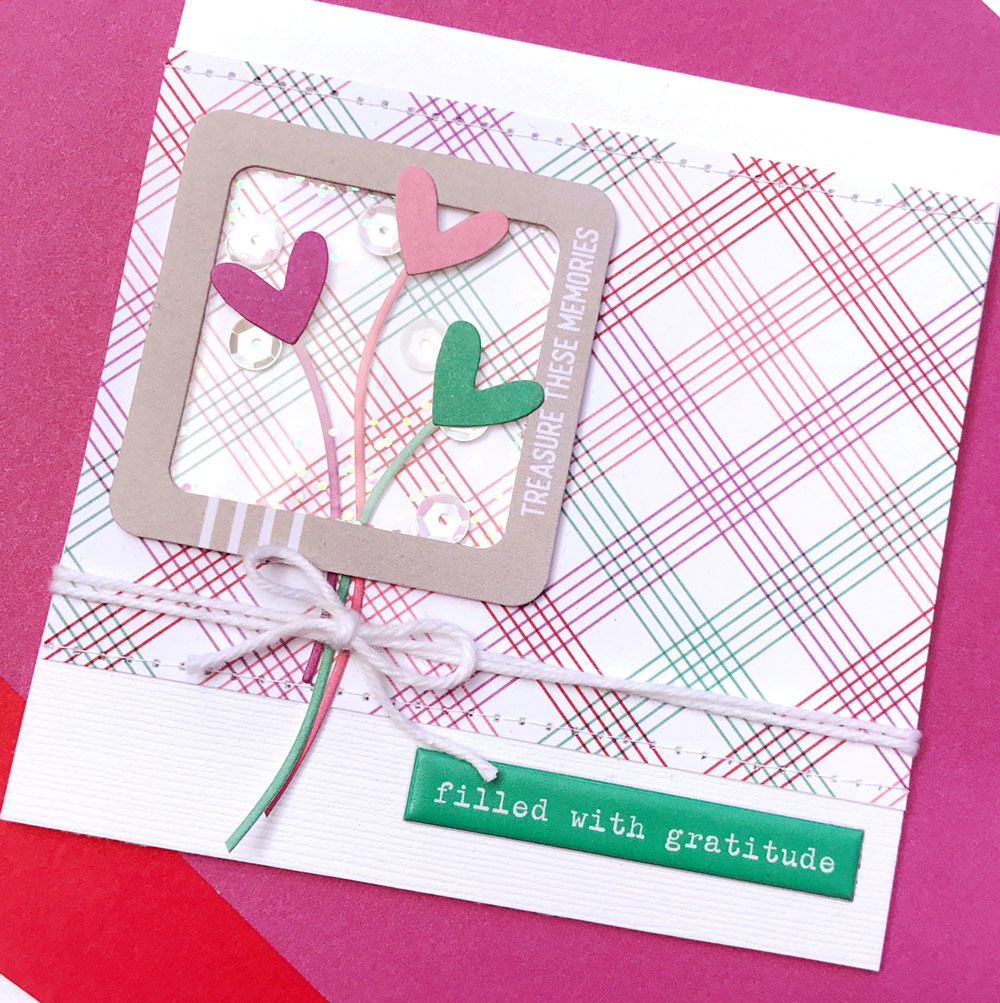
The stems were cut using a string die from the Make A Wish Metal Die and a sheet of patterned paper from the Celebrate Paper Stack. They’re both inside and outside the pocket with the matching hearts, from the Smile Cardstock Die Cuts, glued on top of the pocket.
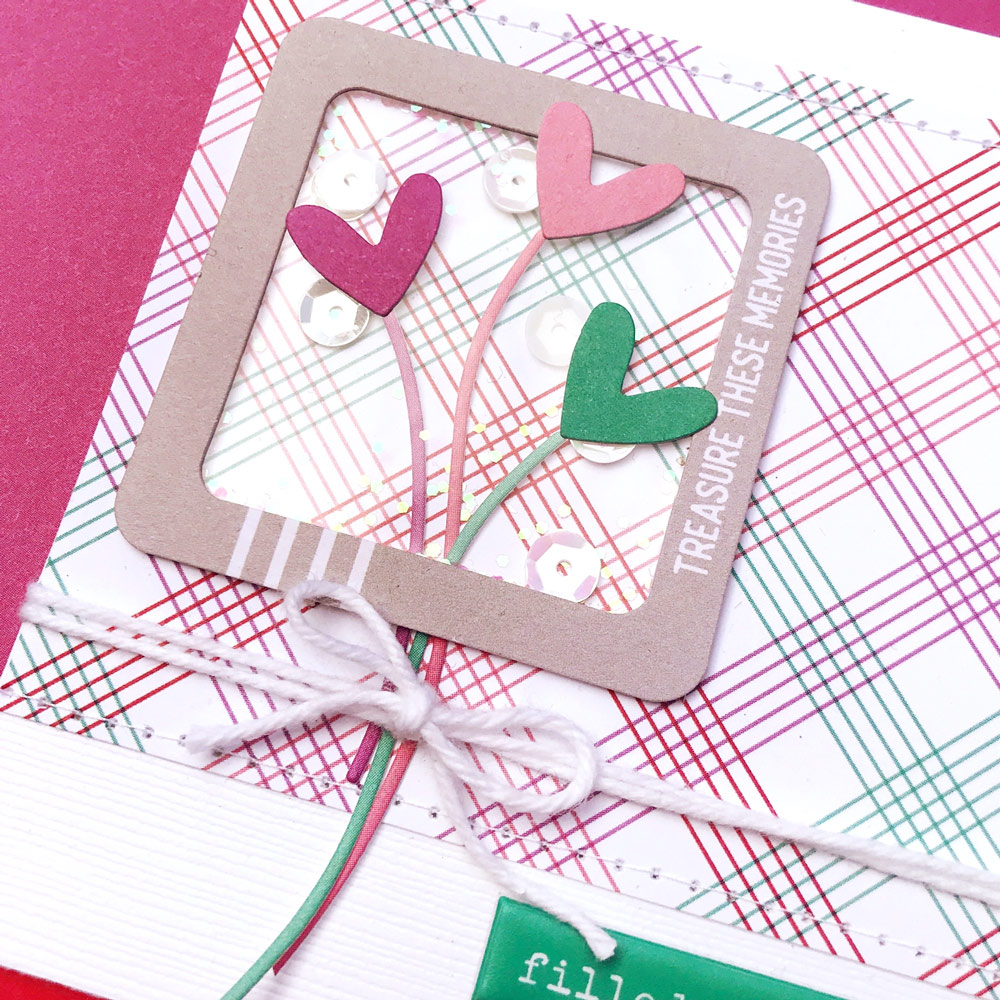
I found a perfect sentiment in the Adventure Puffy Label Stickers pack to finish it off.
If you make a Mother’s Day card with your Elle’s Studio supplies, don’t forget to share it with us on Instagram with the hashtag #ellesstudio or in our Facebook Group. I’d love to see them.
Happy Mother’s Day!