Monthly Special- April

April showers bring… new monthly specials! 🙂 This month we have some great basics including ALL 6×6 paper pads! Yup. All of them (**while supplies last).  
I love paper pads. They are fun, versatile and you get quite a few sheets of the same design, which is always great. LOVE them. Gotta have them all. And of course, they match Elle’s Studio tags perfectly.
If you are going on Spring Break soon you can easily take these items (+scissors and glue) on the go. Cool, right?

Make It Sunday with Elle

Hello, everyone! I’m here with a fun Make It Sunday layout about my first flowers that grew last year. I bought them online last year and when the bulbs arrived, they didn’t look very healthy, so I didn’t have much hope. Imagine my surprise when these beauties started blooming a couple months later!?

Here’s how this layout came together:

1. I started with a 12 x 12 piece of white paper and used our design team member, Rahel’s, glitter splatter technique! I love the way this looks and I can definitely see myself using this technique over and over!

2. Next, I gathered an 8 x 7 scrap piece of LilyBee paper, a 6 x 6 piece from the Crate Pretty Party pad, a green and blue scrap I had left over from another layout, and a Studio Calico paper clip and layered them together.

3. Then, I added a 4 x 6 photo of my flower that I had mounted on a piece of  4.5 x 7 white paper, the Documented tag from our Collected Cut Outs, and a journaling tag from our One and Only Note Tags.

4. Next up was the title. I mixed two alphas for this one – one was the Prima letters and the other where the Studio Calico chipboard letters. I was going to color the chipboard, but ended up loving them the way they came!

5. To finish the layout off, I added a date tag from the Collected Cut Out sheets and stapled it to the layout.

Saturday Celebration – Lil’ Snippet Days of the Week Sale!

It’s been such an amazing month long celebration and we want to thank you all for joining us and helping us celebrate! Since today is the last Saturday of the month, that means it’s our last Saturday Celebration Special!

Today we want you to be able to stock up and save on our complete sets of our Lil’ Snippet: Days of the Week! These are one of our hottest items that work great for scrapbooking and Project Life! This special lasts for today only, and all nine tags are only $4!

 And, since today is also the last day in March, that means it’s the last day to receive a FREE pen with your order! Any order qualifies! 

Happy Saturday! We wish you all a wonderful weekend!

P.S. By the way, we are still looking for a couple winners from our grab bag giveaway – come check to see if you are a winner!

Sketch Thursday 03.29.12

Hey everyone! I hope you are having a great week. We have another fun sketch for you today…
This one is inspired by Stephanie’s One Day layout from her February inspiration gallery. I love how she included photo pockets and filled them with pictures, confetti and other fun elements. So cool!
I hope you are inspired to scrap! Post a link to your layouts inspired by this sketch here for a chance to win a $10 Elle’s Studio gift certificate. Link must be posted by 11:59pm on Wednesday, April 4, 2012.  Gift certificate can be used towards purchase of products only and can NOT be used for shipping charges. Gift certificate balance must be used in a single transaction.
Last week’s randomly selected winner is… Robin. Congratulations!!
Please email the following information to info@shopellesstudio.com:
Name:
Contest: 03.22.12 Sketch

30 Minute Layouts Class – coming soon!

We are working on some really exciting things behind-the-scenes here at Elle’s Studio, and one of those things I get to share with you today – it’s our very first class!

In May, you can join us for 30 Minute Layouts & More! I’ll be showing you some tips and tricks to complete layouts faster, along with giving you step-by-step instructions to complete a bunch of layouts on your own. All layouts will be exclusive to the class and brand new – plus, there will be lots of encouragement to use the stash of scrapbooking supplies you already have!

This is something I’ve been wanting to do for a long time, so I am beyond excited to bring this to you guys! We will be posting more info about the class here soon, and make sure you’re on our newsletter list to be the first to know!

Hope you guys are having a great week!

Project Life

Welcome to another week of Project Life at Elle’s Studio!  This week I am sharing the week of March 12-18 in my Project Life album.  It’s hard to believe we are approaching the end of March– that’s almost  1/4th way through the year!!  If you are participating in Project Life, how is your album coming along??
This week I had some fun adding a few unexpected items in my Project Life spread.  Adding something unexpected each week, whether it be a found item or a photo, adds variety to your album.  
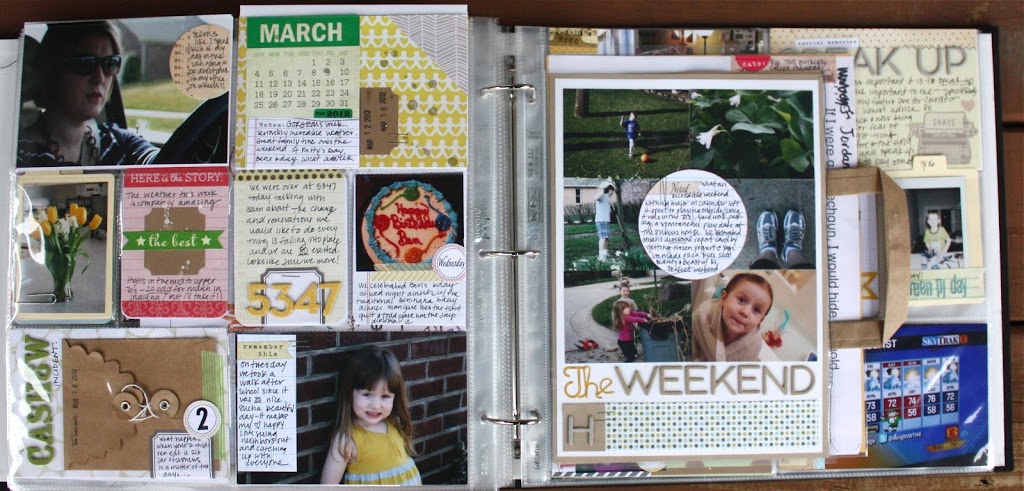
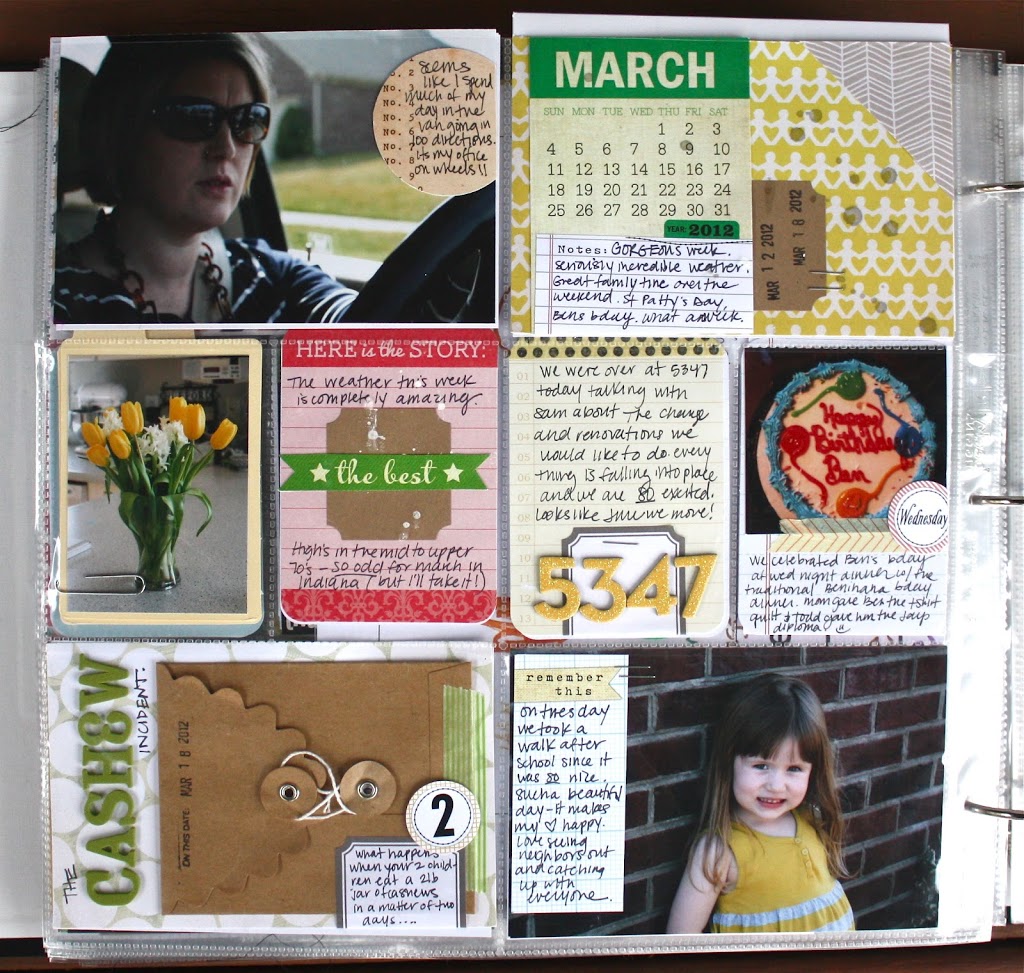
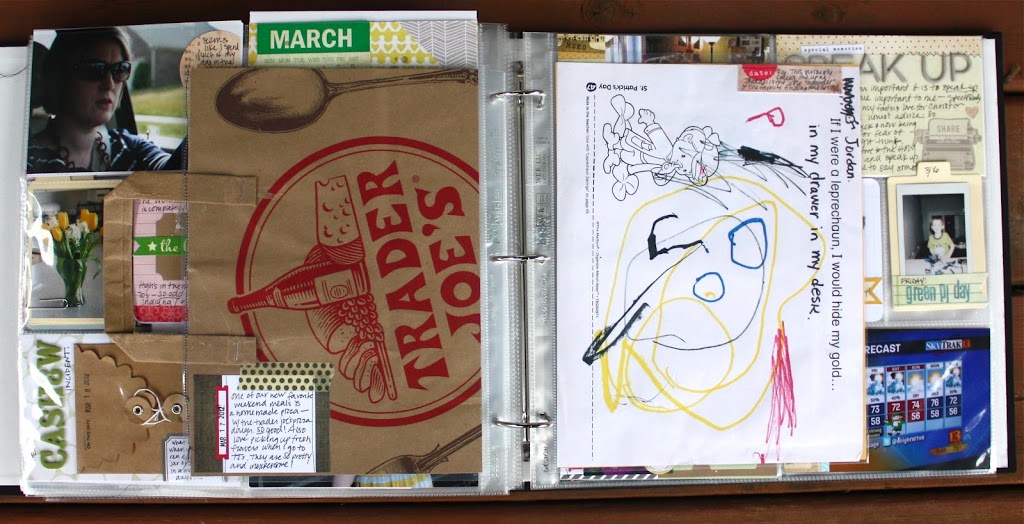
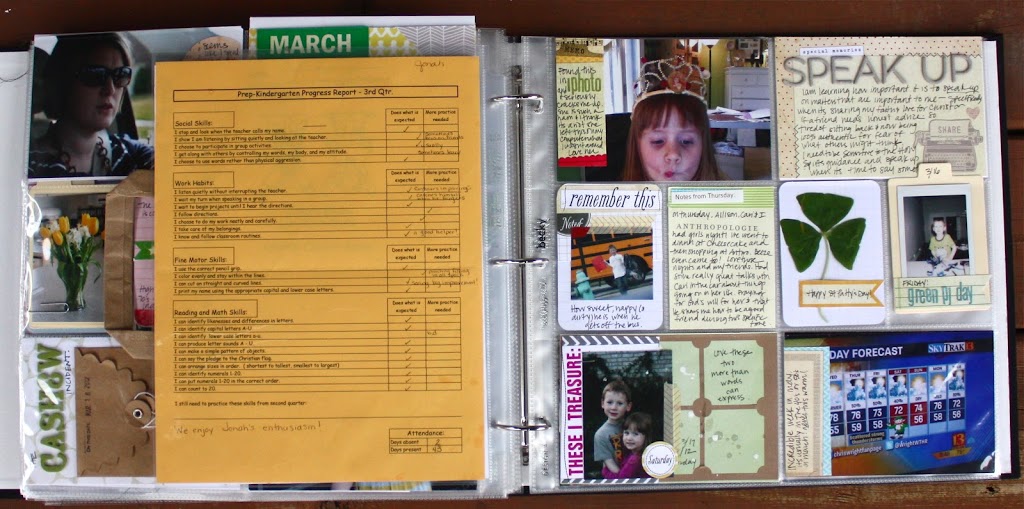
When I was taking my photos this week I tried to think out of the box a bit.   I played around with my camera timer and took a photo of myself in the car (don’t worry, I was parked and waiting at the bus stop:).  Driving my kids from here to there, and running errands are both part of my daily routine, so of course it’s appropriate to have this kind of photo in my Project Life!
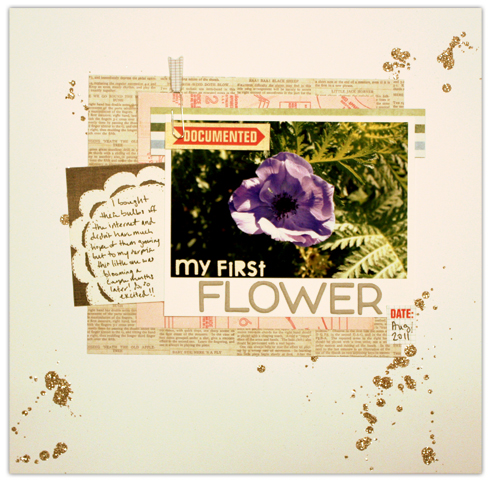
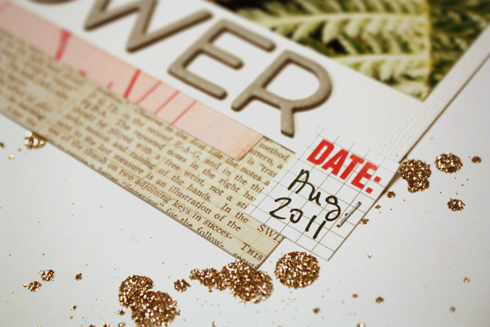
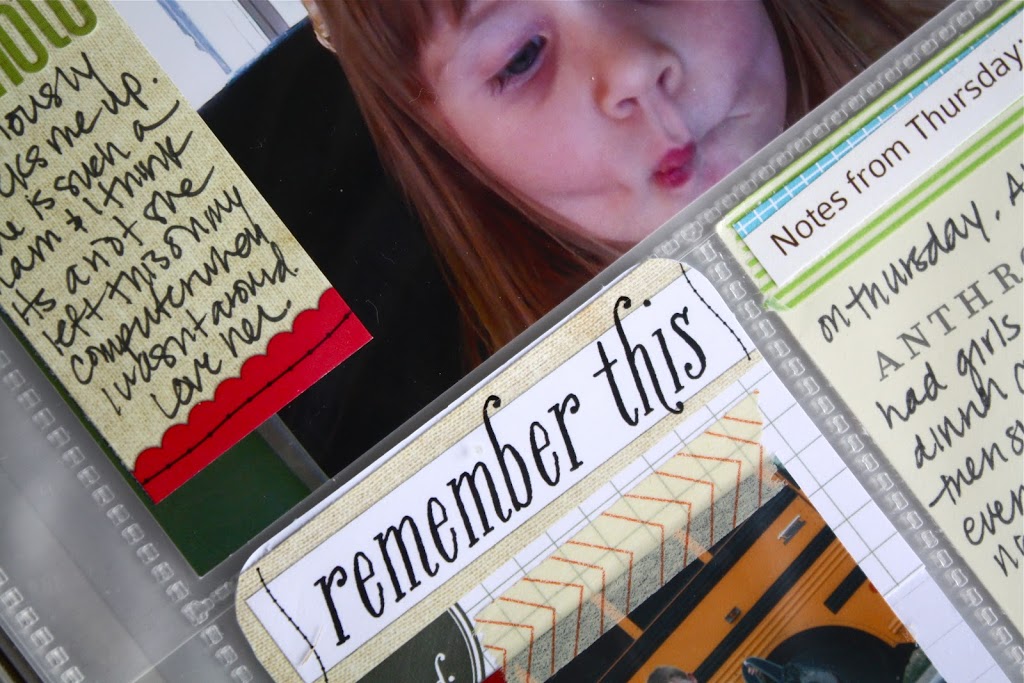
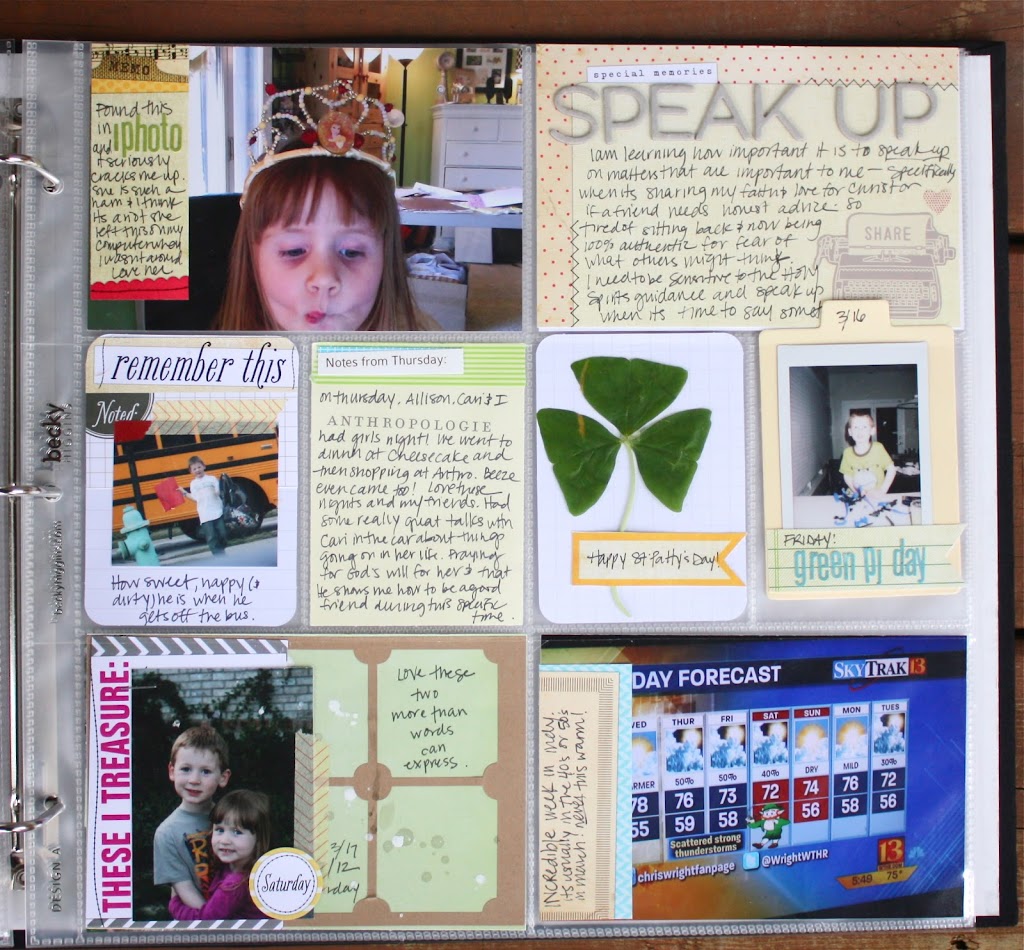
Other interesting photos I added to this week’s Project Life was a photo of a spring bouquet, a photo of my brother’s birthday cake, a photo of my daughter that she took of herself at my computer, and a photo of the weather forecast from the news (we had unseasonably warm temperatures!)  
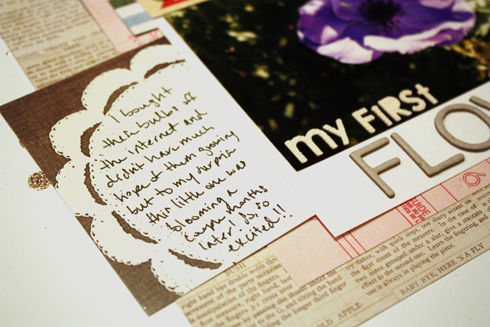
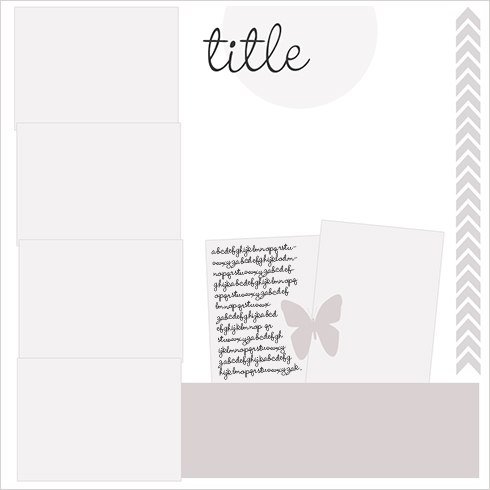
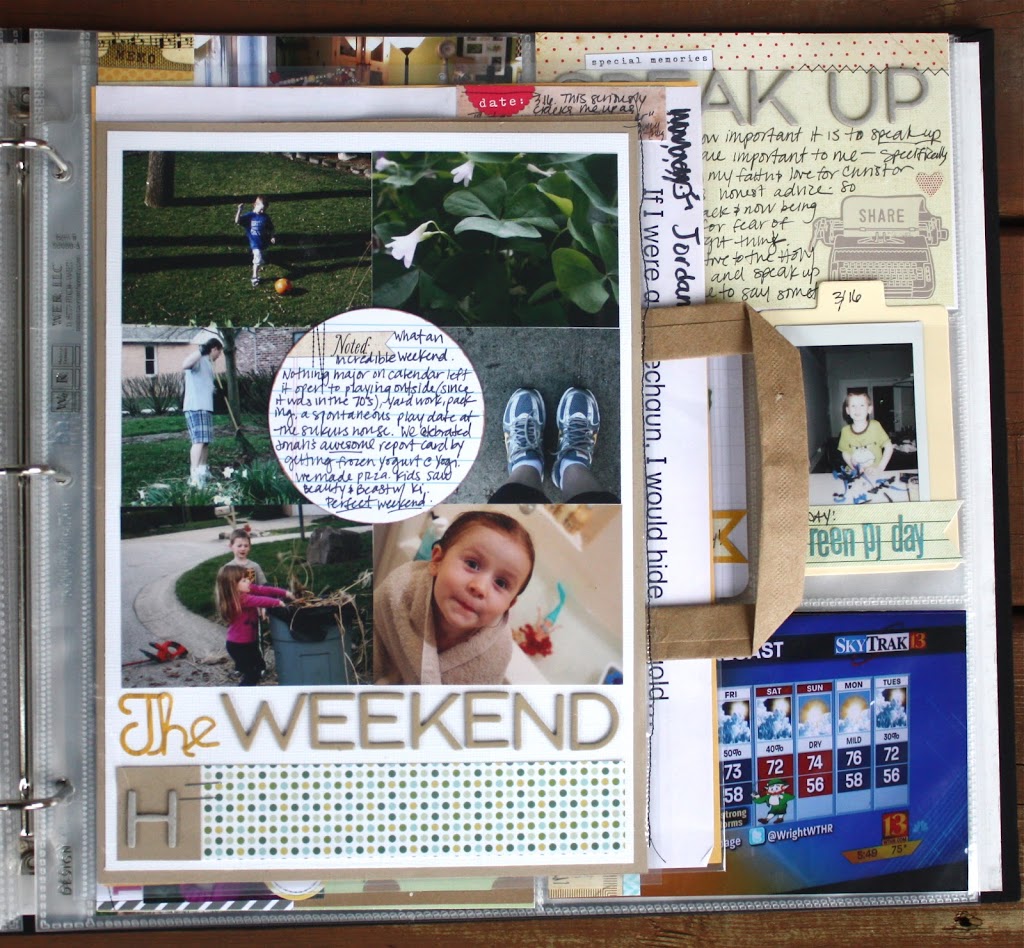
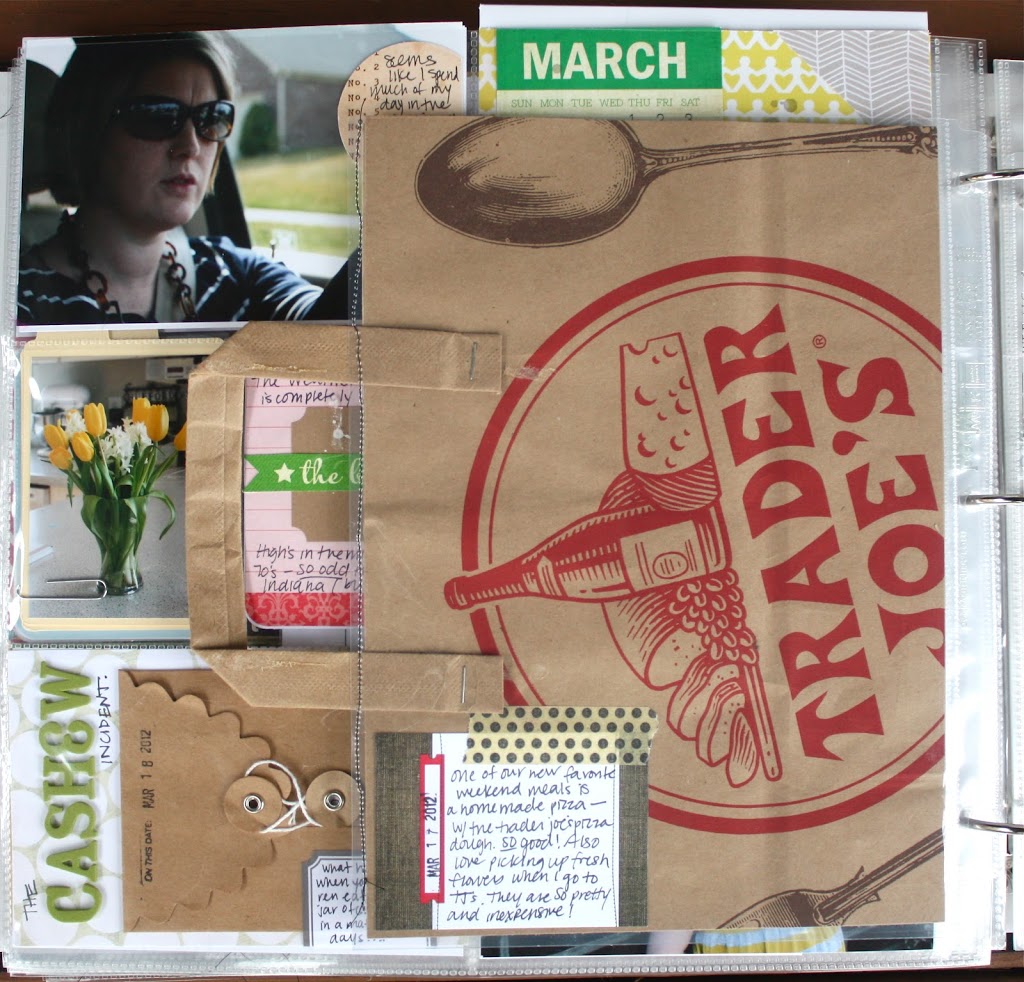
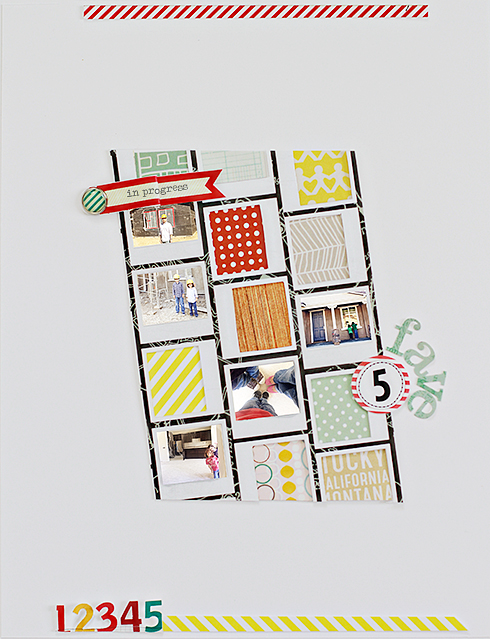
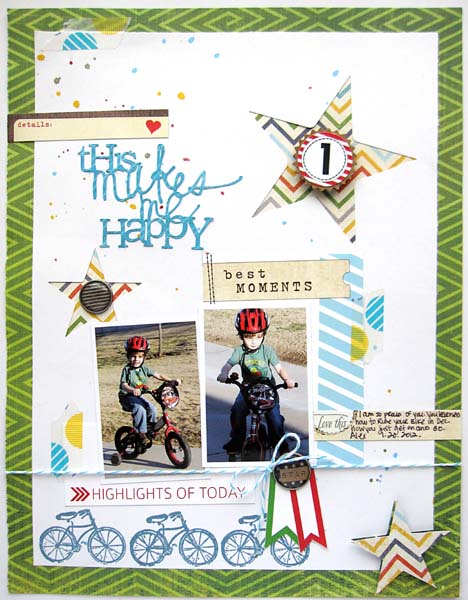
As the week went on, it seemed like I took WAY more photos on the weekend then what I did during the week– that sometimes happens when our week is busy!  I decided to highlight our weekend in a simple 8.5 x 11 layout.   I placed six wallet sized photos in a grid and used a Noted Circle tag as the center of the layout for my journaling.  
I love making layouts specifically for Project Life because you can add things (or not add things) that you wouldn’t think of including in a regular layout album. As you can see I added something unexpected on the backside of my weekend layout– a Trader Joe’s shopping bag!!  
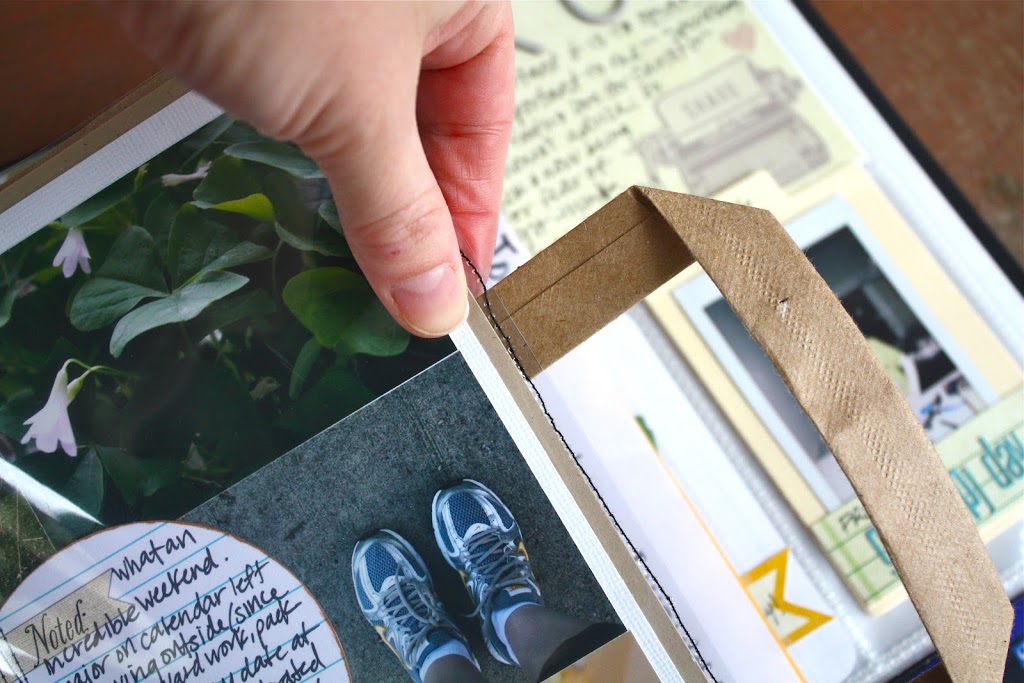
I kept the handles on the bag because I loved seeing it peek out from behind the layout– it’s such a fun layer!  The layout and shopping bag were placed in an 8 1/2 x 11 page protector with the side trimmed.  (the layout is slightly smaller than the 8 1/2 x 11 size).   
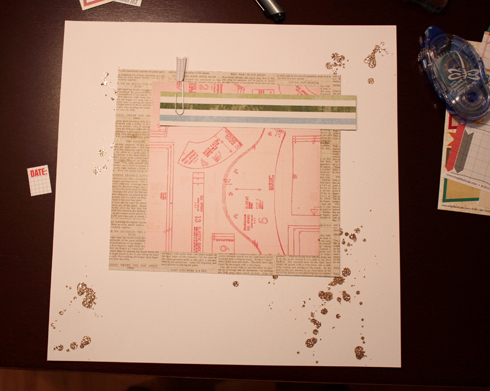
Since I trimmed the page protector (so that the bag handles would stick out), i had to sew it closed.  I did this by paper clipping the layout and bag to the page protector and I began sewing from the bottom to the top.  That way, it wouldn’t bunch while sewing (the fact that the bottom of the page protector was still in tact, was what made this possible).
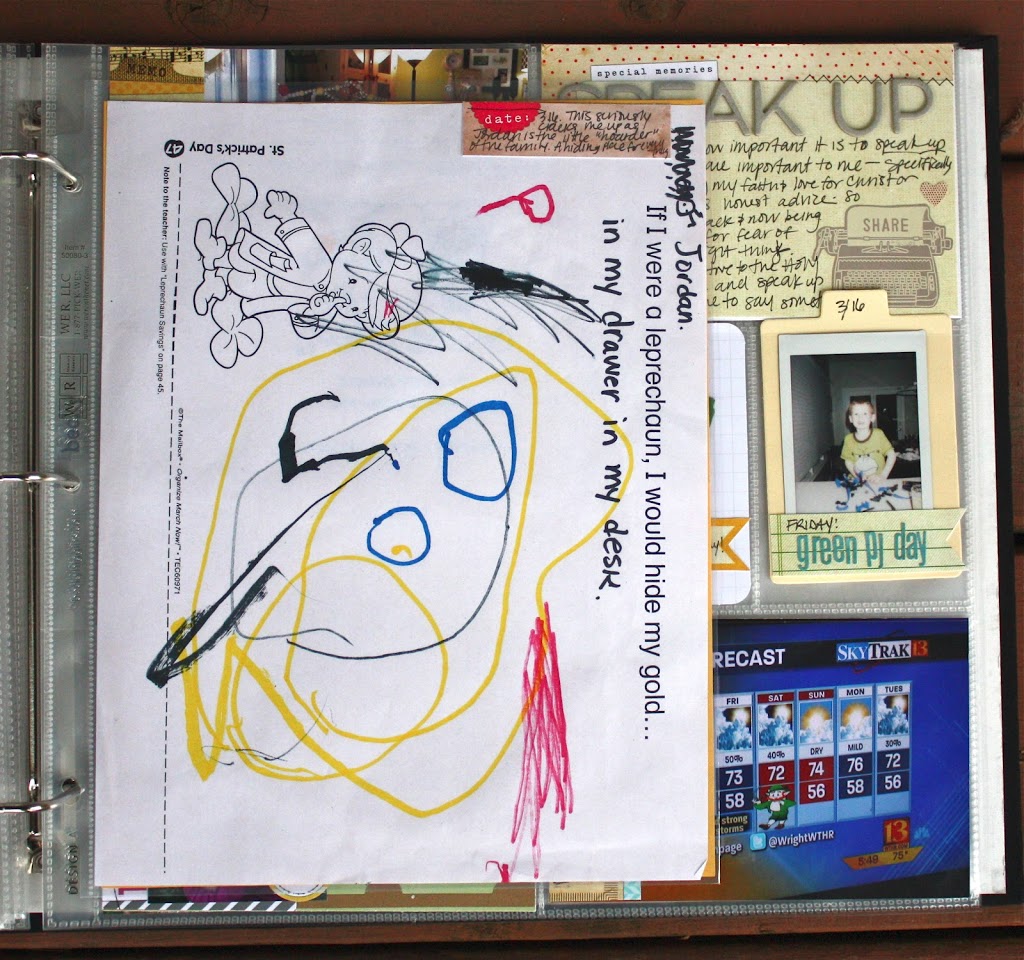
For my second insert I included some art work from my daughter, and also my son’s report card which was brought home this week.
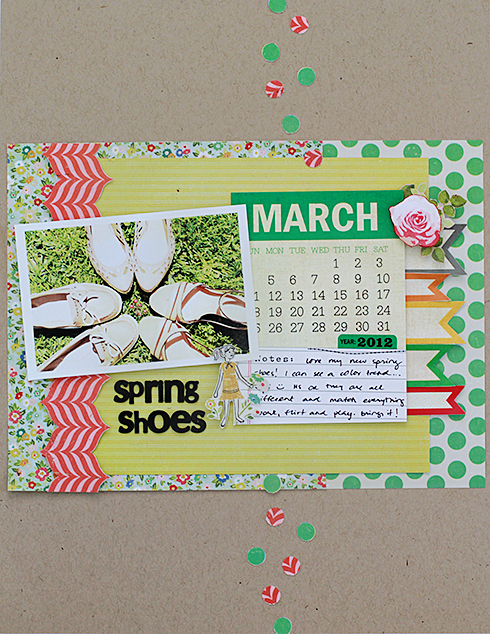
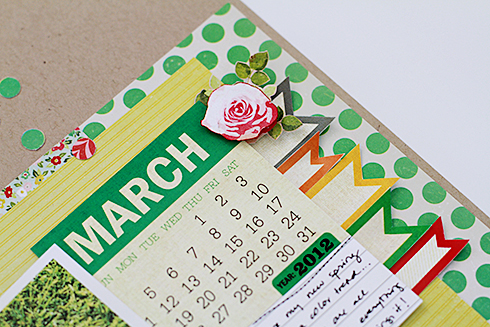
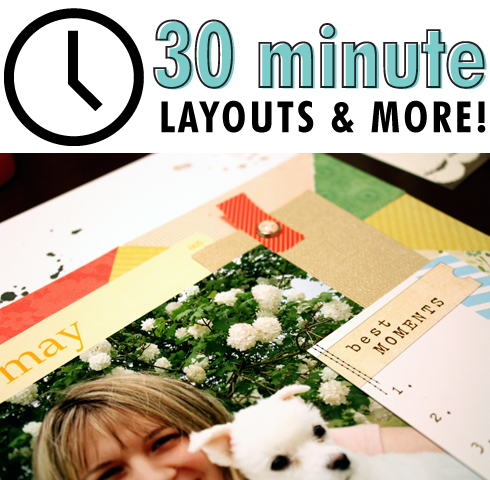
 I have found that using 6 x 6 paper pads is a great option for Project Life.  Instead of using a full 12 x 12  paper, this is a great way to include your favorite pattern papers.  Did you know we have quite a few new 6 x 6 paper pads from Studio Calico and Crate Paper in our shop??  I used Studio Calico’s 6×6 Abroad Paper Pad for this week’s layout.
We are giving away a $10 Elle’s Studio Gift Certificate!  Leave a comment on this post for your chance to win– we will announce the winner next Tuesday!

We have a winner from last week’s giveaway!   Congrats to Miriam Prantner

Name: 
Address:
Prize: Project Life March 20
Project Life was created by Becky Higgins as a way to simplify how you document life and preserve memories. Photo pockets used in my Project Life album are created by Becky and can be found here.  You can read of all the Elle’s Studio Project Life posts here.

Blog Challenge

Welcome back to another blog challenge. In honor of our 5th birthday we’d like to challenge you to scrap your Top 5 (or Favorite 5). Fun and Simple!

Scrap your favorite 5 songs, movies, books, things to do, shoes to wear… or scrap your favorite 5 pictures of the week, month, year or from a specific event.  For my layout I highlighted my fave 5 iphone ‘home’ pictures.

Link your newly created layout to this blog post by Sunday, April 22nd for your chance to win a $10 gift card to the Elle’s Studio Store! I hope to see lots of you playing along 🙂

Last month’s randomly selected winner is… Irit Shalom.
Congratulations!! Please email the following information to info@shopellesstudio.com:
Name:
Address:
Contest: March Blog Challenge

Make It Sunday with Daniela Dobson!

 My name is Daniela Dobson and I live in Dallas, TX. I am married to Peter and we have a little boy, Alex, who is 4 years old. He keeps me busy and my days are filled taking care of him. I have been scrapbooking and stamping for over 10 years. I love recording every day moments, especially now, with my son. I love to create cards and pages in different styles and sizes. My creations have been featured in numerous publications, including advertisements, manufacturer websites and trade show displays. I love that I have the opportunity to spend  time doing something that I love. I am one of the original members of Elle’s Studio Design Team and I am so happy to be here today sharing my layout using Elle’s Studio products. My blog.

This layout was so fun to put together. I love how the photos and patterned paper worked so well with all the tags, strips and pennants.

Here is how this layout came together.
1.  I cut the white cardstock ½ inch smaller than the base. I created a file in my Silhouette Cameo and cut out the stars. You can use a large punch or trace a star shape and cut it out. The top two stars are backed with Echo Park patterned paper.  Then, the cardstock is adhered to the green Echo Park patterned paper.

2. I sprinkled four different colors of Smooch Spritz to match the colors in my layout.

3. Next, I stamped and heat embossed three bicycles from My Mind’s Eye stamp set at the bottom of the page using Clearsnap ColorBox Mix’d Media Inx: Patina and Clear Embossing Powder.

4. I used two large tags, one from Elle’s Studio Make A list 3 x 4 Tags and the other from Elle’s Studio Everyday Tiny Tags and placed them under the two photos.

5. I cut two pennants from Pennants – Brights and tucked them under the right photo edge and secured them with a brad.

6. To finish the layout I added the title that was cut from patterned paper using Silhouette Cameo. The paper wasn’t the right color so I used Clearsnap ColorBox Fluid Chalk Ink: Sea Crystal to change the color. I added number 1 from Elle’s Studio Number Tidbits to the center of the star using 3D Foam Adhesive by Therm O Web.

7. I added a strip from Elle’s Studio One and Only Strips above the title and one to the right of the photo for the journaling. One more brad was added to the star under the title, twine to the bottom under the photos and washi tape. The last star was cut from Echo Park patterned paper and adhered over the original base cut using 3D Foam Adhesive by Therm O Web.

Saturday Celebration: BLOG HOP!

Happy Saturday, everyone! Our Saturday celebrations for our month long, 5th birthday party continue and this week we have some extra special for you… are you ready?!

That’s right! It’s time for a blog hop! Each member of our design team (minus Steph, she’s having some computer problems) is participating at their blogs!

You’ll want to stop by each of their blogs for some inspiration, gallery highlights and a chance to win a $20 gift certificate to our shop – There are six chances of winning!! Woohooo!!! So, don’t wait any longer, here’s the list that will get you started:

Make sure you leave a comment at each blog to be entered to win the $20 gift certificate! Then, check back at each blog on Monday to see if you’ve won!

And, just wanted to remind everyone that every order, at our shop, this month receives one of our special pens to celebrate:

Hope you all have a great Saturday and happy blog hoppin’!