Elle’s Studio in your Planner with Kay and Jennifer

We are excited to show you how two of our design team members used our products in their planners this month! Decorating your planners with scrapbooking products can be so much fun and add some extra creative play into your schedule! Here’s how Kay and Jennifer decorated their planners:

PlannerRogersApril-3Kay says: I’m old school. I carried a Franklin planner for years, and every Sunday painstakingly planned out the week. I love my new planner from Webster’s for the same reason. I like to see what’s ahead for the week so I can budget my time.

PlannerRogersApril-1
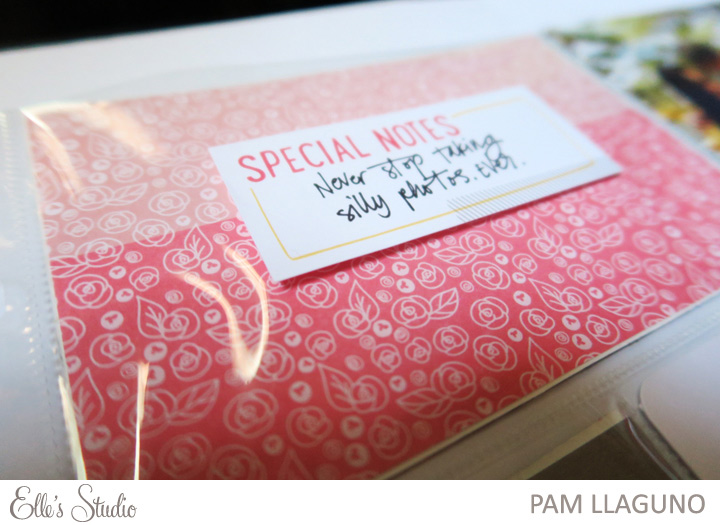
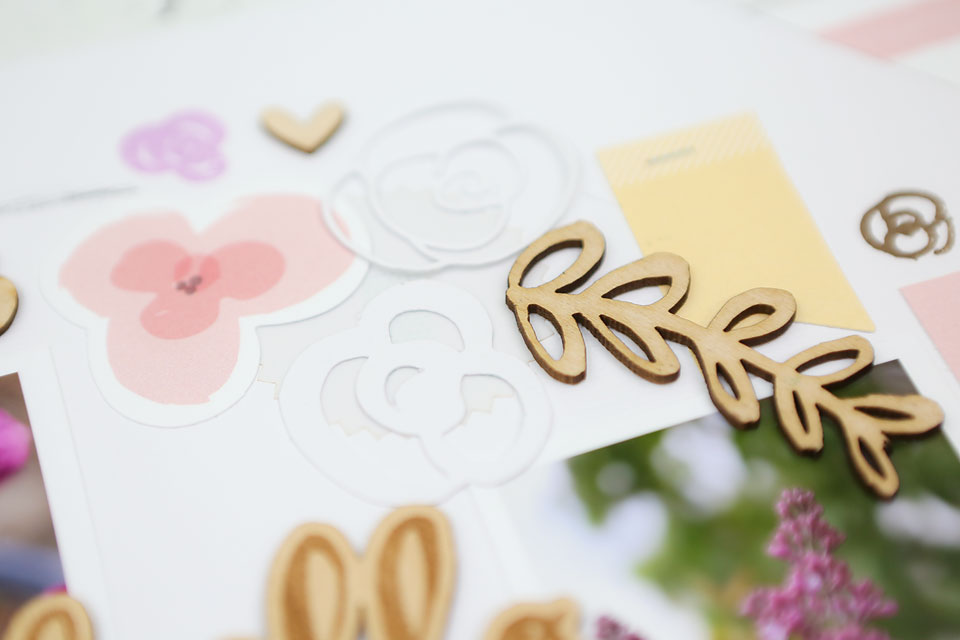
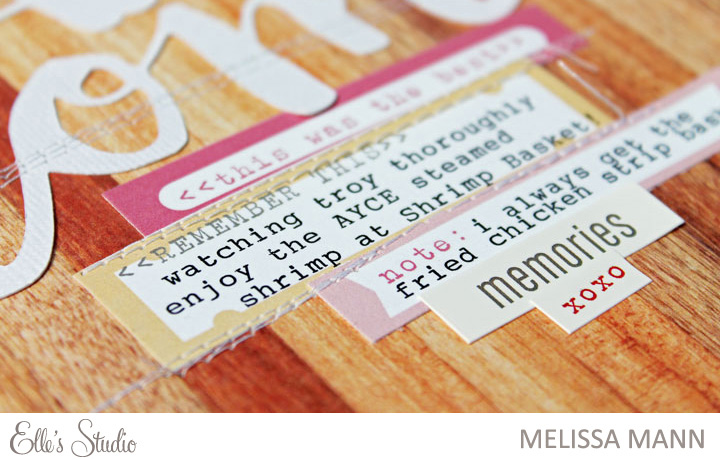
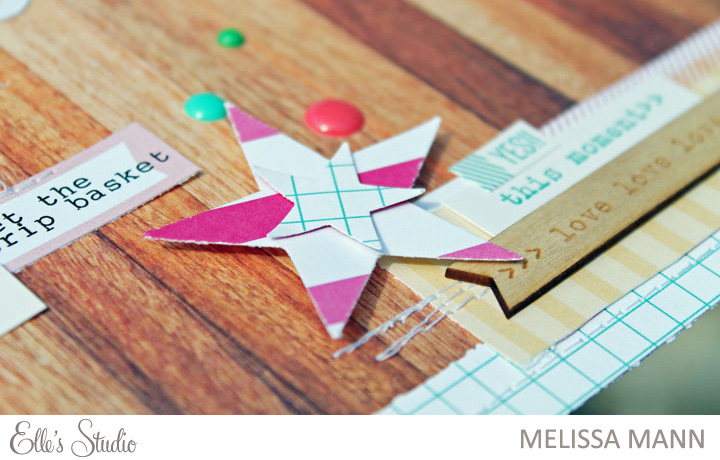
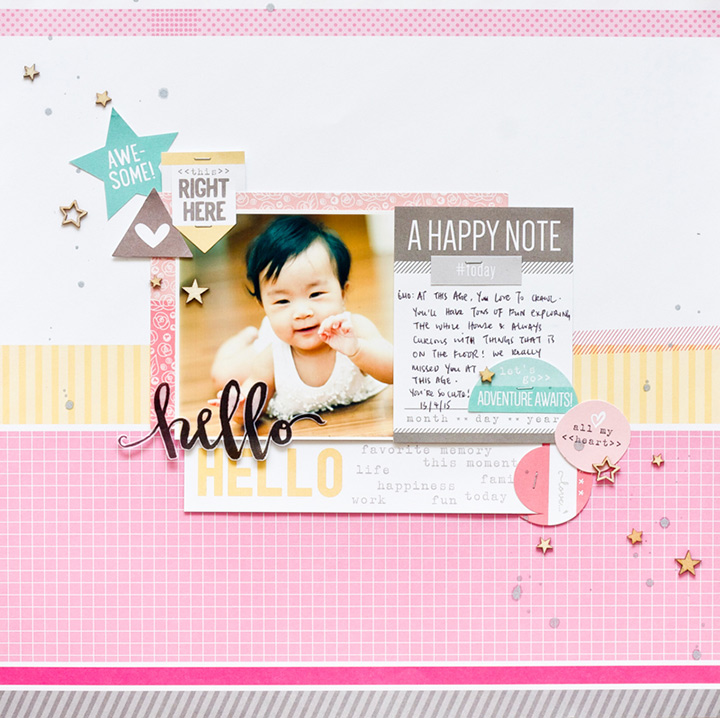
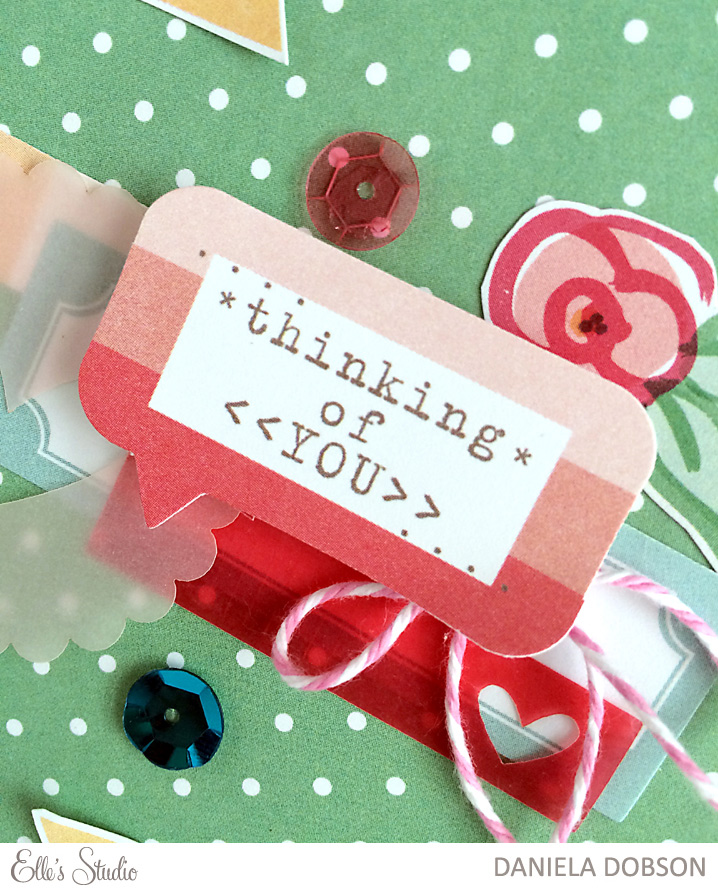
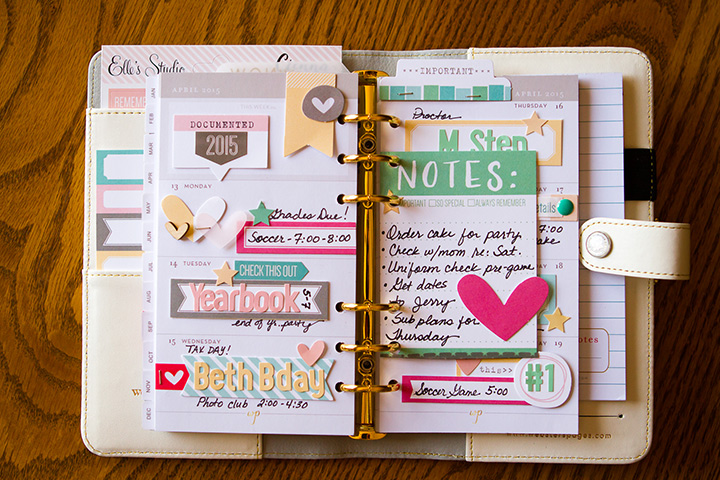
I used goodies from the Cienna line to map out my week. I loved the labels, as using my favorite sharpie pen directly on my pages bleeds through. It’s a pretty reminder of all I have to do this week!PlannerRogersApril-2
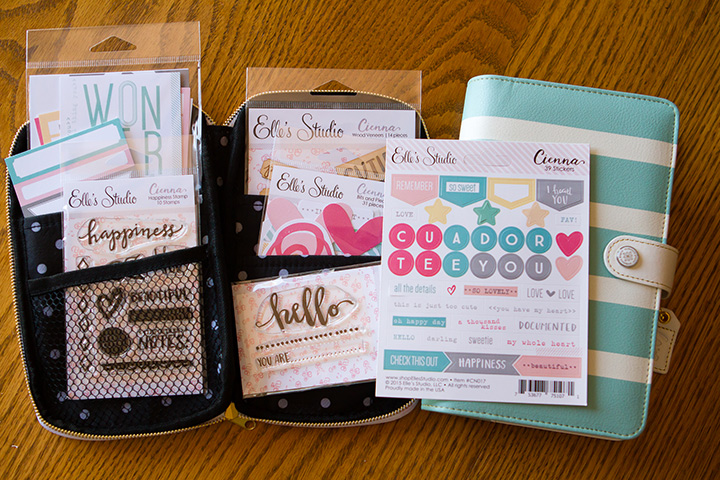
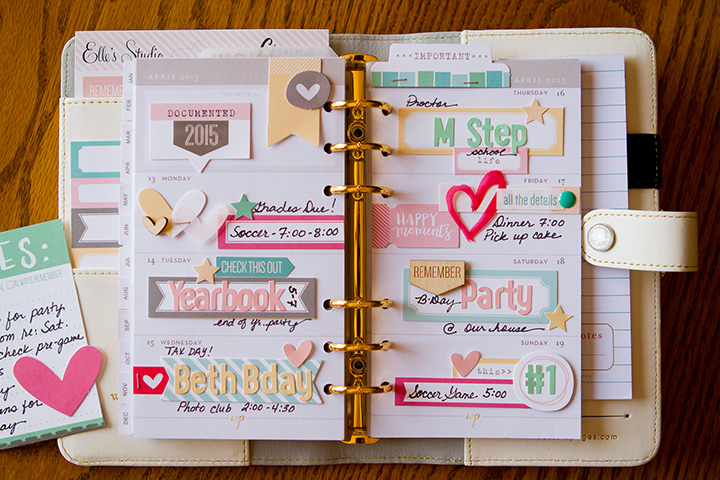
Products used: Cienna Journaling Tags, Bits and Pieces, Stickers, Lil’ Snippet Labels, Wood Veneers; Letter & Number Stickers Pink, Yellow, Mint.

jenchapin-planner-post-(11)
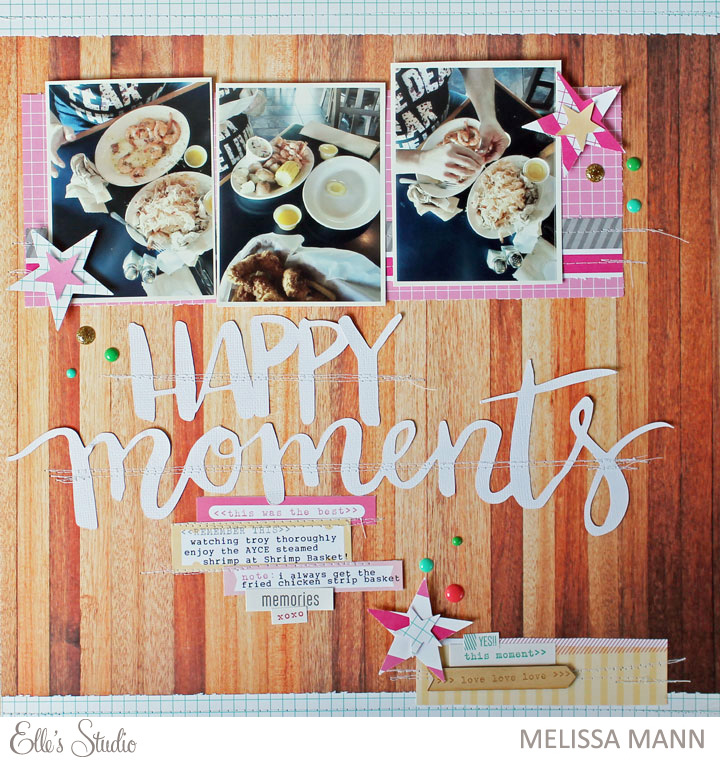
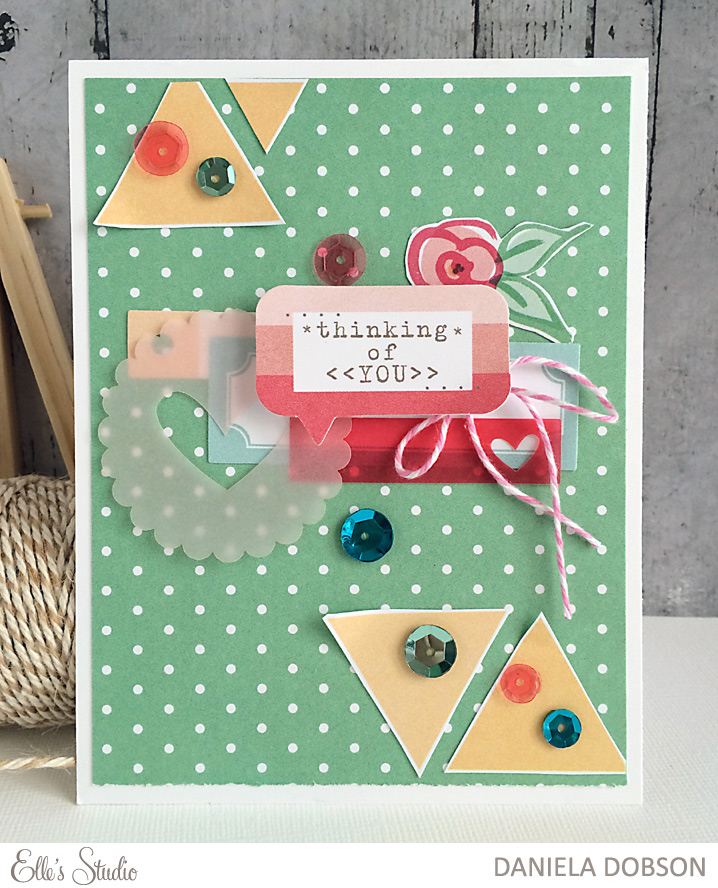
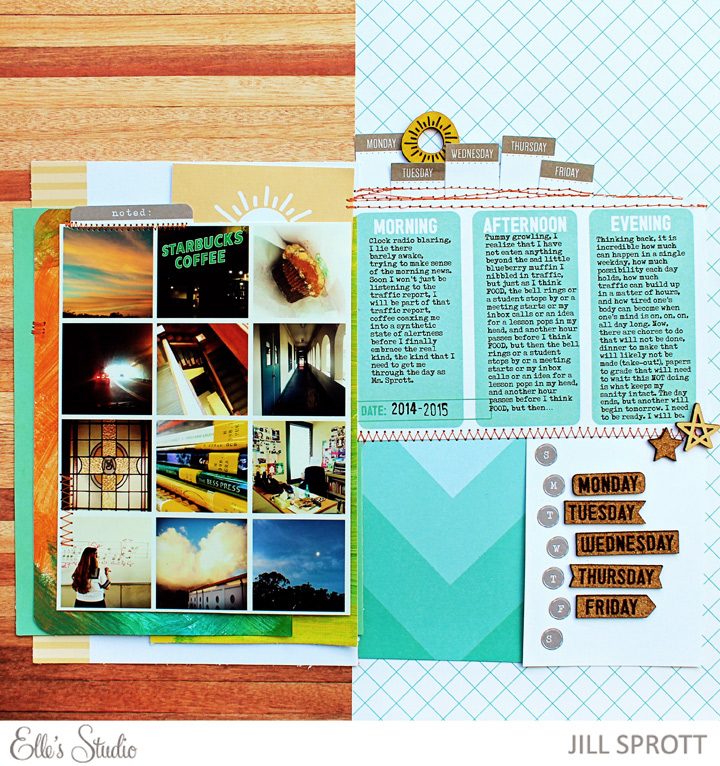
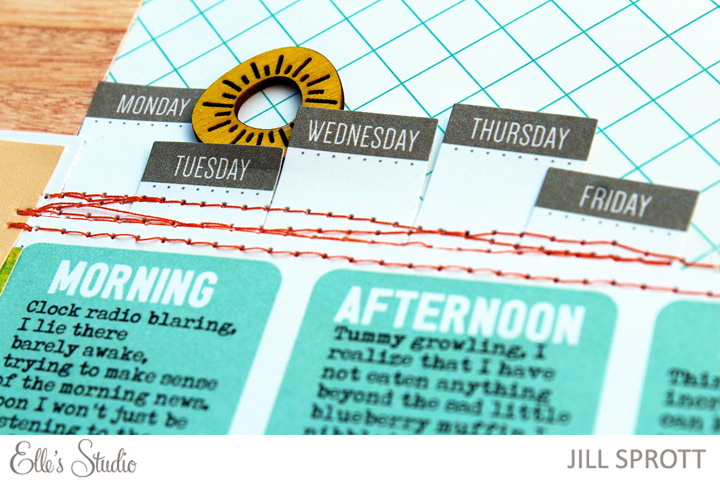
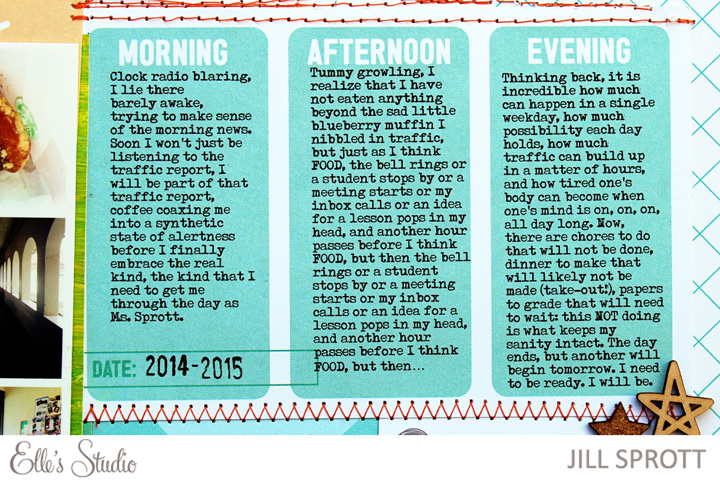
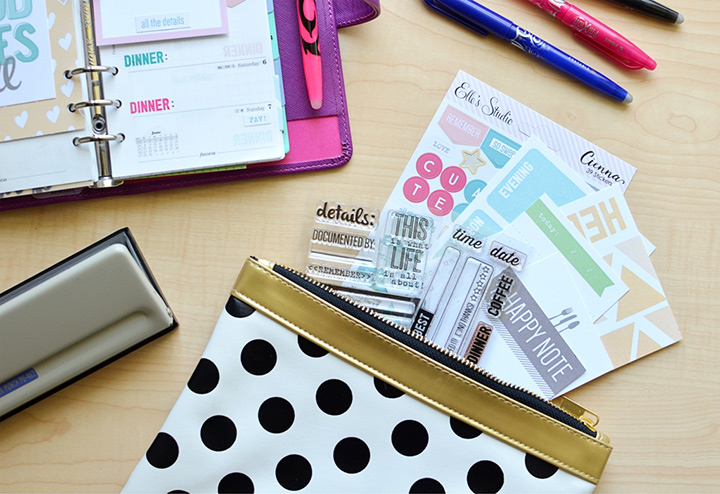
Jennifer also got a chance to play, here’s what she says: Hey everyone! I was excited for the challenge to incorporate some Elle’s Studio products into my planner. I have a personal size Filofax; the pages are about 3.75″x6.75″. I first pulled out my Foodie stamps to stamp ‘dinner’ on each page. One thing I always try to do is plan my dinners for the week – it makes the weeknights run so much smoother. jenchapin-planner-post-(5)jenchapin-planner-post-(3)
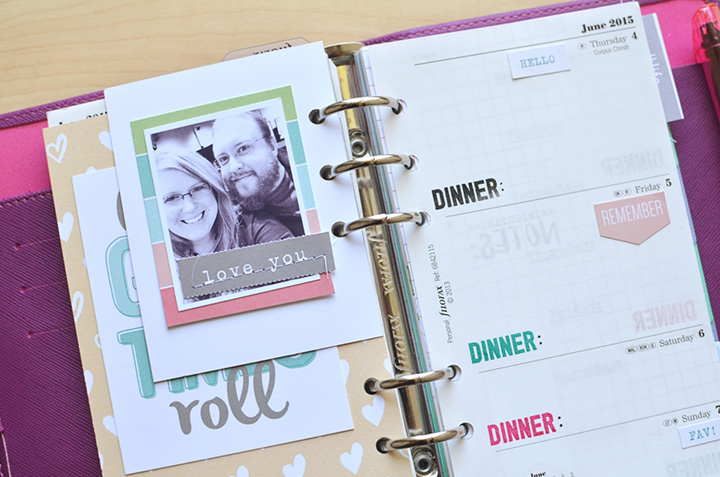
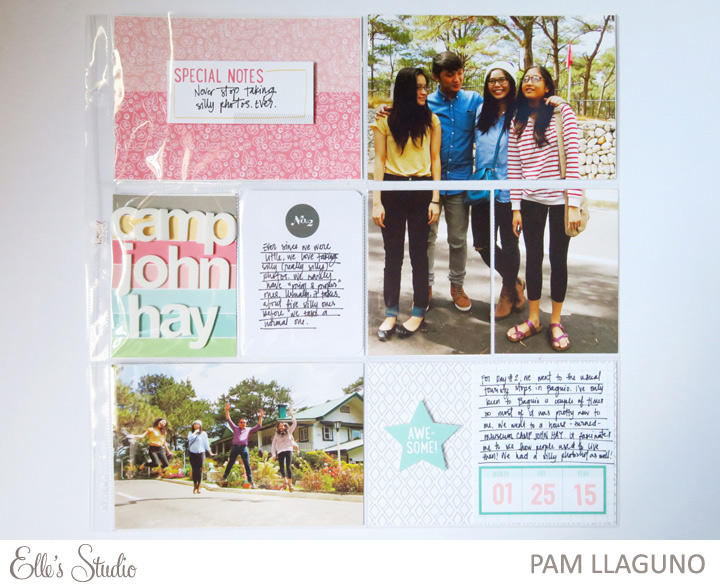
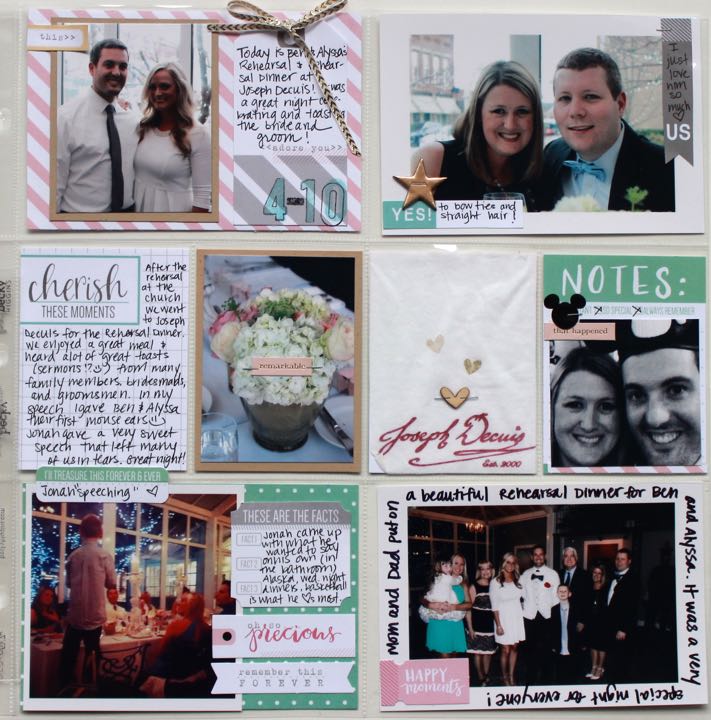
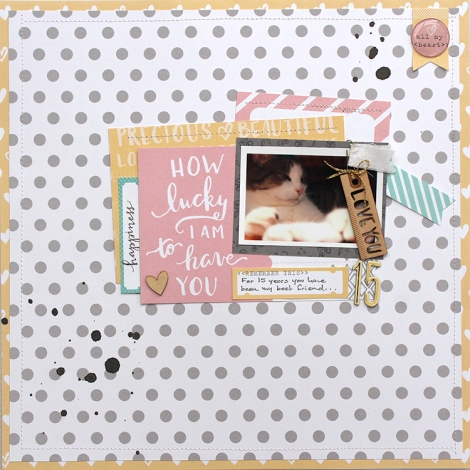
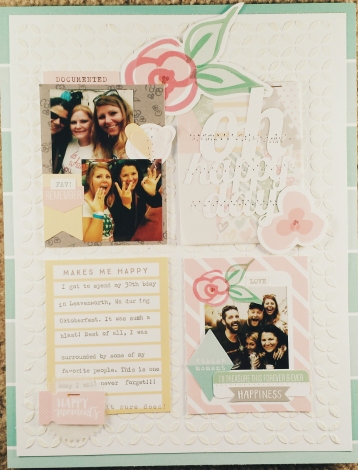
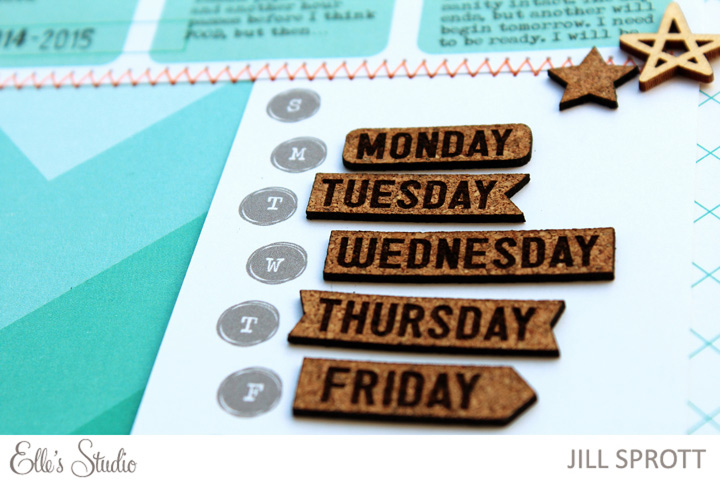
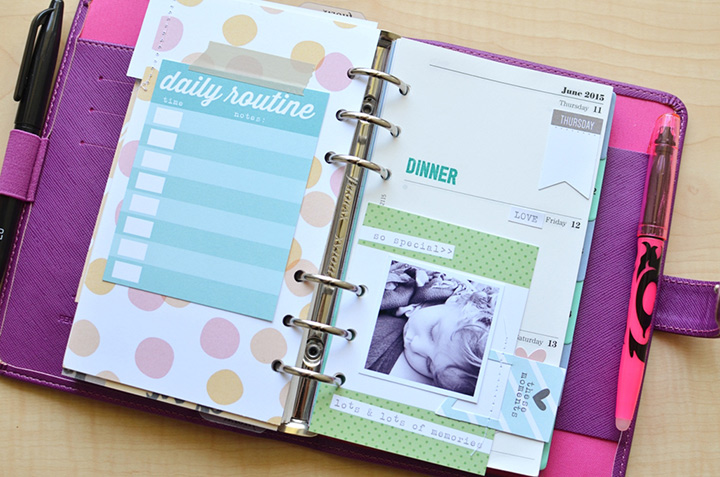
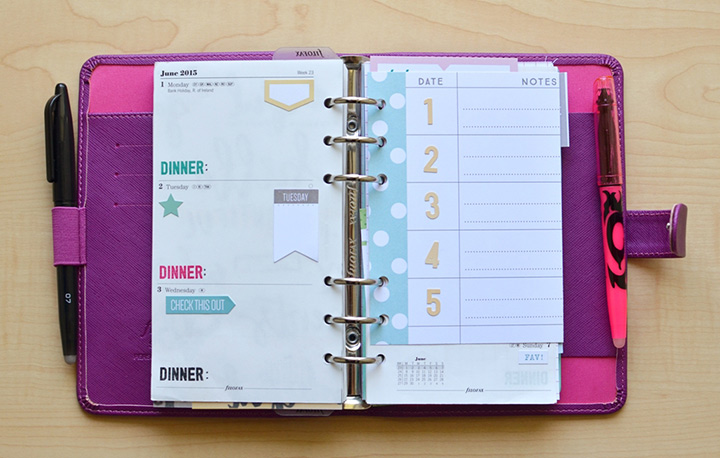
For each week that I embellished, I added a page with blank spaces for notes for each day. My thought is to add notes to this piece to later use for Project Life. I also used some paper from the Cienna collection, journaling cards from the April exclusive kit, and photos as well.jenchapin-planner-post-(4)jenchapin-planner-post-(7)
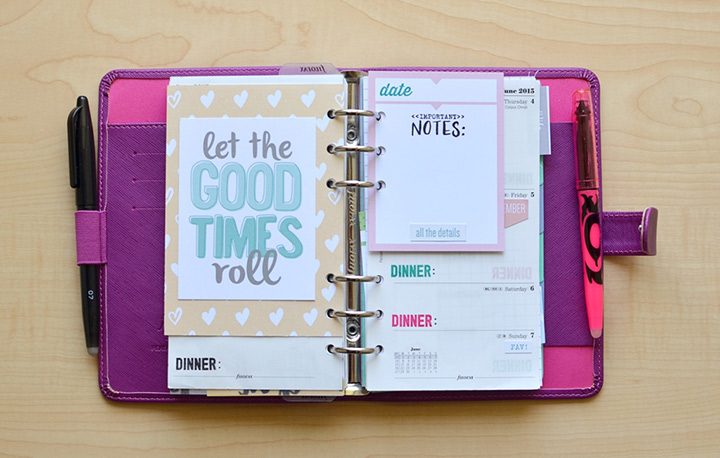
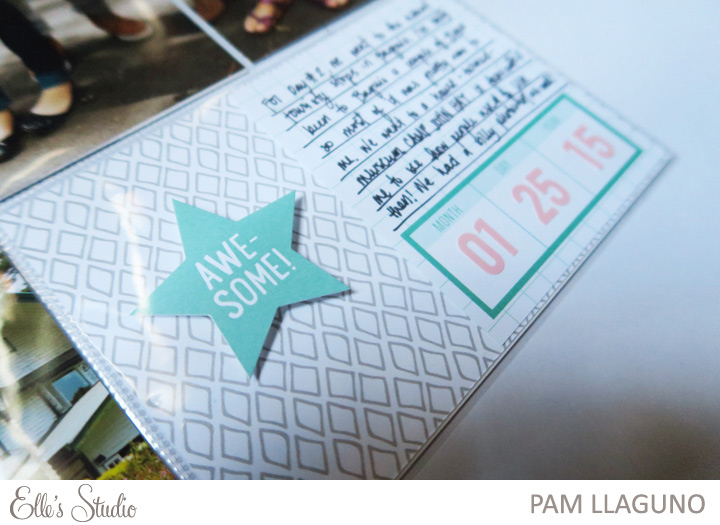
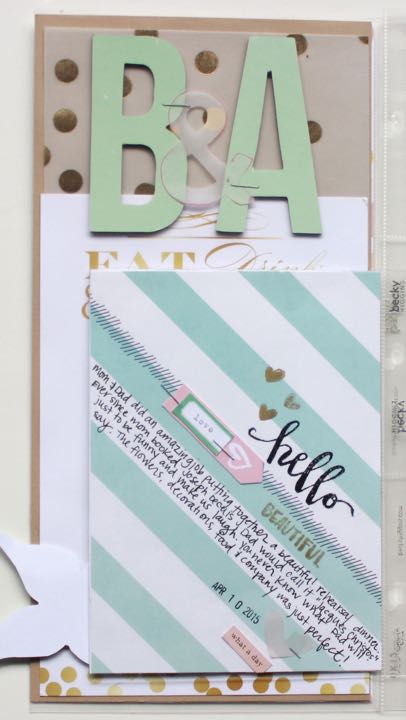
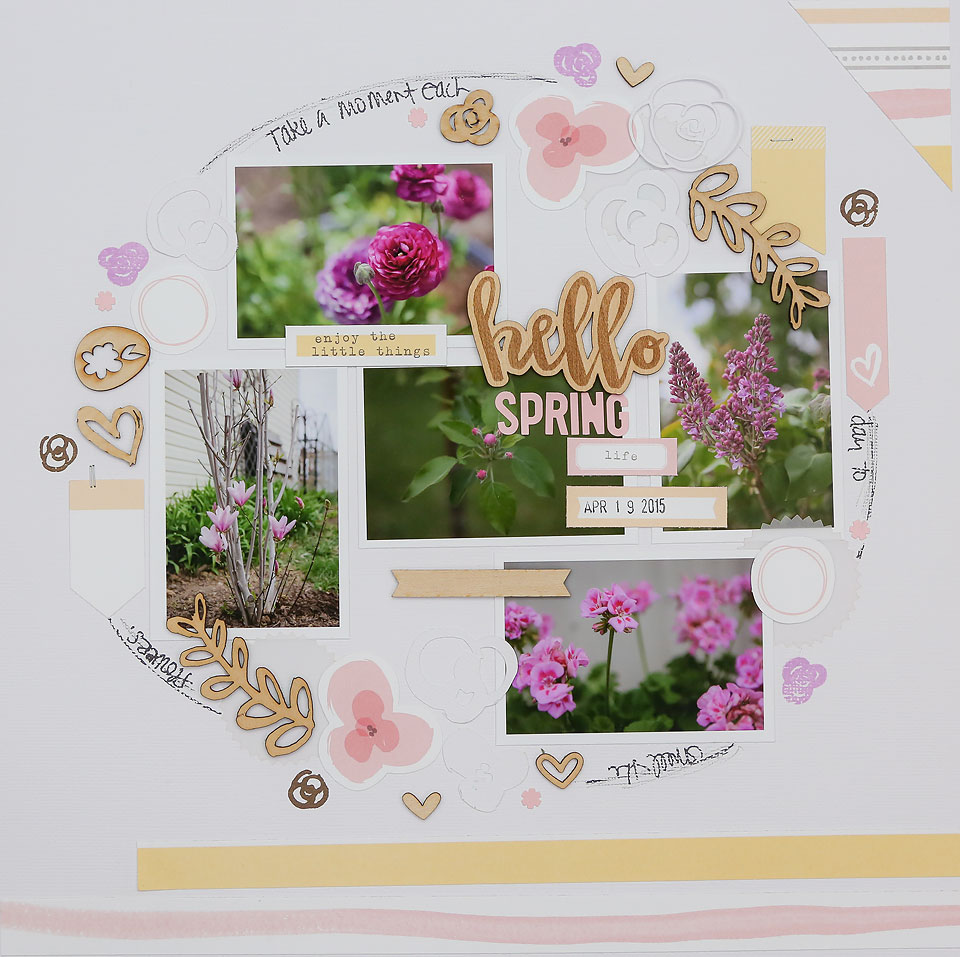
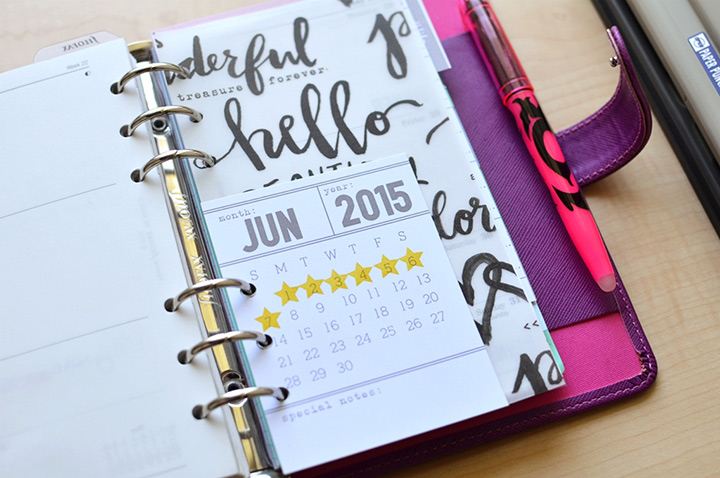
I also incorporated some of the Cienna vellum for a divider to mark the beginning of June, as well as a calendar card from the Hello 2015 collection. I had a lot of fun doing this project and I hope to keep it up. I hope you try it soon!
jenchapin-planner-post-(10)Products used: Cienna Paper Collection, Journaling Tags, Stickers, Happiness Stamp; Letter & Number Stickers – Yellow; Foodie Stamp; March and April exclusive kits; Hello 2015 Calendar tags, Stamp.

So fun! Thanks so much for sharing this with us today, ladies!

If you have used our products in your planner, make sure you upload them to our Member Gallery! We love featuring members on Sundays, here on our blog! And, each member featured will receive a $10 gift certificate to us in our shop!

Tips for Project Life with Pam Llaguno

EllesStudio-APR-3-01Pam has some fun tips for Project Life that she wanted to share with us today – here’s what Pam as to say: To be honest, I only really spend about an hour max on each of my layouts. My days can get a little bit hectic with my day job + passion projects + general life. I really have no time to sit down and do a lot of techniques (stitching, painting, etc.).

I have two go-tos when it comes to adding that extra oomph to my layouts: stamping and adding dimension. Today, I’ll give you some tips on adding dimension to your post without using a lot of bulky embellishments.

1. Less is more. You don’t have to add dimension to every single card in your layout. Think about this, if everything’s 3D, then nothing is going to stand out because they’re all on the same level. Choose a couple of focal points that can really bring the layout together.

EllesStudio-APR-3-022. Use foam squares / dots. These nifty little adhesives make it easy for you use your current stash (favorite: Elle’s Studio die cuts!) and convert it into nice raised embellishments. This technique creates dimension without making your layout too heavy.

EllesStudio-APR-3-033. Use foam thickers. Regular thickers add dimension but foam thickers are on a different level. Because they’re solid, they create a lot of dimension to your page. I like using big, bold thickers on a single card.

And that’s it! You’ve added dimension to your layout without it looking cluttered and heavy.

EllesStudio-APR-3-04Products used: Cienna Paper Collection; Letter & Number Stickers – Pink; Elle’s Studio Exclusive April kit and March kit.

Thanks for sharing with us today, Pam! We’d love to see and feature your Project Life spreads, too! Share them with us by uploading them in our Member Gallery – on Sundays we love to feature our members, and every featured member receives a $10 gift certificate to our shop!

Inspired Journaling with Meghann Andrew

EllesStudio-MeghannAndrews-01When I received my beautiful April exclusive kit, one of the first tags I noticed was the, “April showers” tag. We’ve had a lot of showers so far this month, but instead of thinking about flowers, this tag made me think of my daughter and her love for jumping in puddles. I had recently taken some photos of her jumping in a puddle on our daily walk, so I decided to document that love and how it began with her favorite program, Peppa Pig.

EllesStudio-MeghannAndrews-02Knowing that my journaling would take up much of the layout, I kept the design quite simple, with a large vertical block of patterned paper on the right side, which also housed my photo. To be able to type and print my journaling, I cut a piece of white background cardstock to 8.5″ x 12″, typed my journaling in Photoshop Elements and printed it out, adhering the 1/2″ on the right to my strip of patterned paper from the beautiful Cienna collection, making the entire layout 12″ wide.

EllesStudio-MeghannAndrews-03Products used: April 2015 exclusive kit, Cienna paper collection pack, Cienna word labels, Cienna bits & pieces, Cienna stickers

Underneath of my journaling, I included my title, which I started with the “April showers” tag. To cover up the “May flowers” part on the tag, I used a camera sticker and found two (very hoarded!) sets of chipboard alphas that matched the Cienna collection perfectly. Tags from the Cienna word labels, bits and pieces and stickers embellished the layout, and to finish them off, I added small rub-ons to make them look like they had been sewn to the page.

I so love when one tag can inspire me to document a cherished memory!

PROJECT LIFE

Today I am sharing a Project Life spread featuring the Cienna Collection!IMG_0861

I can’t get enough of Cienna lately!  It is a perfect collection to not only document Spring, but also the Wedding Season!

IMG_0918

We have had a big month within my family.  Last weekend my brother got married!  It was a wonderful weekend celebrating he and his new wife.   Myself, my husband, and both of our children were in the wedding party— there was much to document and celebrate.  IMG_0900

I decided to reserve a page and a half to document the rehearsal dinner.   It was held in a beautiful restaurant.  My mom had flower arrangements at every table and I couldn’t help but think that the Cienna colors will match the flowers perfectly!  IMG_0902

I saved the invitation and the menu for the evening and included it within the spread. The vellum ampersand found in Cienna Bits and Pieces is my favorite subtle touch as it connected their initials.  I used quite a bit of items from the Bits and Pieces pack!

IMG_0912

On the backside of the menu I added paper from the Sycamore Lane Paper Collection Pack along with Cienna Hello Stamp, Cienna Happiness Stamp, along with hearts from the Hello 2015 Stamp.  I used the white space in the paper as a journaling spot.

IMG_0910Aside from the invitations, I included a few extra items from the evening.  The napkin the restaurant logo on it, and I saved a ribbon that held the table favors.

IMG_0907Elle’s Studio Products Used: Elle’s Studio March 2015 Kit, Cienna Paper Collection PackCienna Cutouts, Cienna Journaling TagsCienna Bits and Pieces, Cienna Wood Veneers,  Sycamore Lane Paper Collection PackCienna Hello Stamp,  Cienna Happiness Stamp, Hello 2015 Stamp, Numbers Stamp


Capture Life

Spring is officially here in the Midwest! The grass is green, the flowers are starting to bloom, and we mowed the yard for the first time last week!

meganklauerphotography--copyToday’s Capture Life challenge is to take a walk around your yard or local park and capture the beauty of the season. Maybe it’s the beautiful magnolia tree in bloom along the city streets or the first dandelion in your yard ready for a bee to come collect that most important pollen.

meganklauerphotography--6-copytwo-photo-up-copy1

Get down on the ground and capture that delicate world and don’t forget to stop and smell the flowers along the way!

two-photo-up-copy two-photo-up-copy3 meganklauerphotography--5-copyI took a few of the images I captured from our yard for in my scrapbook.

The softness of the Cienna collection mixed perfectly with them!

meganklauerphotography-6021-copy meganklauerphotography-6020-copy meganklauerphotography-6016-copyCapture your Spring and share with us in our Member Gallery! We love to see what you’re creating!

Project Spotlight – April 19th

2260_3684_14282966066014_bigCongrats to this week’s Project Spotlight winner, mandalika! How cute is this layout? It’s so fun seeing our new Cienna collection in action! Check your email for your $10 Elle’s Studio gift certificate to use in our shop!

And, don’t forget that you can head on over to her gallery to check it out and you can even add it to your favorites by logging into your account and clicking on the “I (heart) this!” button.

You never know when your project will be chosen to be spotlighted! Each week we pick a new project out of our member gallery to spotlight. For your chance to be spotlighted and to win a $10 Elle’s Studio gift certificate, just upload your project to our member gallery and tag the Elle’s Studio item(s) used.

April Cut File Highlight with Melissa Mann

April_MLM10Melissa is sharing this cute layout with us today and she used our April cut files to create the title! Here’s what Melissa has to say: “I really loved the “Happy Moments” digital file that was included in the April release. I decided to enlarge the cut file in the Silhouette Cameo software and then used it as a big title on my layout.”

April_MLM12“I used the wood pattern paper from the “Shine” collection as my background paper and this allowed that title to really pop out against the woodgrain pattern! I took the Cienna word labels and slipped the whole things into my typewriter and typed out my journaling and then cut out the labels I actually used. This made typing out my journaling SO easy!”

April_MLM11Products used: Shine Collection Pattern Papers, wood veneers; April Digital Cut File; Cienna Word Labels; and Hello 2015 Stickers

It’s so lovely, Melissa –  We love the way you used that cut file and how you arranged everything on the page with those photos and journaling! Thank you for sharing it with us today!

If you’ve created something fun with our products, don’t forget to add them to our Member Gallery! We love featuring members every Sunday, here on the blog! Featured members also receive a $10 Elle’s Studio gift certificate to us in our shop!

Creating your own patterned paper with Lisa Dickinson

EllesStudio-Lisa-Pattern01

Creating your own patterned paper is simple with stamps, and the size and variety of the Elle’s Studio stamps make it even easier!  To create a piece of paper that coordinated with the Shine “Good Times” stripe paper, I used several small stamps from the Cienna Happiness set, as well a heart stamp from the Hello 2015 set. Using navy and turquoise ink, I randomly stamped the images on a piece of 8.5 x 11 card stock, allowing some of them to bleed off the edges.

EllesStudio-Lisa-Pattern02

This custom paper forms the base of my design, to which I added my photos, die cut title, journaling strips, and lots of fun tag accents.  A few coordinating buttons helps tie the whole thing together.

EllesStudio-Lisa-Pattern03EllesStudio-Lisa-Pattern04Products used: Shine paper collection, Extra Tidbits, Bits & Pieces; Hello 2015 stampsCienna Happiness stamps, stickers.

So the next time you can’t find the perfect patterned paper for your project, just grab some Elle’s Studio stamps and create one!

Sketch Thursday

Today’s sketch was inspired by our special guest this month, Carson! We loved her Hello Beautiful layout and thought it was the perfect inspiration for a sketch!
EllesStudio-April162015-Sketch

Jessy is joining us today with her take on the sketch – what a beautiful and colorful layout!
EllesStudio-SketchThursday-Jessy01Supplies: Elle’s Studio April 2015 Kit, Shine paper collection, Cienna Vellum

EllesStudio-SketchThursday-Jessy02EllesStudio-SketchThursday-Jessy03

Daniela took the sketch and used it to create this cute card, with lots of fun layers:
Thinking-of-you-by-Daniela-DobsonSupplies used: Elle’s Studio April 2015 Kit, Cienna Bits and Pieces and Paper Collection PackThinking-of-you-close-2-by-Daniela-DobsonThinking-of-you-close-by-Daniela-DobsonThanks so much for inspiring us today, ladies!

For a chance to win a $10 gift certificate to the Shop, create a project inspired by today’s sketch, upload it to the Member gallery and leave a comment here with the link by April 29th. A random winner will be selected and posted with the next sketch on April 30th.

5910_3683_14282856160623_bigOur randomly selected winner is erindubrock with her very cute layout oh happy day! Please email info@shopellesstudio.com the following info:

Name & Address:
Contest: Sketch 03.19.2015
Prize: $10 Elle’s Studio gift certificate


Morning, Afternoon, Evening by Jill

BLOG-MTWRF-ES-Jill-LOJill is sharing this beautiful layout with us today using pieces from our exclusive April kit! Here’s what Jill has to say about it: “Each month, the exclusive kits from Elle’s Studio contain so many treasures. The process of going through each of the colorful tags, cards, tabs, and accents for the first time always sparks page ideas for me. The April kit includes a “Morning, Evening, Afternoon” journaling card, a series of five weekday tags, and a “Noted” tab, all of which prompted this page, on which I document a typical work week.”

BLOG-MTWRF-det1“I began by compiling photos that capture my morning, afternoon, and evening routine, Monday through Friday. These were taken over a matter of months rather than all in the course of a single day. It’s amazing what you can find when you go through your photo folders! The detail pics that initially might have been taken for fun sometimes end up serving a greater purpose. I organized the photos in a grid chronologically, so that collectively, they depict my routine but also connect easily to the journaling that I added to the “Morning, Evening, Afternoon” journaling card.”

BLOG-MTWRF-det2“That card is the real star of the layout. I added the journaling one column at a time, to ensure that the text would be aligned just right. After finishing the journaling, I worked in papers and accents that pick up the colors in the photo and that reinforce the theme of the page. My favorite additions were accents that correspond to morning (the rising sun on the “Shine” journaling card, top left), afternoon (the bright yellow sunshine wood veneer peeking out of the days of the week tags), and evening (the stars to the right).”

BLOG-MTWRF-det3Products used: Elle’s Studio April 2015 kit; Hello 2015 Cork Shapes and Calendar Tags (April tag — reverse side); Shine Paper Collection Pack, Journaling Tags, and Wood Veneers; Sycamore Lane Paper Collection Pack; Love You More Paper Collection Pack 

“All in all, this page pretty accurately represents my weekdays, and it all came about because of the lovely April kit and the treasures it contains.”

Doesn’t Jill have an amazing way of layering papers and embellishments, and documenting the story? We love it Jill – thank you for sharing with us today! Our April kits are going fast – if you’ve already ordered one, don’t forget to share what you’ve made with it in our Member Gallery!