PROJECT LIFE

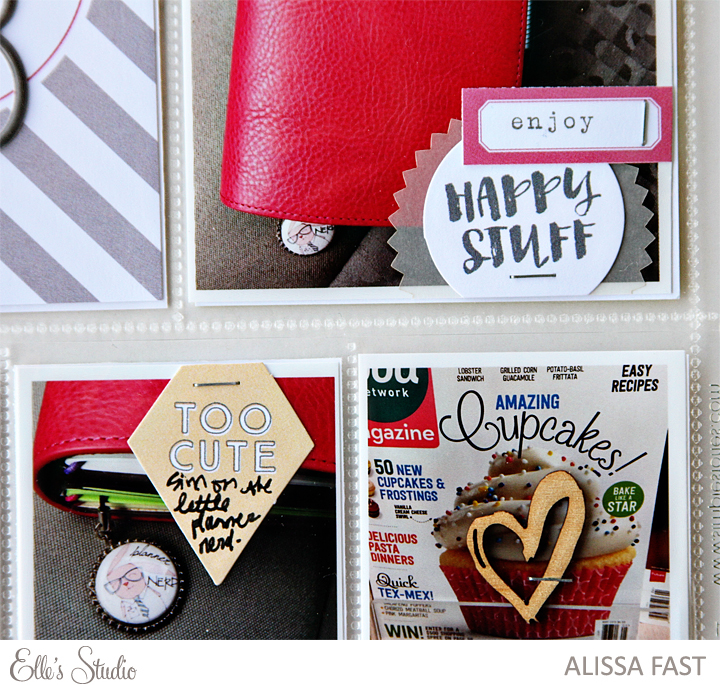
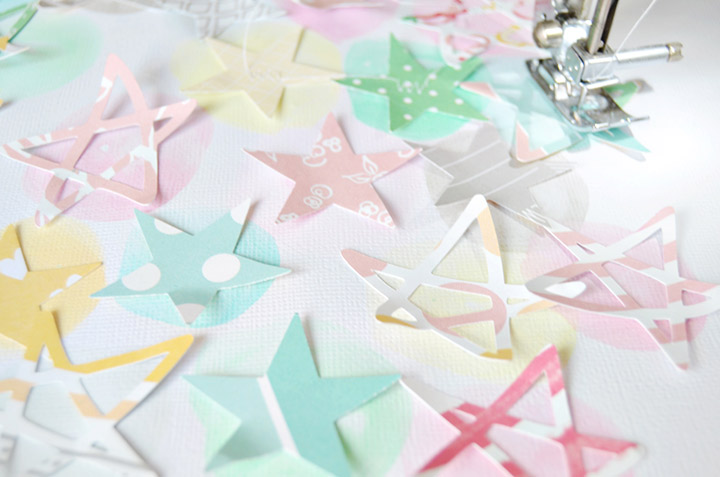
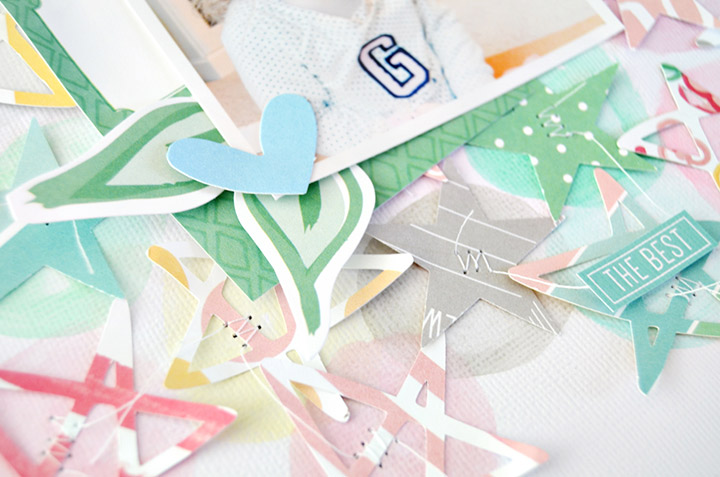
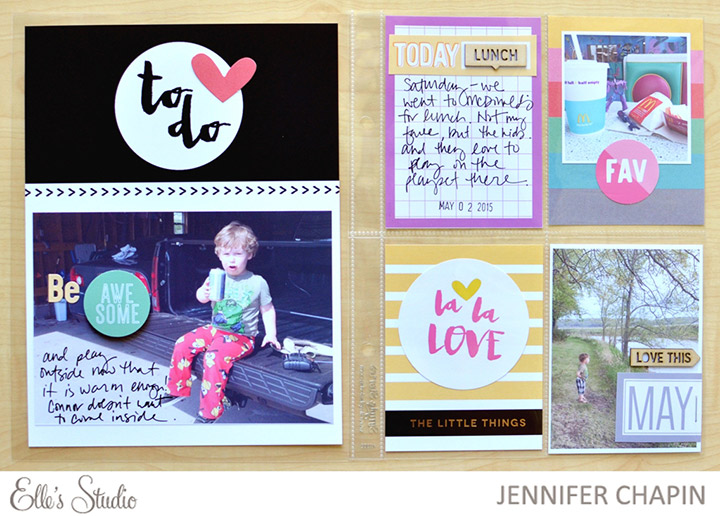
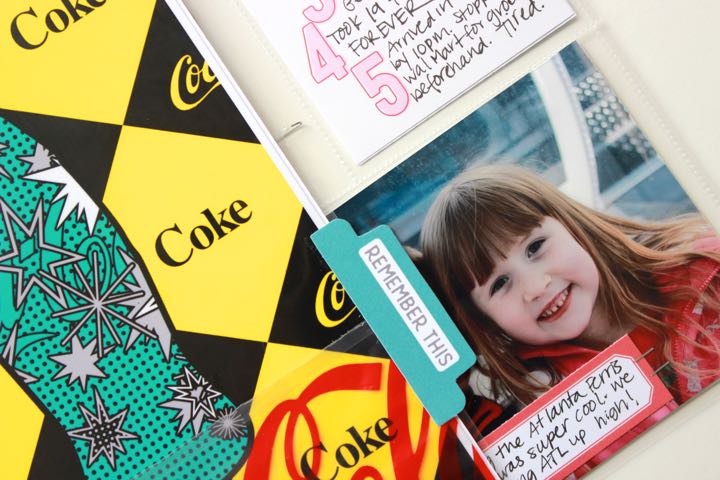
Today I am sharing the cover page to my Spring Break album.IMG_1792I love creating cover pages, and especially small pocket cover pages.  I love the glimpse small pocket cover pages have to offer in an album.  Adding small bits and pieces of an experience is my favorite way to start an album.IMG_1789

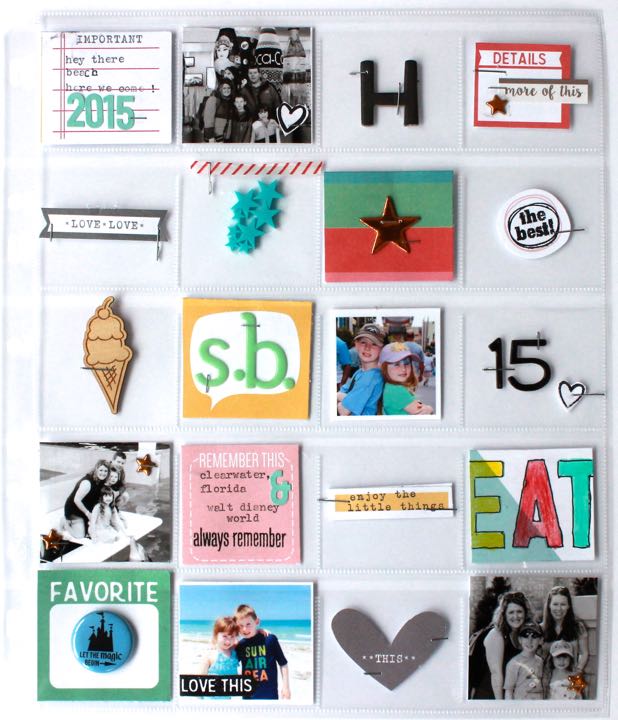
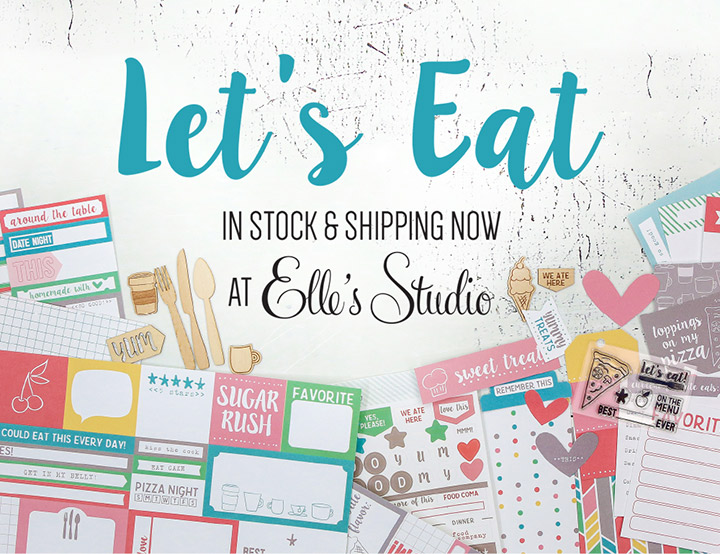
I am a big fan of the “Let’s Eat” collection.  Yes, it’s a collection based on dining and food, but it’s also VERY versatile.  The majority of this pocket page was created using the Let’s Eat products.  My focus was a cover page for our Spring Break (which let’s be honest, food and dining was a big part of that!), but it was still versatile in order to create my cover page.

IMG_1795
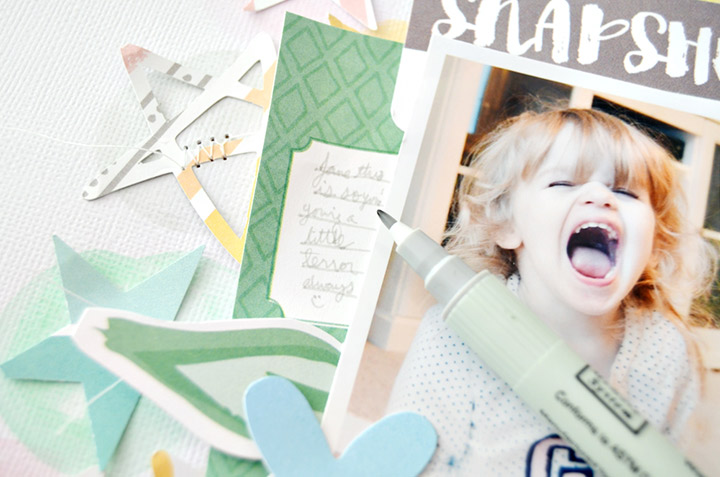
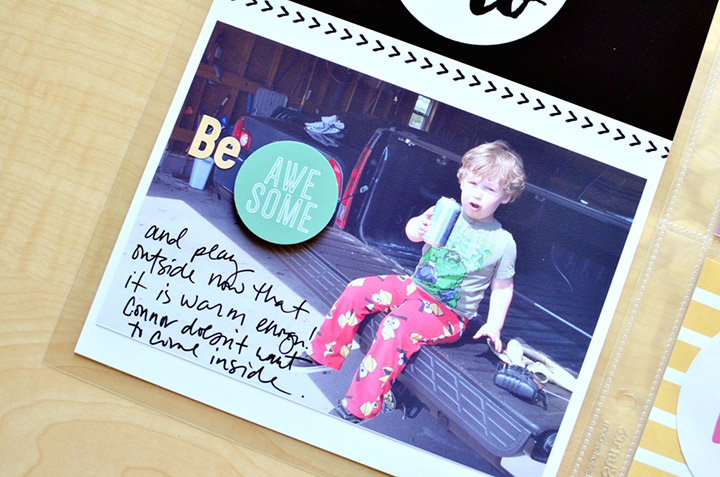
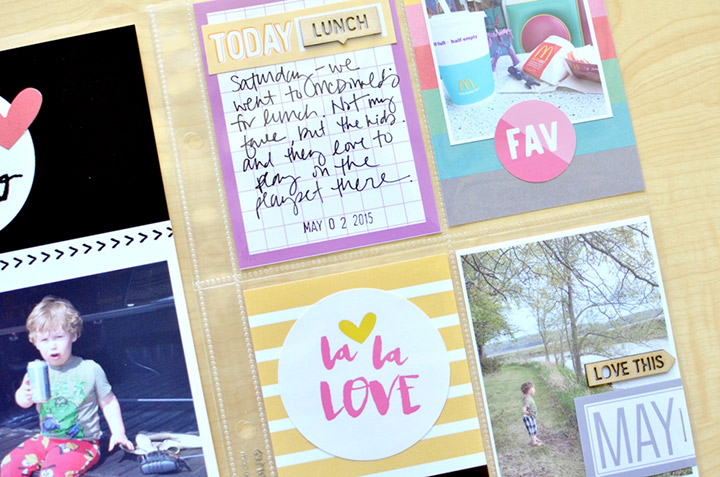
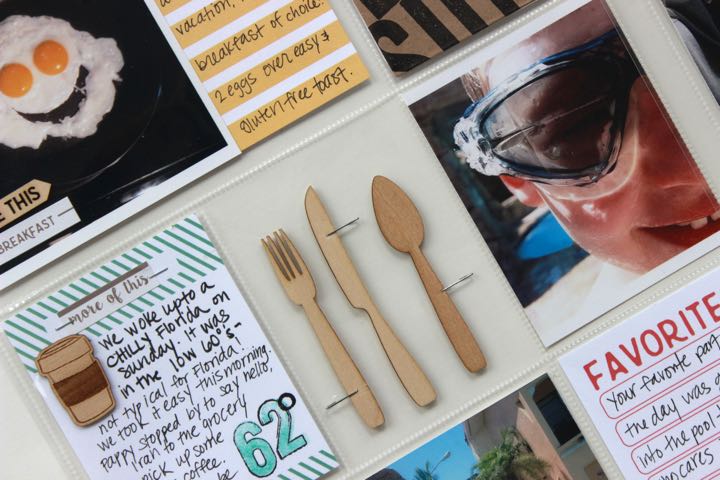
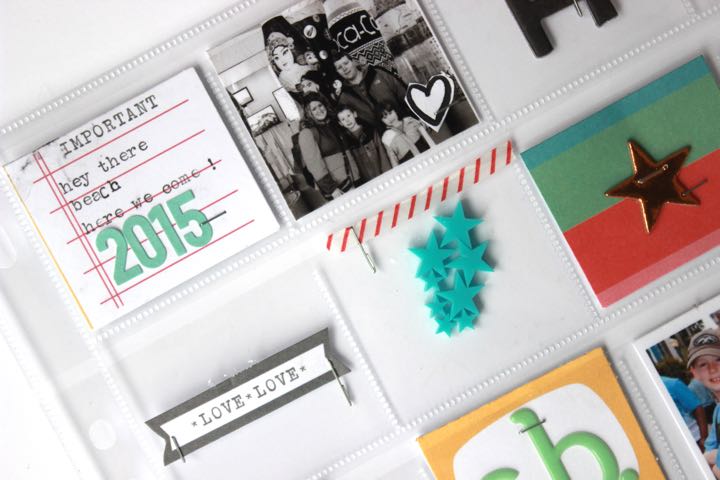
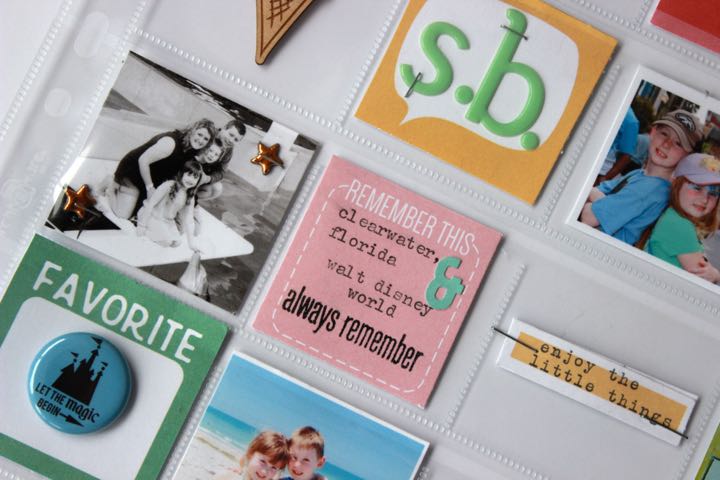
I included five favorite photos from our vacation on this page.  Three of them I printed in black and while, and the other two in color.  Whenever I have photos that might have competing colors with my product, I always print in black and white.  Beach photos match wonderfully with Let’s Eat!

IMG_1802
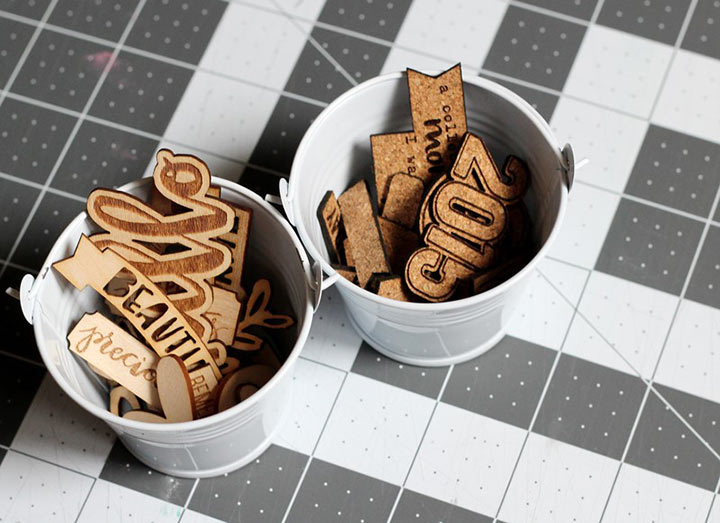
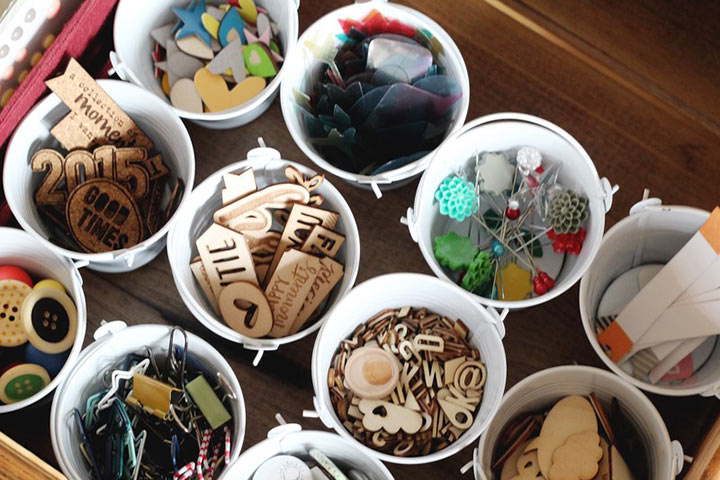
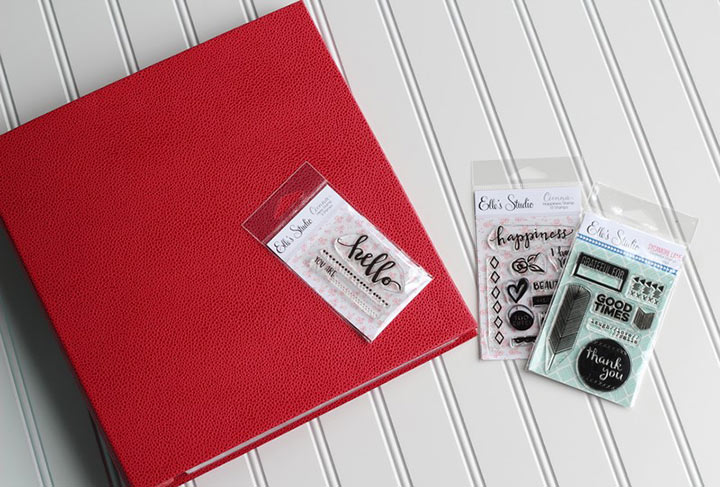
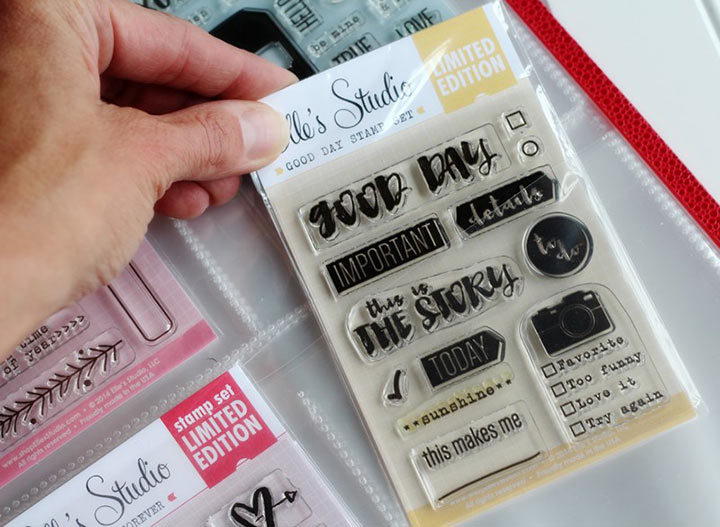
Elle’s Studio Products Used: Let’s Eat Bits and Pieces, Let’s Eat Yummy Detail Stamp, Let’s Eat Word Labels, Let’s Eat Wood Veneer, Let’s Eat Stickers, Let’s Eat Paper Collection Pack, Cienna Paper Collection Pack, Penelope 100% Sweet Stamp, Good Times Stamp, Cienna Happiness Stamp, Letter & Number Stickers- Teal.


Sketch Thursday

Happy Sketch Thursday everyone! Today we have a lovely sketch inspired by last week’s project spotlight winner, Veera and her Hello Comfort layout.

May15 Sketch


I love how she used all those mini flowers across the page. Beautiful page Veera!

For a chance to win a $10 gift certificate to the Shop, create a project inspired by today’s sketch, upload it to the Member gallery and leave a comment here with the link by June 10th. A random winner will be selected and posted with the next sketch on June 11th.

Keeping it Organized with Lisa Dickinson

As most of you can relate, I have limited time to spend in my scrapbook space, so keeping it organized and efficient makes my time there much more productive! Here are few of my methods for storing and organizing my Elle’s Studio kits and products.
EllesStudio-Organized-LisaDickinson01
This little tin box (found in the bathroom storage section of a home goods store) is the perfect size for holding the monthly kits. I keep them in the original clear bags which makes it easy to flip through and find what I need. Once a kit has been mostly used up, I mix any remaining pieces in with whatever Elle’s Studio collection it coordinates best with.

EllesStudio-Organized-LisaDickinson02
The paper lines and coordinating elements are stored in this large plastic hanging file bin from Target. I love these for cheap and colorful storage! The 12×12 papers fit perfectly and are easily thumbed through to find the pattern or color I need. I group them buy collection and insert  a hanging folder between each different line. In the hanging folder, I slip in the matching tags, cards, and stickers that go with the collection.

EllesStudio-Organized-LisaDickinson03EllesStudio-Organized-LisaDickinson04
For the wood and cork embellishments, I like to be able to sort through them to find the right shape and size for a layout. Rather than keep them in the original packaging, I empty them into small metal buckets and store them with my other accents. Then it’s easy to dump them out and find the perfect piece! You can often find these small buckets at dollar stores, or in bulk in the wedding section of crafts stores. I bought two dozen of them and fill them with everything from wood veneer to paper clips to stick pins. Tucked inside a drawer at my work table, they make it easy to see all the embellishment options I have at once.

EllesStudio-Organized-LisaDickinson05
And finally – my stamps! There are so many great small elements in the limited edition Elle’s Studio stamps, and it’s easy to forget what month had that small heart or little phrase you’re looking for. That’s why I like to have all my stamps together so I can quickly sort through and find the perfect image. I keep all of my stamp sets in a Martha Stewart Home Office binder that I got at Staples:

EllesStudio-Organized-LisaDickinson06
Inside, the binder holds pocket pages (available in a variety of sizes and configurations) and each pocket holds a stamp set. The sets are easily slipped out of the top-loading pockets and I love that this storage keeps all my stamps in one place.

EllesStudio-Organized-LisaDickinson07
Hope you’ve enjoyed this peek into my studio storage and can use a few of these tips for your own scrap space!

See even more creative fun at Lisa’s blog!

PROJECT LIFE

Today we have design team Alissa Fast sharing a page in her Project Life album.PL Week 18 05

Alissa says “I’m still loving my 6×8 Project Life this year. I’m still not feeling like I’m cutting my space short and I still find ways to add in lots of photos.

PL Week 18 03

Speaking of photos, don’t forget to add in world events or local news that you want to remember.

PL Week 18 01

Since I was a teenager, I’ve loved the British royals and the birth of the newest little princess just had to go into my weekly spread. Isn’t she so cute? Sometimes I even add a screenshot of my favorite weather app on my phone or a special text message.

PL Week 18 02

I always try to find ways to add in the bigger world around me all the time. This stuff, I want to remember, too.”

Thank you so much Alissa for sharing this gorgeous page!

PL Week 18 06

Elle’s Studio Products used: May 2015 Exclusive KitCienna Bits & PiecesCienna Wood VeneerCienna CutoutsLetters & Numbers Stickers – Yellow

Step-by-Step Tutorial by Paige Evans

EllesStudio-PaigeEvans-SnapshotAre you guys ready to see how Paige Evans put together this super fun layout?! Paige is working with our exclusive May kit, cut files ,and printables, paired with our Cienna collection this month and has a really fun tutorial for us today!

EllesStudio-PaigeEvans-SnapshotDetailHere’s how she says this layout came together:EllesStudio-PaigeEvans-11. Die cut the stars cut file from Cienna patterned papers.

EllesStudio-PaigeEvans-22. Punch stars from Cienna patterned papers and add them to the mix.

EllesStudio-PaigeEvans-33. Watercolor circles on a white cardstock layout base.

EllesStudio-PaigeEvans-44. Lightly adhere the die cut and punched stars (matching color on like color) onto the watercolored circles.

EllesStudio-PaigeEvans-55. Zigzag stitch each star in place.

EllesStudio-PaigeEvans-66. Layer a photo in the middle over a journaling card and tuck die cuts and embellishments under the top right corner.

EllesStudio-PaigeEvans-77. Add more die cuts to the bottom left corner of the photo.

EllesStudio-PaigeEvans-88. Journal on the card with a light gray pen.

How fun and cute is that?! We love it, Paige! Thank you for sharing this fun tutorial with us today!

And remember, if this layout has inspired you, make sure you share your creations with us in our Member Gallery!

Member Spotlight

6250_3710_14299236502568_bigCongrats to this week’s Project Spotlight winner, DJ! How cute is this card?! We love how she used our Cienna collection combined with our April kit! Check your email for your $10 Elle’s Studio gift certificate to use in our shop!

And, don’t forget that you can head on over to her gallery to check it out and you can even add it to your favorites by logging into your account and clicking on the “I (heart) this!” button.

You never know when your project will be chosen to be spotlighted! Each week we pick a new project out of our member gallery to spotlight. For your chance to be spotlighted and to win a $10 Elle’s Studio gift certificate, just upload your project to our member gallery and tag the Elle’s Studio item(s) used.

La La Love Printable for May

jenchapin-printable-post-(2)Hi there! Jennifer Chapin here, and today on the blog I am sharing a project that I created with the May exclusive printable.

jenchapin-printable-post-(4)

This is a 6×8 pocket page spread, and for the left side, I took the “to do” card from the printable and enlarged it. I then re-colored it black (originally gray). I added a photo to the lower half and a few more embellishments.

jenchapin-printable-post-(1)Products used: LaLa Love Printable, Let’s Eat Wood Veneer, and Journaling Tags

On the right side, I printed out a few of the 3×4 cards from the printable, as well as the “fav” circle. After adding journaling and a date stamp, the spread was complete!

I hope this gives you some ideas to use the new printable! I love using them because of how customizable they are.Thank you for stopping by the blog and have a great day!

Using Elle’s Studio In Your Planner!

Elles-Planner-May-1-copyHey planner friends! We are having so much fun seeing how you use our products in your planners – from the stickers, to journaling tags, and stamps – it’s always so inspiring to see how you are using them!

Today, Kay is sharing a peek into her planner with us! Elles-Planner-May-2-copy

Kay used our Shine Bits and Pieces, Extra Tidbits, and Labels, along with our (sold out) May 2015 kit, and Good Day Stamp! Thanks so much for sharing this with us today, Kay!

Elles-Planner-May-3-copyWe would love to see how you use our products in your planners, too – don’t forget to post your creations to our Member Gallery where you can inspire others, and have a chance to be featured on our blog. Featured members also win a $10 Elle’s Studio gift certificate to spend in the shop!

Our Let’s Eat collection is now in stock!

EllesStudio-LetsEat-blog2We are excited to announce that our Let’s Eat collection is now in stock, in our shop! You guys are going to LOVE this collection – it is so versatile! Besides being awesome for documenting all your foodie memories, it also works well for everyday memories, too!

Let’s Eat works great on scrapbooking layouts, Project Life, mini albums, and even in planners! Our design team will be showcasing this new collection in our next gallery reveal and here on the blog, and Jenni has already started using it in her Project Life album:IMG_1188IMG_1298You can see her blog posts here and here, where she featured this collection!

We can hardly wait to see how you use this collection – don’t forget to post your creations to our Member Gallery where you can inspire others, and have a chance to be featured on our blog. Featured members also win a $10 Elle’s Studio gift certificate to spend in the shop!

Thanks for joining us on this exciting day, and thank you for all your incredible support! We feel so grateful for each one of you and hope you enjoy this collection as much as we do!

A True Cinderella Story by Jill Sprott

True-Story-ES-Jill-LO-blogAh, prom season. It’s that time of year when our children abandon the uniform of teen angst and youthful malaise — worn denim and t-shirts — in favor of glittering gowns and tailored tuxedos. This spring, my daughter attended not just one, but two proms. Initially, she was going to wear the same red dress to both proms, but that did not work out as expected. In fact, there was something even more unexpected that occurred. That story — my daughter’s true “Cinderella” story — is the focus of this page.

True-Story-ES-det-2-blogThe journaling was prompted by a tag from the Elle’s Studio May 2015 kit that allows one to rate an event by checking a box. Initially, I was going to go with “This was…incredible,” but so many other choices applied, so I checked even more boxes (“awesome…so fun…a doozy”) and covered up the ones that I wasn’t using with a date strip. Everything in the journaling relates to the checked boxes, from the “doozy” that was the dress debacle, to the “incredible” and “awesome” news that my daughter was prom queen, as well the most important aspect of all, that she found the prom to be “so fun.”

True-Story-ES-det-blogProducts used: Elle’s Studio May 2015 kit, Cienna Paper Collection Pack (including Cienna “You Are” patterned paper and Cienna “Happy Moments” vellum), Cienna Bits and Pieces, and Cienna Cutouts

Knowing that I would be adding a lot of journaling and photos, I kept the background simple and neutral, using a sheet of “You Are” patterned paper from the Cienna collection.  Mindful of the role that purple played in my daughter’s story, I brushed purple paint across the background, and built the rest of the layout over the painted section. I selected tags and accents from the May kit and the Cienna collection that were primarily purple or gray, keeping with the monochromatic approach. The final addition to the page was the hand-cut title, taken from a sheet of Cienna “Happy Moments” vellum.

As this page attests, I’m a sucker for a happy ending.