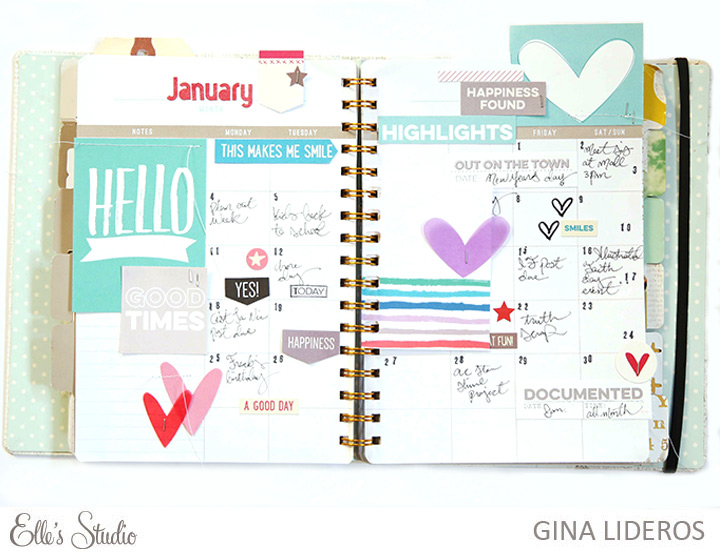
Hi Everyone, Gina here today and I am going to share with you how I am using the Elle’s Studio January kit + extras in my planner this month. At the beginning of each month I like to take the time to write out important dates, appointments and reminders. I then go back later on and add more as the month goes on.
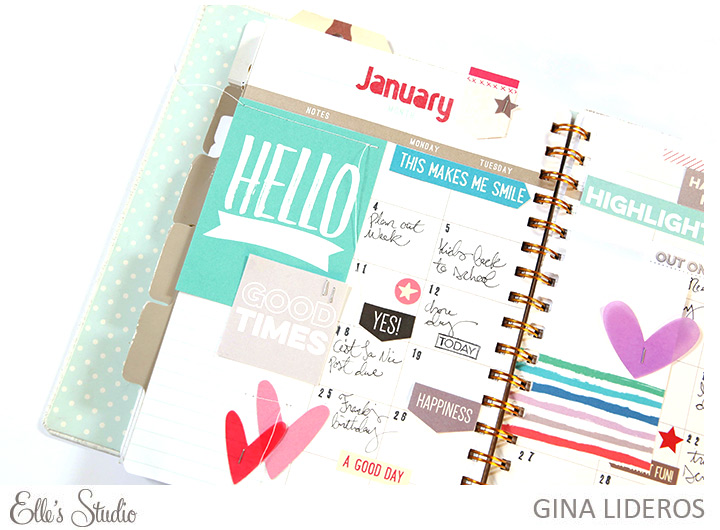
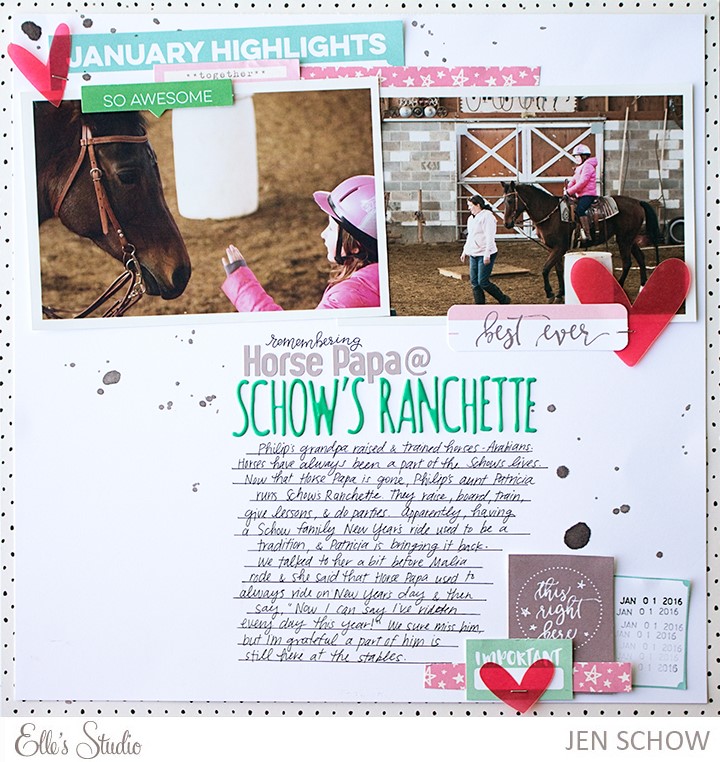
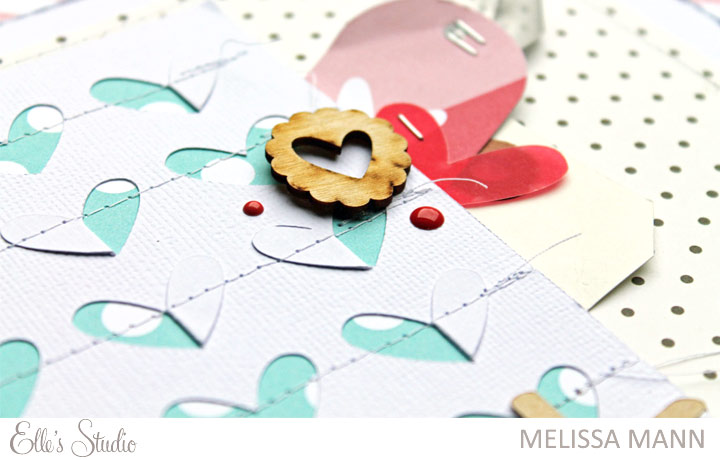
I like that the embellishments in the January kit have such a fresh and vibrant look to them. What a great way to start off the year! Here is a shot of my month.
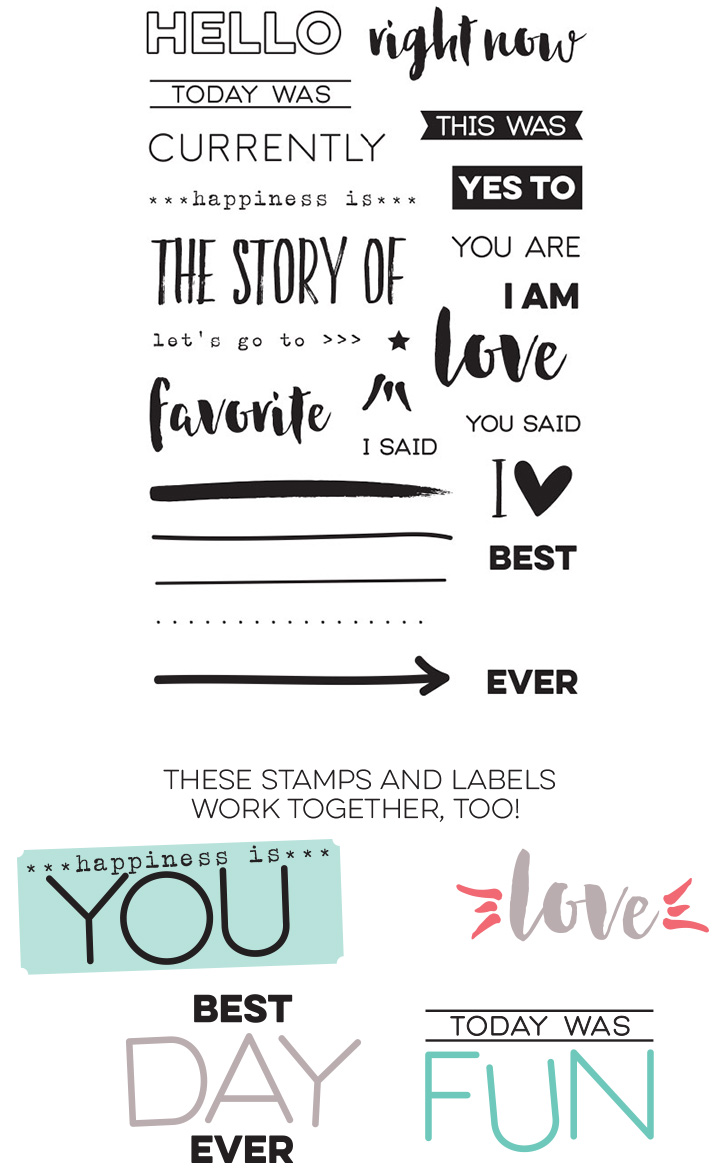
The “You’re The Sweetest” stamp is great for adding to your planner pages. I used the little heart from the stamp set on the right side of my page.

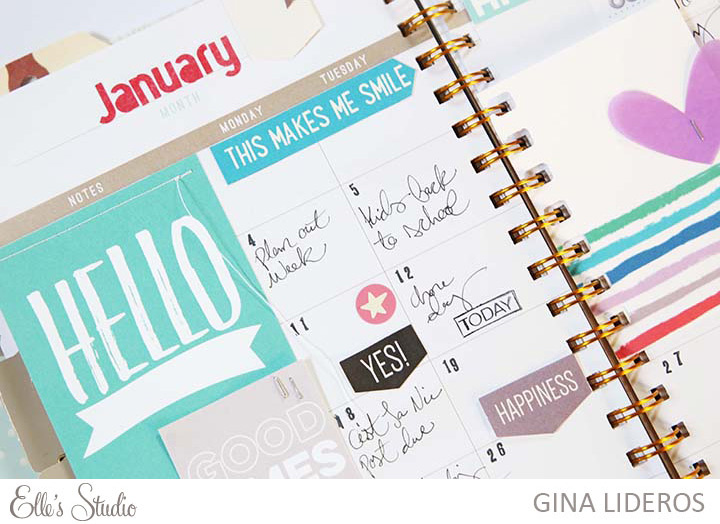
I love lots of layers and embellishments on my projects. I used a tiny attacher to adhere tabs and bits and pieces in my planner. It works really well for attaching them, and works great with vellum pieces too, so that you don’t have to worry about adhesive showing through.
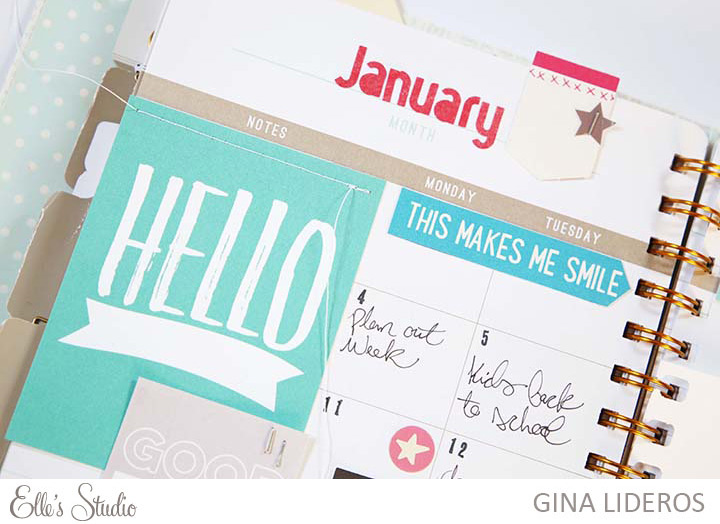
The scrapbooker in me always likes to add machine stitching to my projects. This gets tricky when you are working with a book or planner page. The pages are flimsy and easy to tear, So I tend to stitch a few pieces before adhering them to my page. I like to leave the loose ends long for looks.
Next up is Candi sharing a spread from her planner, too!
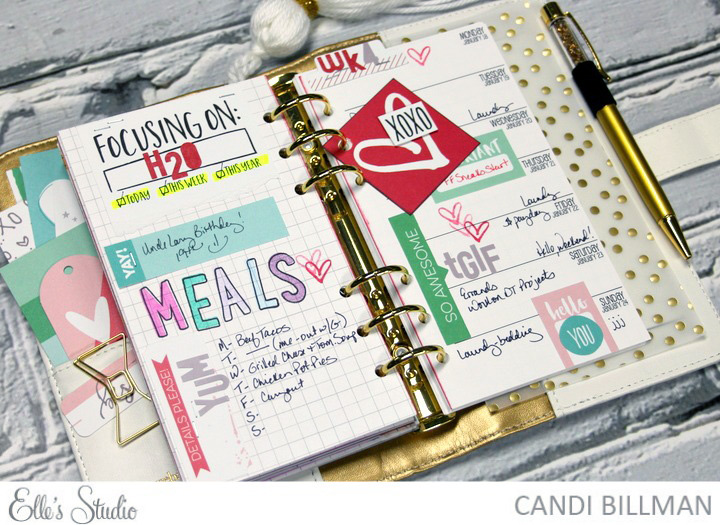
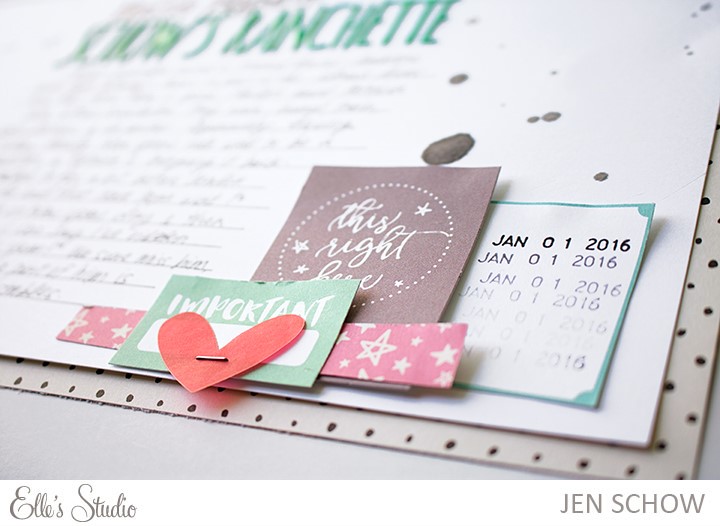
Hi everyone, Candi here! For my weekly planner spread I used lots of die cuts and tags from the January Kit to highlight some important details of my week!
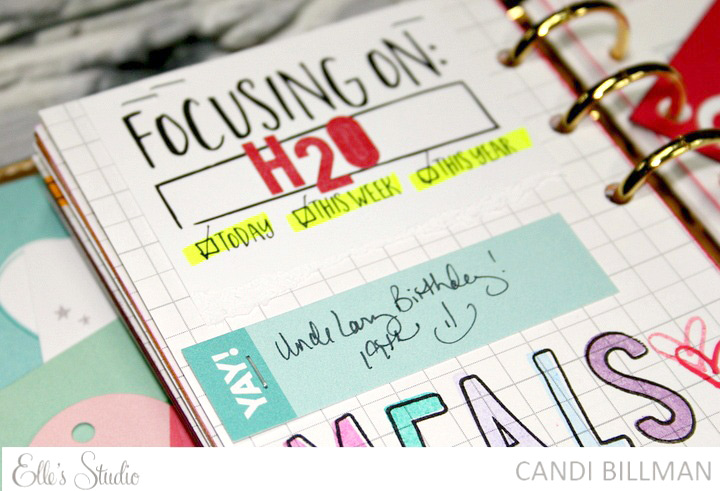
On the left hand side of my week I used the 3×4 “Focusing On:” tag to jot down that I need to drink more of that lovely thing called water {wink} and on the bottom I am able to plan out my meals for the week! I loved using the Jordan Alphabet Stamp Sets (Solid + Outline) to spell out “Meals”!
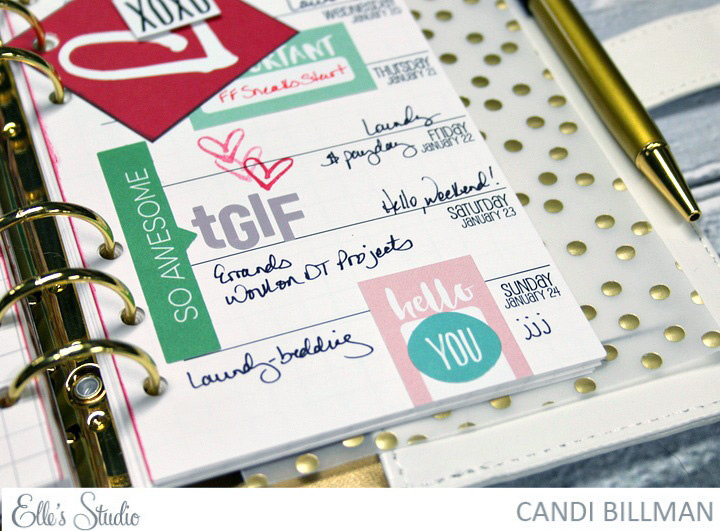
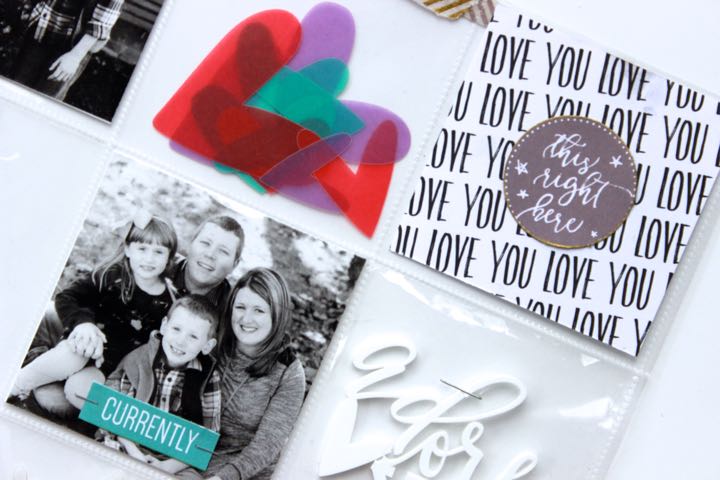
On the right hand side I used the January kit to embellish the page, along with some of the Letters & Number gray stickers. Using a single hole punch, I punched a hole in the little 2×2 Heart Tag for an added element to my planner spread.
Do you use Elle’s Studio products in your planner? Share them with us in our Member Gallery or on Instagram with the hashtag #ellesstudio!
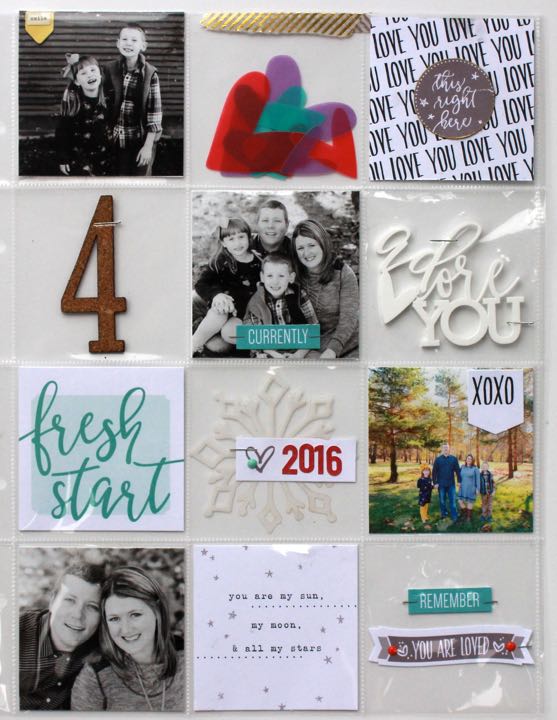
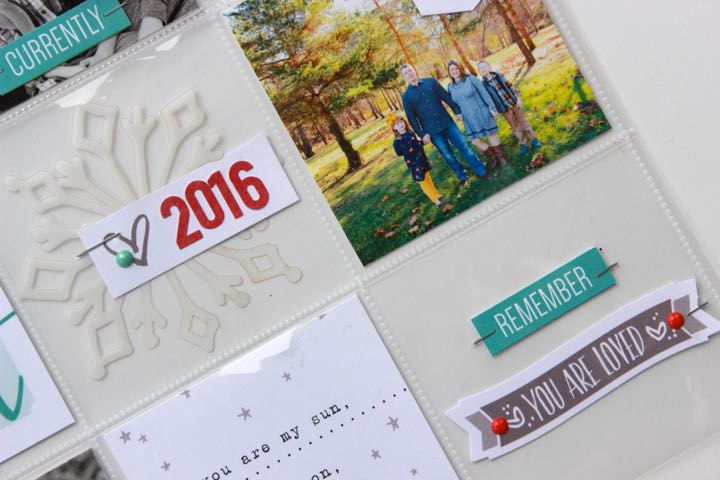
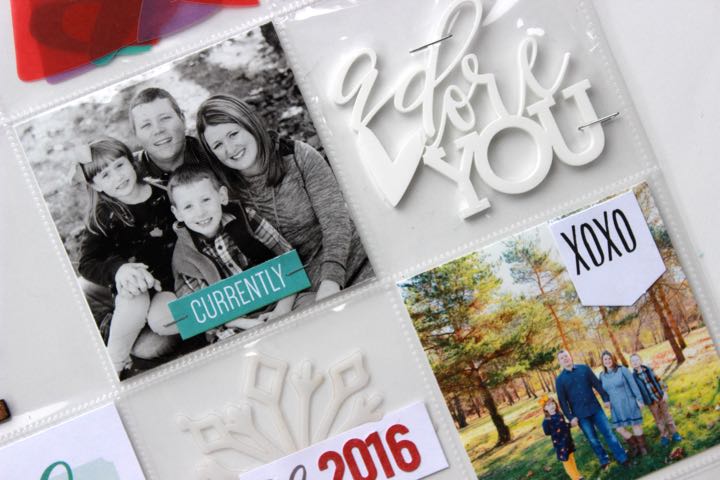
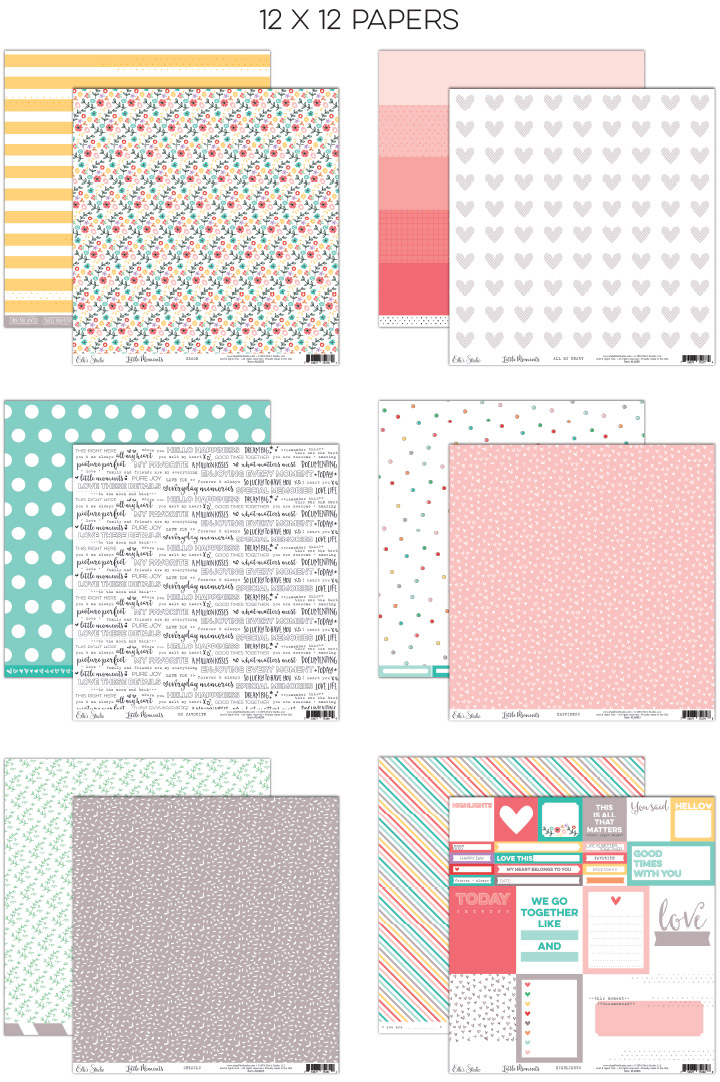
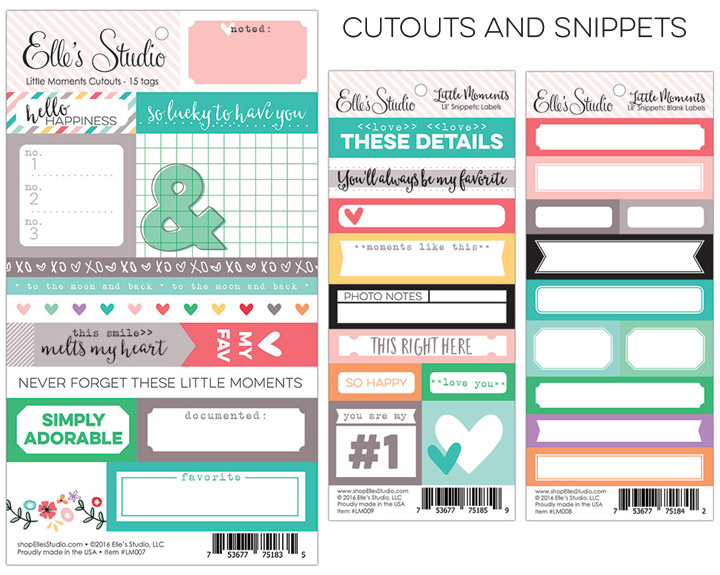
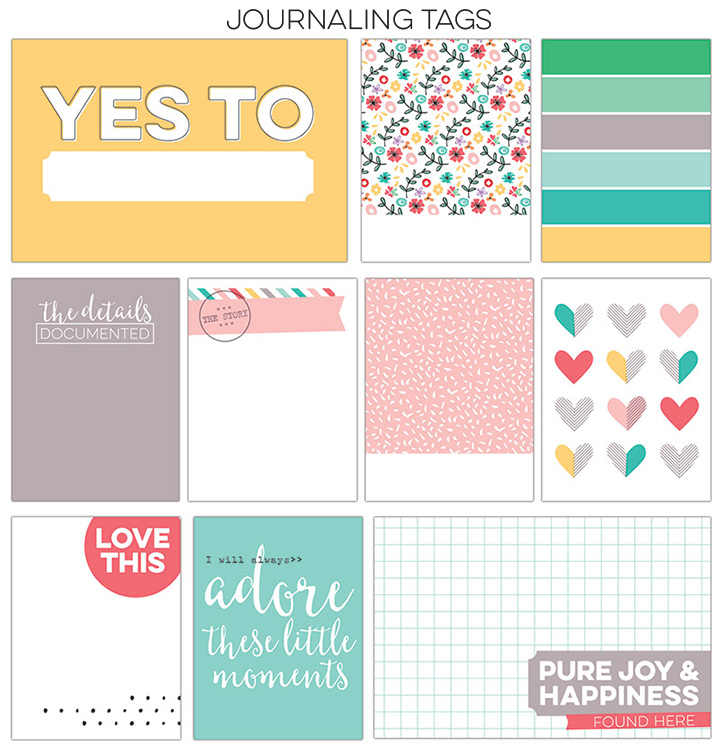
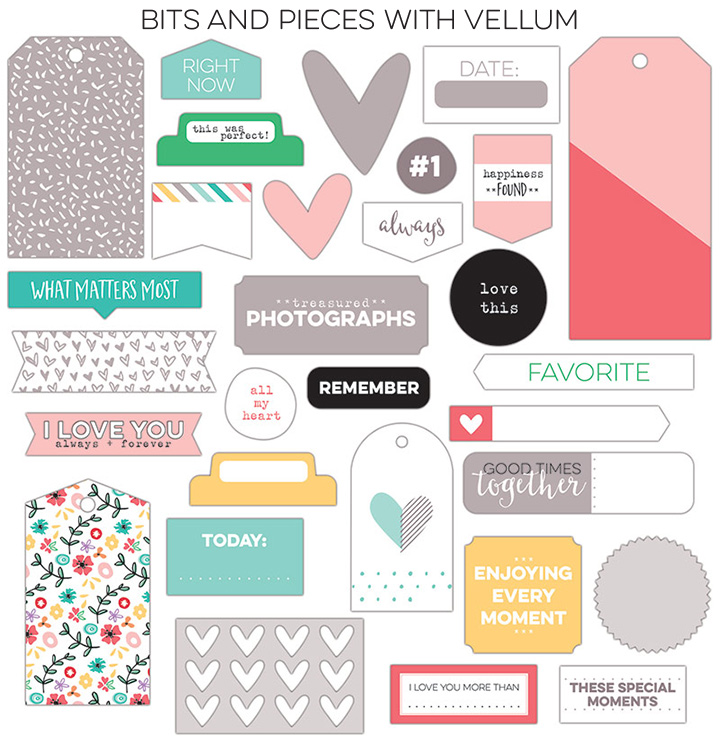
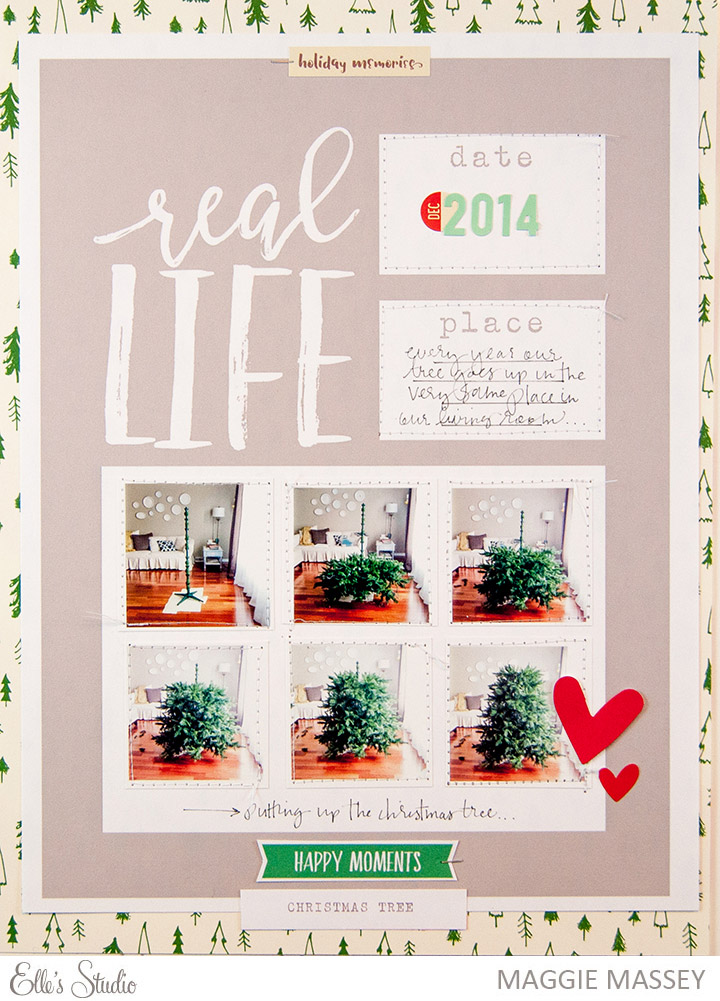
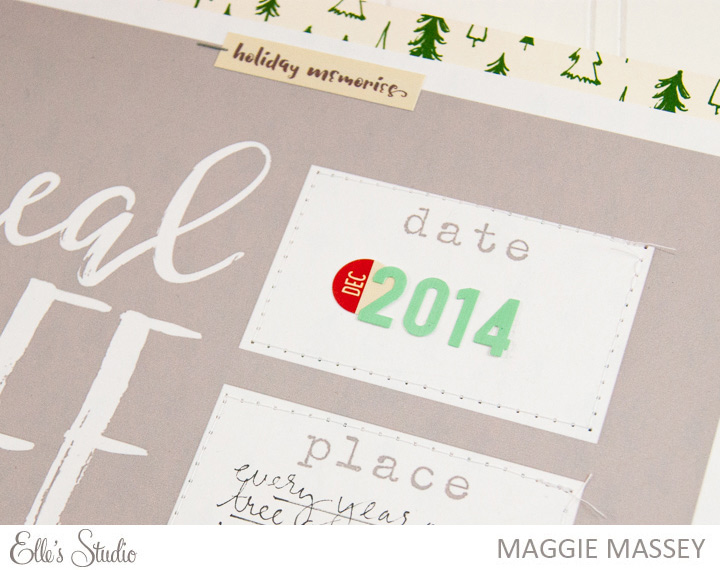
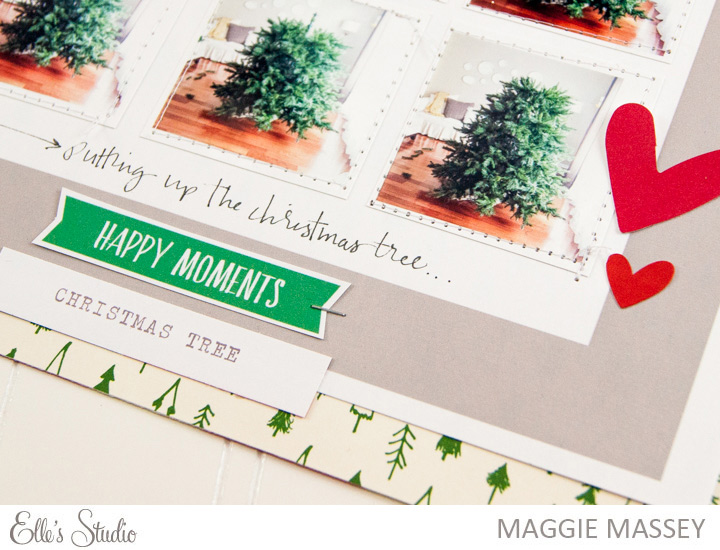
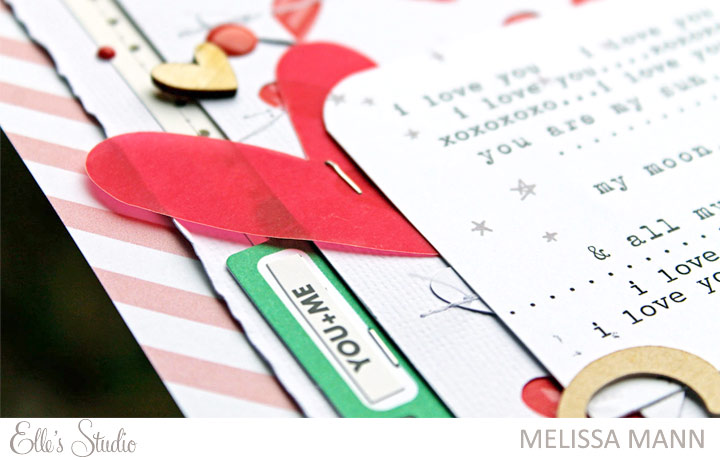 Products used: Elle’s Studio January 2016 Exclusive Kit, January Digital Cut Files, Vellum Hearts, Cienna Pattern Paper, and Love You More Pattern Paper.
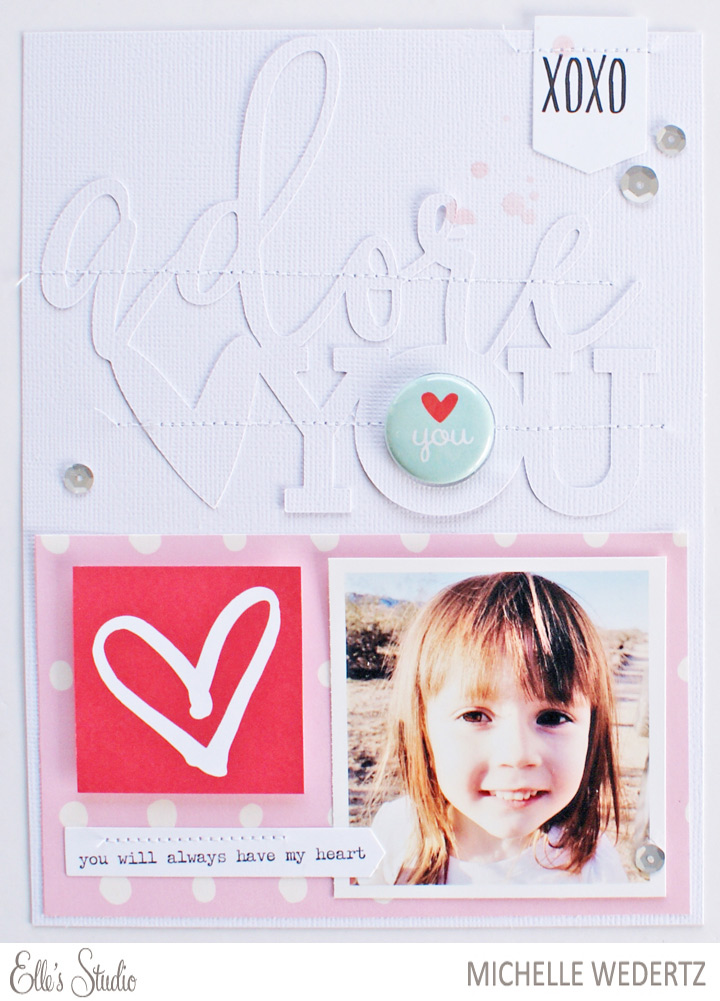