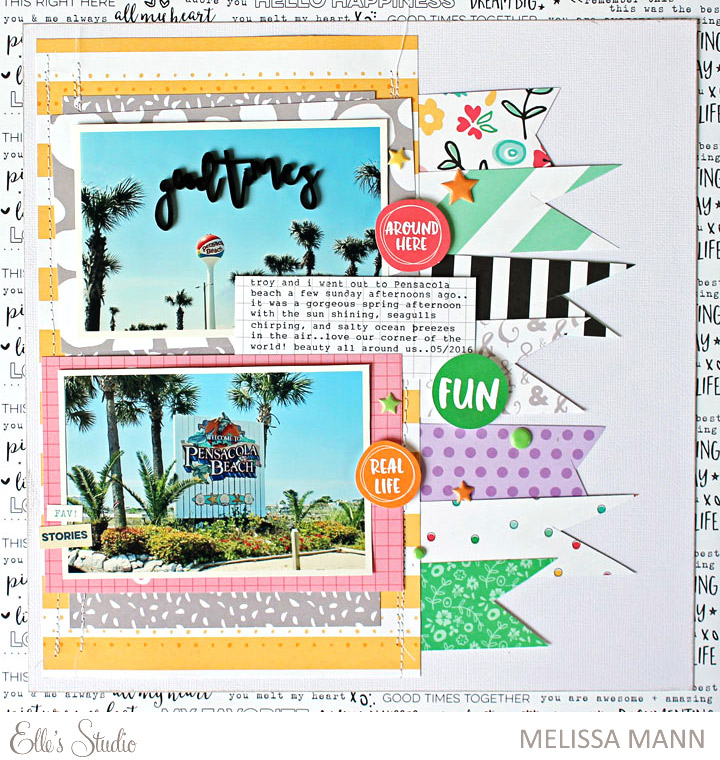
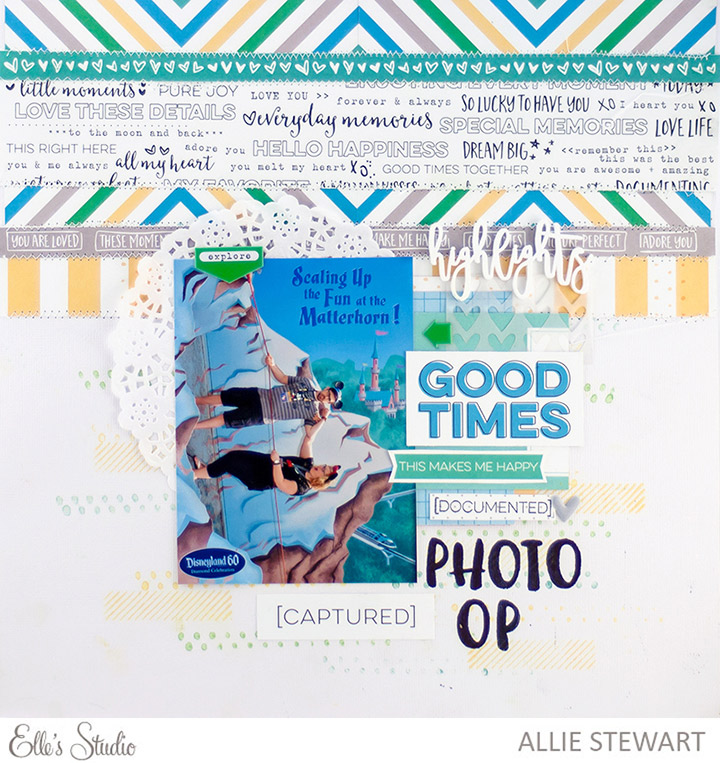
We’ve loved what Elizabeth Gardner has shared with us so far, and we’re lucky that she had so much fun working with ES products, that she made extra projects to share with you! Elizabeth has a way of making something so simple, like her page below, just blow us away. Let’s take a look:
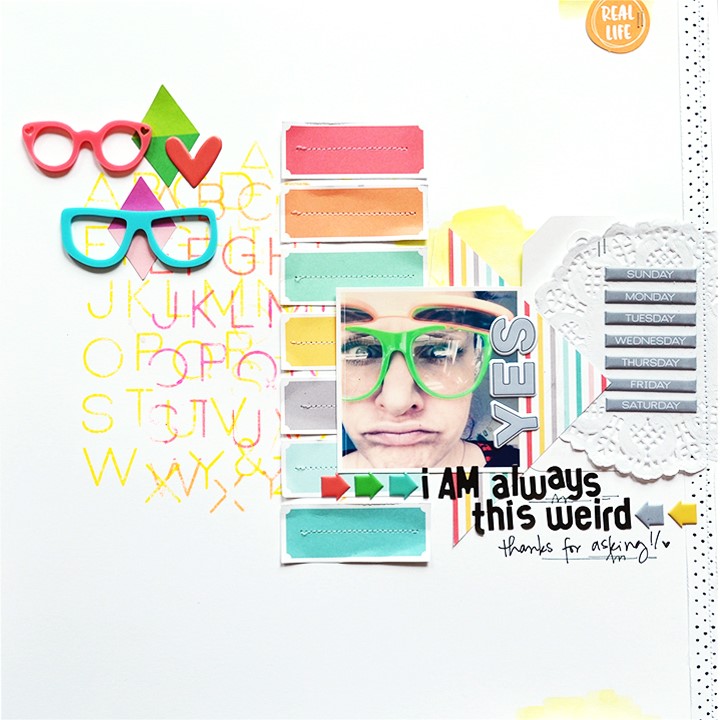
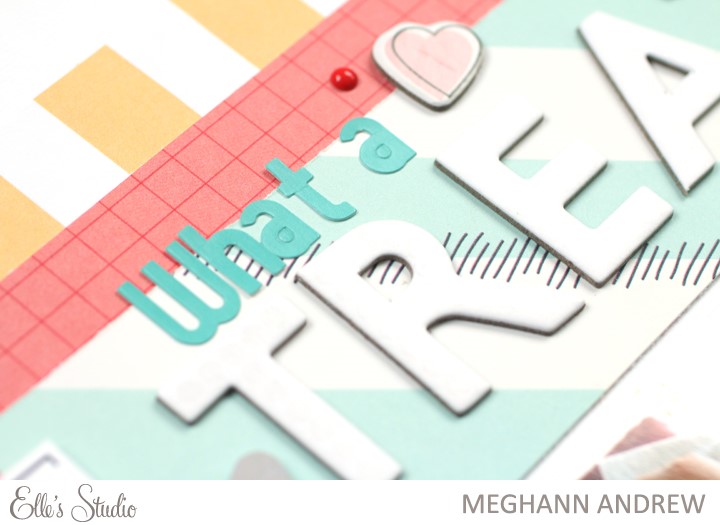
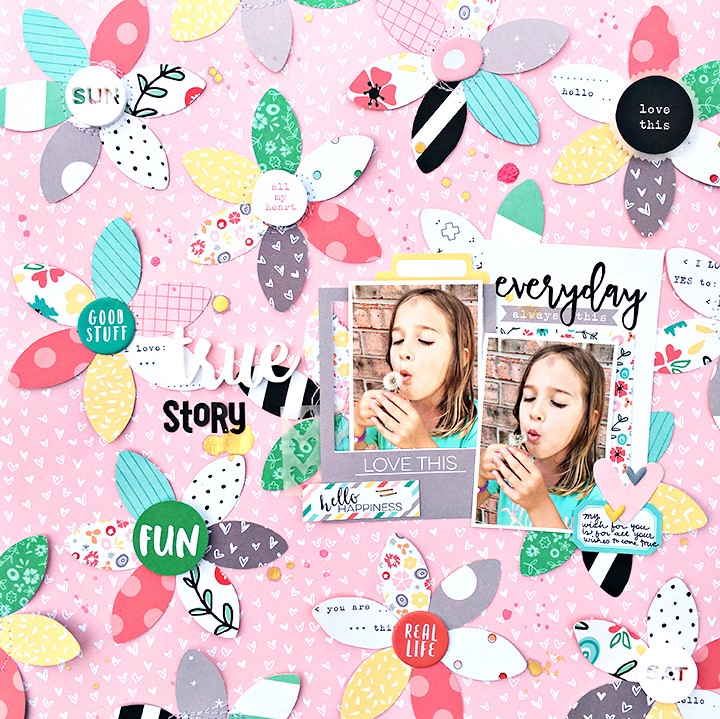
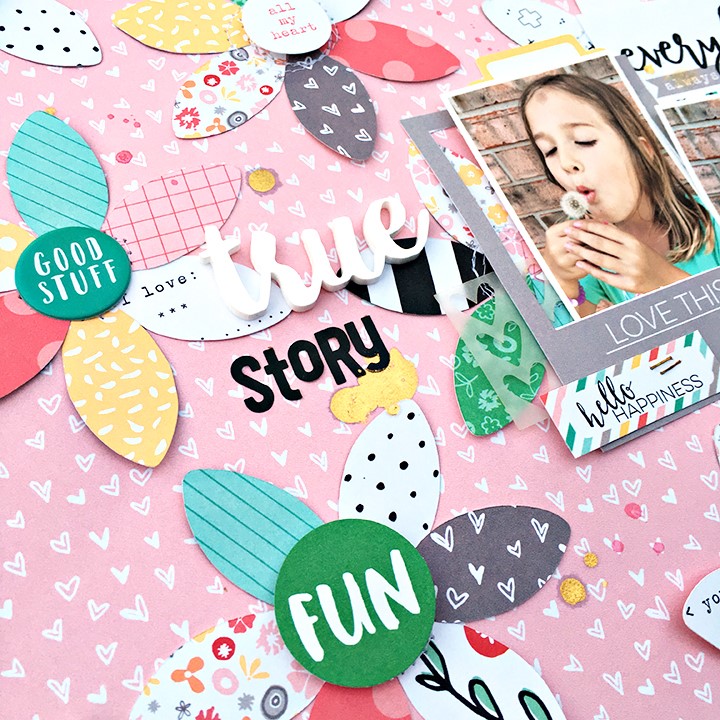
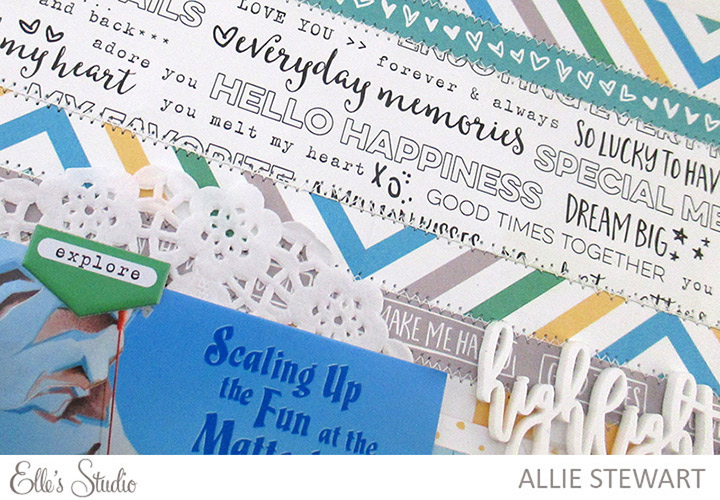
Isn’t it great how a little stitching can add some color and make an otherwise simple page look special?
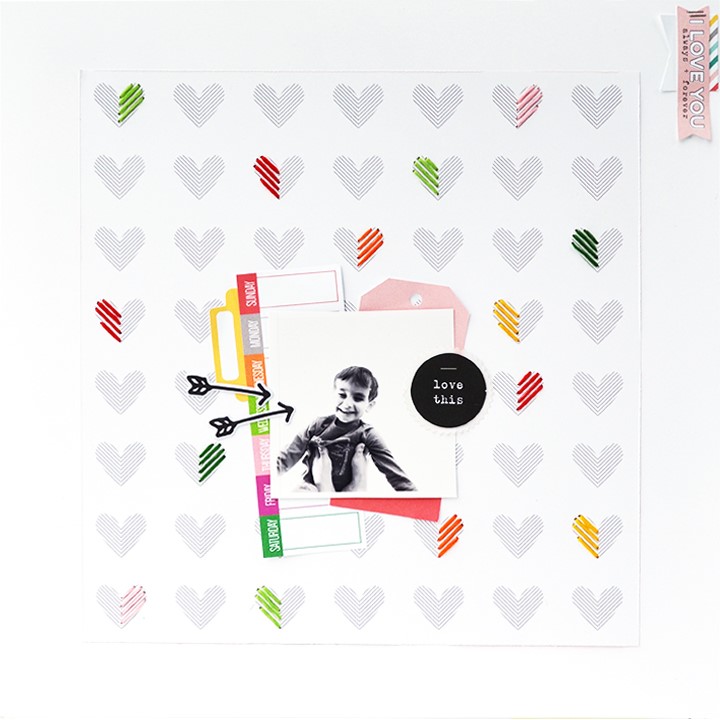
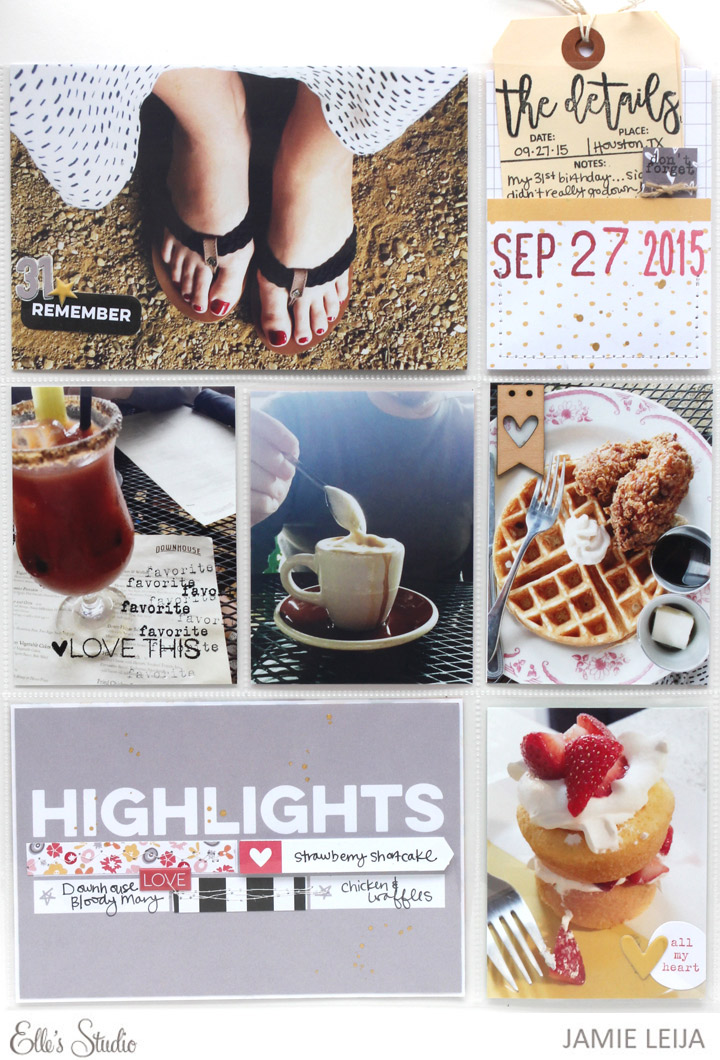
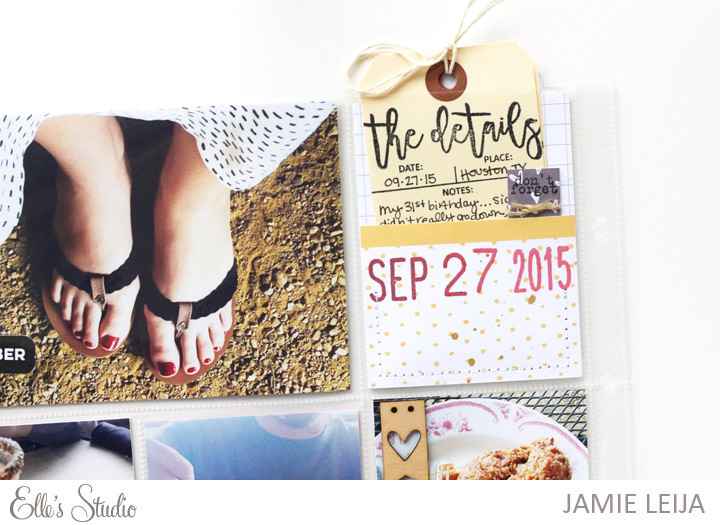
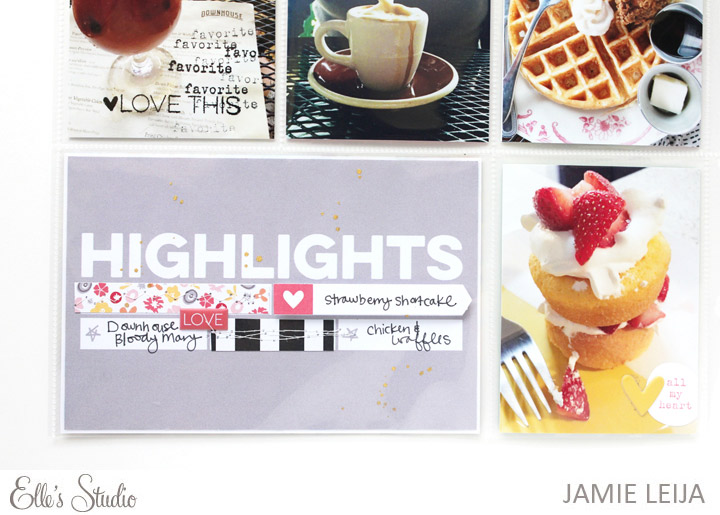
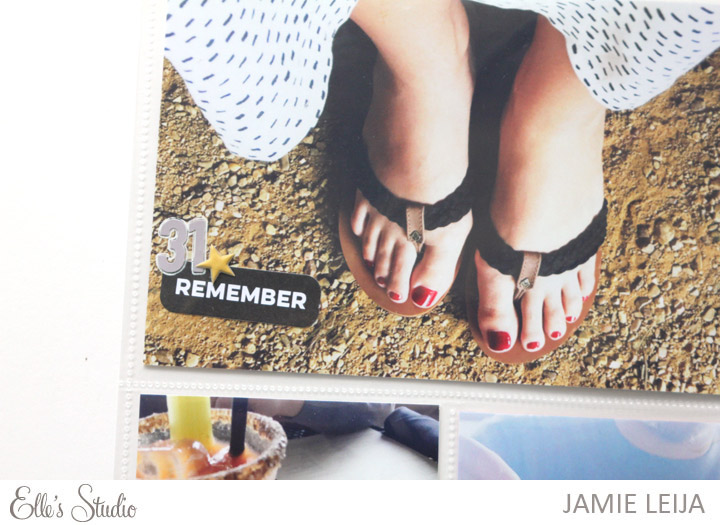
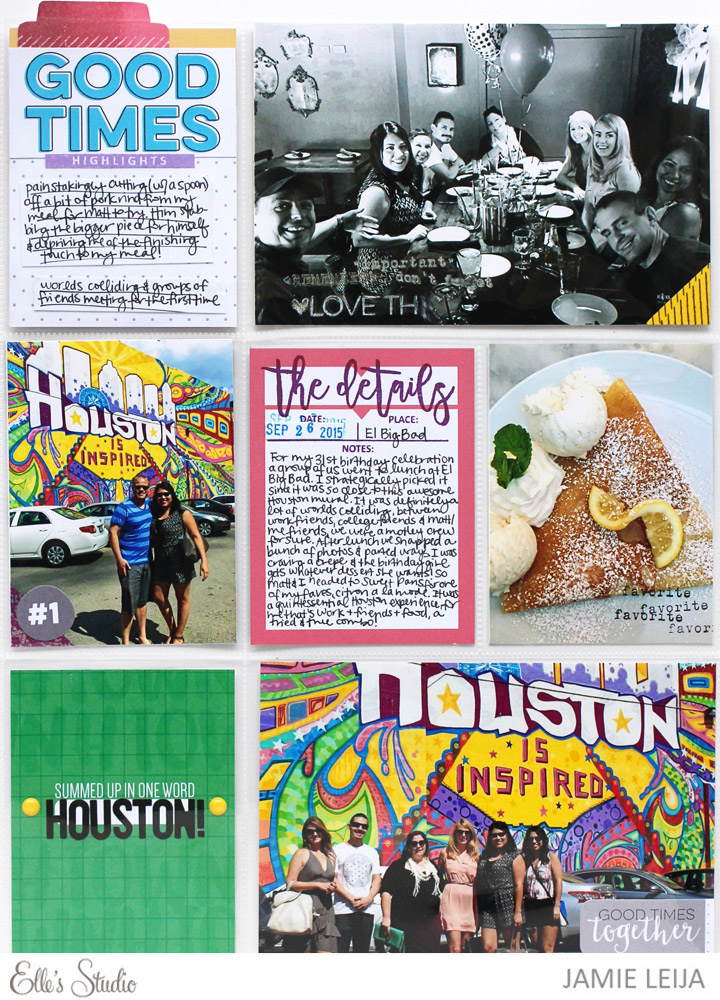
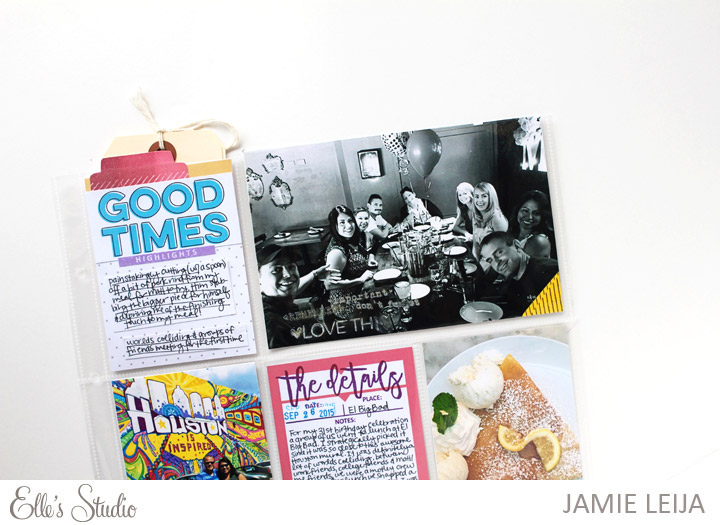
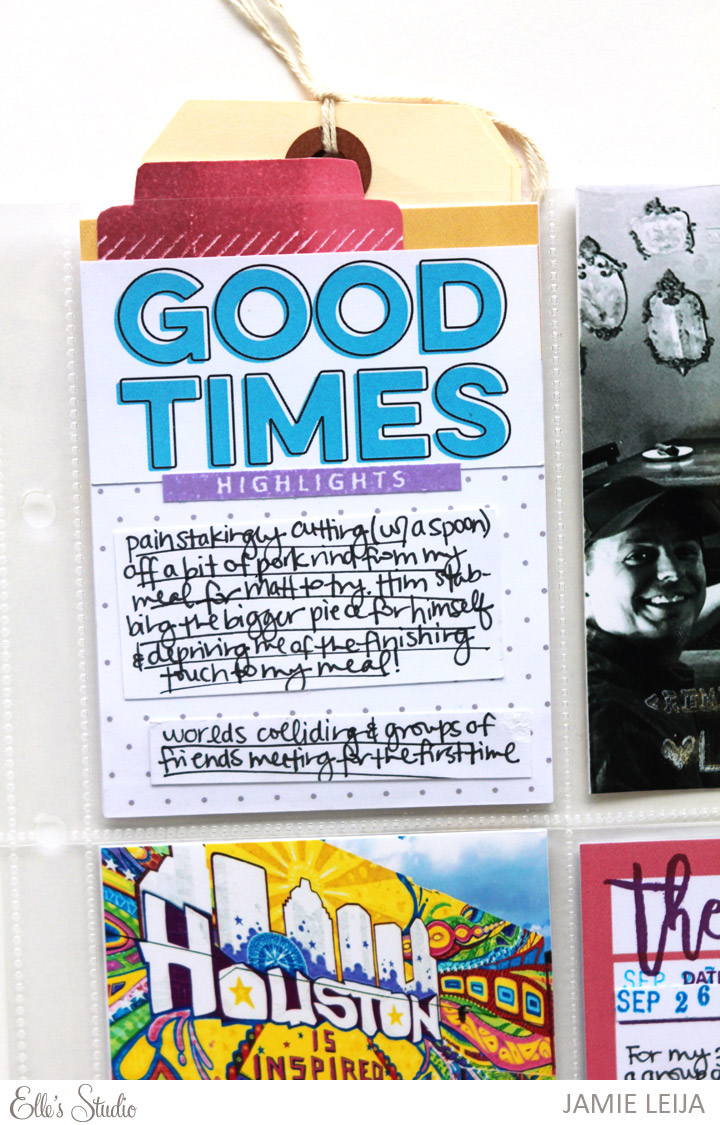
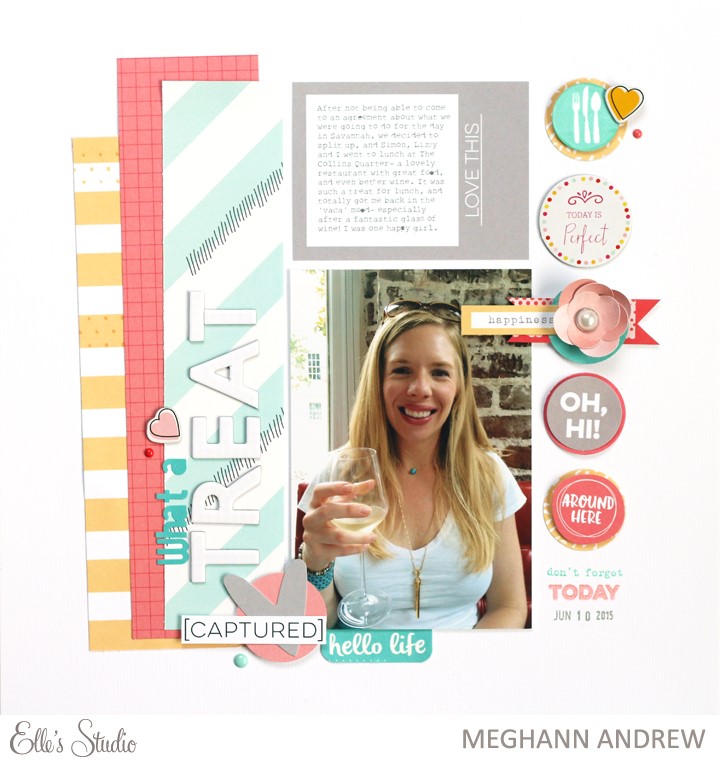
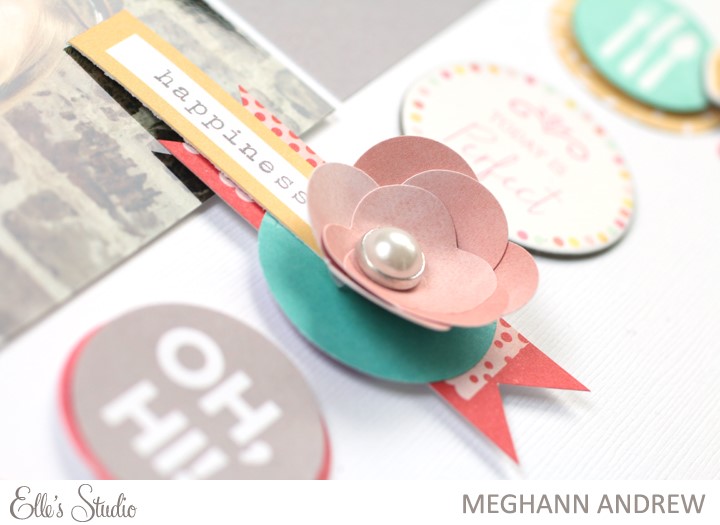
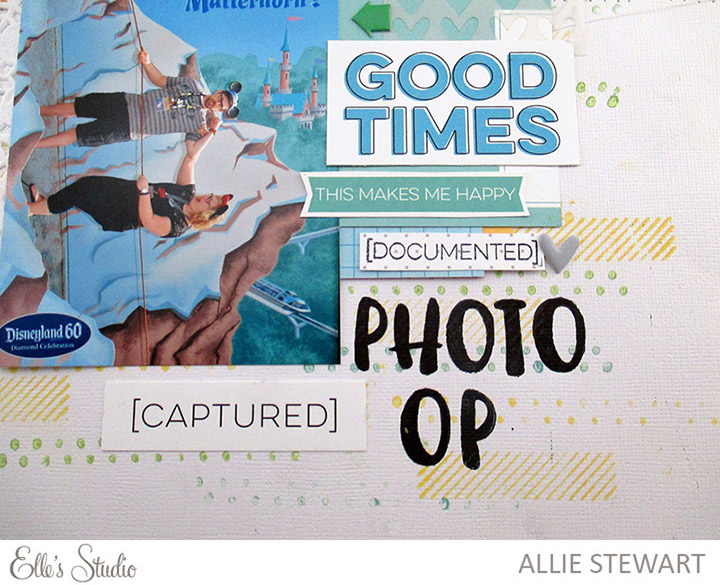
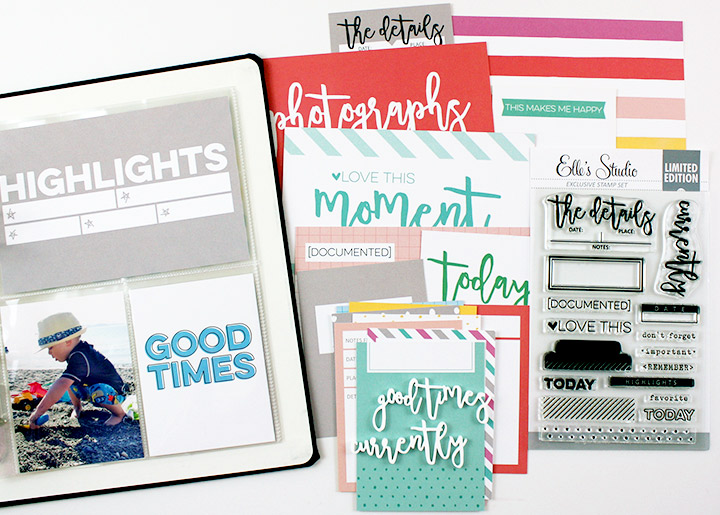
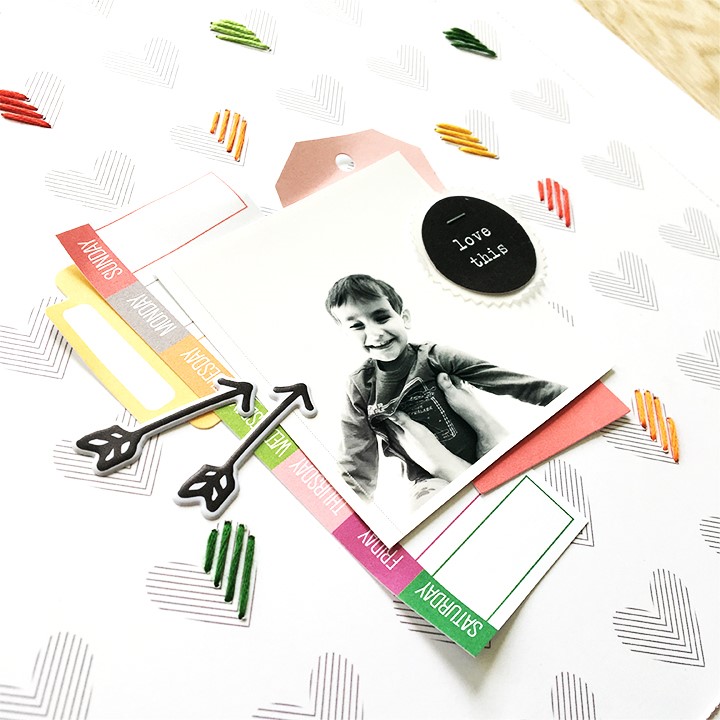
When I saw this heart paper in the Little Moments 12” x 12” paper collection pack, I just fell in love! I think for my next page I will sew on the entire 12” x 12” sheet! For this page, I chose random hearts to stitch in rainbow colors with embroidery floss. Then, I layered some tags from the May 2016 exclusive kit on top, added some arrows from the Good Stuff puffy stickers and called it complete. The “love this” black tag from the Little Moments bits and pieces serves as my title. Simplicity at it’s finest!
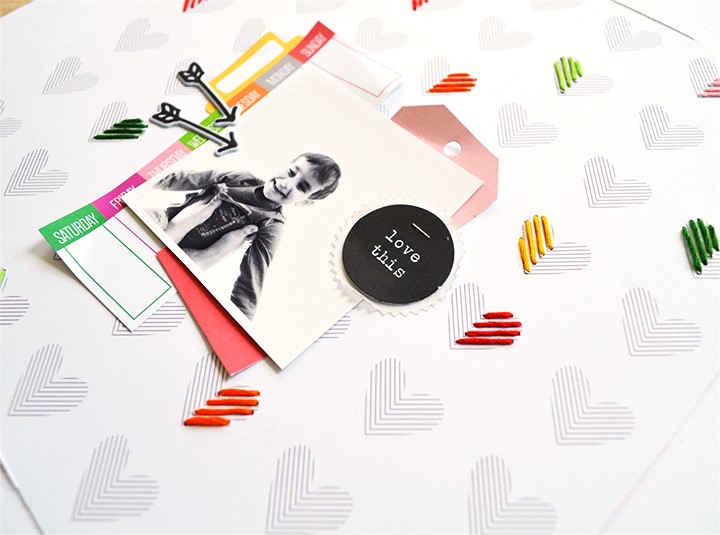
The design of this page allows the sweet black and white photo to be the star, as it should be!
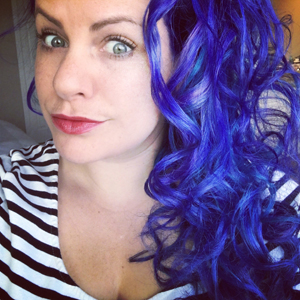
Hello there! I’m so excited to be guest designing for Elle’s Studio. Let me tell you a little bit about myself. I’m a mom of four, wife to a man I refer to only as “Hottie,” & owner of a velcro dog named Mr. Snicklefritz McGee. I am addicted to playing roller derby and changing my hair color. I’m also a stone cold crafting/art/scrapbooking nerd and am proud of it! I get ridiculously excited over watercolors and scrappy products hot off the presses. I have tried my hand at just about every medium of art but scrapbooking is my constant. It’s my jam. I typically do pocket pages and 12×12 pages… at least 4 a week. So I guess you could say I am one productive nerd! Thanks for having me. It was a pleasure!
You can find more of Elizabeth’s work at her blog, My Scrappy Life, and on her Instagram feed! Thanks so much for sharing your awesome layout, Elizabeth!