Outdoor Fun with Jen Chapin

Now that we’re spending more time outdoors, don’t forget to document those outdoor memories, too! The May 2017 Kit and extras are perfect for documenting picnics, afternoons at the playground, and evening bike rides, like Jen Chapin is showing us today! Let’s see what she made.
 
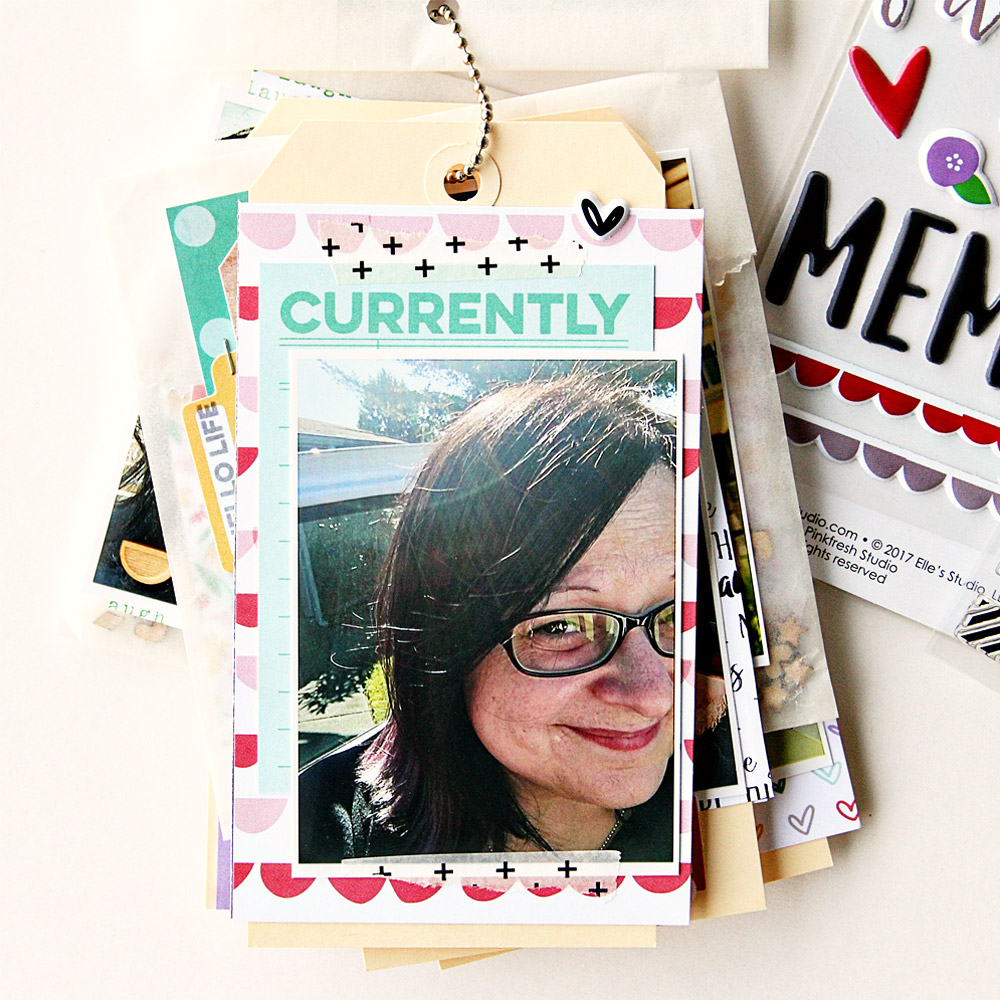
Hey everyone! It’s Jen here, and today I am sharing another layout using the May 2017 Kit and extras. This month’s offerings were so perfect to document some of those outside photos!


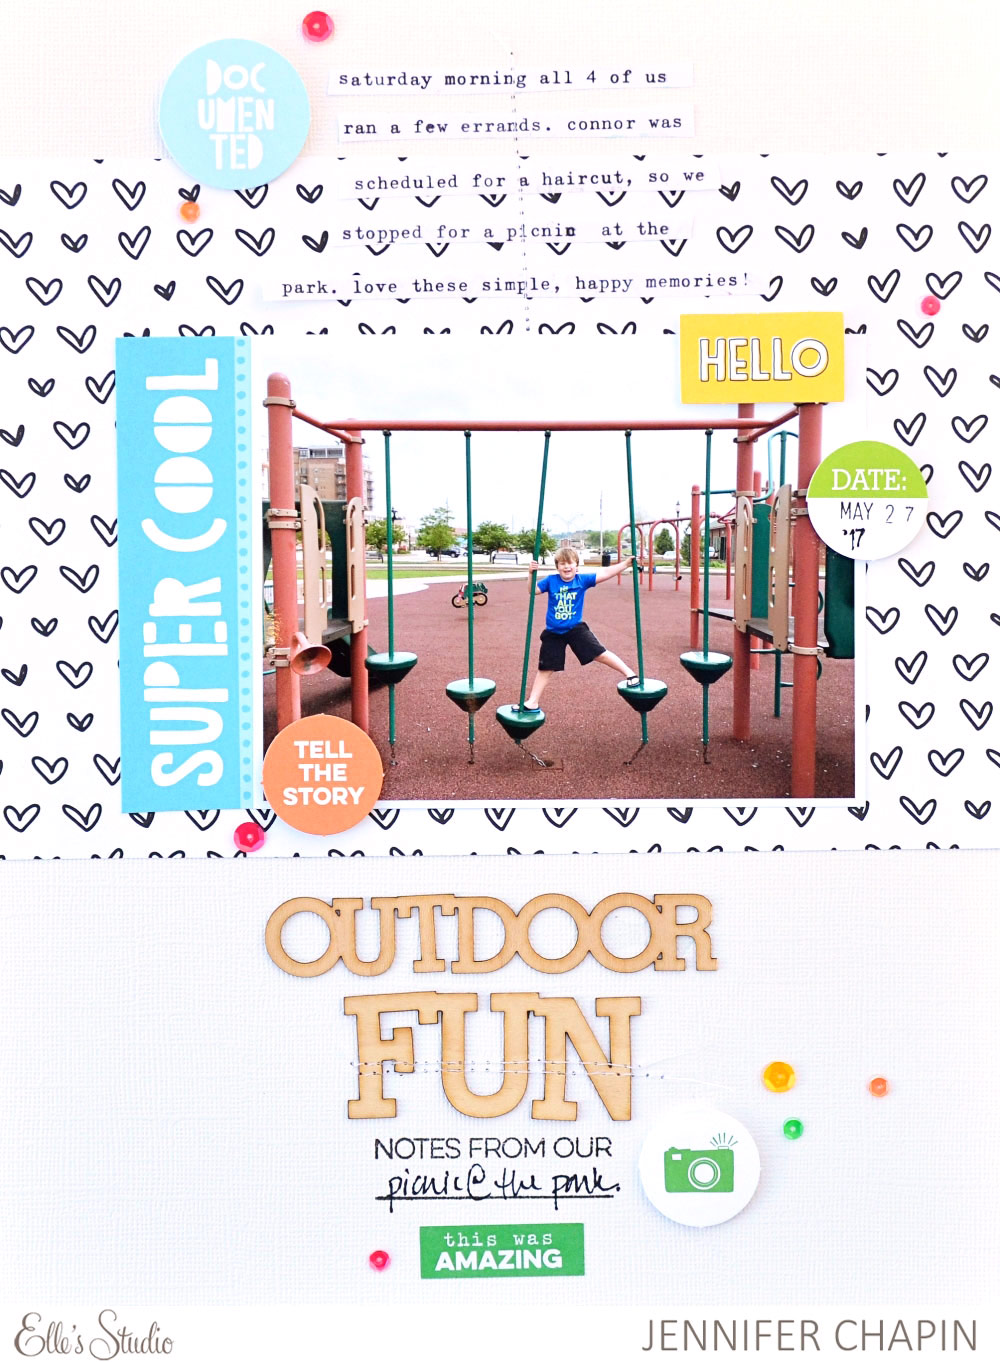
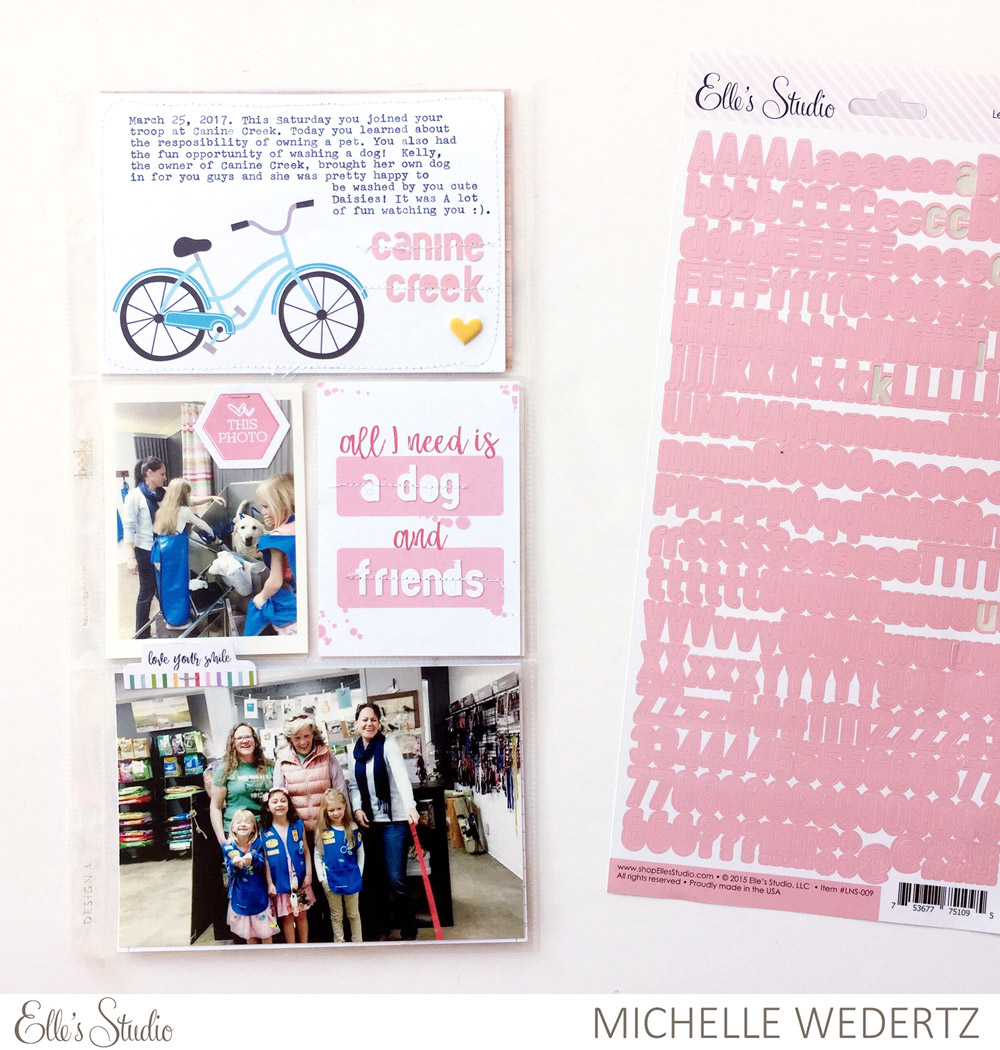
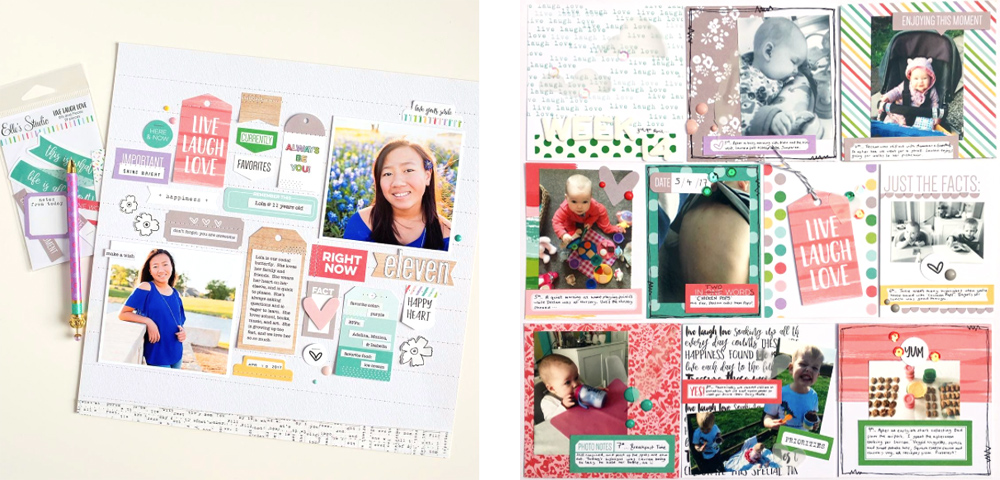
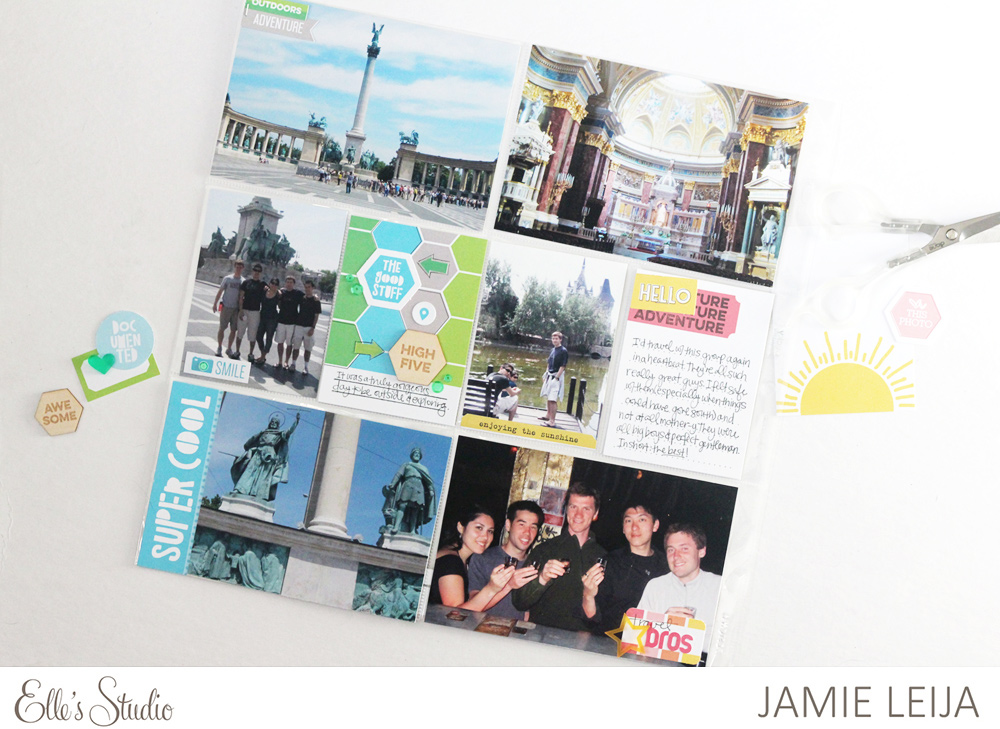
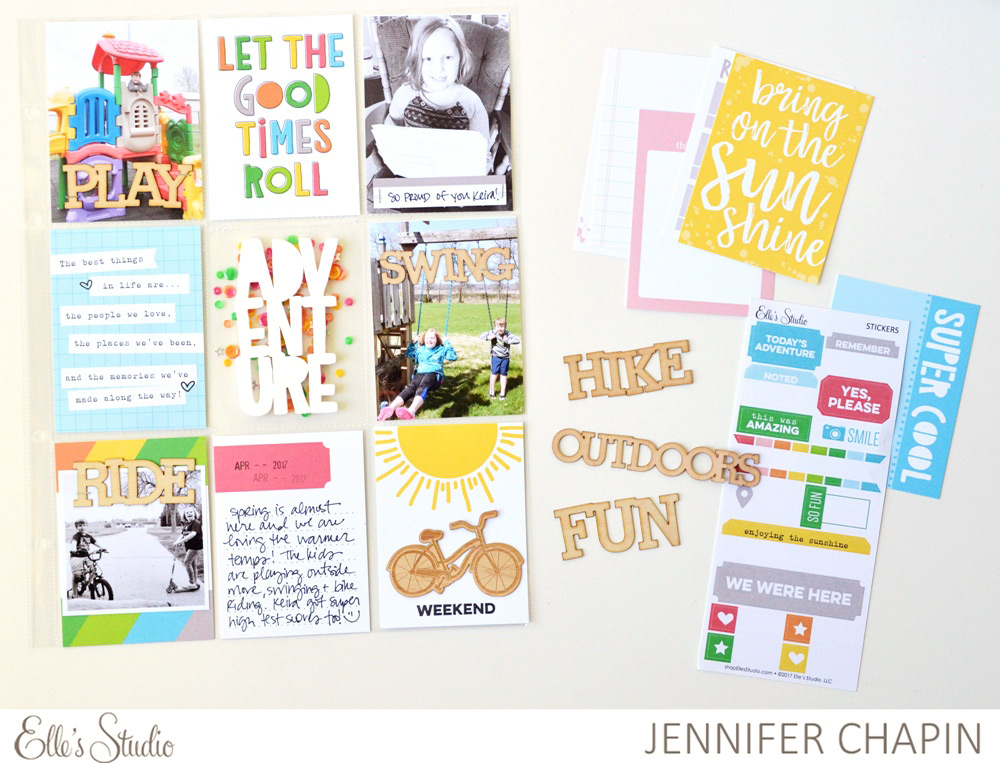
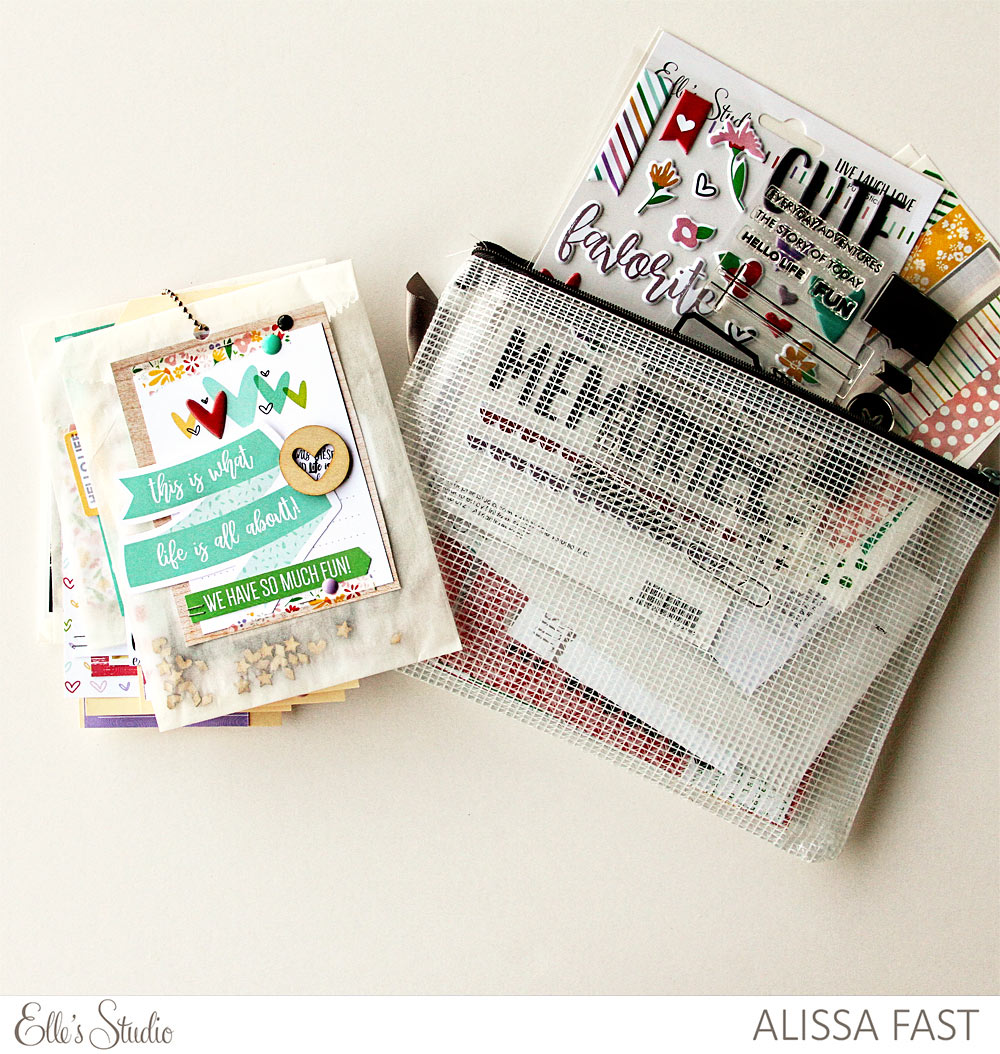
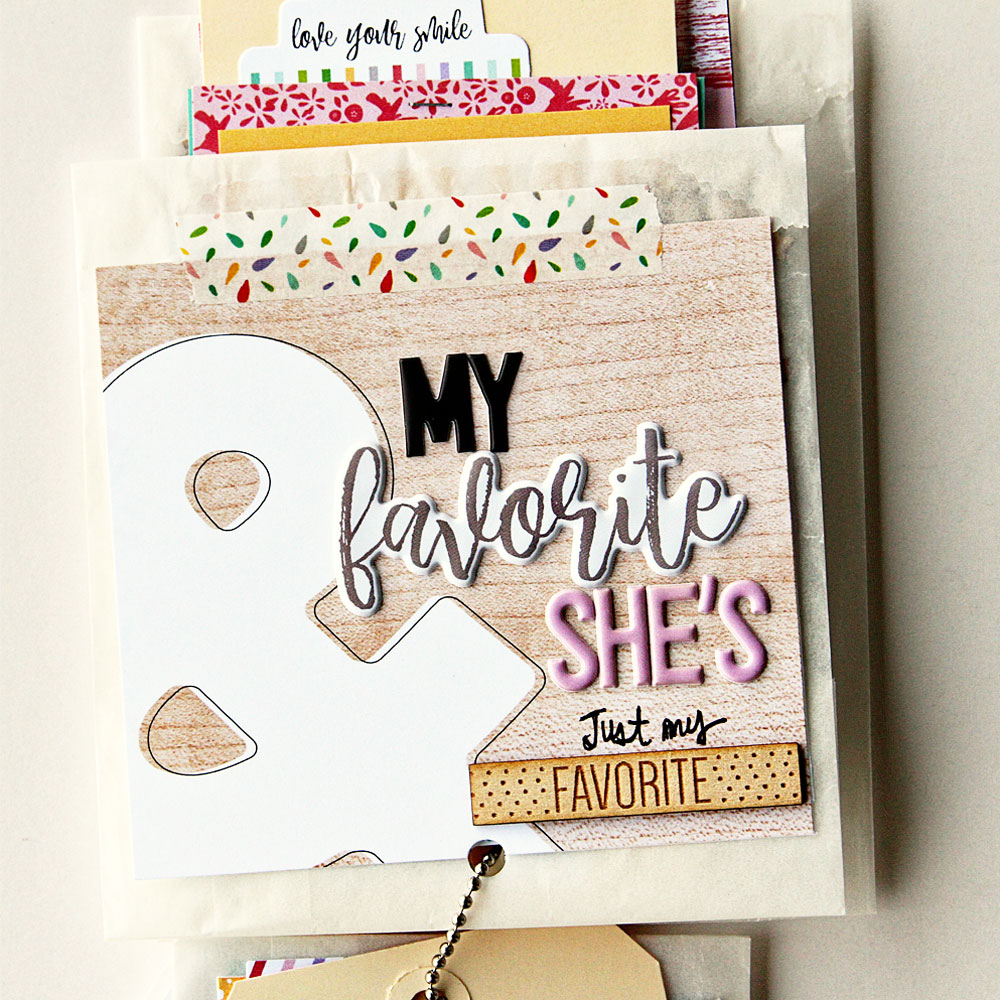
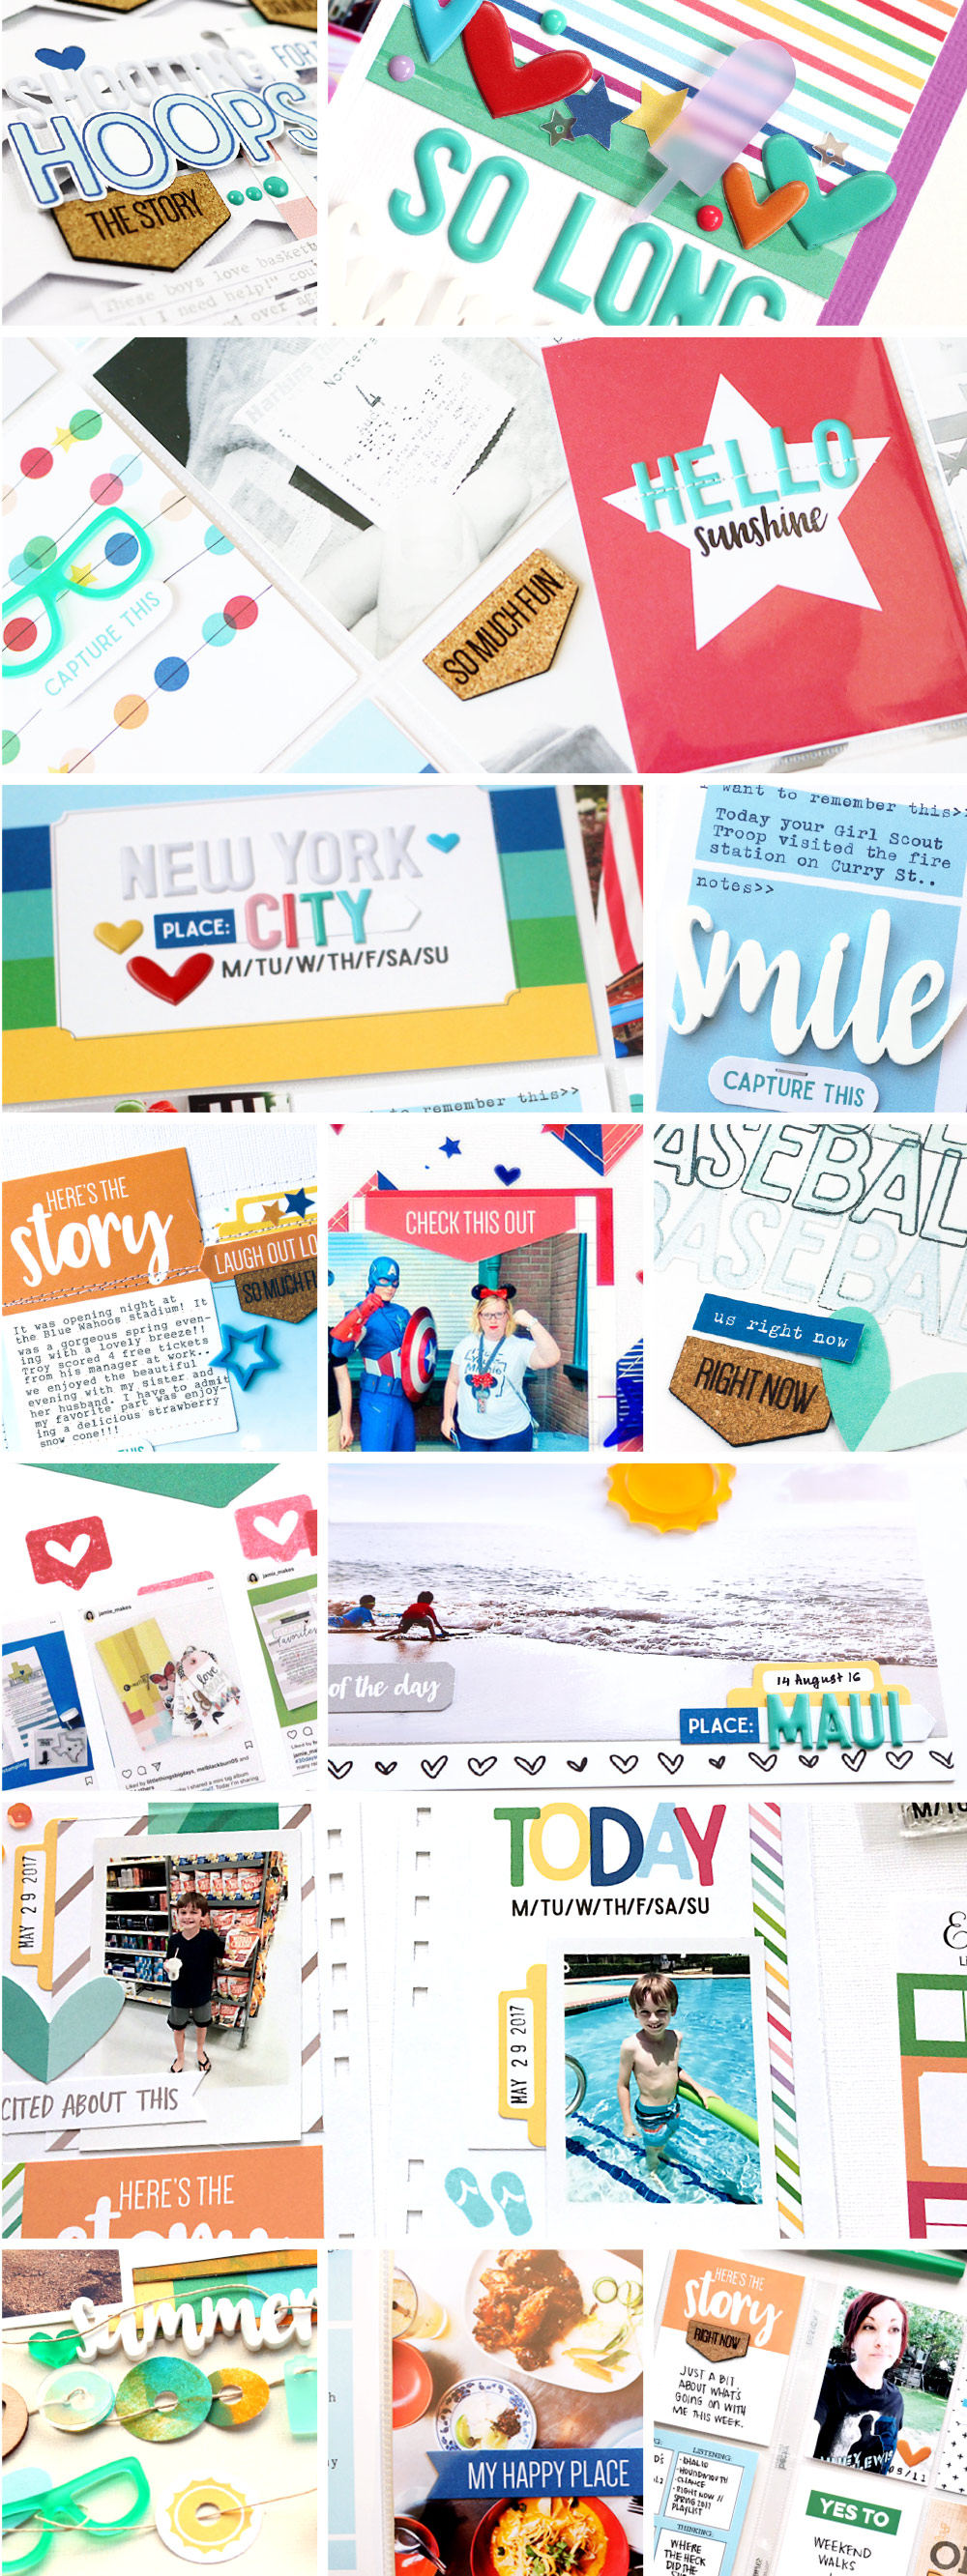
Supplies | May 2017 Kit, Bike Ride StampFun Outdoors Wood Veneer Words, Spring Sequins, Live Laugh Love 12″ x 12″ Paper Collection

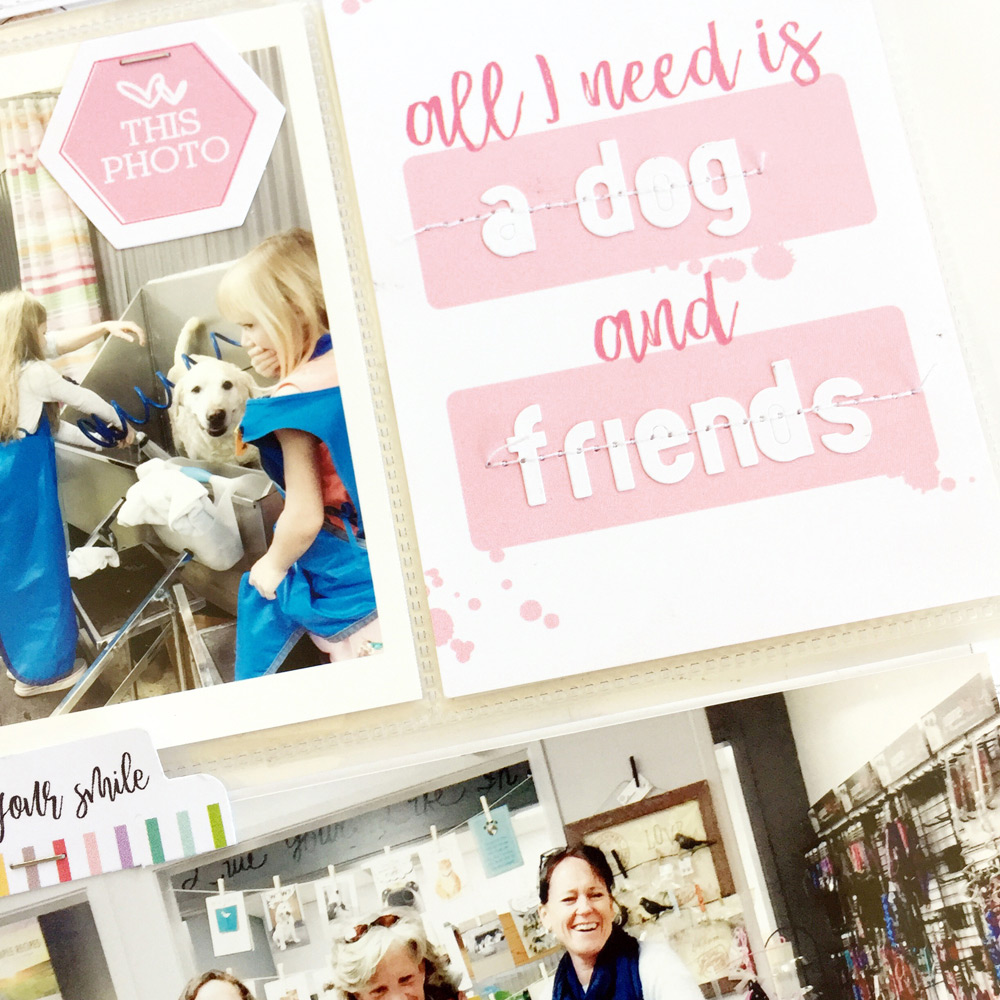
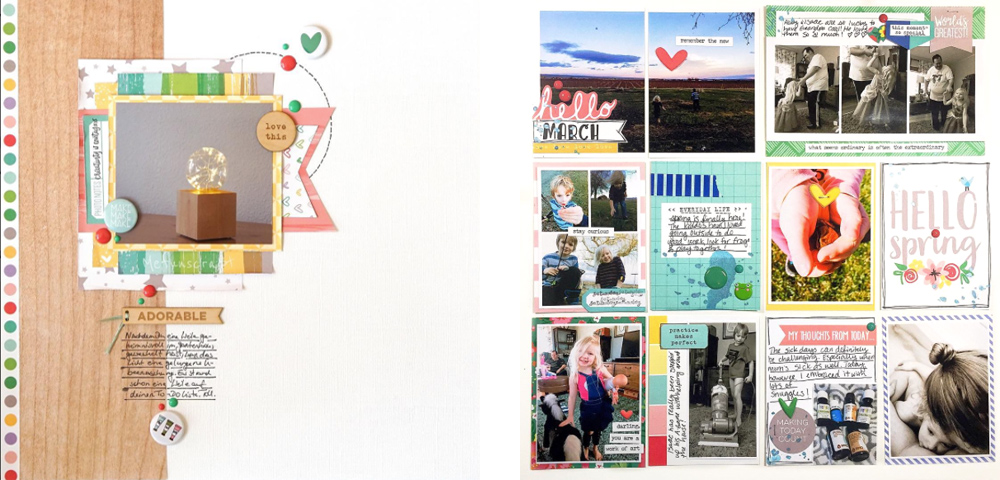
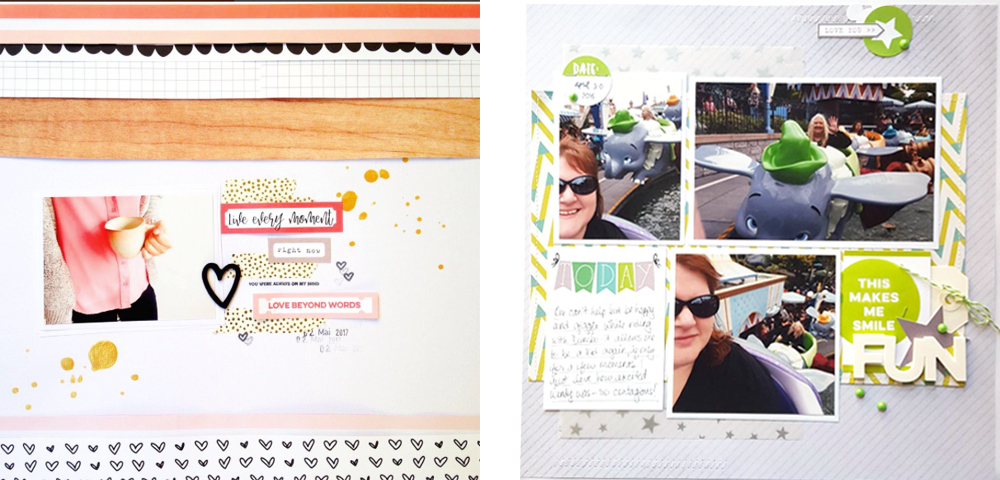
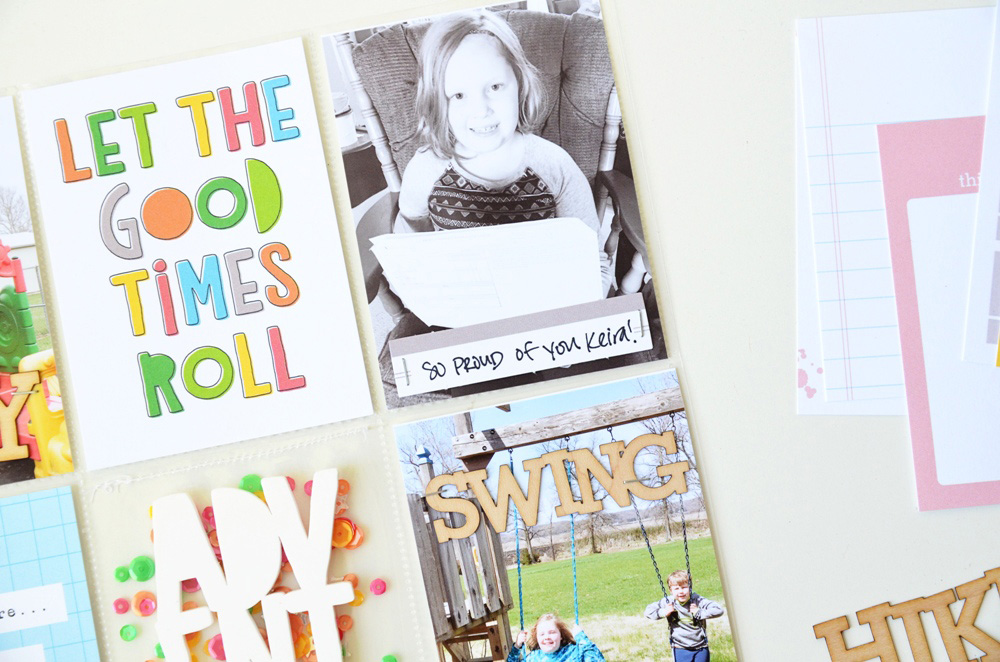
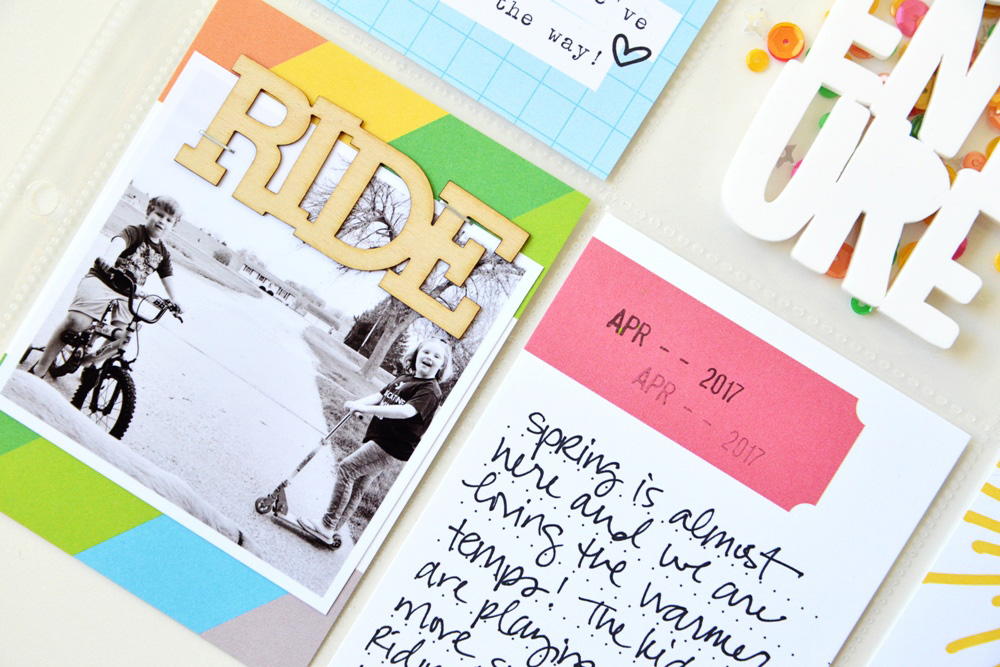
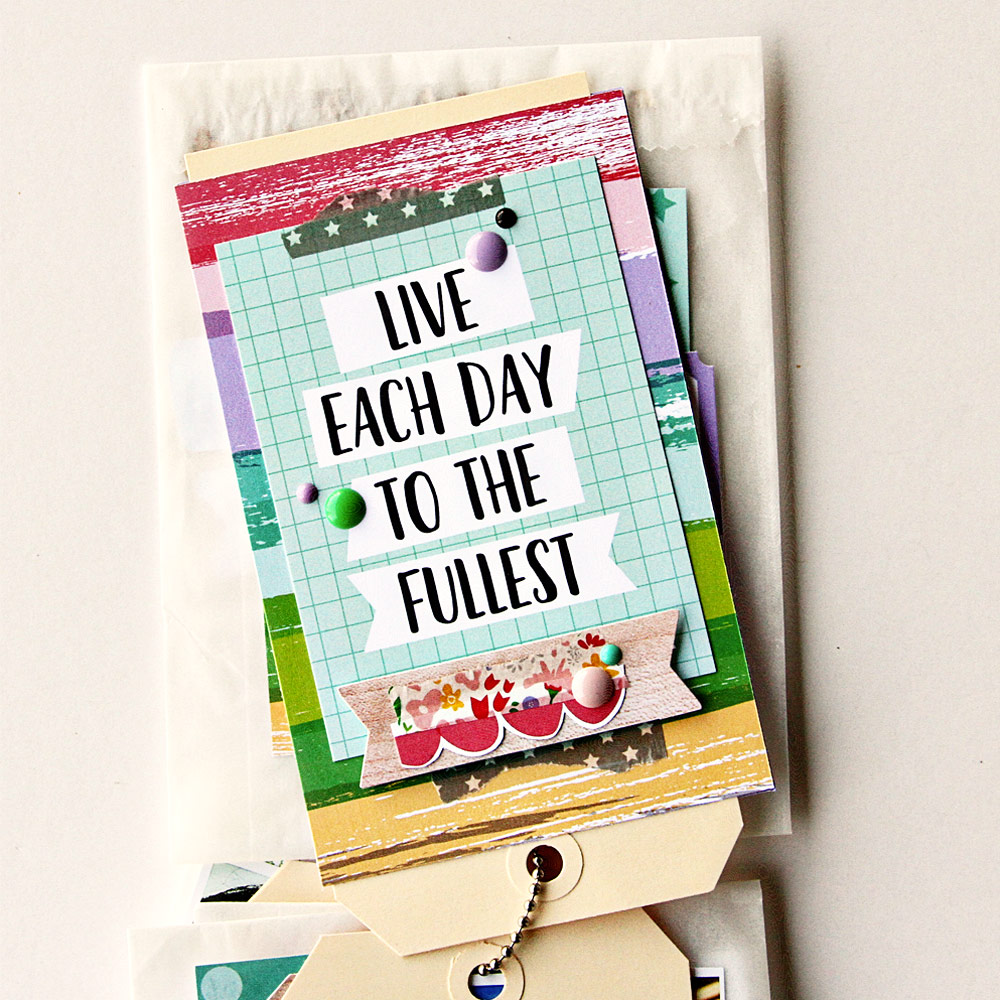
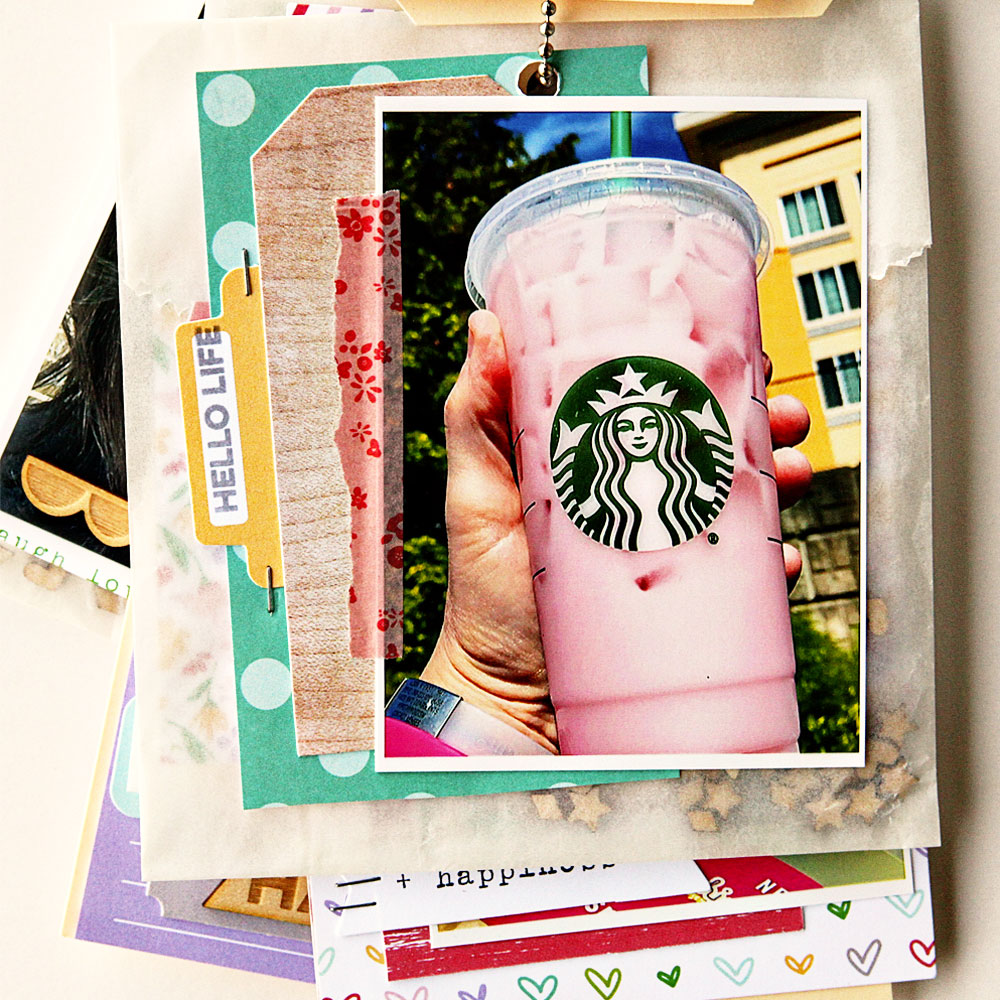
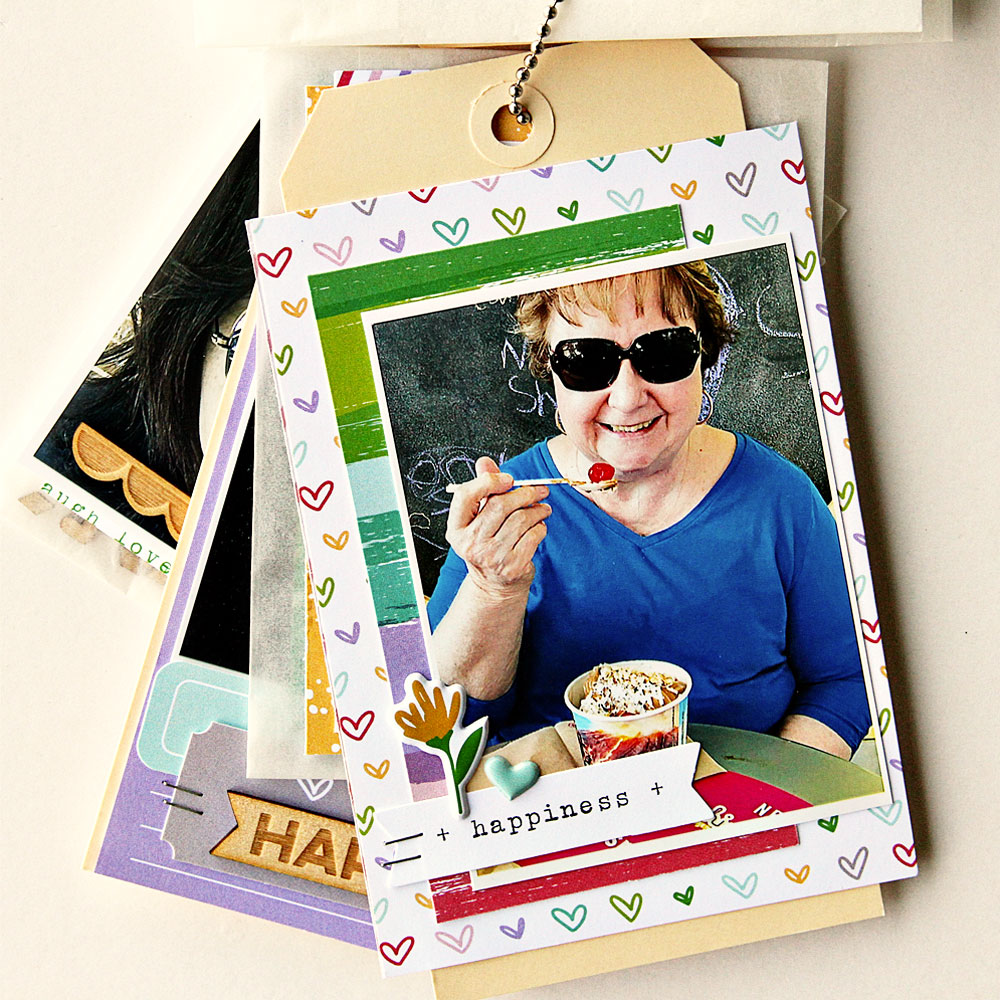
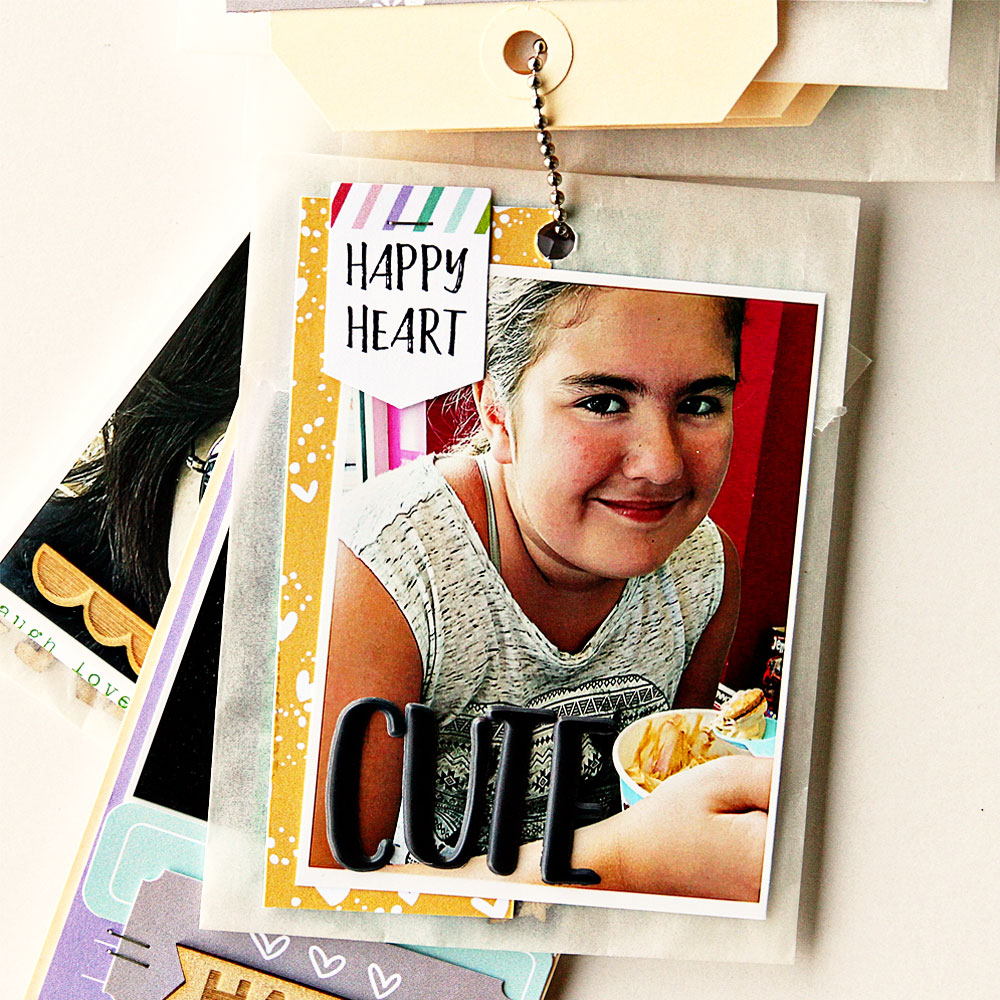
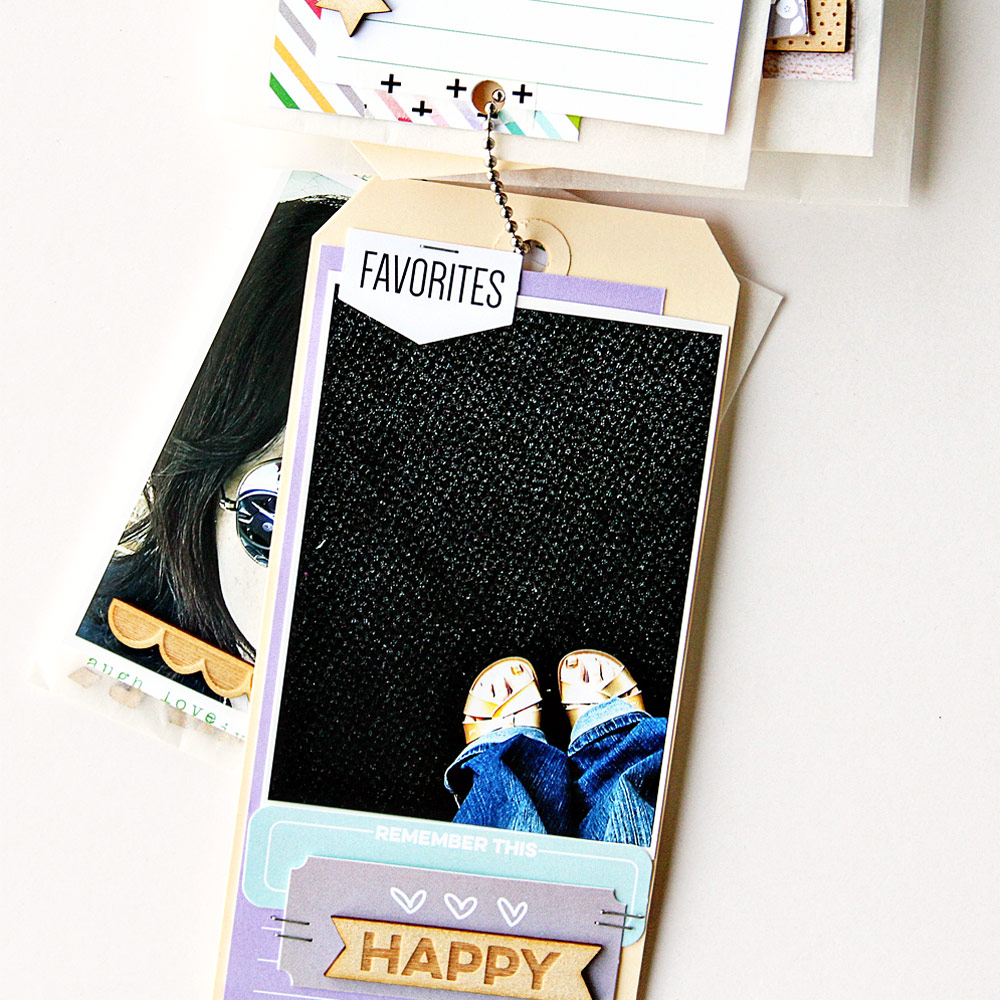
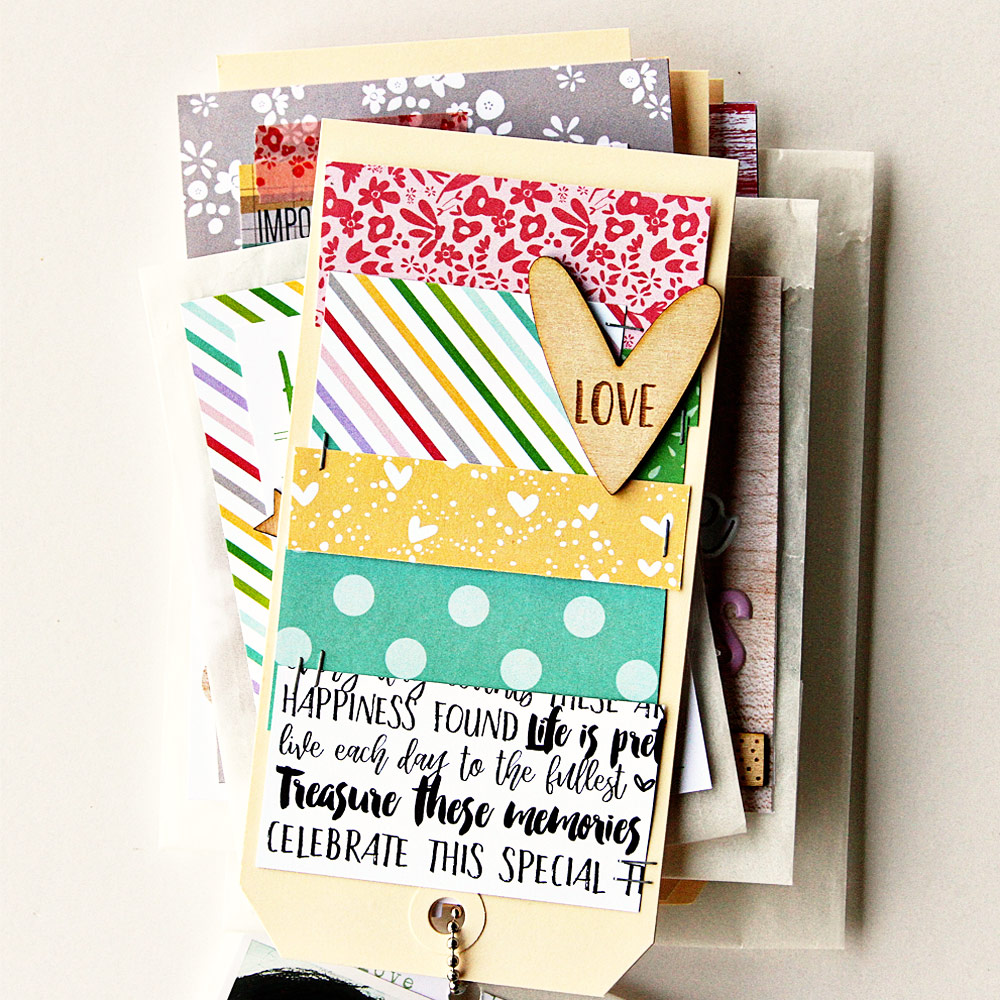
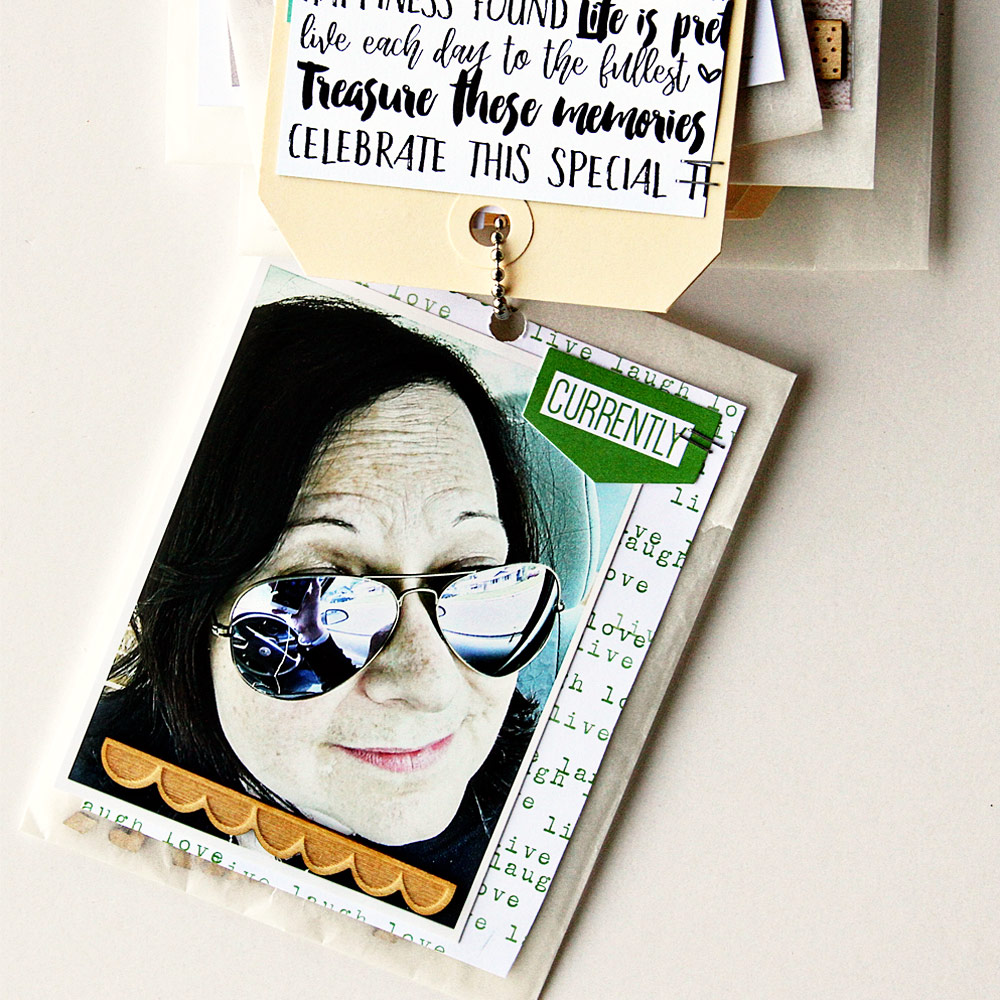
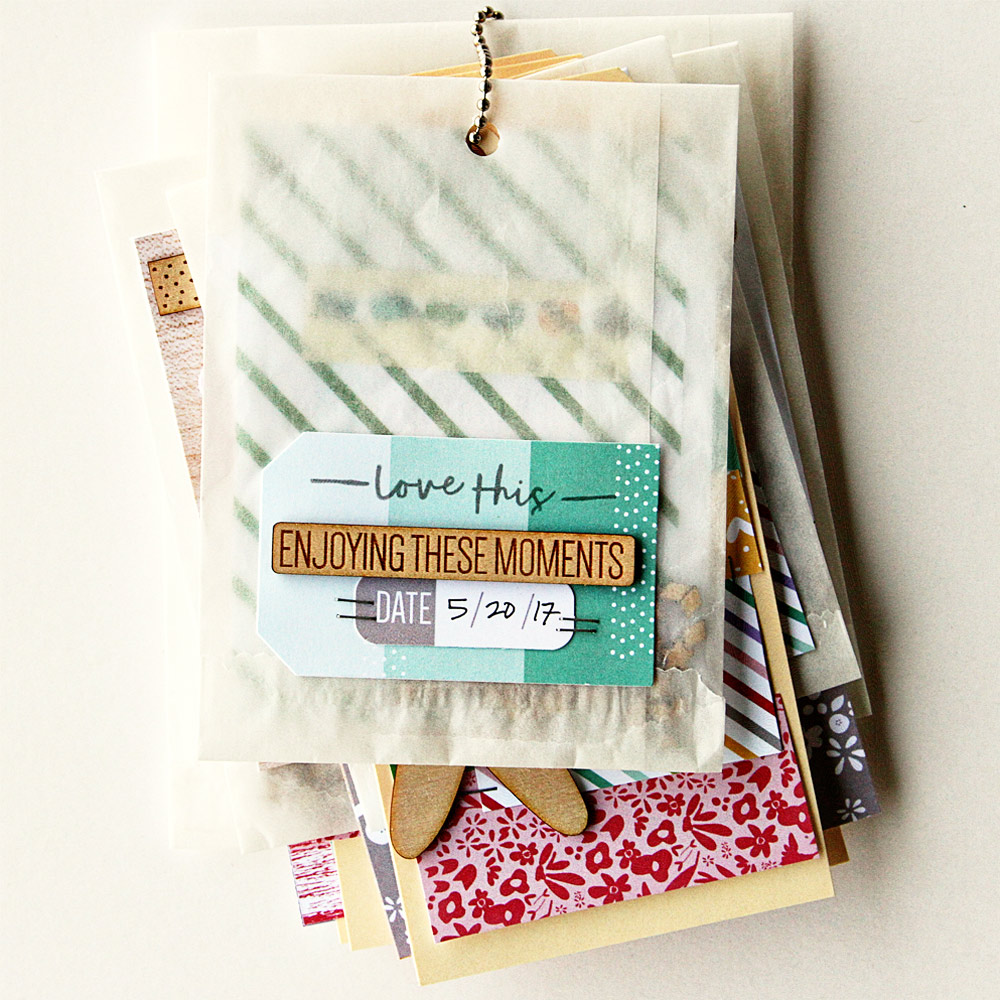
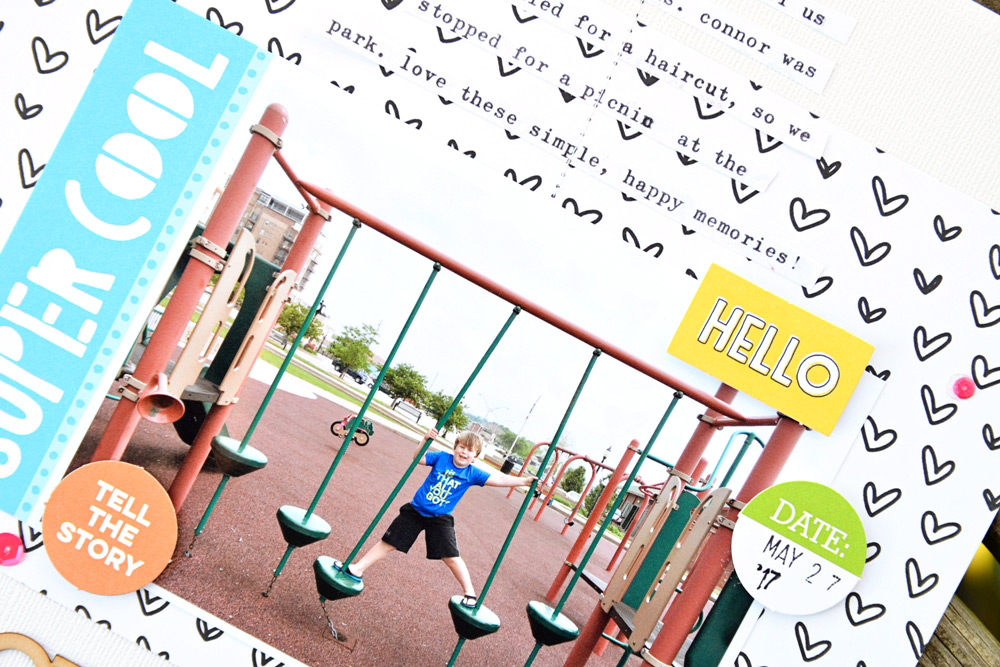
Here in the Midwest, the weather is starting to get warm again and we took full advantage of it on this day and had a picnic at the park. My son was being crazy (as usual) and I was able to snap this candid photo of him playing on the toys. I really wanted a neutral color palette for this page with pops of primary color, so I used a white background and heart paper from the Live Laugh Love 12″ x 12″ Paper Collection.


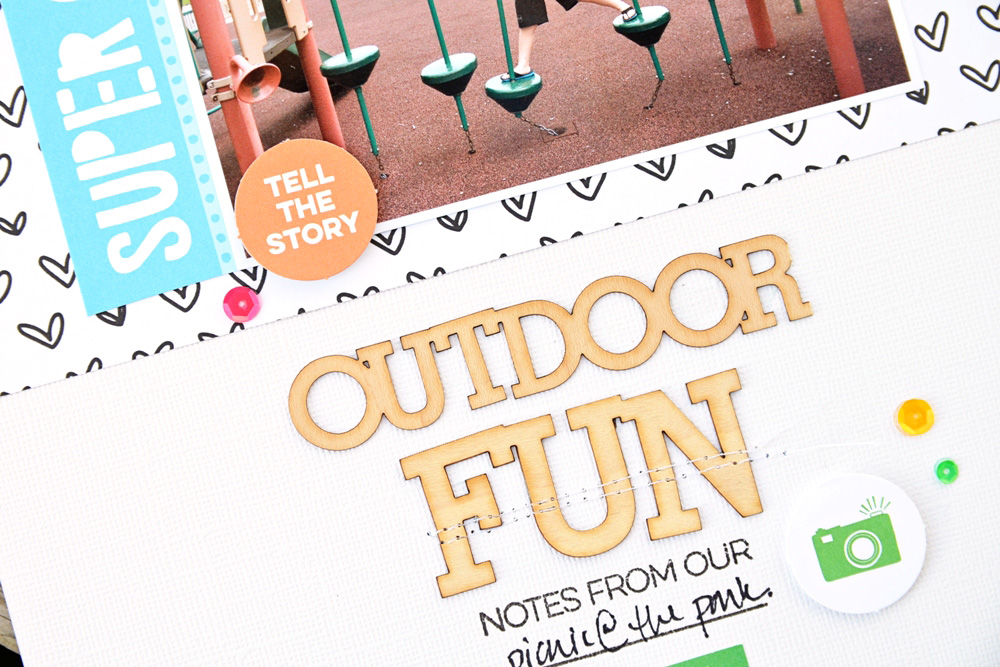
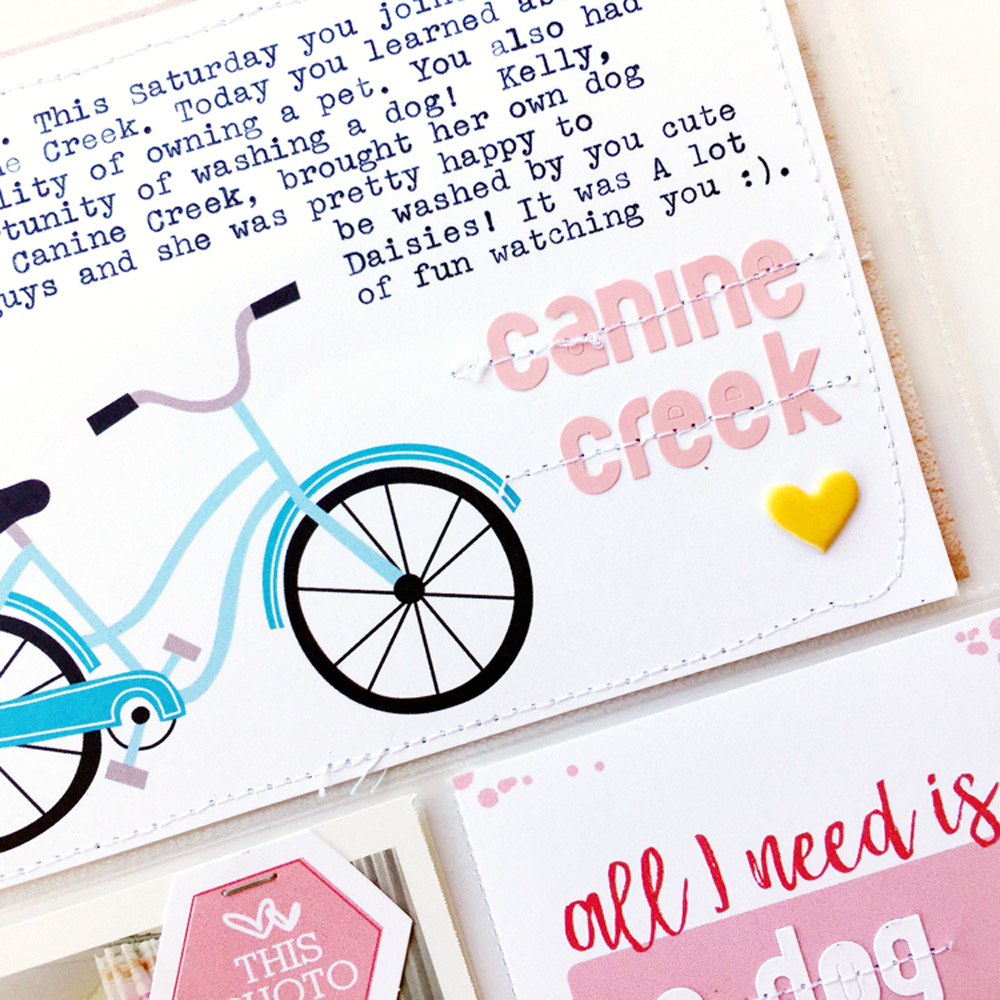
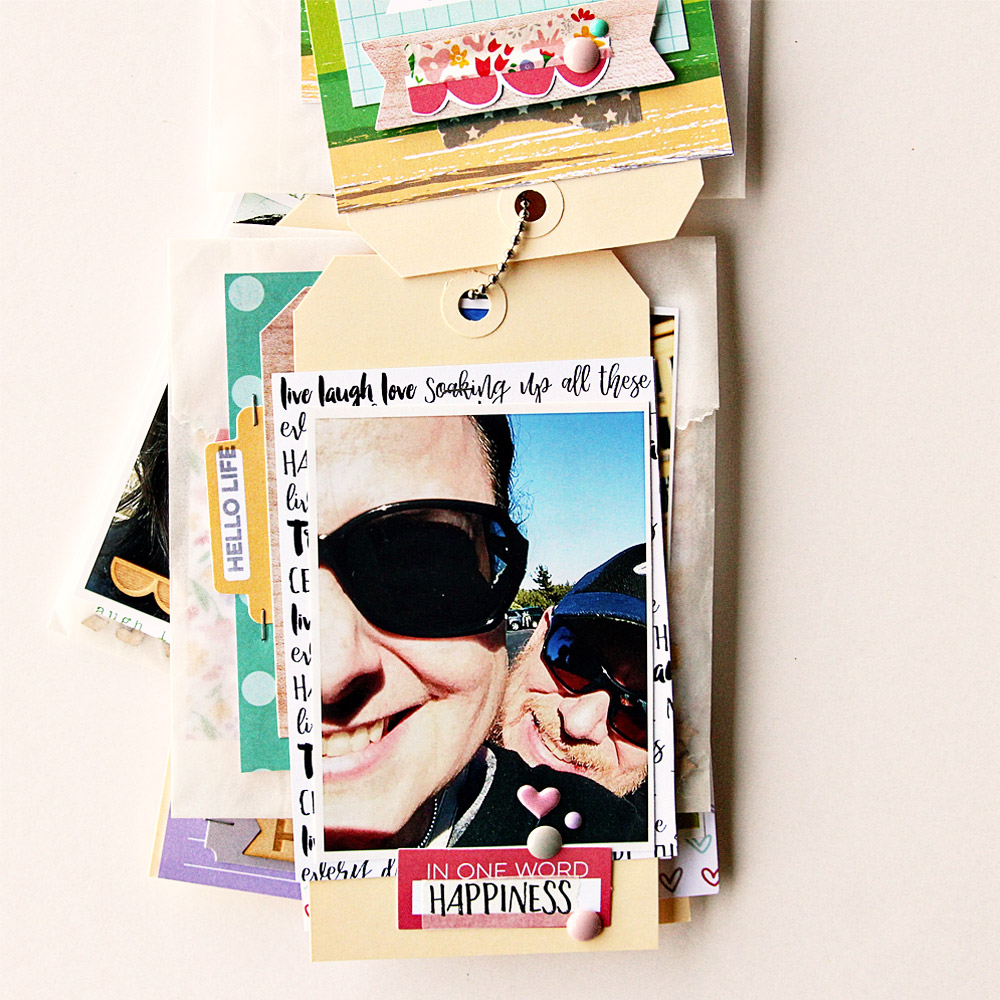
I also wanted to add some subtle texture, and the Fun Outdoors Wood Veneer Words are able to be stitched through so easily. I was also able to incorporate the “notes from our” phrase from the Bike Ride Stamp into my title, which I thought added a fun touch.


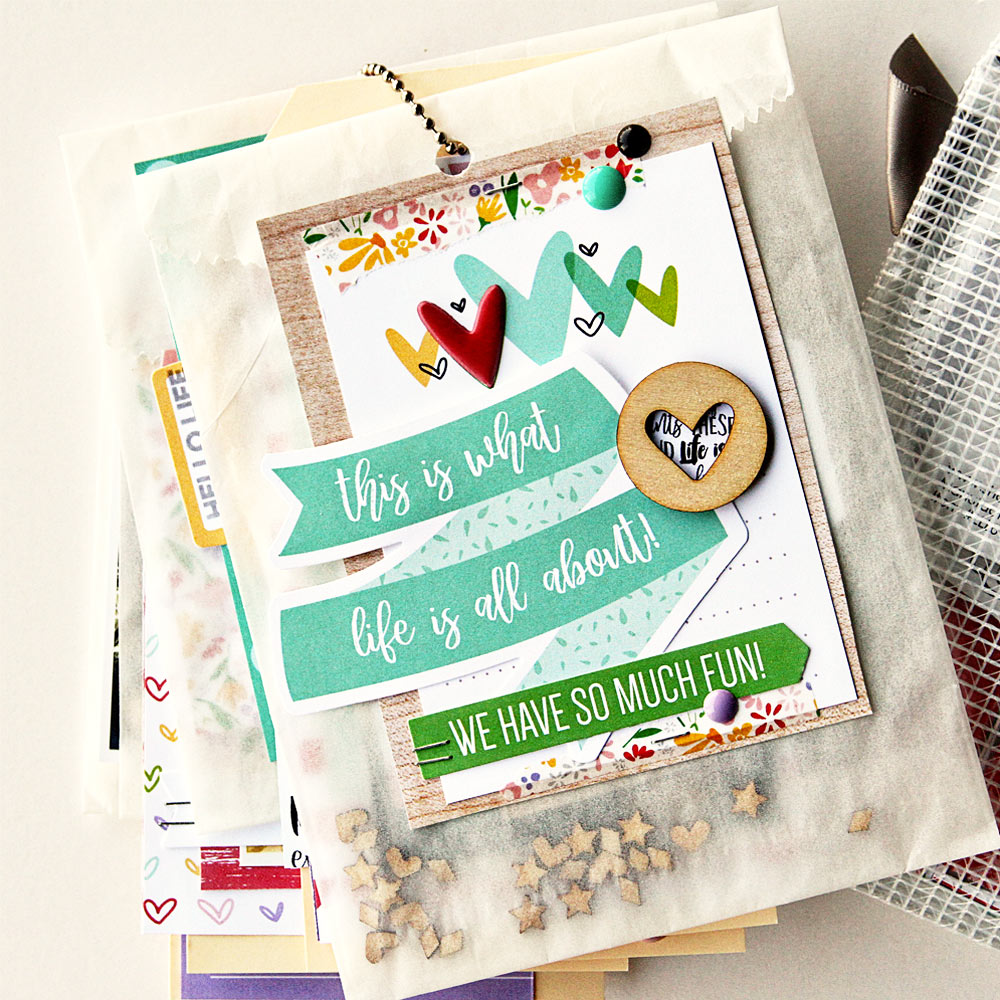
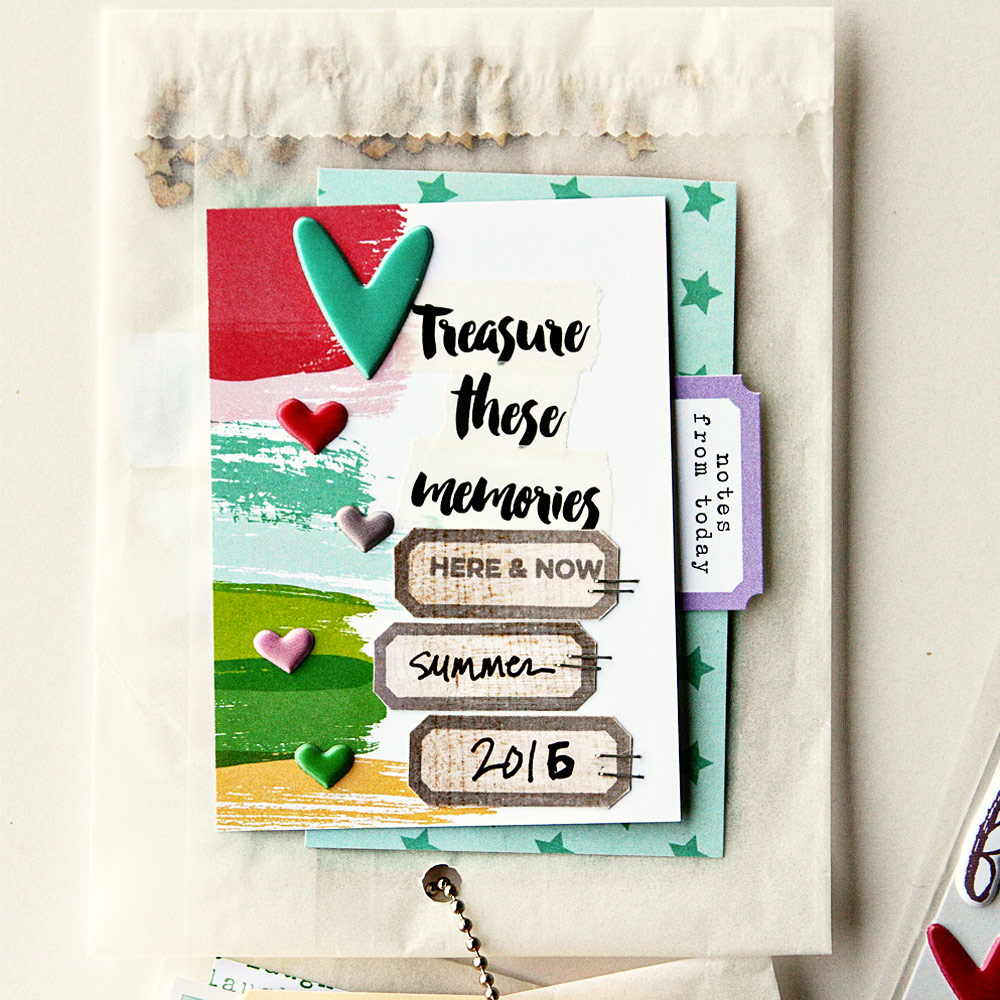
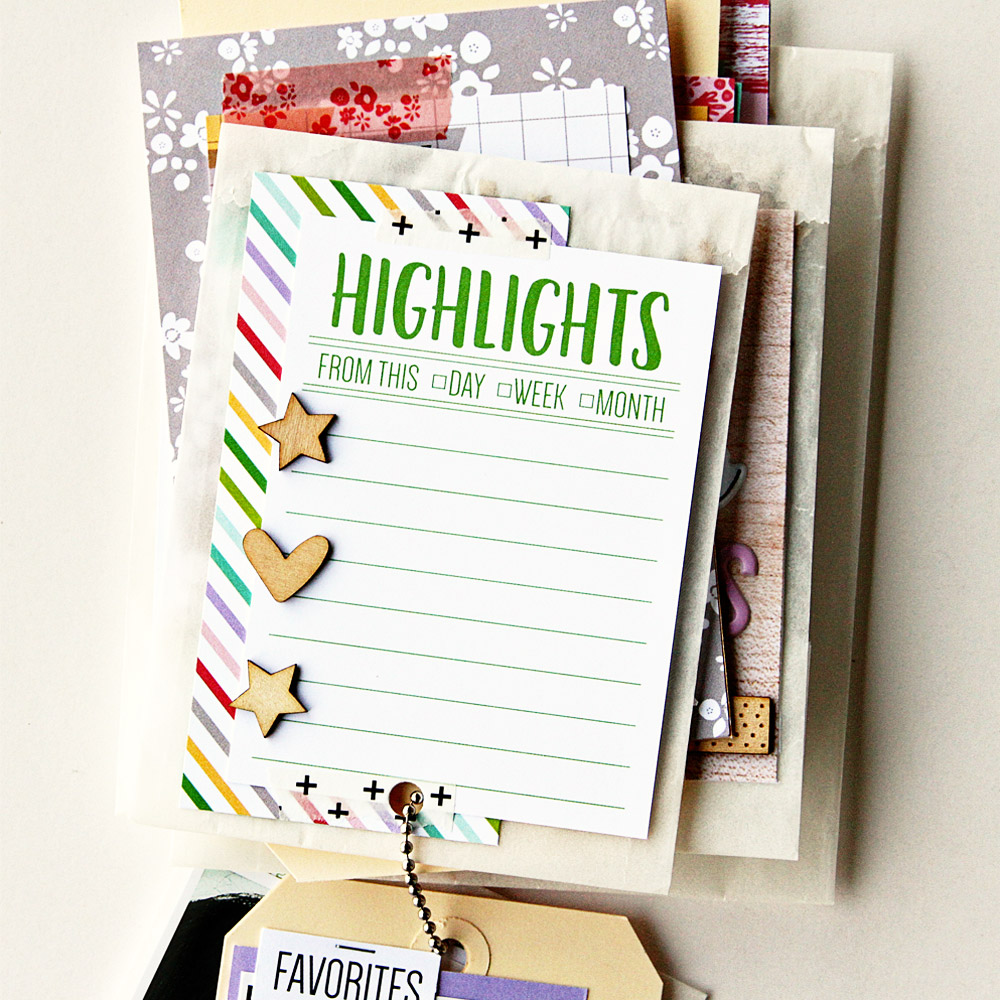
Smaller, embellishment tags from the May 2017 Kit and Spring Sequins from the shop finished off the layout. Thanks for stopping by the blog today! Have a great weekend.

June Design Team Gallery Sneak Peeks

Our June kit + add-ons reveal is just days away and we are so excited to share these sneak peeks of projects that our design team made using all the new products that will be available soon! Our June’s kit includes 3 – 4 x 6 inch tags, 18 – 3 x 4 inch tags, and 25 die cuts! Get ready to pick up our June kit for our launch day special pricing of only $9.99 on Saturday, June 10th, at 8:00 am PST. After the 10th, our kits go back to their regular price of $11.99. Or, you can lock in the $9.99 price anytime by starting a subscription!

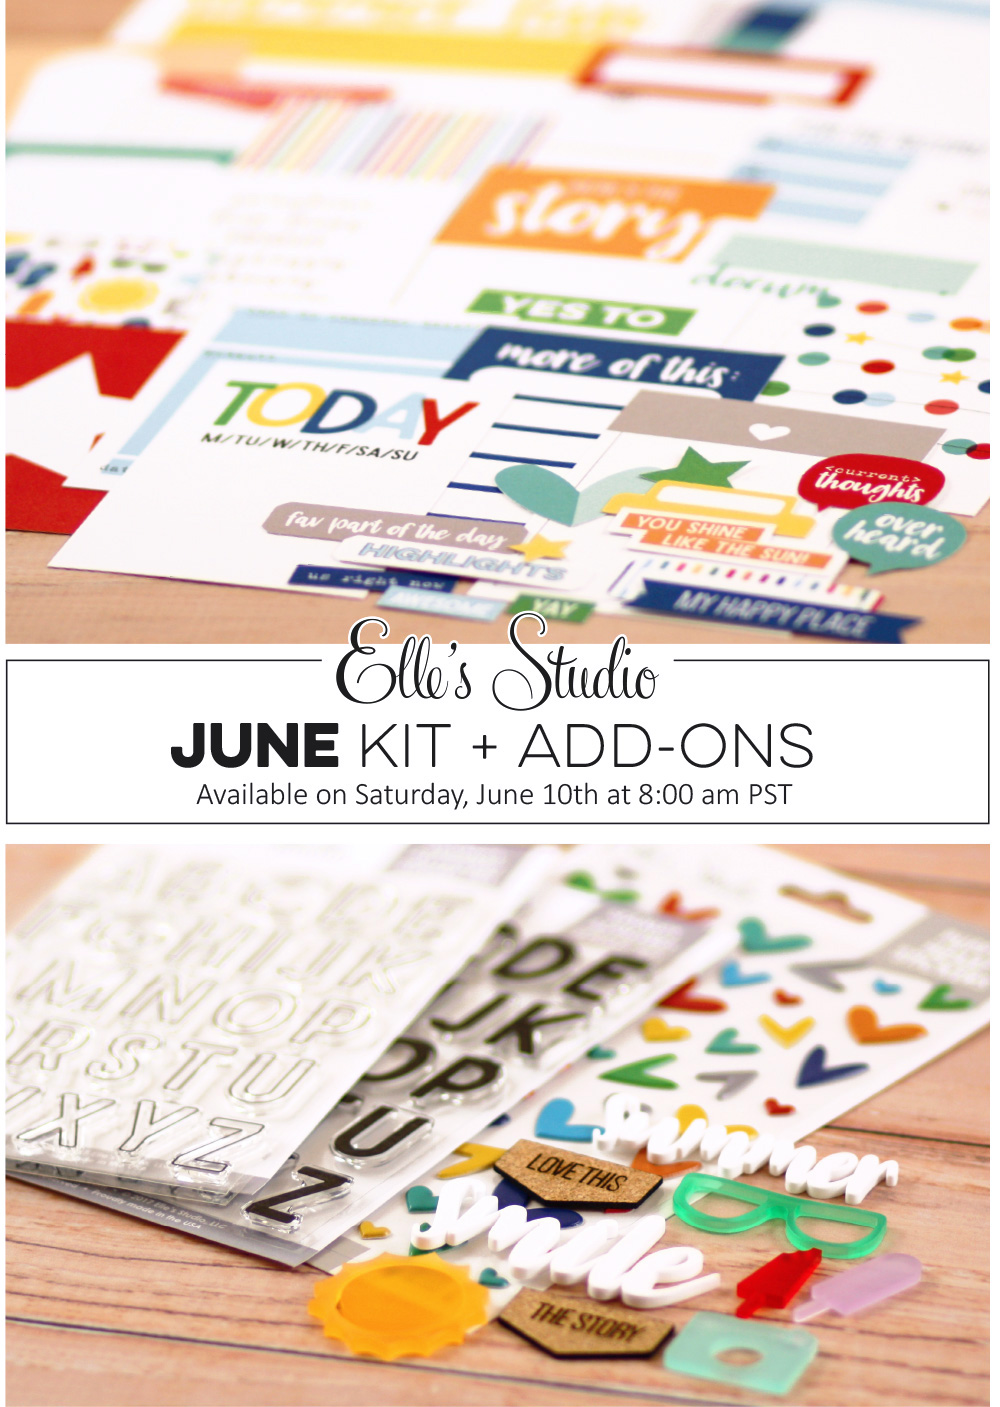
In case you missed our BIG announcement we wanted to share it again – We are also excited to announce that we are introducing some new benefits for our kit subscribers! We are extending the bundling period – Beginning with our June kit, you will now have 24 hours to add to your kit order, starting on the 10th at 8:00 am PST and ending on the 11th at 8:00 am PST. Along with more time to shop, our subscribers will also have access to special discounts on select items during the 24 hour bundling period! These discounted items can be found in our SALE section during bundling, and you must be logged into your kit subscriber account to see them.

Have you started a subscription yet? If not, you should! With a subscription, you will be guaranteed a kit each month, lock in our launch day special price of $9.99, and receive FREE (USA) or reduced (International) shipping on anything added to your box each month during bundling. Quick note: Our kits and add-ons are available without a subscription each month, too.

Our June kit will also have over 15 brand new coordinating add-ons (that can be purchased separately). This month our add-ons include stamps, wood veneers, acrylics, stickers, puffy stickers, and more, and they all coordinate with our kit perfectly!

Make sure you set your alarm and mark your calendar for this Saturday, June 10th at 8:00 am PST! If you haven’t signed up for our newsletter, make sure you do to receive a reminder of when everything is available for sale!  We hope to see you there!

Save

Save

Extra Photo Solution with Michelle Wedertz

Often, we take several photos of the same event or day, but we can’t fit all of those photos on a single scrapbook layout. What do we do with the extra photos that we have printed? Michelle Wedertz is sharing a quick and easy solution with us today!
 
Quite frequently I come across the situation where I have a small batch of photos that I want to include in an album, but I am not really wanting to do a traditional layout with them. My solution for when this happens is to add a pocket page into the album that will hold these photos. This is such a super easy way to get those photos documented quickly, because, let’s face it, if I did a traditional layout for every single batch of photos I would be buried in layouts and way behind in my documenting. Now with that being said, I am not under the illusion that I will ever be fully caught up, but using pocket pages keeps me moving along!  Today I want to share an example of a quick and easy 6″ x 12″ layout I put together using the very pretty May 2017 Kit.


Supplies | May 2017 Kit, Letter and Number Stickers – White, Letter and Number Stickers – Pink, Live Laugh Love Bits and Pieces
 
For this particular page I only had three photos that I wanted to use, so I went ahead and cut down a 12″ x 12″ pocket page to a 6″ x 12″ page. I like this style of pocket page because it offers both 3″ x 4″ and 4″ x 6″ pockets, which lets me put those bigger journaling tags to use. I also don’t mind having a mix of page sizes in my albums— I like the look of being able to see behind pages because it’s like a sneak peak of a story to come!


I really enjoy using the journaling tags in the monthly kits mostly because they coordinate with other collections very easily. For this particular layout, I mixed and matched two tags with a few pieces from the Live Laugh Love Bits and Pieces.  I’ve also fallen in love with type-written journaling, and love the ease of quickly getting the journaling on my tags and into my album.


Documenting my family’s memories is a big priority in my life and putting them in a pocket page to get those memories in my albums is a great option to keep open!

#EllesStudio Spottings on Instagram!


Welcome to a new edition of #EllesStudio Spottings! Each month, we will choose six Instagram posts featuring the hashtag #EllesStudio on a project photo to highlight on our @ellesstudio account, as well as here on the blog. The chosen accounts will also receive a $10 gift certificate to the Elle’s Studio shop! Be sure to use the hashtag on your next creation posted to Instagram to be featured and entered to win for next month, and be sure to check out the Instagram accounts of these talented scrapbookers, and show them some love!


The page on the left by @junglebarrya shows how beautifully our Live Laugh Love Bits and Pieces can be used as the main design elements on a 12″ x 12″ page. On the right, @lookwhatsarahcreated nailed her pocket page layout using the Live Laugh Love collection. We love seeing all of those beautiful colors paired with her photos!


@mefunscrapt’s page design, on the left, is nothing short of superb, and she used the Live Laugh Love collection to achieve it! On the right @createdtocreate365 put together a fabulous pocket page by pairing our March, April, and May 2017 Kits—showing just how well they can all be paired together on your projects!


On the left, @addglitterandlove created a dreamy page using our Live Laugh Love 12″ x 12″ Paper Collection and Word Labels.  On the right, @tanyafears designed a fun grid layout using our March 2017 Kit, Vellum Sentiments (soon to come back into the shop), and Fun Acrylic.

Congrats, everyone! Please email us at info@shopellesstudio.com to claim your prize!

We can’t wait to see what you create with our products on Instagram using the hashtag #EllesStudio! Be sure to tag us with your creations on Instagram in the month of June for another chance to win!

A sneak peek of what is coming on June 10th!

Our June kit + add-ons reveal is right around the corner and we cannot wait for you to see everything we have in store! This month our kit + add-ons will have you ready to document all your everyday real life moments, sunshine, and more! Plus, it will take you right into the month of July! June’s kit includes 3 – 4 x 6 inch tags, 18 – 3 x 4 inch tags, and 25 die cuts! Get ready to pick up our June kit for our launch day special pricing of only $9.99 on Saturday, June 10th, at 8:00 am PST. After the 10th, our kits go back to their regular price of $11.99. Or, you can lock in the $9.99 price anytime by starting a subscription! You’ll also want to make sure you check out our coordinating add-ons this month – they include puffy stickers, acrylics, stamps, cork, and more!

Along with the 15 awesome add-ons we have debuting on June 10th, that coordinate with our June kit, we will also be revealing this cute summer stamp set and summer journaling tags shown above! We are loving how they turned out and wanted to give you an early sneak peek!

We are also excited to announce that we are introducing some new benefits for our kit subscribers! We are extending the bundling period – Beginning with our June kit, you will now have 24 hours to add to your kit order, starting on the 10th at 8:00 am PST and ending on the 11th at 8:00 am PST. Along with more time to shop, our subscribers will also have access to special discounts on select items during the 24 hour bundling period! These discounted items can be found in our SALE section during bundling, and you must be logged into your kit subscriber account to see them.

Have you started a subscription yet? If not, you should! With a subscription, you will be guaranteed a kit each month, lock in our launch day special price of $9.99, and receive FREE (USA) or reduced (International) shipping on anything added to your box each month during bundling. Quick note: Our kits and add-ons are available without a subscription each month, too.

Make sure you set your alarm and mark your calendar for Saturday, June 10th at 8:00 am PST! If you haven’t signed up for our newsletter, make sure you do to receive a reminder of when everything is available for sale!  We hope to see you there!

Save

Save

Save

Mixing and Matching with Jamie Leija

One thing that we love about Elle’s Studio products is how seamlessly they coordinate together. From the collections to the monthly kits and shop items, it’s easy to mix and match several varieties, and even different monthly releases of products across the same project. Today, Jamie Leija is doing just that with her monthly pocket pages. Let’s see what she created! 


Supplies | May 2017 Kit, Arrow Stickers, Today Stamp, Everyday Adventure Stamp, Spring Sequins, Stars and Hearts Mixed AcrylicMonthly Journaling Tags, Work Hard Journaling TagsWork Hard StampWork Hard Wood Veneers2017 CalendarsLove Ya Wood Veneer CirclesLetter & Number Stickers – Light GrayLive Laugh Love Washi Tape StickersLive Laugh Love CutoutsLive Laugh Love StampLive Laugh Love Wood VeneersLive Laugh Love 6″ x 6″ Paper StackLive Laugh Love Bits & PiecesLive Laugh Love Enamel Dots

I document my everyday in monthly pocket page spreads. I call it my Monthly Memories project. Typically, I use two 9″ x 12” pocket pages to capture everything. But this month was a bit busier, so I added a 6” x 12” insert in the middle. This gave me more room for photos and journaling tags!


I used a huge mish mash of products to create these 4 pages, a bit from the May 2017 release but a lot of older products (still available in the shop!) too. I start every month using one of the 4” x 6” Monthly Journaling Tags. Usually, it helps me figure out the color scheme I’m going to use. On this half of the spread, I went for yellow, red and teal.


Stamping directly onto my photos is one of my go-to approaches for this project. I used gold ink with the Work Hard Stamp on the bottom 4” x 6” photo. I love how it glows! If you’ve never done it before I totally recommend it. I tend to stamp in the negative space of the photo where not much is going on.


Aside from color, there were a few elements repeated: plus signs were on the ends of two of the die cuts, on the Live Laugh Love Washi Tape Sticker, plus the patterned paper corner I added to a photo. Circles were another trend that helped meld the two designs together. Since you can see part of the last 9” x 12” spread when you’re looking at the front of the 6” x 12”, it helped to tie everything together.


This page was heavy on photos and journaling. I had a lot to say! One approach I used was a simple list. I had three photos that told three different stories, so I wrote a line about each and numbered both the journaling and the photos using the Light Gray Letter & Number Stickers.

I put together a process video to walk through how I embellished this pocket page spread.


Don’t forget to pull out any of your leftover exclusives and shop items when working with your current Elle’s Studio kit!

Reliving Adventures with Jamie Leija

Sometimes, adventures that we’ve taken are just too great to forget, but while we may take photos during our vacations and experiences, they often end up on a digital hard drive, or tucked away in a photo box. Today Jamie Leija is reliving a trip that she took to Budapest by creating a pocket page using the May 2017 Kit and add-ons, and we couldn’t love the outcome more! Let’s see what she created.

Hiya, it’s Jamie and today I’m sharing a 12″ x 12″ pocket page— a continuation of the projects I made for the May reveal. Once I got started with those photos and that kit, I just couldn’t quit!


Supplies | May 2017 KitWood Veneer HexagonsAdventure Sticker LabelsArrow StickersStars and Hearts Mixed AcrylicSpring SequinsBike Ride StampToday Stamp, Letter and Number Stickers – Red

You may notice that I used one of the Hexagon Filler cards from the 1 Product 3 Ways Hexagon Wood Veneer blog post from last month. It was just too perfect to not include on this spread.


The first two pages I created about this day featured the bike ride we took around the city. This is a bit of a wrap on that day and features a few extra photos plus the last shot (pun intended) of the day.


I wanted to keep playing with color on the spread and so I did something a little different. Essentially, I broke down the page into two 6″ x 12″ columns. On the left side I only used blues and greens—the die cuts, stickers, journaling tags and sequins are all in that color scheme. So on the right side I stuck with red, yellow and orange. I was able to include plenty of color all over the spread by adding die cuts and stickers directly to the photos themselves.


The journaling on the first two pages was all about the bike ride. But on this page, I focused on the beautiful weather and also my travel partners. I’d take another trip with this group in a heartbeat!


It was so much fun to re-visit this experience. It’s one of the reasons why I love scrapbooking so much. I get to relive some of the best days of my life over again as I was making the page and will do so again and again every time I see this in my album.

A Father’s Day Layout with Melissa Mann

With Father’s Day quickly approaching, why not give Dad something handmade instead of a store-bought gift? Today Melissa Mann is sharing a beautiful layout that celebrates her relationship with her father, in such a beautiful and creative way. Let’s see what she made.

Good morning, friends! This is Melissa here with you this morning featuring a brand new layout about my dad. I recently found this photo of my father and I that I had saved on my phone a while ago and knew that I wanted to scrap it. It has always been a favorite picture of mine!


Supplies | May 2017 Kit, Arrow Stickers, March Labels, Sky Blue Puffy Alphabet Stickers, Teal Puffy Alphabet Stickers, Live Laugh Love 12″ x 12″ Paper Collection, Live Laugh Love Double-Sided Journaling TagsLive Laugh Love Stamp, Live Laugh Love Enamel Dots, Live Laugh Love Puffy Stickers, Letter and Number Stickers – White

I started this layout by using one of the pattern papers from the Live Laugh Love 12″ x 12″ Paper Collection. I cut it in two pieces and flipped one side so the black and white hearts showed on the top third of the layout and the woodgrain showed on the other part. I stitched these down using my sewing machine (my sewing machine got a heavy workout on this project!) and broke out some paints. I have not painted on any projects in a long while and decided this would be a fun way to incorporate a few “layers” on my layout. I used white, orange, and yellow paints.


Once the paint dried, I starting sticking down the white Letter and Number Stickers, Sky Blue Puffy Alphabet Stickers and Teal Puffy Alphabet Stickers randomly on the woodgrain part of the layout. My photo was layered on top of a block of pattern paper and a 4″ x 6″ tag from the Live Laugh Love Double-Sided Journaling Tags. I typed my journaling on the “Father’s Day” 3″ x 4″ tag from the May 2017 Kit and placed it on the left side of my photo. I typed some phrases on the March Labels, as well as stamped some phrases and hearts on them using the Live Laugh Love Stamp. These were randomly placed down the length of my layout and stitched down with my sewing machine.


I decided to place some more of the alphabet stickers at the very top of my layout to help ground that element on the lower half of my layout. My title “XOXO” was stitched down; and lastly, I placed Arrow Stickers, Live Laugh Love Puffy Stickers, and Enamel Dots in various places.

I hope this has inspired you to create a Father’s Day project whether it be a card, layout, or even mini book!

An Outdoor Fun Pocket Page + Video with Jen Chapin

We love seeing our kits put to use in your projects, and our May 2017 Kit, with its bright, beautiful colors and fun, summery images really stands out! Today Jen Chapin is sharing a beautiful pocket page, along with a process video, that really makes this kit shine with her outdoor photos. Let’s take a look.

Hi everyone! It’s Jen here, and today I am sharing a pocket page with you using the May 2017 Kit along with some of the new extras available in the shop this month.


Supplies | May 2017 Kit, Fun Outdoors Wood Veneer Words, Adventure Acrylic, Spring Sequins, Wood Veneer Bicycles
 
I am loving the Fun Outdoors Wood Veneer Words that go perfectly with spring and summer photos.


I started out with a few 3″ x 4″ photos, and arranged them on my layout along with some of the 3″ x 4″ tags from the May Kit.


For the middle pocket, I added the Spring Sequins and used my sewing machine to stitch the pocket shut. I then used the Adventure Acrylic on the outside of the pocket. I love how it turned out!


Watch the video to see how this layout came together. Thanks for stopping by, and have a great week!
 

An Everyday Summer Mini Album with Alissa Fast

Our design team is still being inspired by our Everyday Adventures Mini Album Class, and today Alissa Fast is with us to share her summer everyday adventure mini album!

Hello! I love mini albums! I love the feeling of accomplishment I get when I complete a mini album. It’s just so fun to flip through them time and time again and the texture. Let’s talk about the texture. My favorite mini albums are chunky and full of layers and embellishments. So much texture!


Using a coordinated kit of products to use makes it so much easier and so much faster. The Everyday Adventures Product Bundle was perfect for a mini album about my everyday adventures last summer.


I started with the bundle, a pile of shipping tags, a few leftover glassine bags I received with products in them from past kits, some stamping ink and a little ball chain I had on my desk, to hold it all together. I always start by piling up the page bases in the order I want them in and then immediately get started on my cover. I love layers and it’s my favorite way to add texture to my mini albums.


When creating this type of book, with the ring/closure at the top, I always flip the back side around so when you flip it up, it’s not upside down above the page on the bottom.


I start cutting papers and journaling tags to layer up under my photos and journal pages.


Don’t be afraid to stick embellishments on the photos. Chances are you can always reprint, if needed.


Everyday adventure photos are not always of people in your life. Don’t forget to document the things you love in your life every day.


Use lots of different fonts, including your own handwriting for a fun element.


Layer tabs and flags over your photos.


I always try to include something on the last page to wrap it up and date the day I made the mini album.

There you have it, my Everyday Adventure Summer Mini Album. I hope you’ve enjoyed it and will create your own using inspiration from the Everyday Adventures Mini Album Class, along with the Everyday Adventures Product Bundle!


Be sure to check out the Everyday Adventures Mini Album Class in either the class-only or class + stamp options. For easy one-click shopping, you can find the class supplies in a specially priced bundle, too! We know it will inspire you to create your next miniature sized album to document your everyday memories!