August #EllesStudio Spottings on Instagram!

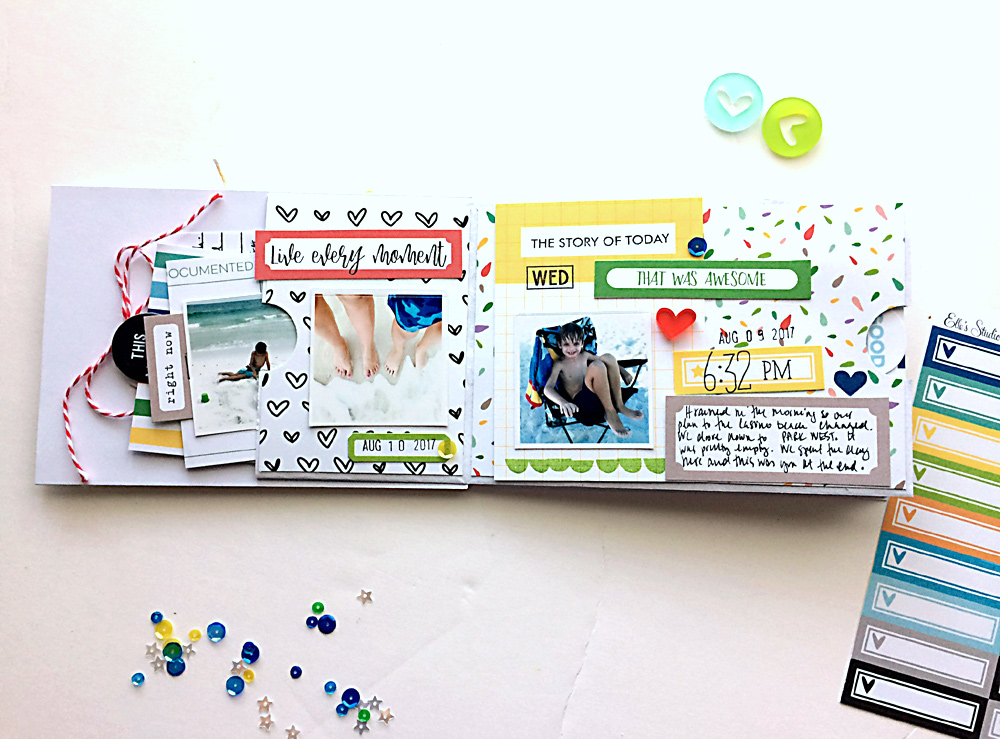
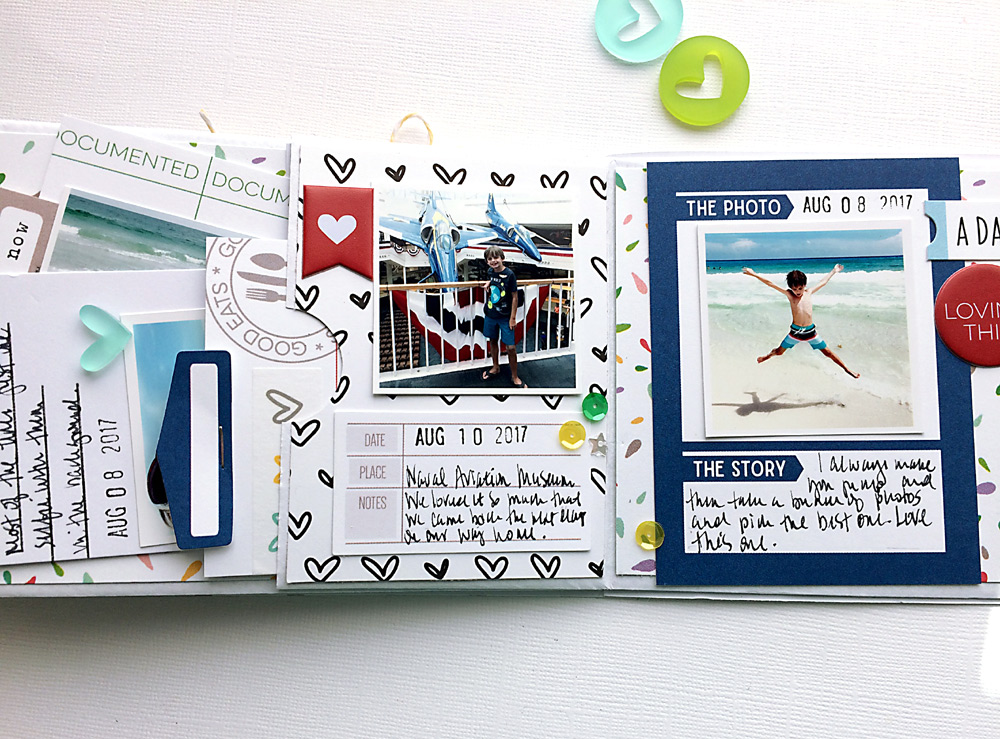
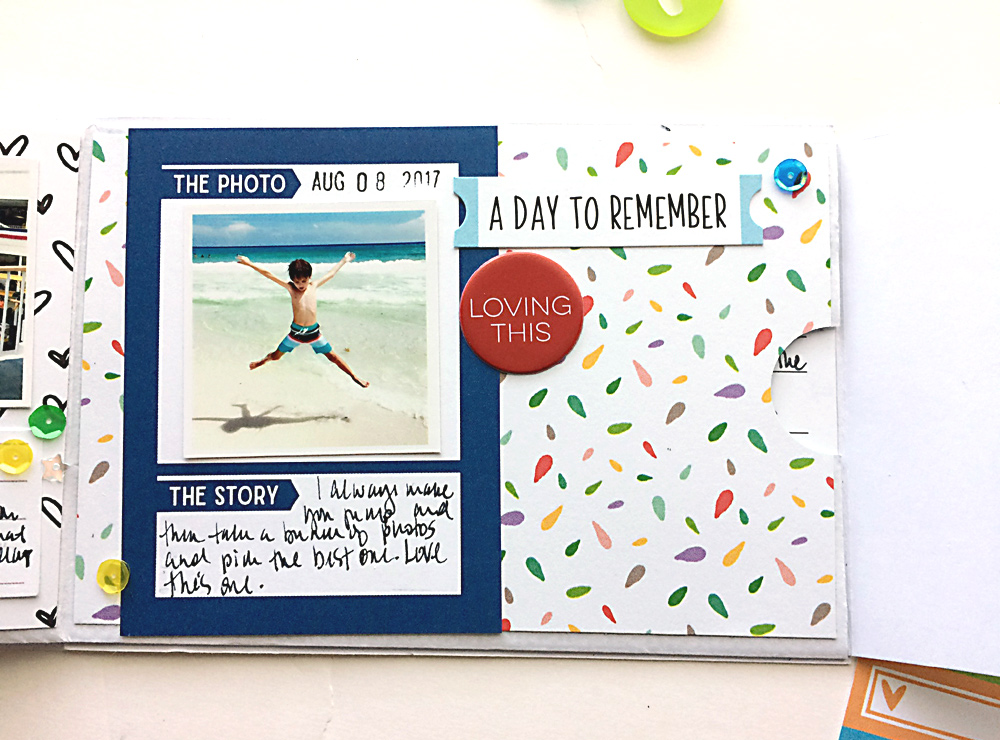
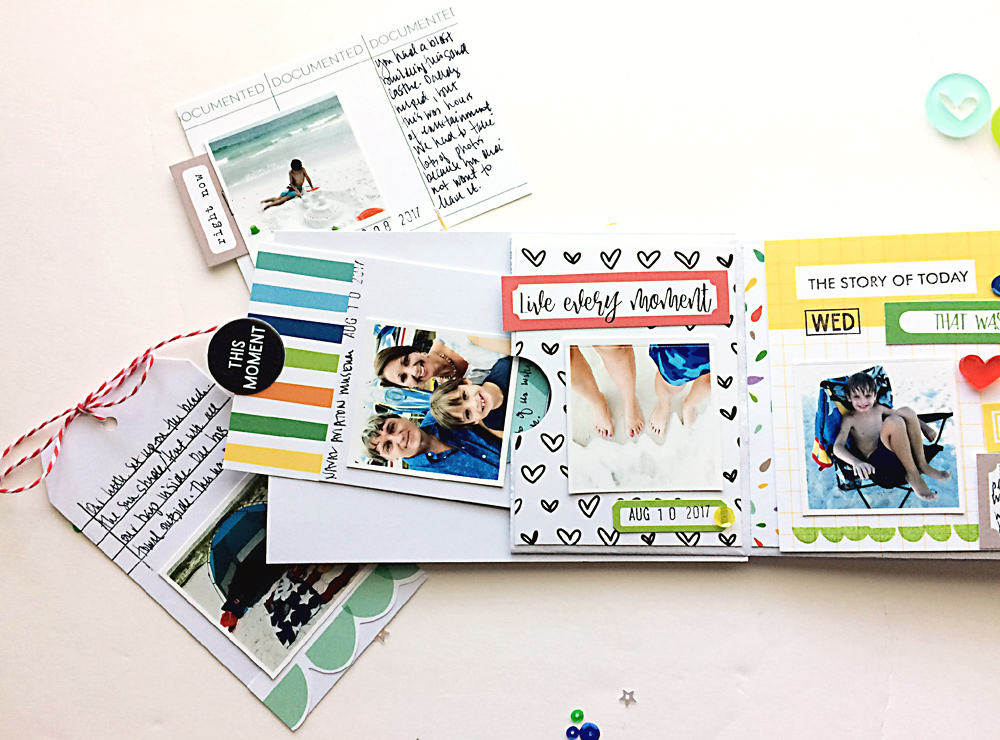
It’s a new month, which means a new edition of #EllesStudio Spottings! Each month, we will choose six Instagram posts featuring the hashtag #EllesStudio on a project photo to highlight on our @ellesstudio account, as well as here on the blog. The chosen accounts will also receive a $10 gift certificate to the Elle’s Studio shop! Be sure to use the hashtag on your next creation posted to Instagram to be featured and entered to win for next month, and be sure to check out the Instagram accounts of these talented scrapbookers!

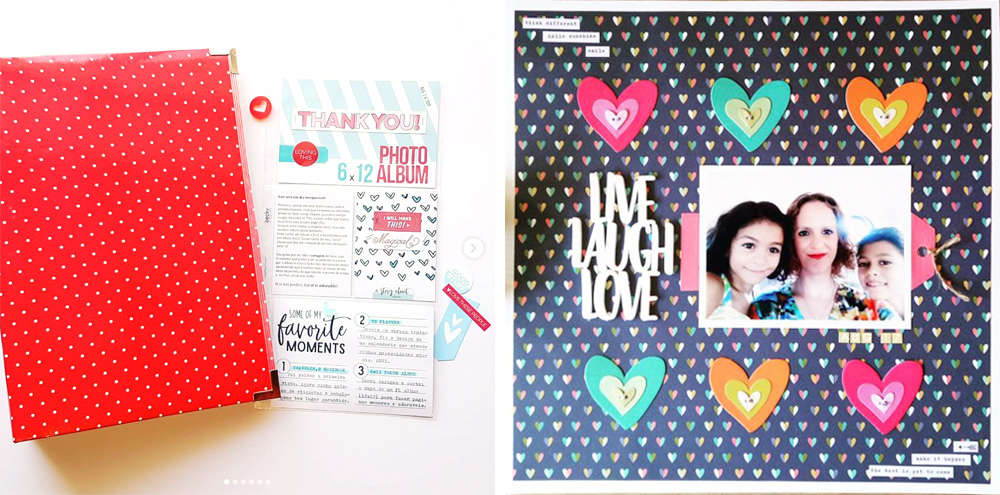
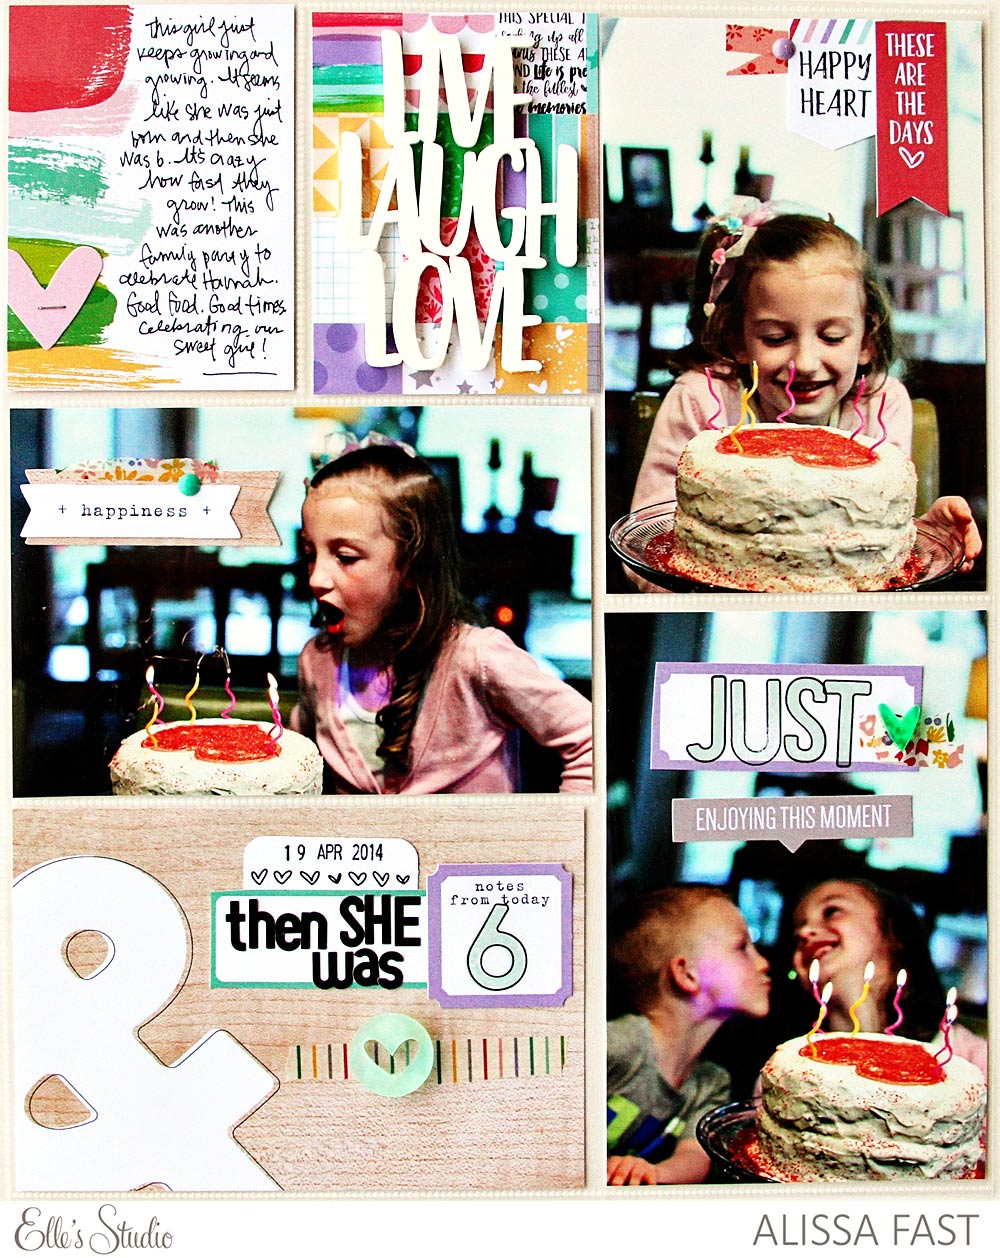
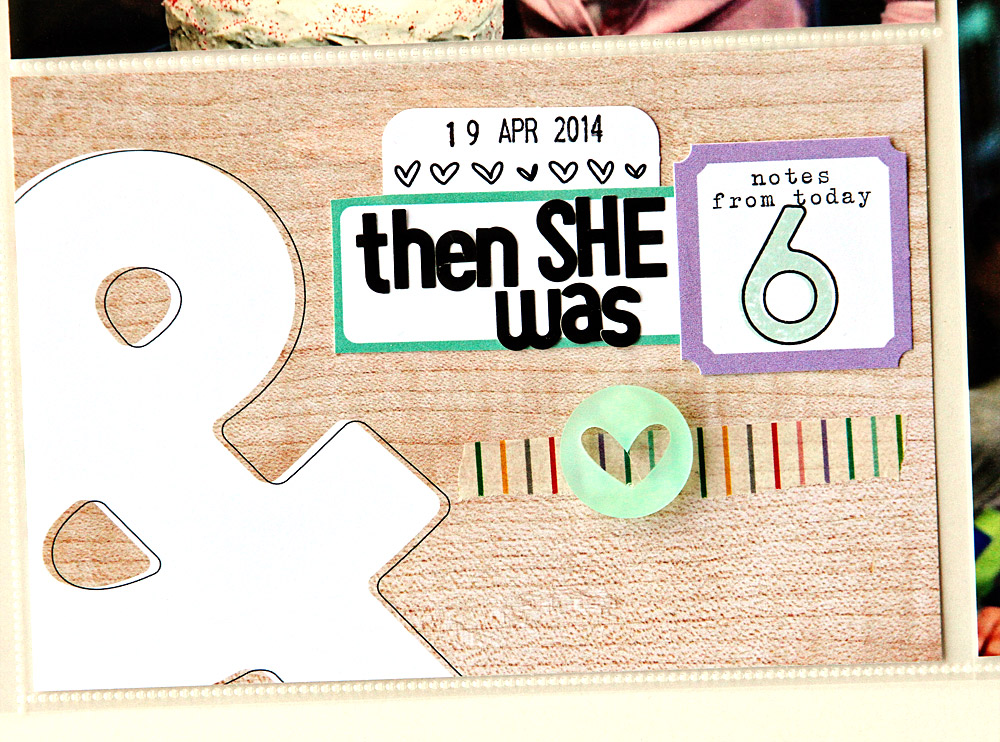
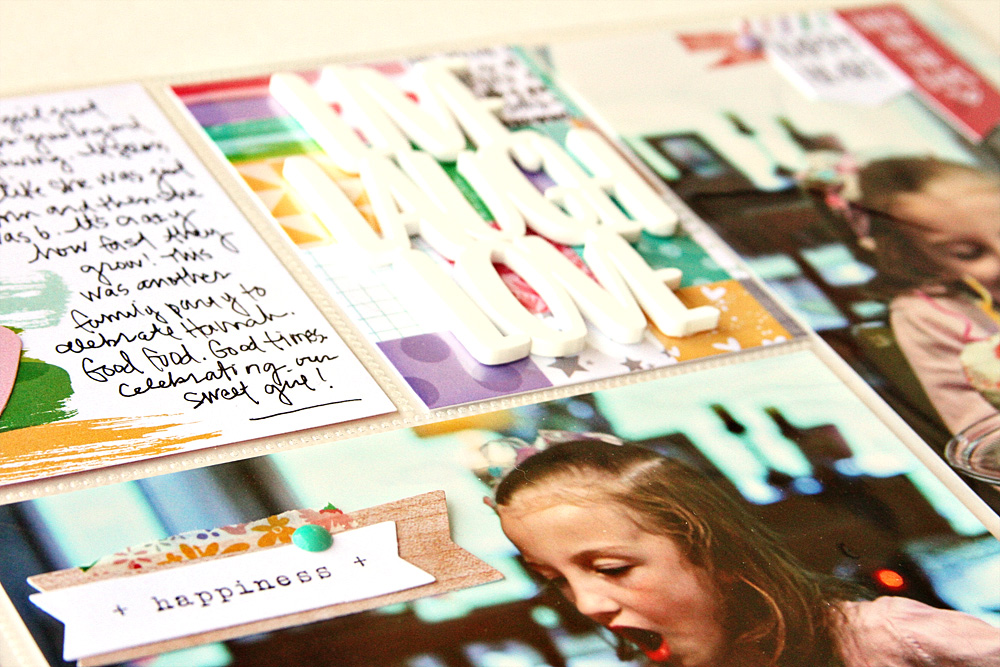
First, we have @jbmissbliss sharing a clean 6″ x 12″ pocket page using our August 2017 Kit! We love how her page coordinates with her beautiful red album. On the right, @scrapconr shows us how easy it can be to add a simple title to your layout using our Live Laugh Love Acrylic

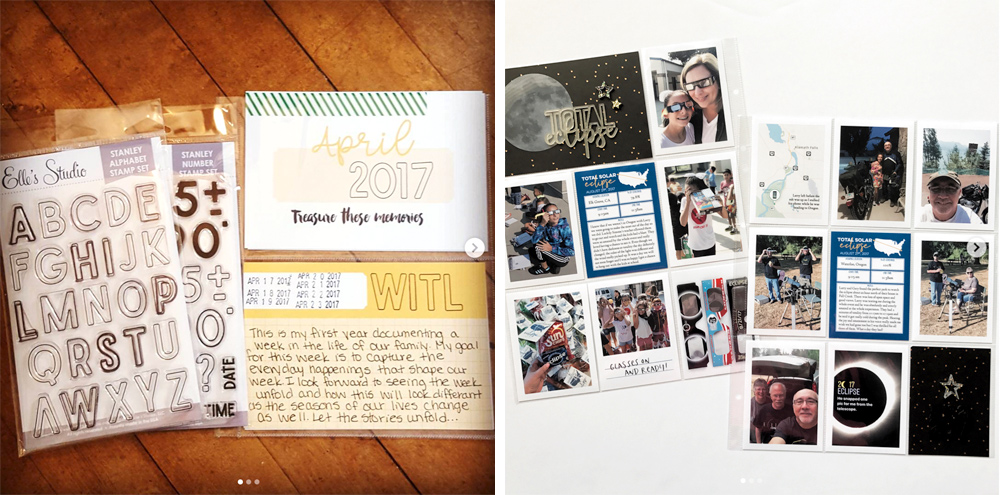
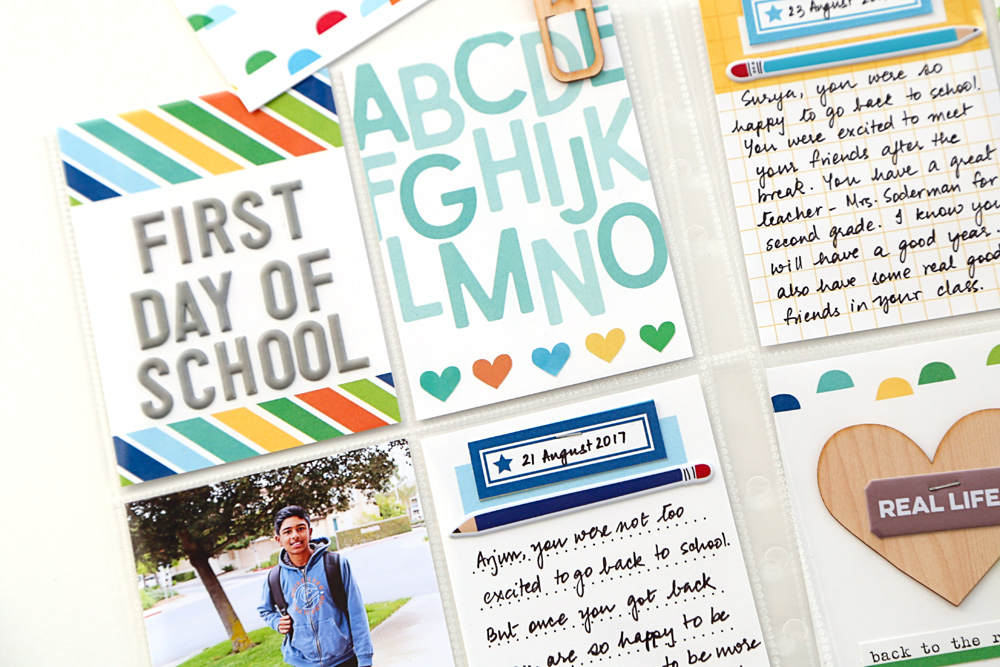
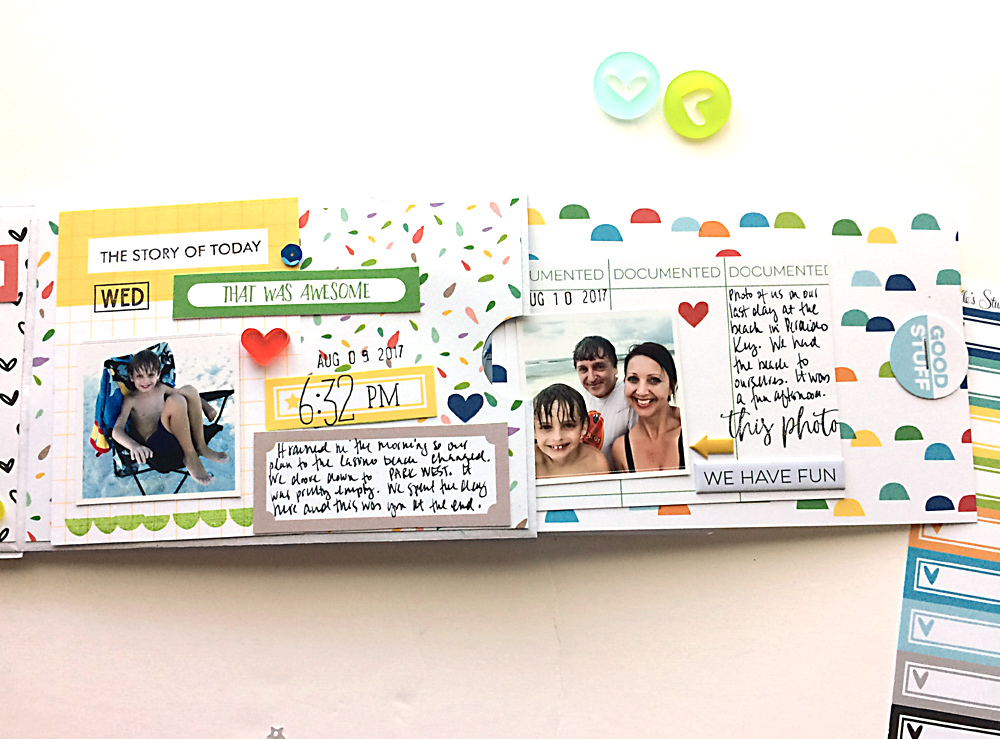
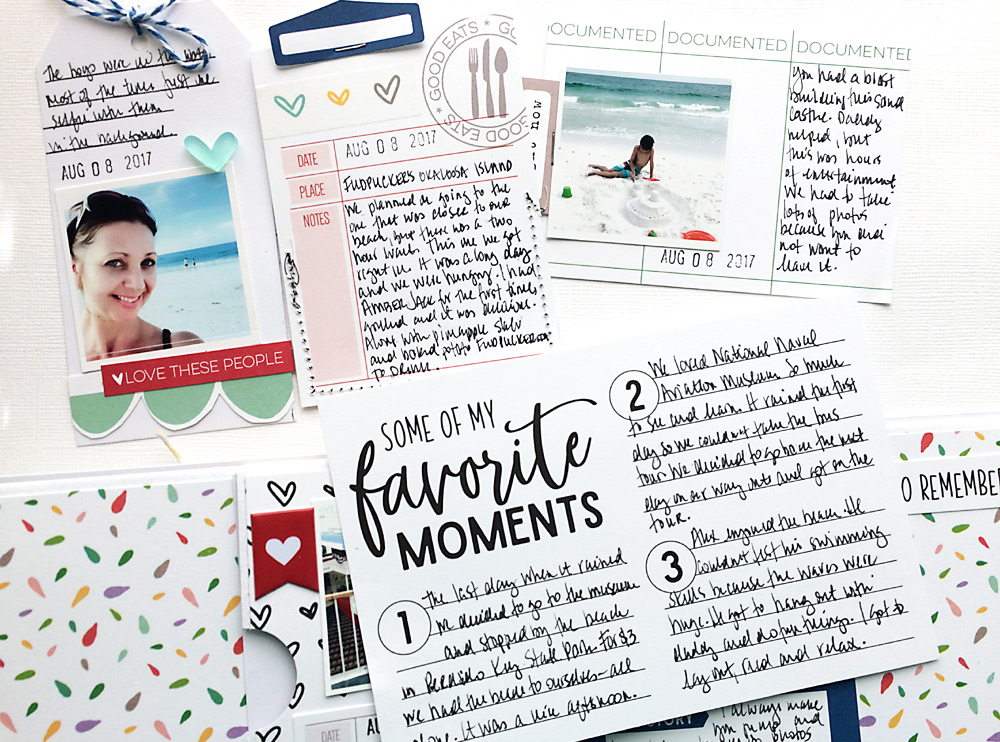
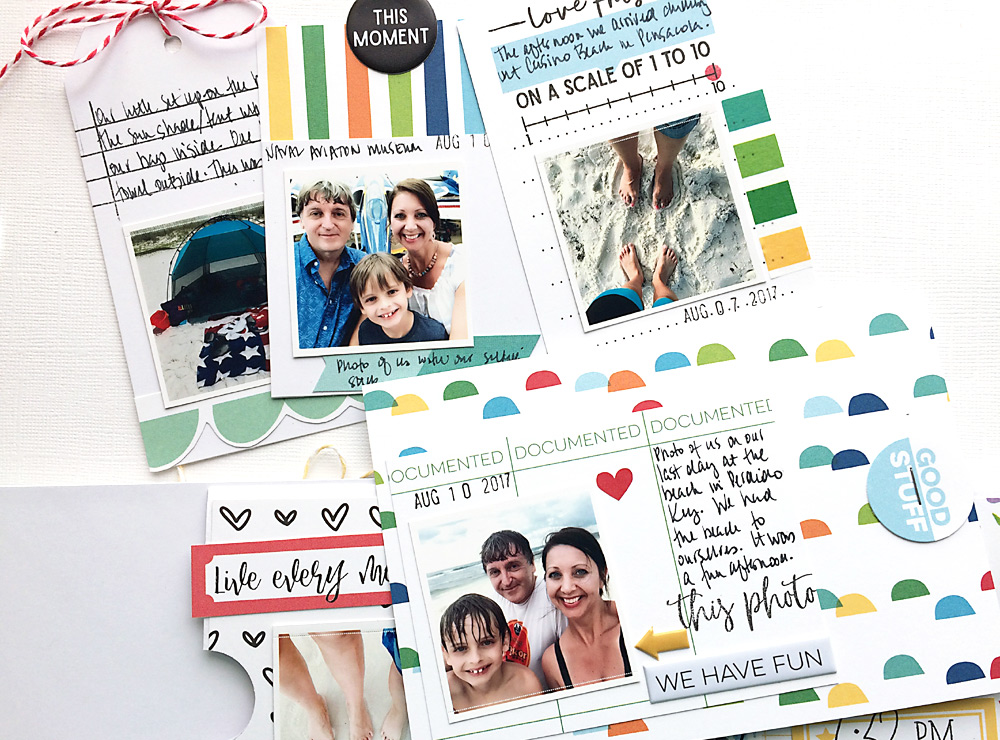
On the left, @blessingsinmypocket is creating her own customized 4″ x 6″ tags for her pockets using our Monthly Journaling Tags with the Stanley Outline and Numbers Stamps! Have you documented the day of the Great American Eclipse? @babz510 did, and we love how she used our free Solar Eclipse Printables to capture her journaling about the day.

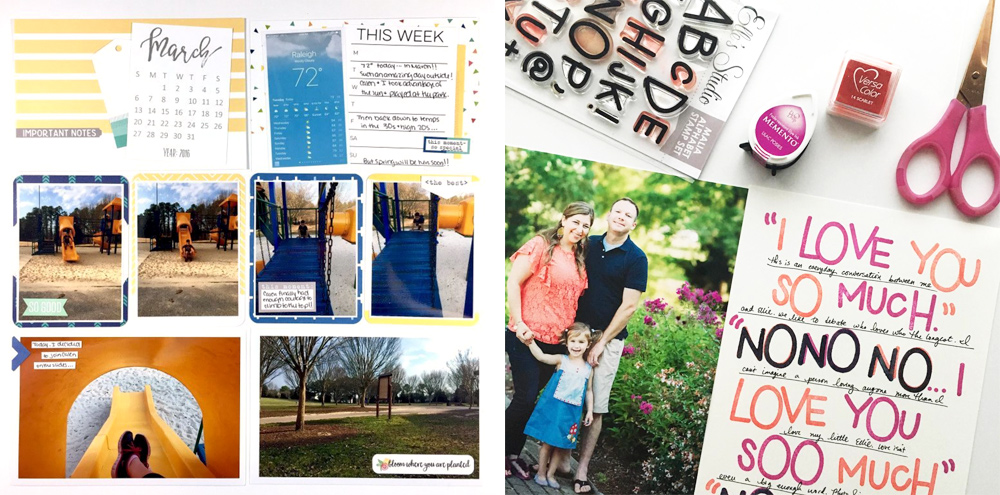
We just love how @designbymelody coordinated her photos with her journaling tags on her pocket page on the left, using the Sunny Days Journaling Tags and other tags from our monthly kits. On the right, @laura_wonsik blew us away with her layout using the Malia Alphabet Stamp in beautiful colors that coordinate with her photo. 

Thank you for posting your amazing projects, ladies! Please email us at info@shopellesstudio.com to claim your prize!

We can’t wait to see what you create this month with our products on Instagram using the hashtag #EllesStudio! Be sure to tag us on your projects this month for another chance to win in October!

Save

A sneak peek of what is coming on September 10th!


Our September kit + coordinating add-ons reveal is almost here and we can’t wait to show you everything we have in store! This month we are bringing a TON of new products to our shop that are perfect for documenting all your special moments as we transition into autumn! Our kit + add-ons will have you ready to document all your everyday real life moments, autumn, and more! Plus, it will take you right into the month of October! Our September kit will include 3 – 4 x 6 inch tags, 18 – 3 x 4 inch tags, and 26 die cuts!

Get ready to pick up our September kit for our launch day special pricing of only $9.99 on Sunday, September 10th, at 8:00 am PST. After the 10th, our kits go back to their regular price of $11.99. Or, you can lock in the $9.99 price anytime by starting a subscription – details below!

You’ll also want to make sure you check out all our coordinating add-ons this month! They will include wood veneers, stickers, sequins, acrylics, stamps, and a Foodie mini collection – some of these you can see in the sneak peek above!

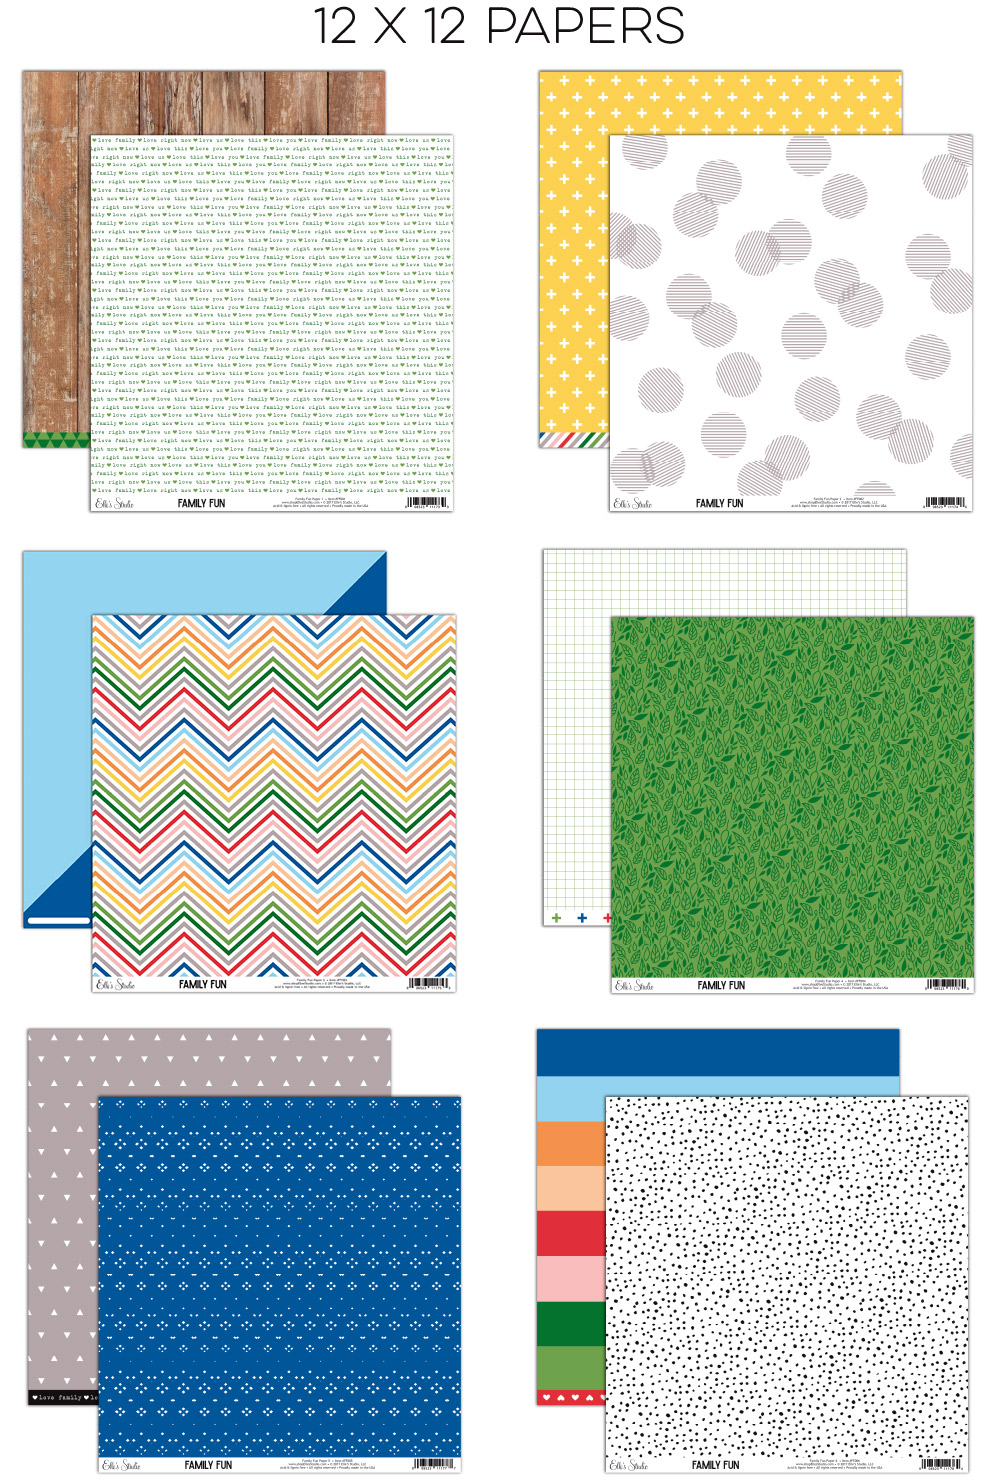
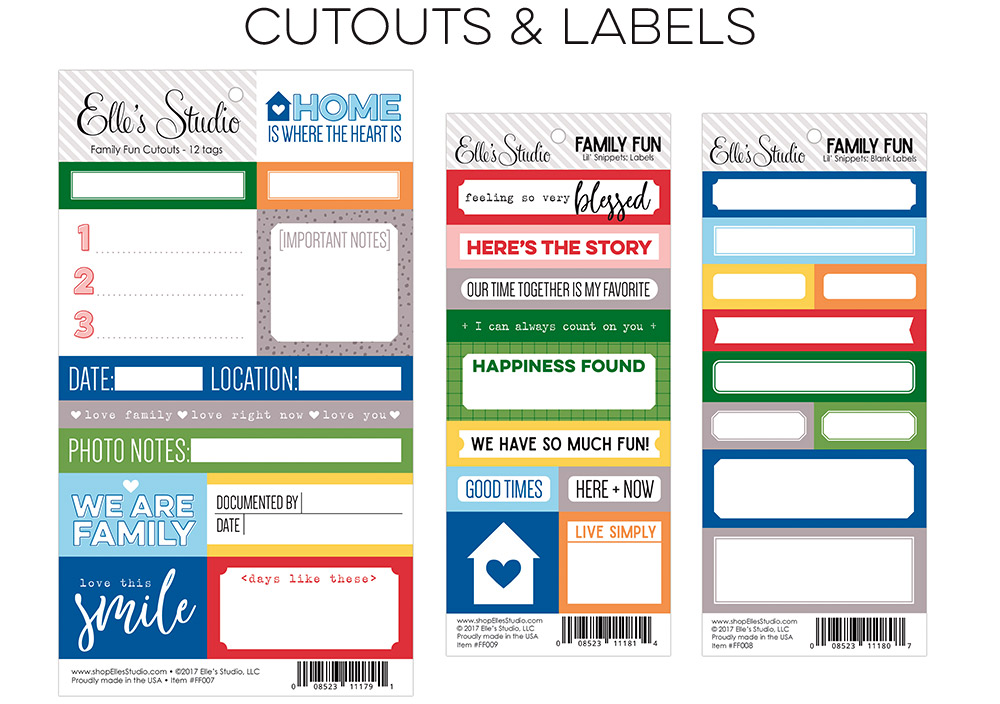
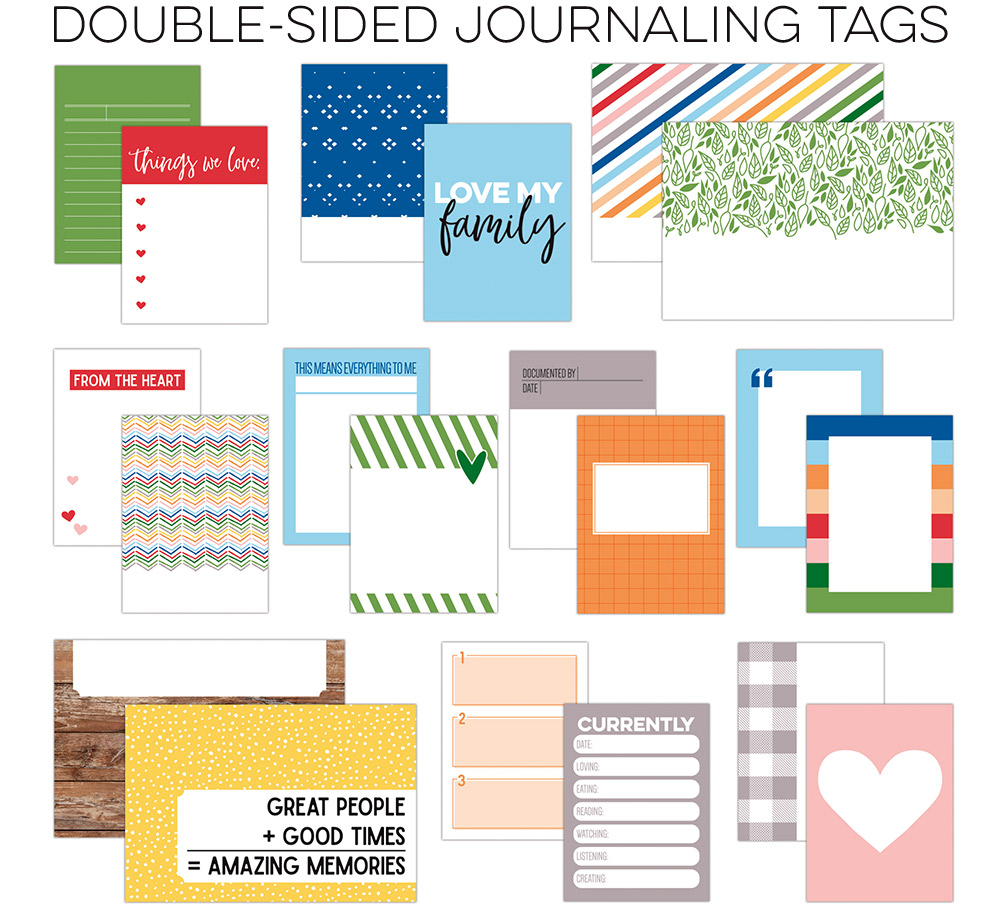
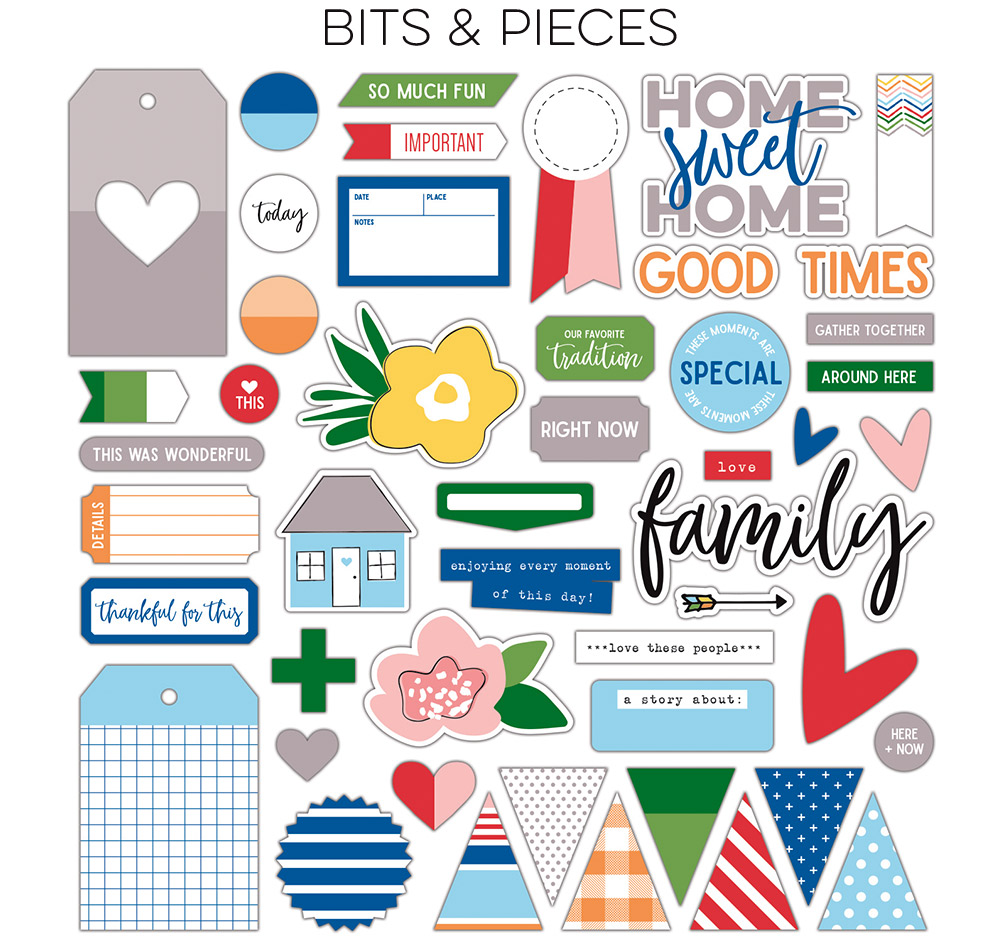
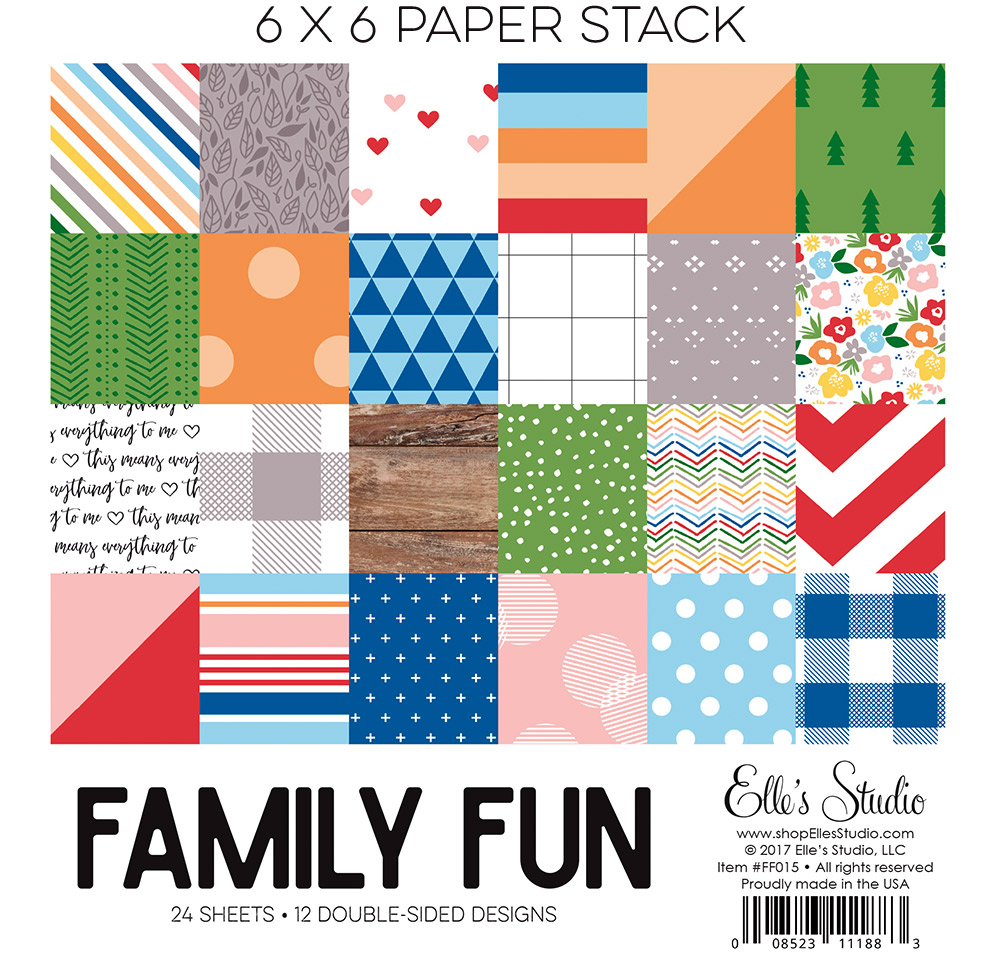
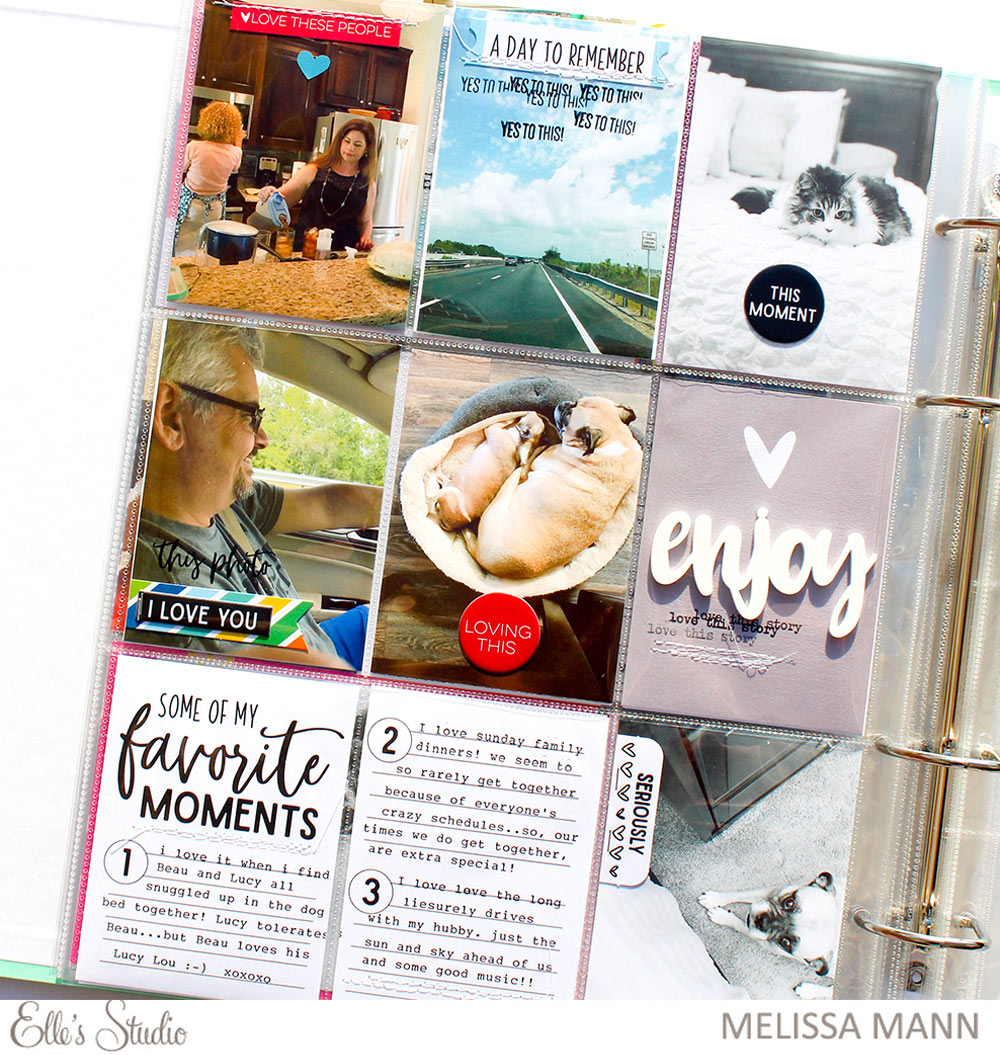
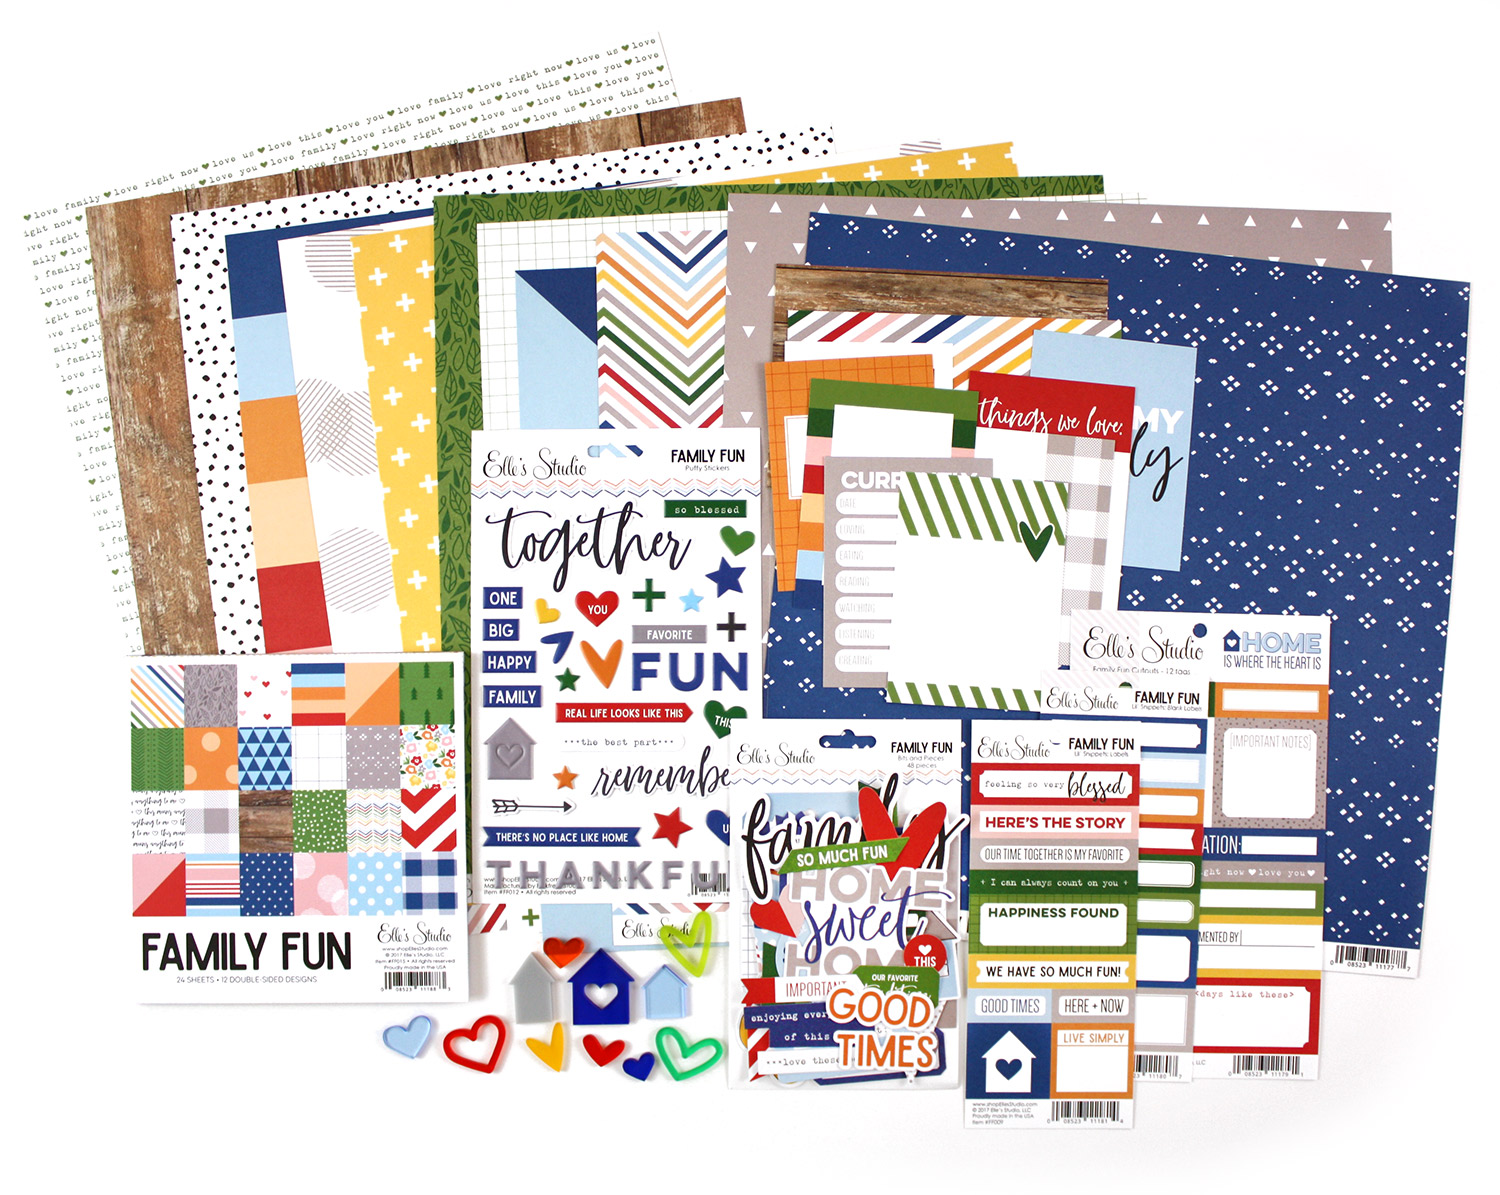
Our Family Fun collection will also be available in our shop on the 10th and we are excited to announce that we were able to put together a special bundle that will allow you to SAVE 20% off the entire collection shown above, and include FREE alphabet stickers! Please note: Since not everyone is a stamper, we decided not to include the stamp in this bundle, but it will still be available for purchase separately. We are loving the colors in this collection – they coordinate with our September kit perfectly and they will also be great for scrapbooking all your special memories throughout the rest of the year!


Look for this bundle, along with all the pieces from our Family Fun collection available separately, on September 10th at 8:00 am PST, too! And subscribers, don’t forget! You’ll be able to bundle this collection with your monthly kit for FREE (USA subscribers) or reduced (International) shipping!

Not a subscriber? We still have a few spots left were you can start with our August kit now! Or, wait until September 10th to sign up and start with our September kit! With a monthly subscription, you will be guaranteed a kit each month, lock in our launch day special price of $9.99, and receive FREE (USA) or reduced (International) shipping on anything added to your box each month during our 24 hour bundling period (starting on the 10th at 8:00 am PST and ending on the 11th at 8:00 am PST). Along with more time to shop, our subscribers will also have access to special discounts on select items during the 24 hour bundling period! These discounted items can be found in our SALE section during bundling, and you must be logged into your kit subscriber account to see them. Quick note: Our kits and add-ons are available without a subscription each month, too.

We are so excited with how our new collection turned out that we wanted to share a special early sneak peek of a layout that Meghann Andrew created using all the pieces from our Family Fun collection! Between the huge bits and pieces pack, the journaling tags, 12 x 12 and 6 x 6 papers, puffy stickers, and more, this collection will have you ready to scrapbook and create all kinds of projects!

Make sure you mark your calendar and set your alarm – Our September kit + add-ons and our Family Fun collection will be here on Sunday, September 10th at 8:00 am PST – it’s going to be a BIG day! If you haven’t signed up for our newsletter, make sure you do to receive a reminder of when everything is available for sale – We hope to see you there!

Save

Save

Save

Titles and Embellishment with Jen Chapin

The versatile Title Builder Collection is useful on traditional scrapbooking layouts and pocket pages, and today Jen Chapin is sharing a pocket page that features our Title Builder products all over the page—on both the title and as embellishment! 
 
Hi everyone, it’s Jen here and today I am sharing a pocket page with you using the Title Builder Stamp and extras. This set is great for cards, pocket pages, and scrapbook pages!


Supplies | August 2017 Kit, Title Builder Stamp, Title Builder Wood Veneer, Title Builder Acrylic, Wood Veneer Pocket Fillers, Tiny Heart Stickers
 
To create this page, I used the stamp set to create my title tag in the middle of the spread, on a 3″ x 4″ multicolored tag from the August 2017 Kit. I stamped “capturing” and “adventure” in black ink, then stamped “this” in blue. I also added a date stamp and a heart sticker to finish it off. The multicolor stripe of the tag at the top and bottom really frames my title, giving it significance on the page!


I was also able to incorporate the Title Builder Acrylic and Wood Veneer into a couple of my tags on the spread, adding the headers “magic” and “details” on the journaling tags, and the “love,” “documented,” and “the best” words directly to my photos. I balanced out the Title Builder Wood Veneer products on the page with a Wood Veneer Pocket Filler in the top right corner.


I hope this project gives you a few ideas for using the versatile Title Builder Collection! Whether you use it for building a title or embellishing your photos, this set is perfect for all of your projects. Thanks for stopping by the blog today and have a great weekend!

Back-to-School Stories Documented with Neela Nalam

Have you document your kid’s ‘back-to-school’ stories yet? Or, do you have some of your own to document, maybe with old photos in an album somewhere? Our August 2017 Kit with bright colors and fun graphics can help you get that done, as Neela Nalam is showing us on the blog today with stories from both of her children. Let’s take a look!
 
The August 2017 Kit is so versatile! It has a few underlying themes and comes in fantastic colors. For this project, I used all the tags and add ons that aided in telling our back to school story. The timing was so perfect! I have clicked pictures of my kids on the first day back to school but never really documented them (ahem, for a scrapbooker that is kinda embarassing!) This year, the kit inspired me to document the first day of school and their feelings. I decided to use 6″ x 8″ pocket pages, and the tags and add-on embellishments were so perfect that it made putting this project together so easy!


Supplies | August 2017 Kit, August LabelsWood Veneer ClipsWood Veneer Pocket FillersSo Awesome Puffy Stickers, Tiny Heart Stickers, Heart Circle Acrylics, Gray Puffy Alphabet Stickers
 
I love making projects and layouts that have stories and facts from both of my boys side-by-side. This is a great way to record how different or alike both of them are at a given point in time. So that’s what I did for this project. I have the story of the first day of school of my older son on the left and the younger one on the right. Both of them felt differently about getting back to school but once they started, they both loved it!


One of my favorites about the kit and the add ons are the mix of products with different textures. I love the effect of mixing them on the spread. The wood veneer shapes and clips, the acrylic hearts, puffy stickers, and die cuts all work awesomely well together.


Last but not the least, my absolute favorite from the kits and add ons are the puffy pencil stickers from the So Awesome Puffy Stickers. They are so well designed and so adorable. I love them!


Grab one of the August 2017 Kits today before they’re gone to record your back to school stories!

Title Builder in Pockets!

We love seeing the Title Builder Stamp put to use on your scrapbooking layouts, but did you know that it was designed to also fit on your 3″ x 4″ pocket page tags? Today on the blog, Nancy Damiano is here to show you how to get the most out of your Title Builder Stamp—in your pocket page layouts! Let’s take a look.
 
Hey everyone, it’s Nancy here with a look at the new Title Builder Stamp and August kit. Let’s take a closer look at how we can get creative with words and 3″ x 4″ journaling tags.


Supplies | Title Builder Stamp, August 2017 Kit, Puffy Heart Stickers, Puffy Star Stickers, Black Puffy Alphabet Stickers
 
Although the August 2017 Kit definitely has a touch of school theming, I wanted to use these tags for a completely different topic. That’s what I love about the kits, they have just enough theme to get me through the seasonal topics while maintaining enough flexibility to tell another story— one about New York City in this case. The tags are also easy to customize with the Title Builder Stamp!


On this yellow tag, I used five different words from the Title Builder Stamp. Using coordinating, bold inks ranging from orange to light aqua give this plain tag a punch of color and text. Alternating outlined, larger and smaller words and stacking them unevenly on the card gives the design movement and a touch of whimsy. These words were perfect for telling the story of our day.


The fill-in “happiness is” tag has the perfect spot for a second, smaller title. The “adventure” text stamped in a bold aqua really dresses up this tag. A die cut and a few Puffy Heart Stickers give it a finishing touch.


The title card is simple but packs a design punch. By stacking the Black Puffy Alphabet Stickers and the outlined word from the Title Builder Stamp, the title is customized and beautiful. Using orange ink right in the center for the stamped word breaks up all of the black and underlines the smaller NYC title.
 
Thanks so much for stopping by the blog today! I hope you’ve been inspired to make customized 3″ x 4″ cards for your pocket pages using the Title Builder Stamp. It’s perfect for all of your scrapbooking layout titles and pocket page cards!

Embellish in a Circle with Jen Chapin

Sometimes all it takes is one piece of paper to inspire your layout page design, and today on the blog, Jen Chapin is showing us just how perfect that project can turn out, using the August kit and embellishments!
 
Hey everyone! Today on the blog I’m bringing you a fun layout I created with the August kit + extras. This layout was inspired by this piece of circular grid paper I found in my stash, and knew it would pair perfectly with the August kit. I decided to create a frame around the layout with bits and pieces of the kit and some machine stitching.


Supplies | August 2017 KitAugust LabelsTiny Heart StickersSo Awesome Puffy StickersHeart Circle Acrylics, Wood Veneer Pocket FillersBlack Puffy Alphabet Stickers
 
I began by creating my circle. I punched circles from tags in the August 2017 Kit and August Labels, and began arranging them into a circle, adding in die-cuts from the kit. Then, I stitched around the circle several times with my sewing machine and white thread. I added some of the new embellishments, like the Tiny Heart StickersHeart Circle Acrylics, and So Awesome Puffy Stickers to my circle. I placed my photos just slightly off-center inside the circle, then added the “happiness is” sentiment below, cut from a 3″ x 4″ tag in the August 2017 Kit. I also used the large wood veneer star from the Wood Veneer Pocket Fillers, and popped it up with a bit of foam adhesive.
 
After adding a date stamp, my layout was complete! This layout looks complicated, but it actually came together super quickly. I hope you’ll try this technique soon, and if you do, be sure to share it to Instagram using the hashtag #EllesStudio! Have a great week!

Creating an Envelope Mini Album with Daniela Dobson!

Today on the blog we have Daniela Dobson sharing an awesome mini album documenting her summer vacation, which uses an office product that all of us have in our homes. Let’s take a look!
 
Welcome to the Elle’s Studio blog post today. It’s Daniela here, highlighting the August 2017 Kit and extras. For my project today I created a mini album made out of a surprising product—white business envelopes!


Supplies | August 2017 KitYes To This StampSo Awesome Puffy StickersHeart Circle AcrylicTiny Heart StickersAugust Labels, White Puffy Alphabet StickersSequins – Blue Green MixEveryday Adventures StampOlivia Number StampLive Laugh Love Word LabelsLive Laugh Love Washi Tape StickersLive Laugh Love Bits and PiecesLive Laugh Love Enamel DotsLive Laugh Love 12″ x 12″ Paper CollectionLive Laugh Love Large Blank LabelsLive Laugh Love Wood Veneers
 
The envelopes are 4-1/8 x 9-1/2 inches, also called a #10 envelope, and I used only two to create this album. After sealing the envelopes, I cut both ends off (1/4″ from the end) and each is folded at 3 inches from the left, then adhered with the short 3” side to the back of the 6” side. That creates 4 different pockets, two small and two large, to tuck in photos, tags and journaling. Then I took two pieces of white cardstock, sized at 4-1/4″ x 6-1/8″, and adhered one to the front, and one to the back of the envelope stack. On the outside of the cardstock, I adhered patterned paper from the Live Laugh Love collection, creating a cover and back page.


Multiple 3″ x 4″ tags from the August 2017 Kit fit inside the smaller pockets, and I loved using smaller tags, labels and puffy stickers to create little “tabs” to pull them out easily.


I adhered different patterned papers from the Live Laugh Love collection to each section of the album, then topped the page with my photos, journaling tags from the August 2017 Kit and embellishments.


The large 4″ x 6″ journaling cards from the kit tuck perfectly inside the large envelope openings. I punched each pocket edge with a 1″ inch circle punch, making it easy to pull out the journaling tag inside.


It’s amazing how much documentation you can fit in this small album and it can be used for any occasion!
 
If you’re inspired to create an envelope mini album, we’d love to see your project! Post your mini to Instagram using the hashtag #EllesStudio for a chance to win a $10 gift certificate to the Elle’s Studio shop in September!

Documenting Birthdays with Live Laugh Love and Alissa Fast

Today Alissa Fast is with us on the blog to illustrate that you don’t have to buy a birthday-themed collection to document those birthday memories! Our everyday Live Laugh Love collection is perfect for getting those special moments in your pocket pages. Let’s take a look at what she created.
 
Hello! It’s Alissa here today, with a new post all about my love of pocket pages! I love pocket pages and paper crafting in pocket pages is so much fun! I think it’s because I treat each pocket like a little page in a mini book. Elle’s Studio products are perfect for pocket pages! Today I’m sharing with you a few of my “go to” ideas when using Elle’s products in my packet pages. I hope you enjoy!


Supplies | Heart Circle AcrylicsLive Laugh Love Double Sided Journaling TagsLive Laugh Love CutoutsLive Laugh Love Large Blank LabelsLive Laugh Love Bits & PiecesLive Laugh Love AcrylicLive Laugh Love Washi Tape StickersLive Laugh Love 6″ x 6″ Paper StackLive Laugh Love Enamel DotsLetter & Number Stickers – BlackStanley Alphabet Stamp – OutlineStanley Alphabet Stamp – SolidStanley Number Stamp
 
The Live Laugh Love Collection is perfect for celebrating those little girls in your life! I used a 4″ x 6″ tag from the Double Sided Journaling Tags for my title card and a 3″ x 4″ tag for my journaling. The 3rd “tag”, with the sub title, “Live Laugh Love,” was cut from the package sheet in the Live Laugh Love 6″ x 6″ Paper Stack.


I used the ampersand from the tag as part of my title and layered the rest up on Live Laugh Love Cutouts and Blank Labels. The acrylic circle with the heart cut out is from the Heart Circle Acrylics. The “6” is stamped with my current favorite set of numbers stamps in the shop, the Stanley Number Stamp.


Another Heart Circle Acrylic piece from the August extras and the outline and solid Stanley Alphabet Stamp with a piece of washi tape topped the purple Live Laugh Love Large Blank Label. So fun! I love the messy look of the offset color stamping in the solid color.


I layered up torn pieces of Live Laugh Love Washi Tape Stickers onto a few die cuts from the Live Laugh Love Bits & Pieces with a Live Laugh Love Enamel Dot for a spot of color on this photo.


Lastly, I adhered the Live Laugh Love Acrylic on the top of the pocket page, to keep the pages laying flat. Just make sure you use a permanent glue or glue dots, so it will stay stuck to the page protector.
 
Now, I challenge you to create a pocket page using the Live Laugh Love Collection, or any of Elle’s great products! You’ll love the results!
 
Have a great day!
 
Share your pocket pages created with Elle’s Studio products to Instagram using the hashtag #EllesStudio! We can’t wait to see what you create!

August Design Team Inspiration : Volume Three!

For the final installment of our design team inspiration this month, we have a diverse set of projects using our August 2017 Kit and extras!  We can’t wait to see what you’re creating with our products, too! Share your projects to Instagram using the hashtag #EllesStudio—by doing this you will be entered to win a $10 gift certificate to the Elle’s Studio shop!


July 2017 traveler’s notebook pages by Daniela Dobson – supplies used | August 2017 KitTiny Heart Stickers, Puffy Heart StickersYes to This Stamp, Stanley Alphabet Stamp – Solid, Stanley Alphabet Stamp – OutlineLive Laugh Love 6″ x 6″ Paper Stack, Live Laugh Love Washi Tape Stickers


Enjoy pocket page by Melissa Mann – supplies used | August 2017 Kit, So Awesome Puffy Stickers, Tiny Heart StickersEnjoy AcrylicYes to This Stamp


The Beach by Maggie Massey – supplies used | August 2017 KitSo Awesome Puffy StickersYes to This Stamp, Letter and Number Stickers – Teal


Rainy Days pocket page by Laura Hager – supplies used | August 2017 Kit, White Puffy Alphabet StickersYes to This Stamp, Title Builder Stamp


Currently 2017 by Jen Chapin – supplies used | August 2017 KitWood Veneer Pocket Fillers, So Awesome Puffy Stickers, Heart Circle Acrylics, Wood Veneer ClipsStanley Number Stamp


Love in Numbers by Jamie Leija — supplies used | August 2017 KitWood Veneer Pocket FillersHeart Circle AcrylicsSo Awesome Puffy Stickers, Stanley Number StampStanley Alphabet Stamp – Solid, Live Laugh Love Bits and Pieces, Live Laugh Love Enamel Dots, Live Laugh Love Wood Veneers, Live Laugh Love Puffy Stickers, Live Laugh Love 12″ x 12″ Paper Collection  


Book Report traveler’s notebook spread by Candace Perkins – supplies used | August 2017 KitHeart Circle AcrylicsLive Laugh Love 12″ x 12″ Paper Collection  


You Have My Heart by Allie Stewart – supplies used | Wood Veneer Pocket Fillers, Puffy Heart StickersLive Laugh Love Puffy Stickers, Live Laugh Love Wood Veneers, Live Laugh Love Washi Tape Stickers, Orchid Pink Puffy Alphabet Stickers, Gray Puffy Alphabet StickersLive Laugh Love 6″ x 6″ Paper Stack, Live Laugh Love 12″ x 12″ Paper Collection  


Currently pocket page by Alissa Fast – supplies used | August 2017 Kit, August LabelsSo Awesome Puffy StickersTiny Heart Stickers, Letter and Number Stickers – Black, Olivia Alphabet Stamp
 
Thanks so much for stopping by and checking out the inspiration!

Introducing our new collection: Family Fun

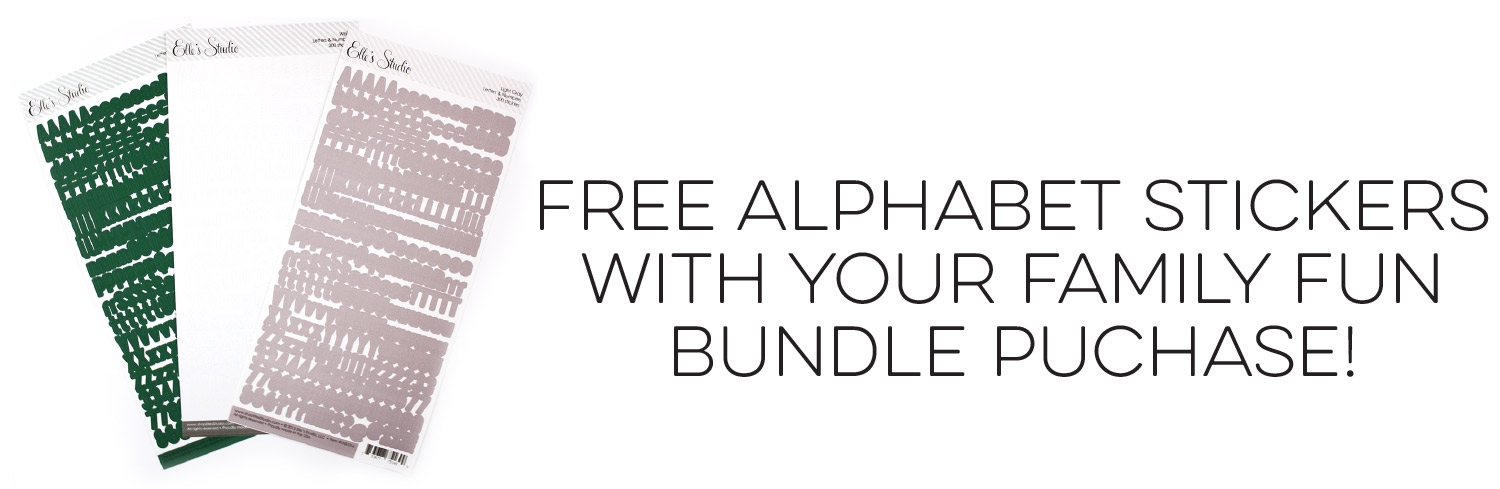
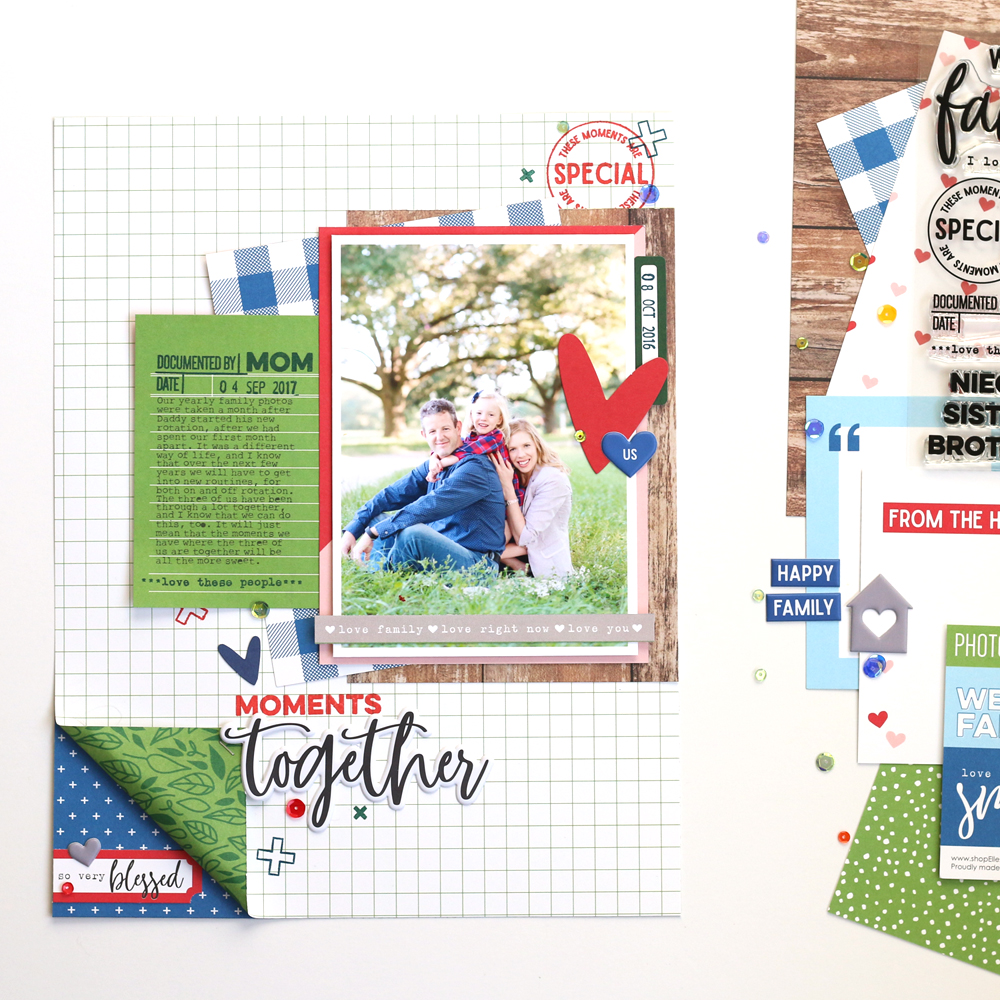
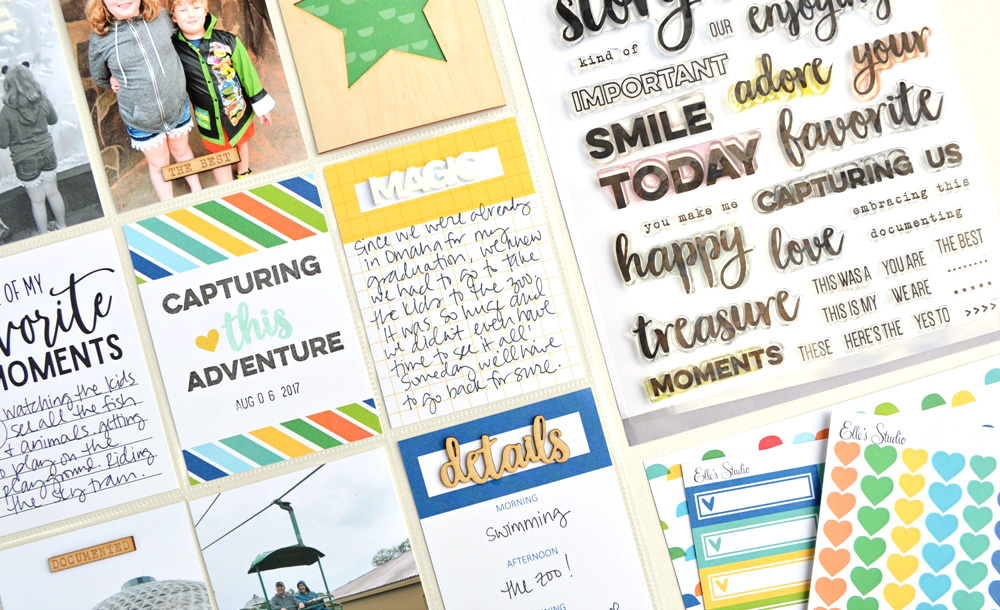
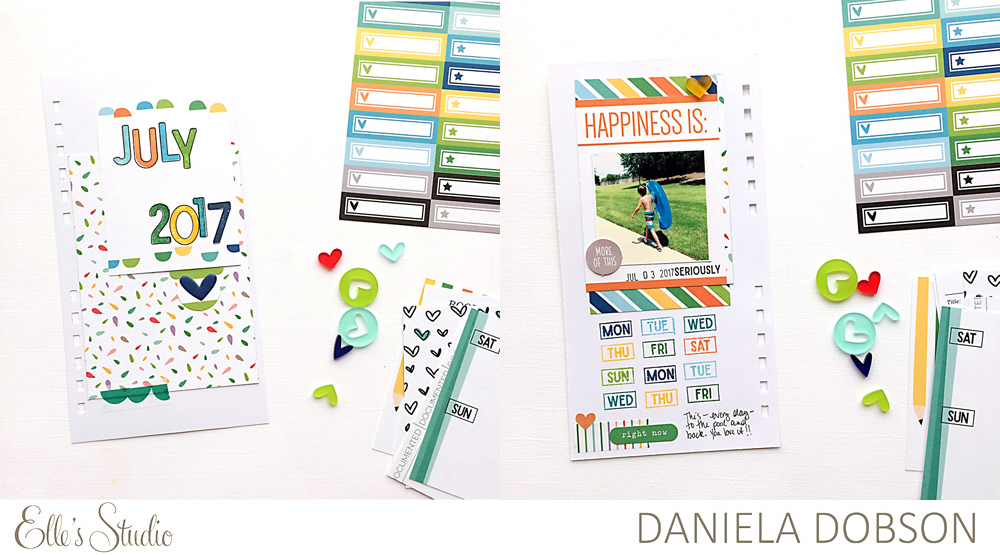
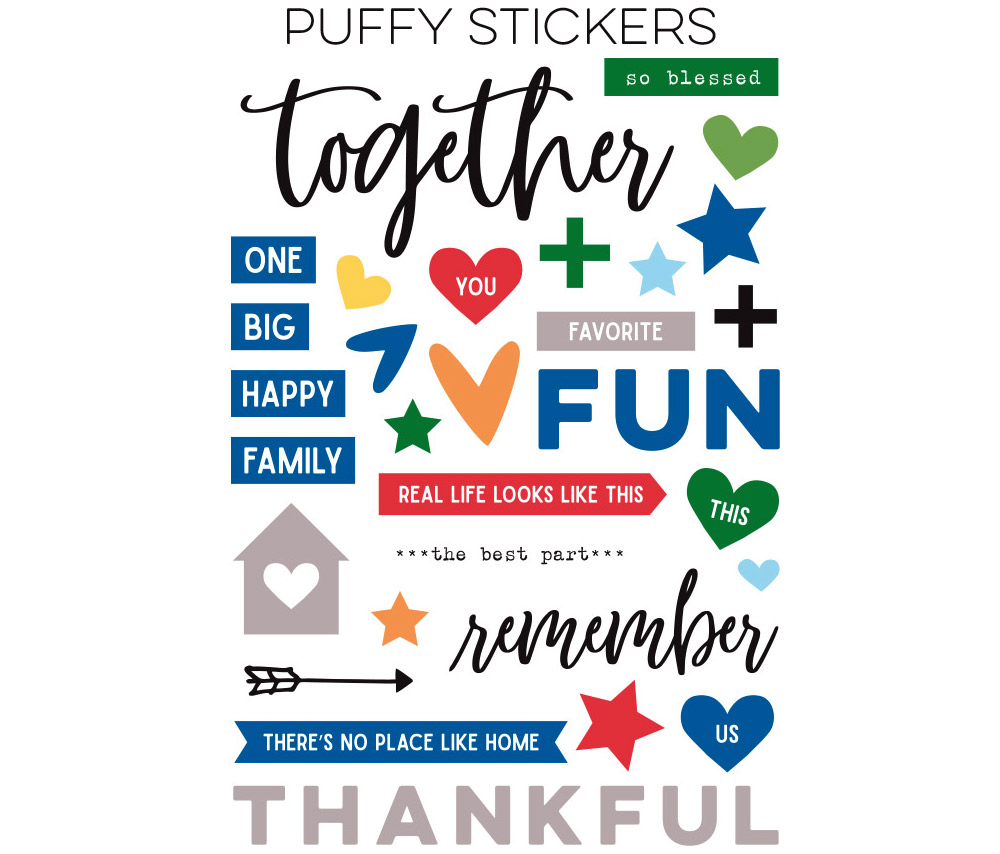
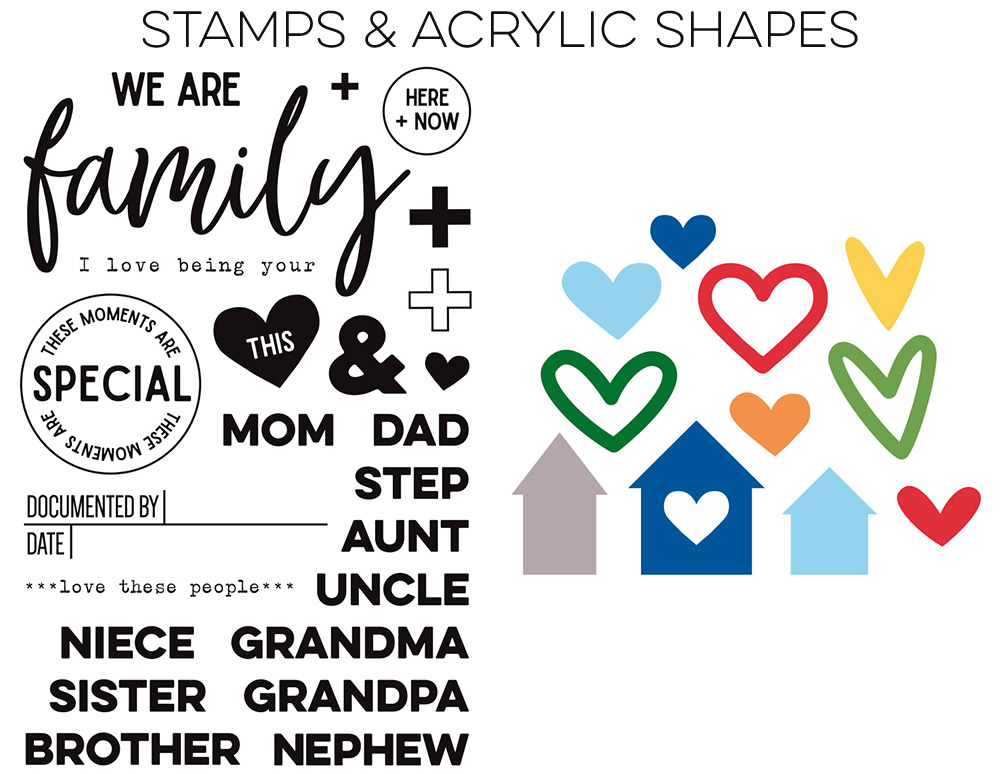
We are thrilled to announce our next new collection: Family Fun! This collection is perfect for documenting all your special and fun moments with family and loved ones! This collection has 12 x 12 and 6 x 6 papers, labels, journaling tags, die cuts, acrylics, stamps, and puffy stickers!

Here is the very first look at Family Fun:


This new collection will start shipping to stores next week and is available for wholesale pre-order now, so make sure you call your local scrapbook store or email your favorite online store and request this collection!

This collection will also be available in our shop on September 10th – that means our kit subscribers will be able to add it to their box and have it shipped for free with their September kit!

Thank you so much for stopping by on this exciting day – we can’t wait to see what you create with this collection!