Sometimes all it takes is one piece of paper to inspire your layout page design, and today on the blog, Jen Chapin is showing us just how perfect that project can turn out, using the August kit and embellishments!
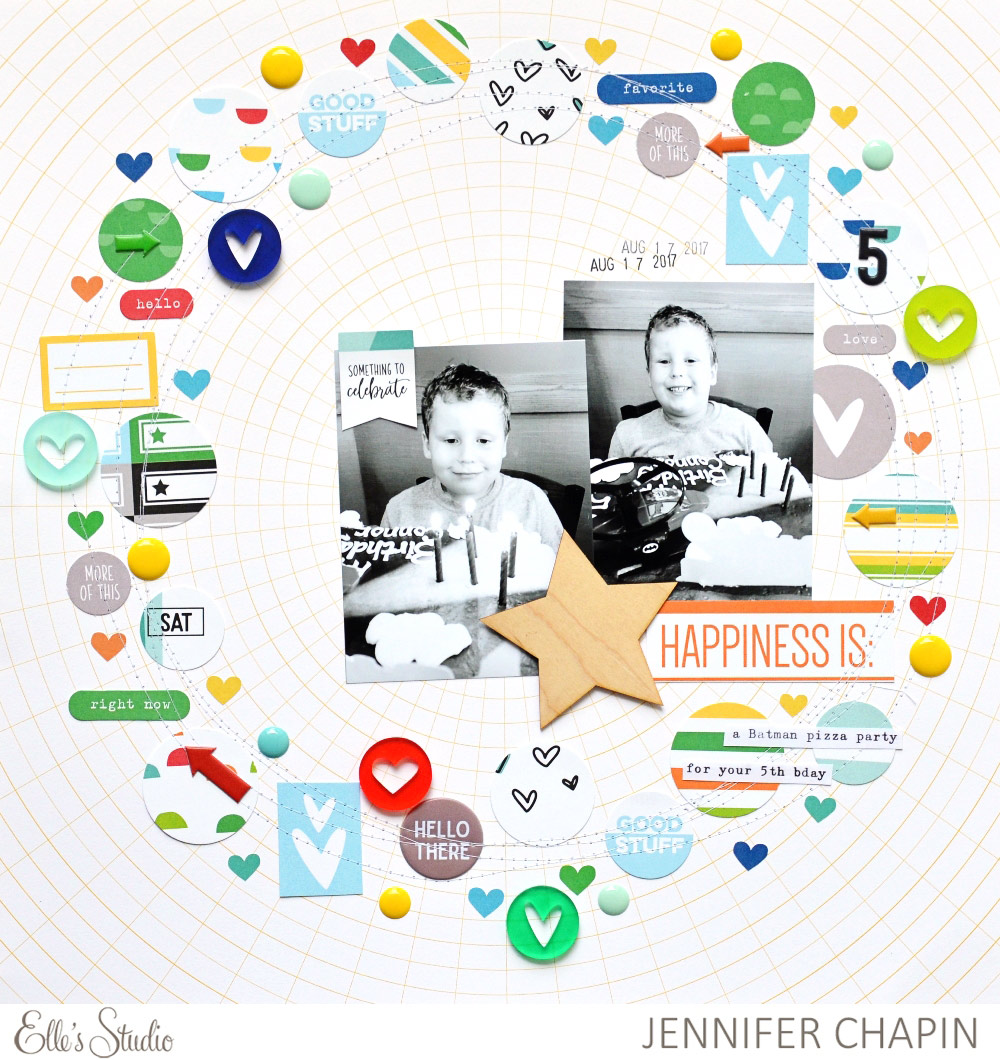
Hey everyone! Today on the blog I’m bringing you a fun layout I created with the August kit + extras. This layout was inspired by this piece of circular grid paper I found in my stash, and knew it would pair perfectly with the August kit. I decided to create a frame around the layout with bits and pieces of the kit and some machine stitching.

Supplies | August 2017 Kit, August Labels, Tiny Heart Stickers, So Awesome Puffy Stickers, Heart Circle Acrylics, Wood Veneer Pocket Fillers, Black Puffy Alphabet Stickers
I began by creating my circle. I punched circles from tags in the August 2017 Kit and August Labels, and began arranging them into a circle, adding in die-cuts from the kit. Then, I stitched around the circle several times with my sewing machine and white thread. I added some of the new embellishments, like the Tiny Heart Stickers, Heart Circle Acrylics, and So Awesome Puffy Stickers to my circle. I placed my photos just slightly off-center inside the circle, then added the “happiness is” sentiment below, cut from a 3″ x 4″ tag in the August 2017 Kit. I also used the large wood veneer star from the Wood Veneer Pocket Fillers, and popped it up with a bit of foam adhesive.
After adding a date stamp, my layout was complete! This layout looks complicated, but it actually came together super quickly. I hope you’ll try this technique soon, and if you do, be sure to share it to Instagram using the hashtag #EllesStudio! Have a great week!
Embellish in a Circle with Jen Chapin
