Focusing On Puffy Alphabet Stickers with Tracey Fox

Puffy stickers are all the rage in the paper crafting industry, but the awesome puffy alphabet stickers in our shop are so easy to use on any project you may want to create! With a clean font, and a variety of colors, you can really make these alphas a stand-out feature on your page, the way that Tracey Fox did on the layout she’s sharing with us today:
 
Since I absolutely LOVE using alpha stickers and long titles on my pages, I was so excited to accept the challenge to use Elle’s Studio’s awesome puffy alphabet stickers on a project.


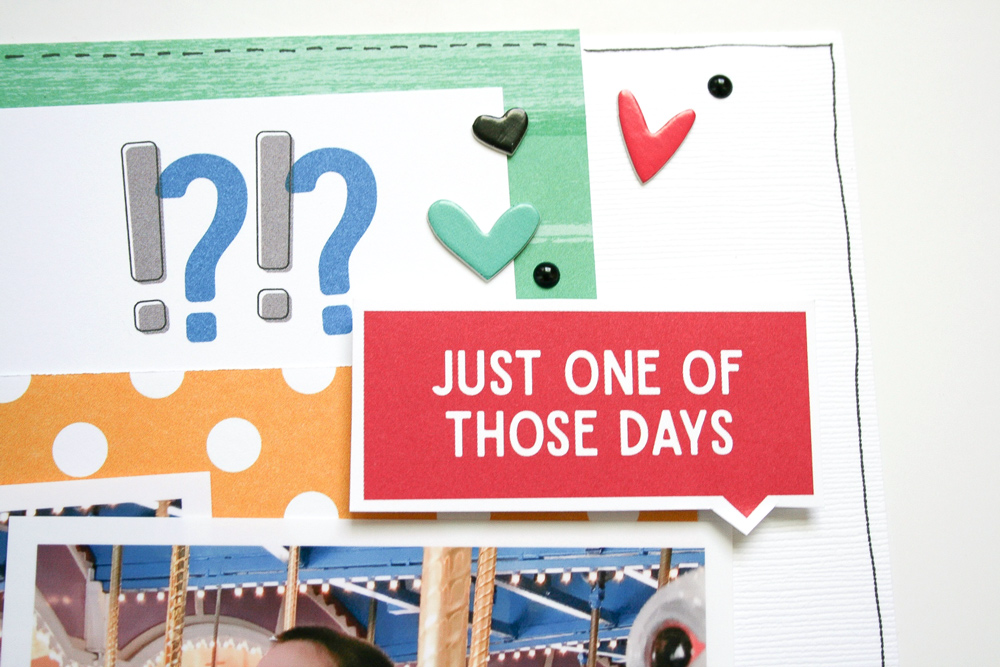
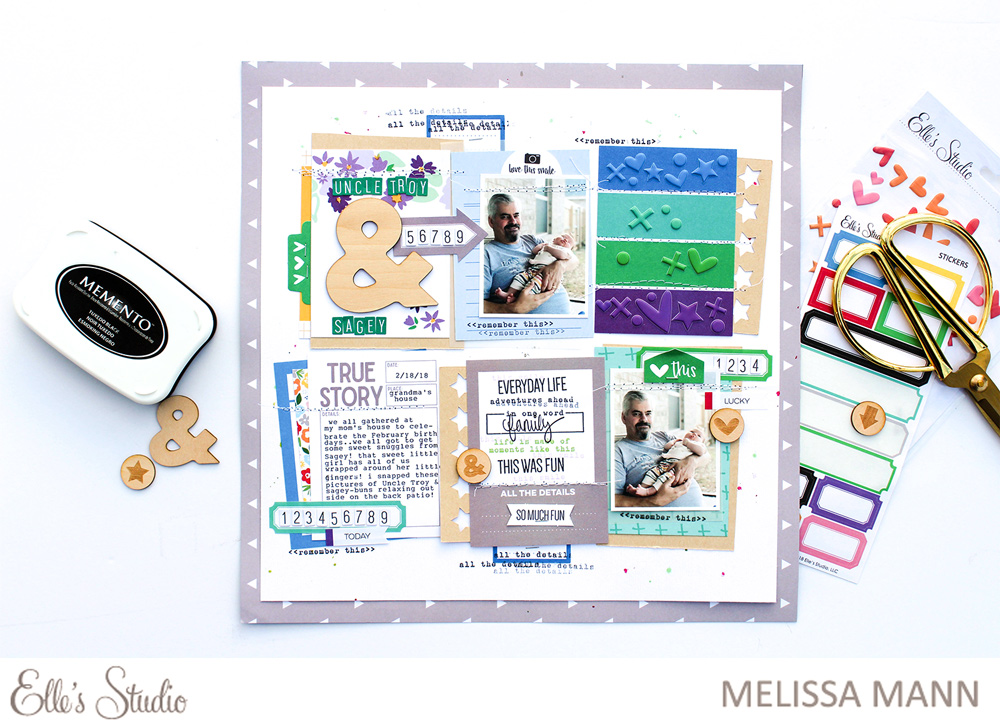
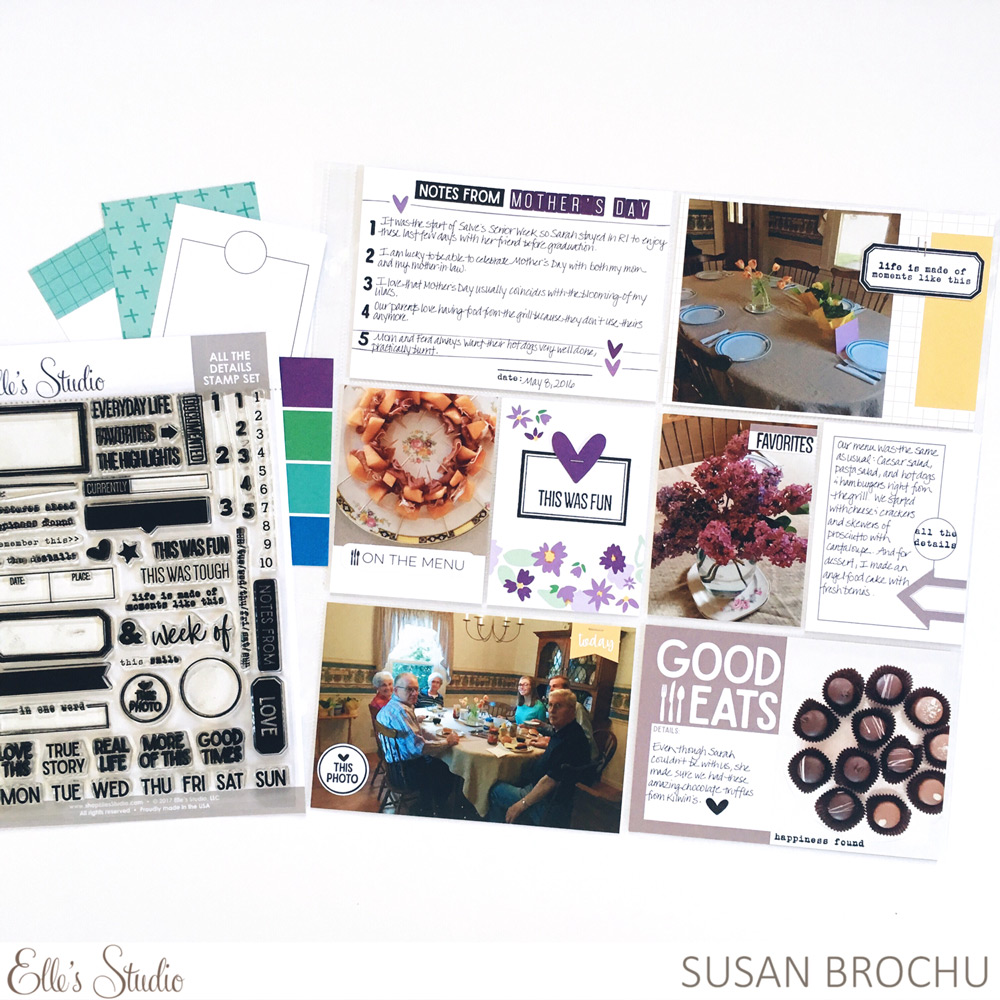
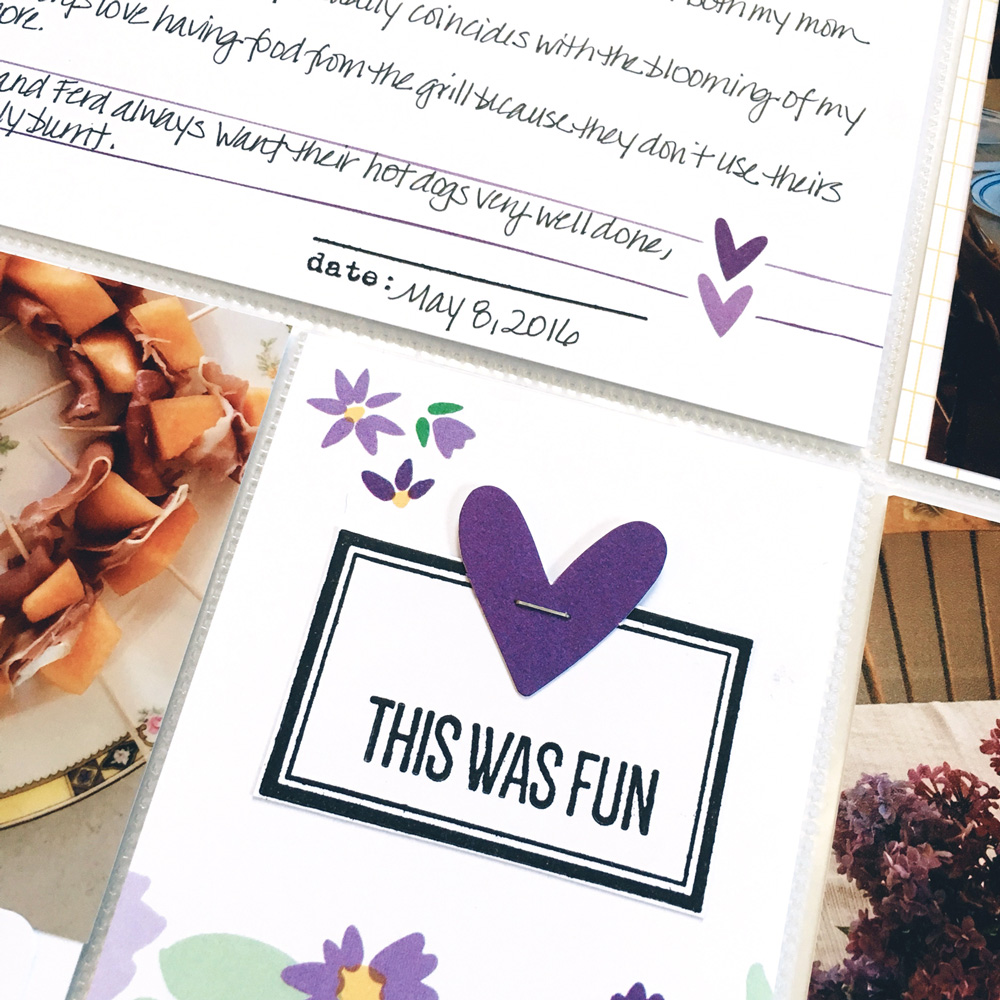
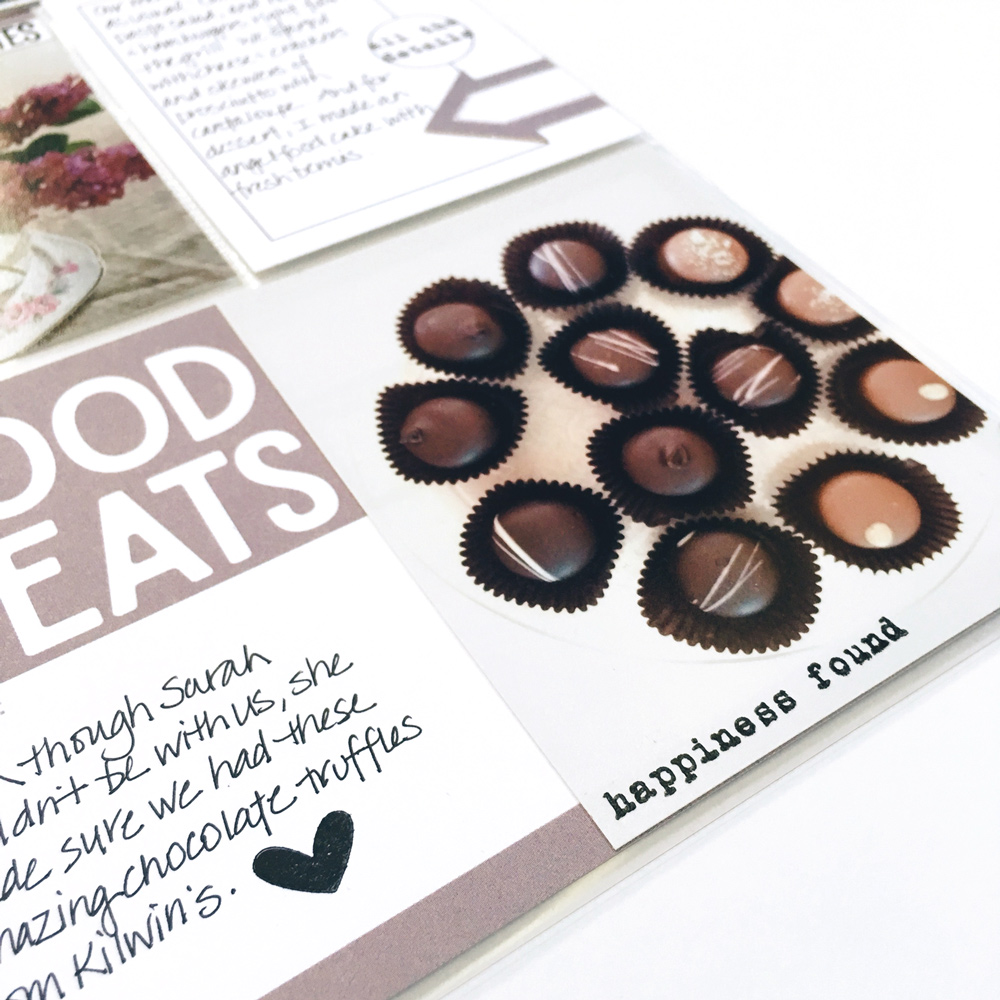
Supplies | March 2018 Kit (coming to the shop tomorrow!), Cobalt Blue Puffy Alphabet Stickers (coming to the shop tomorrow!), Black Puffy Alphabet Stickers, Pink Puffy Alphabet Stickers, Teal Puffy Alphabet Stickers, Shapes and Dots Puffy Stickers, Live Laugh Love Wood Veneers, Title Builder Acrylic, Heart of Gold Chipboard StickersIcon Stamp, Family Fun 12″ x 12″ Paper Collection, Live Laugh Love 12″ x 12″ Paper Collection
 
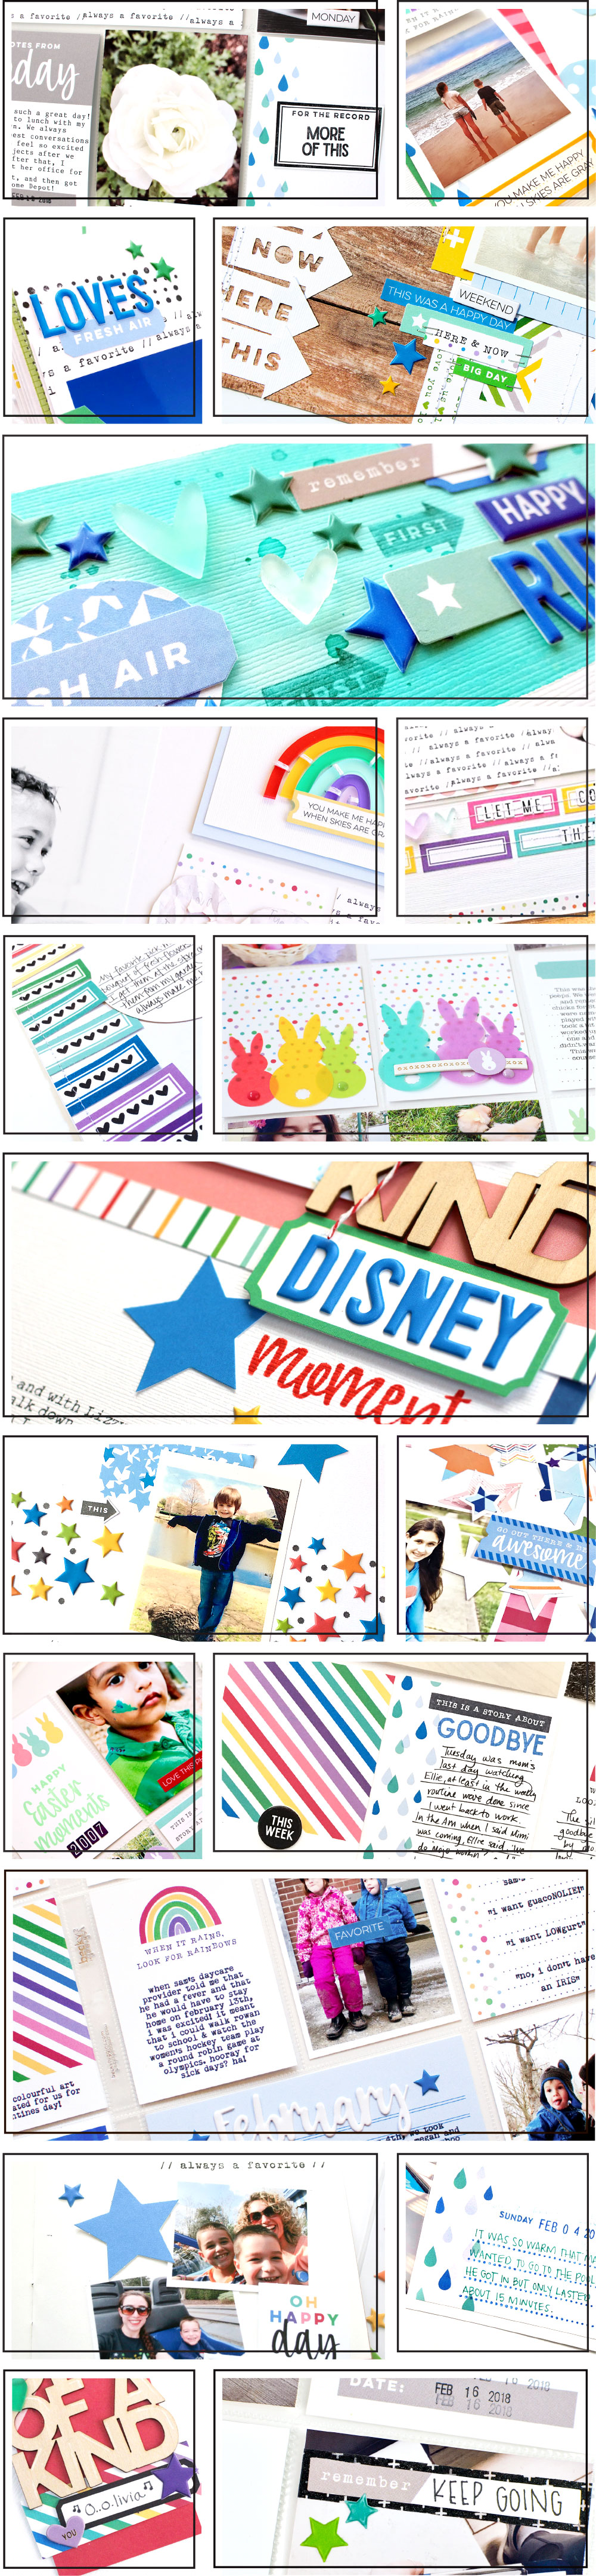
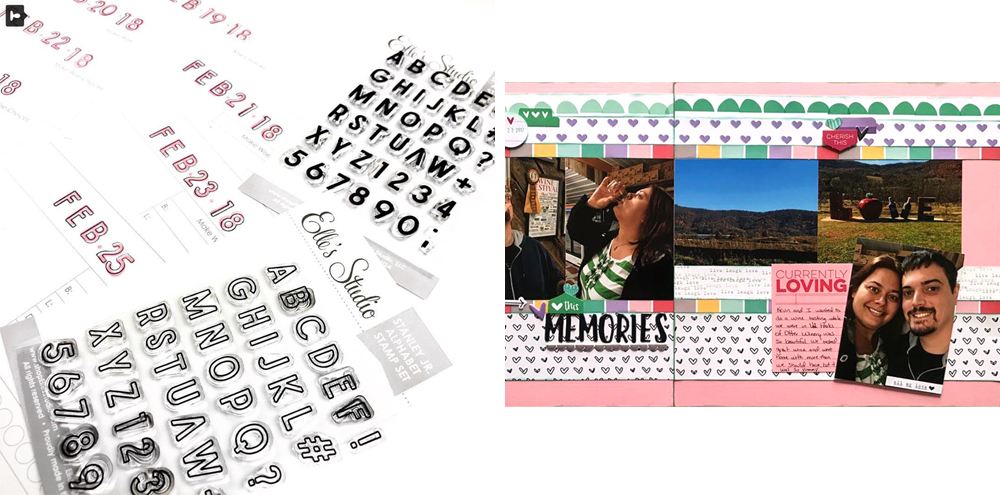
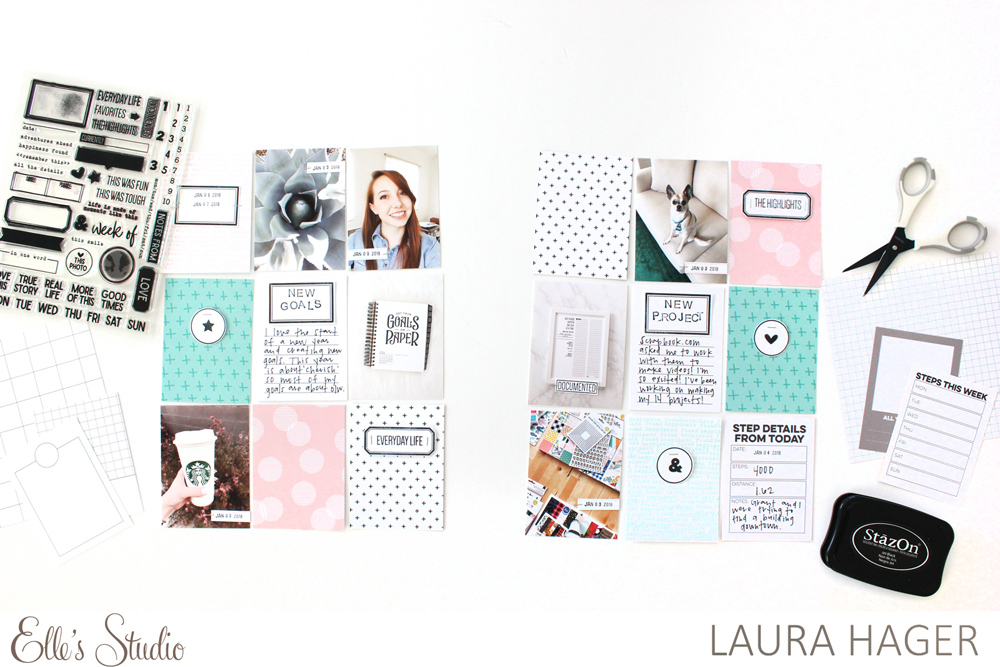
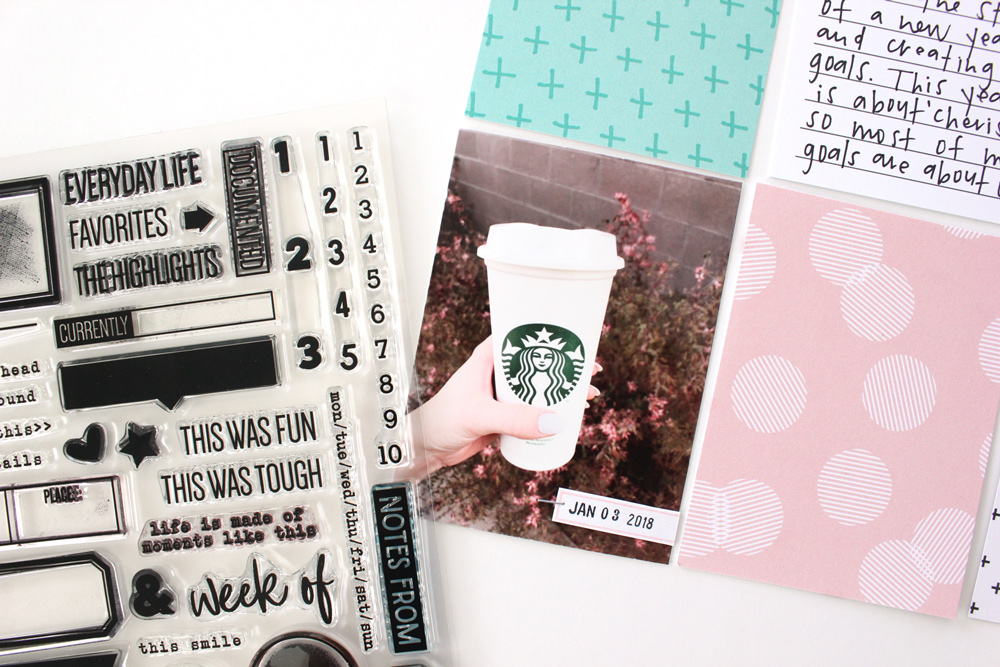
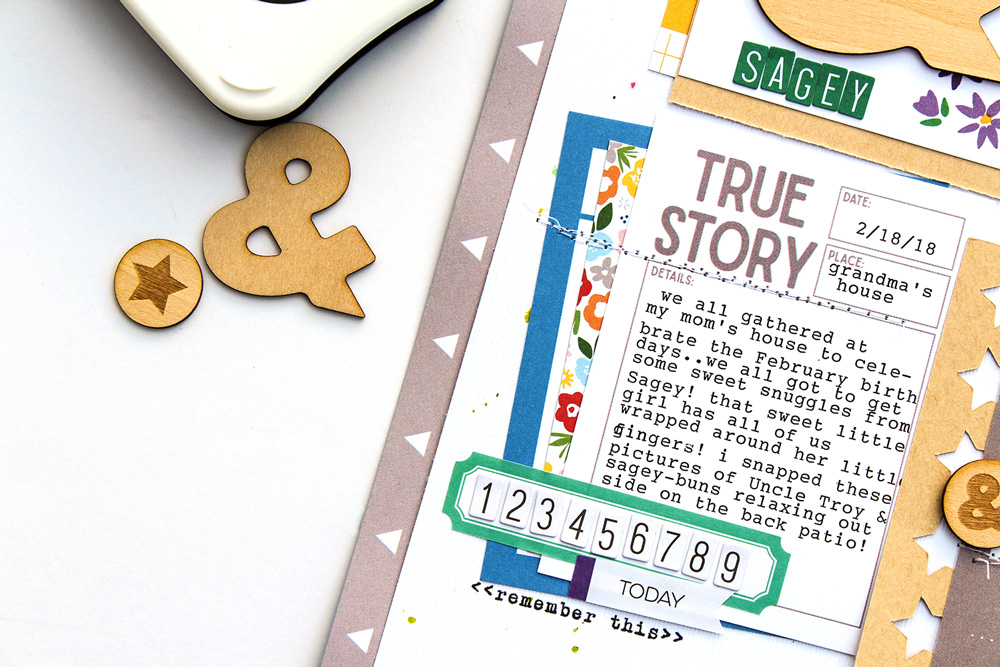
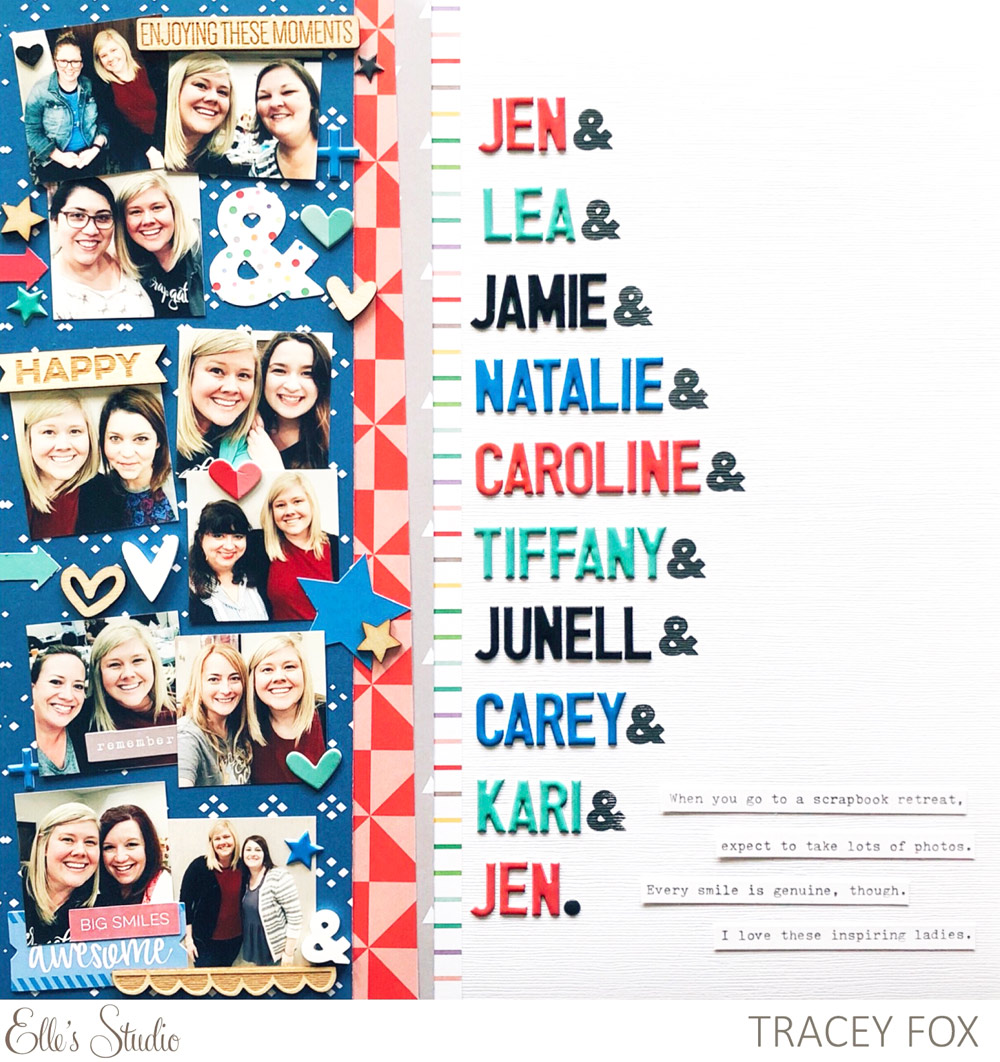
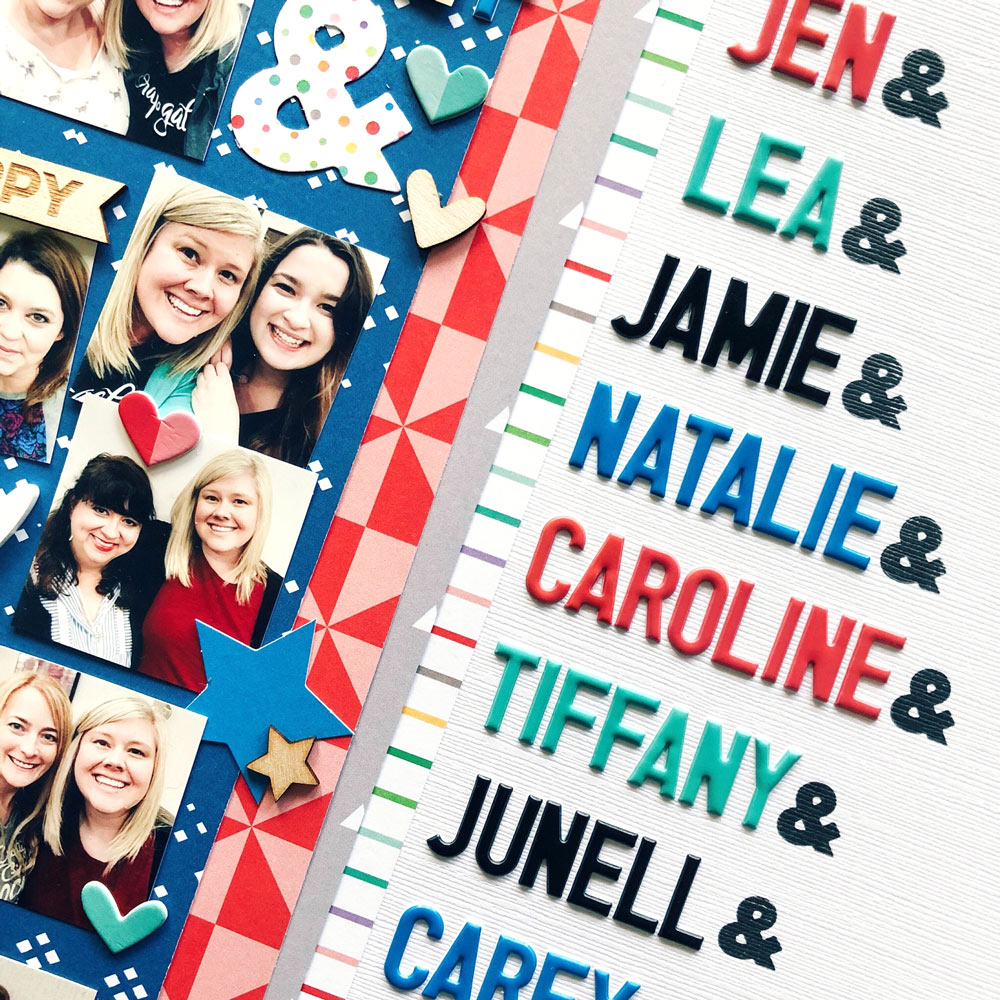
Have you seen the recent design meme of using a list of names in a sans serif font separated by ampersands? These lists, which are often printed on t-shirts and posters and mugs, list out members of bands or the cast of characters from your favorite TV shows, and they’re a fun way to show off that you’re a fan of something. Inspired by this trend, I wanted to show my own fandom of my scrappy friends. I printed ten photos of me posing with ladies I met up with at the Scrap Gals scrapbook retreat in Nashville last fall, and I used the puffy alphabet stickers and the Icon Stamp to make a long list of all of their names and ampersands.


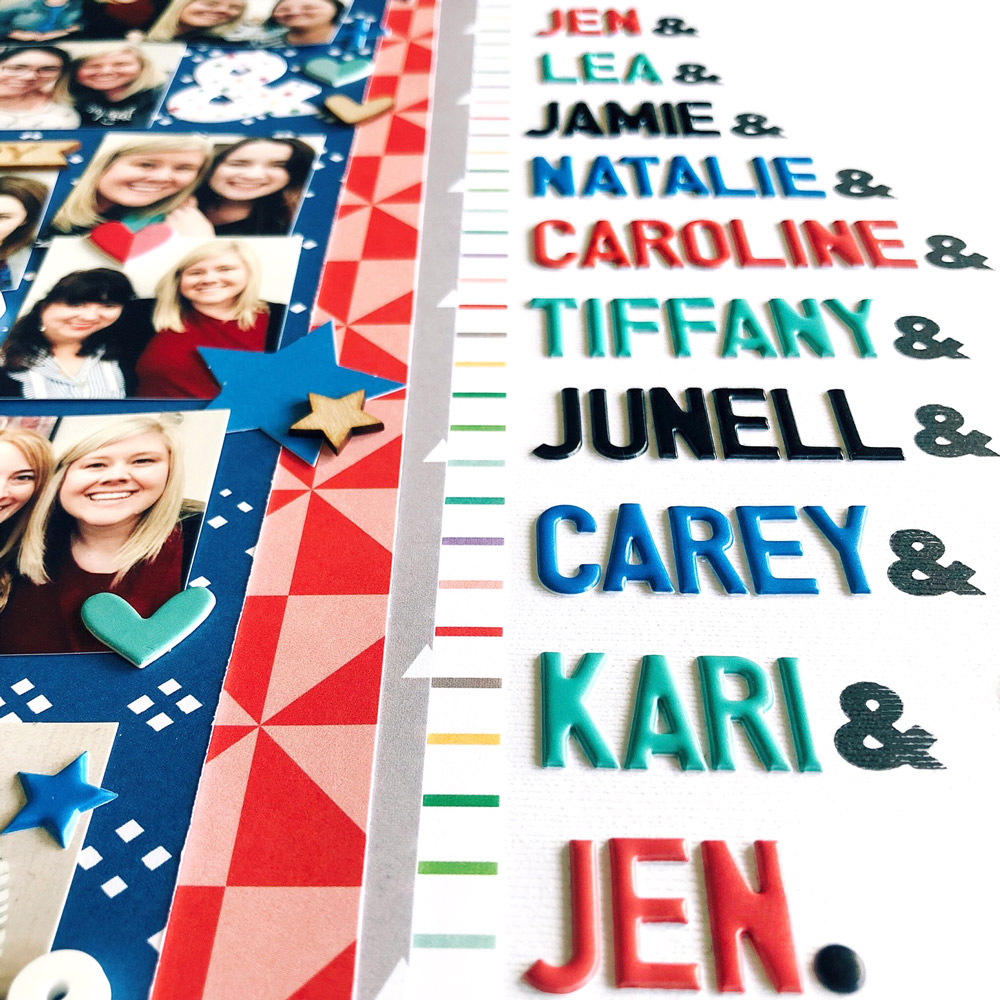
The puffy alphabet stickers are just under an inch tall, so I made small marks on my background cardstock at every inch down my 12″ page so I would get the names spaced out evenly. After I got the alpha stickers stuck down in a mix of colors and stamped the ampersands in between each name, I cut some 12″ strips of paper from the Family Fun 12″ x 12″ Paper Collection and the Live Laugh Love 12″ x 12″ Paper Collection to adhere to the left side of the page. I chose a royal blue patterned paper from the Family Fun collection for the largest paper, because I love how it matched the new Cobalt blue puffy alphabet stickers, which are coming to the Elle’s Studio shop tomorrow!


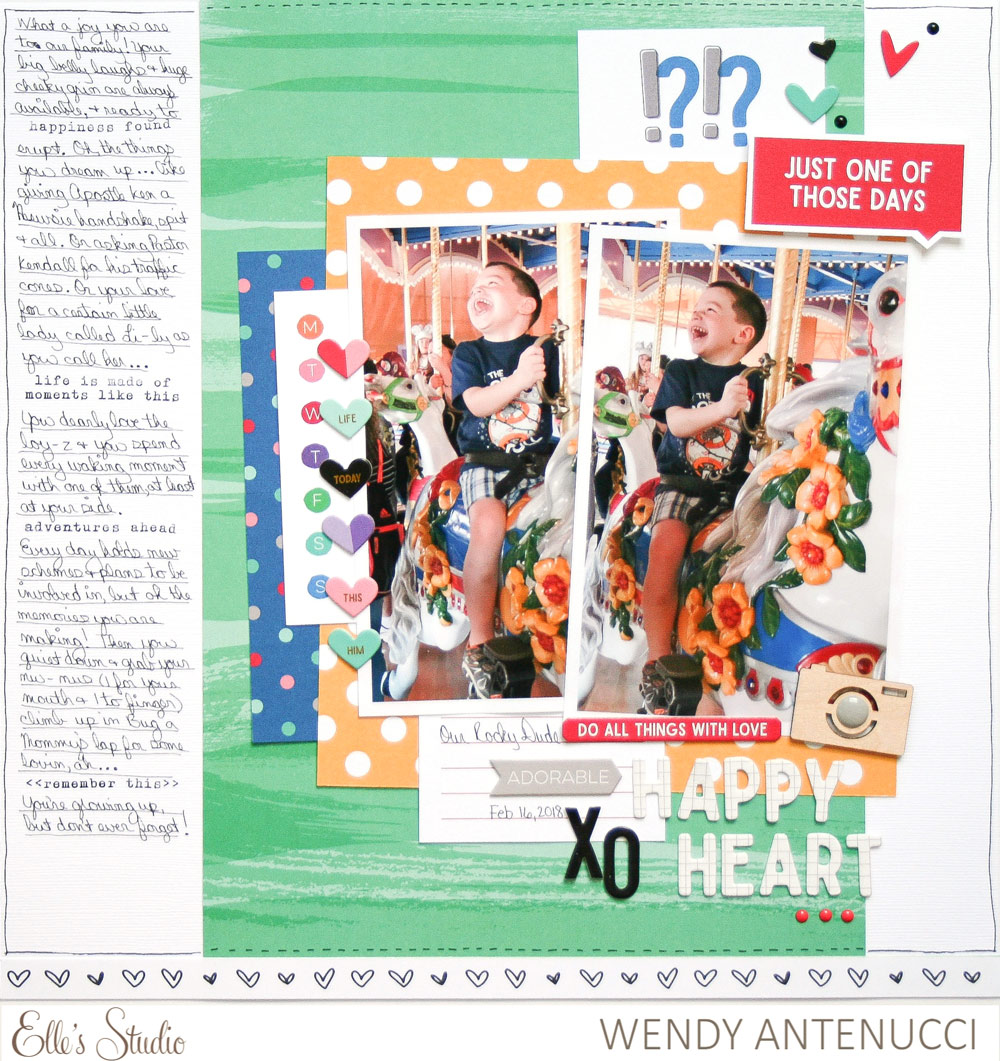
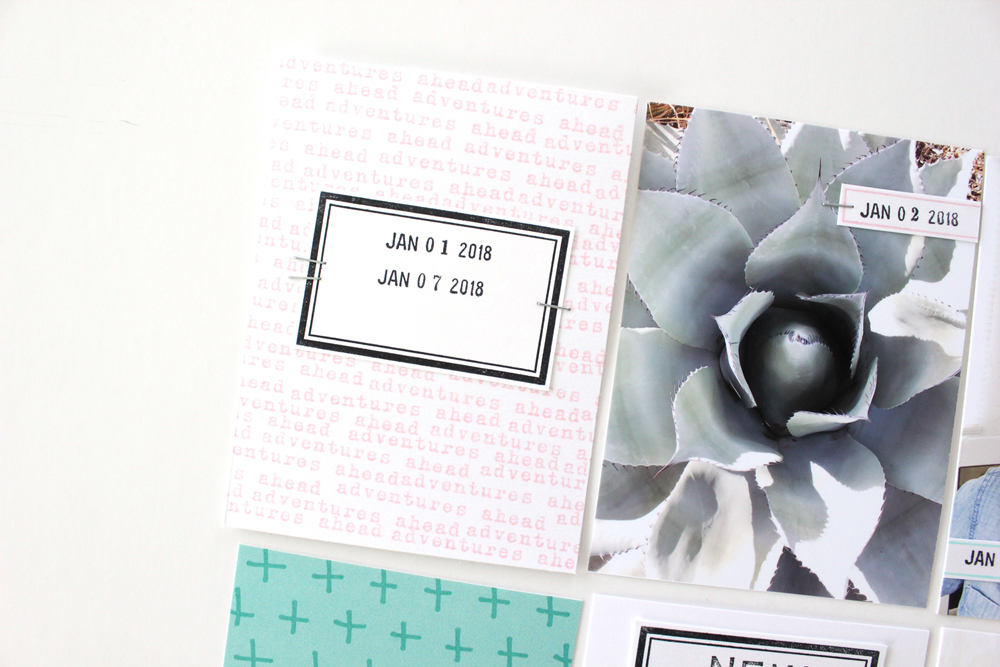
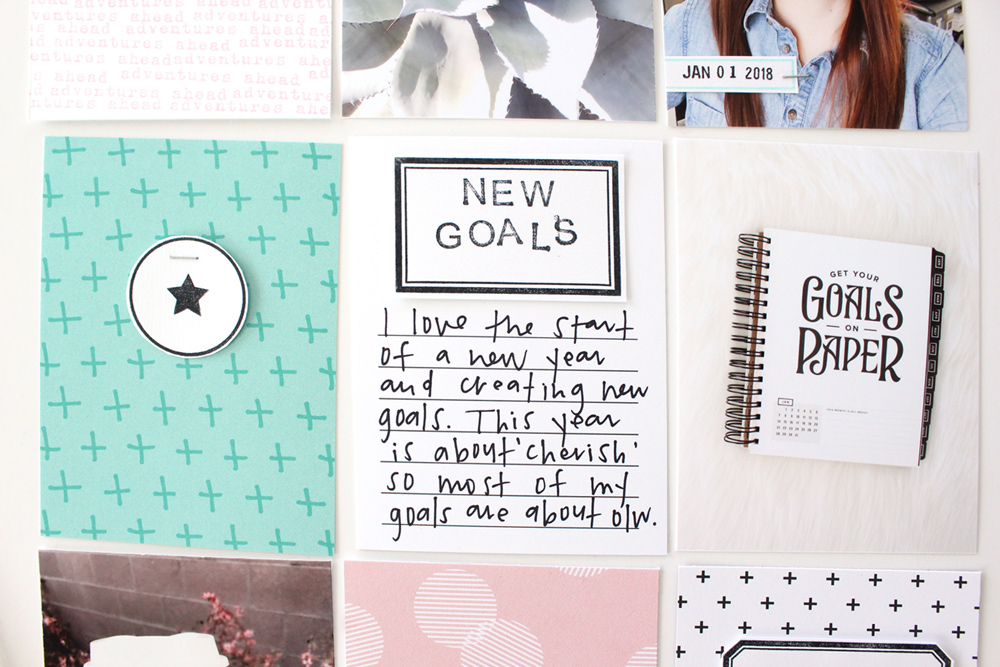
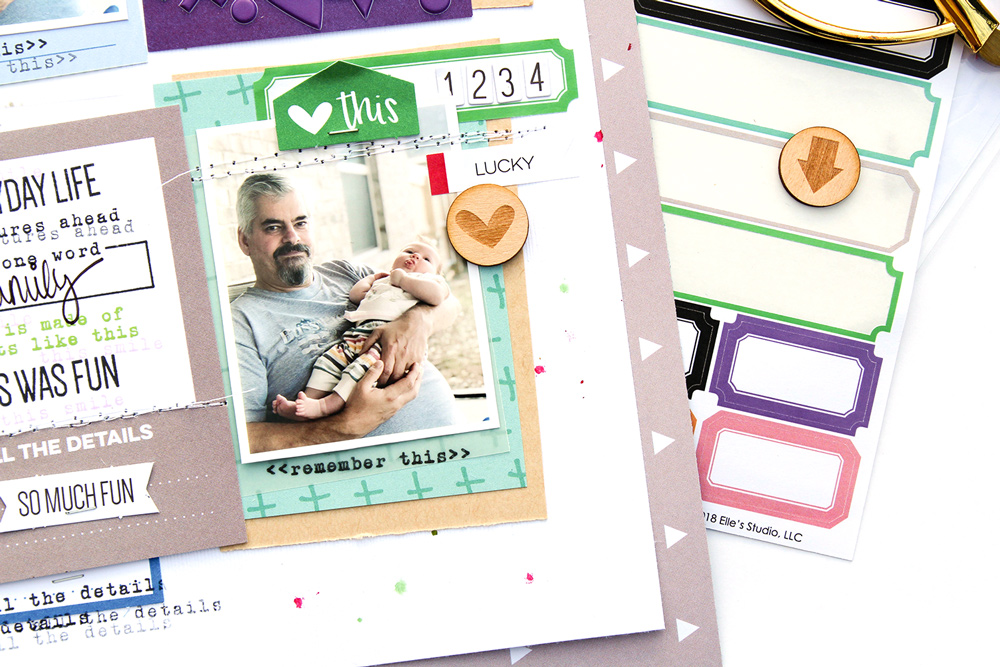
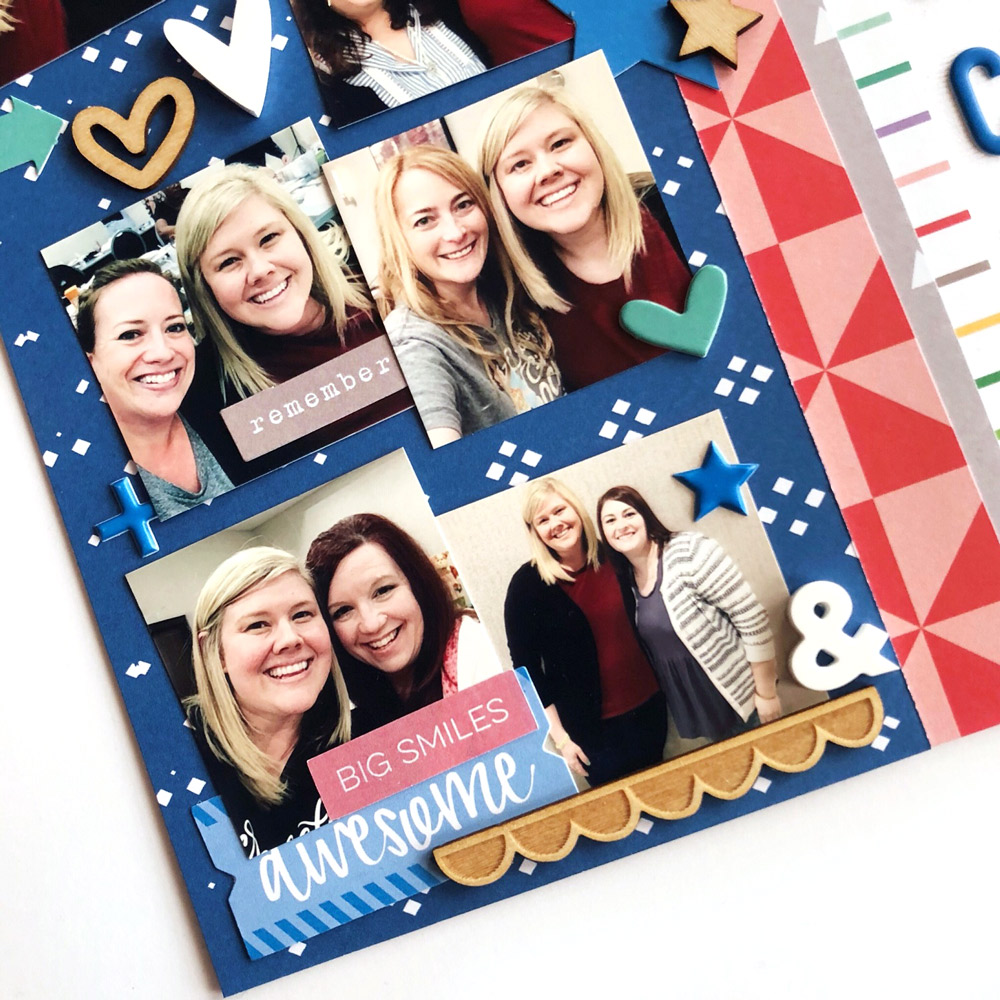
I adhered my small photos in little clusters going down the patterned paper on the page, and then I searched through my stash of Elle’s Studio embellishments to select and add items in colors that matched the puffy alpha stickers. Since the colors in Elle’s Studio products are so consistent and designed to match, this process was super easy and so much fun!


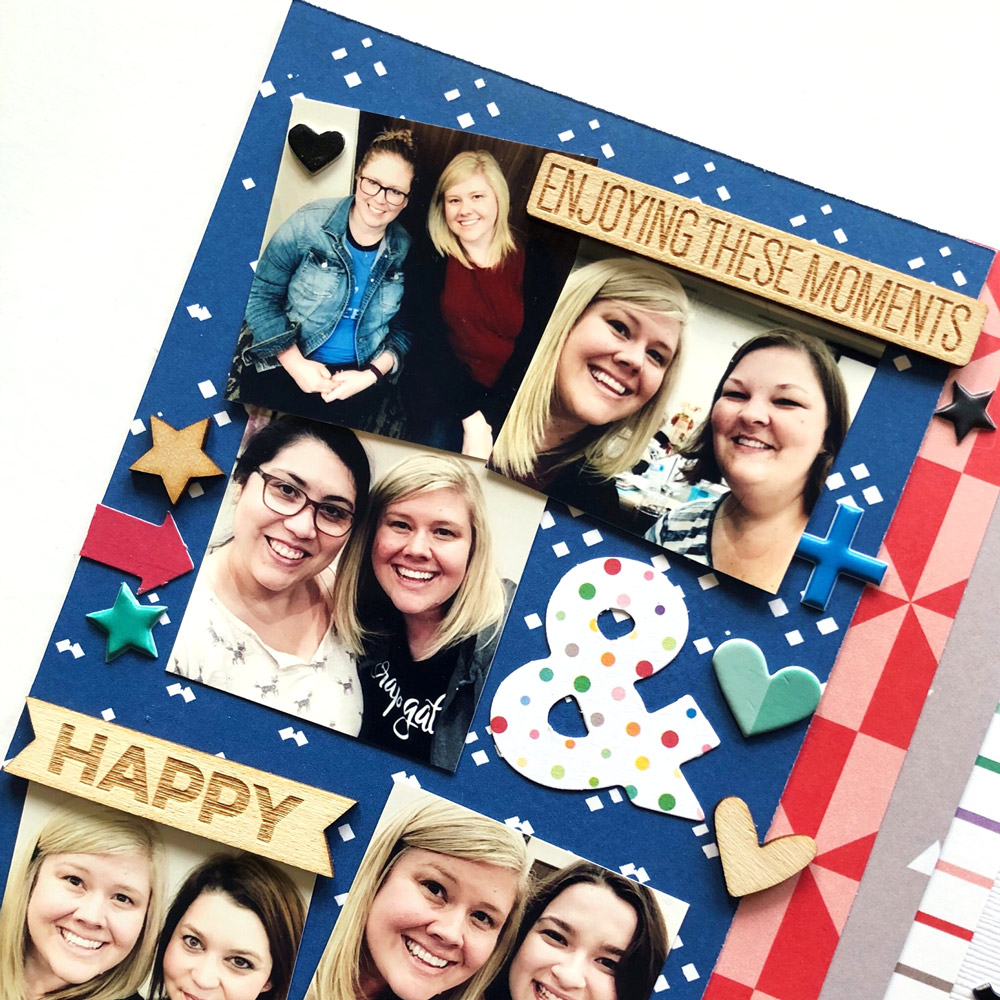
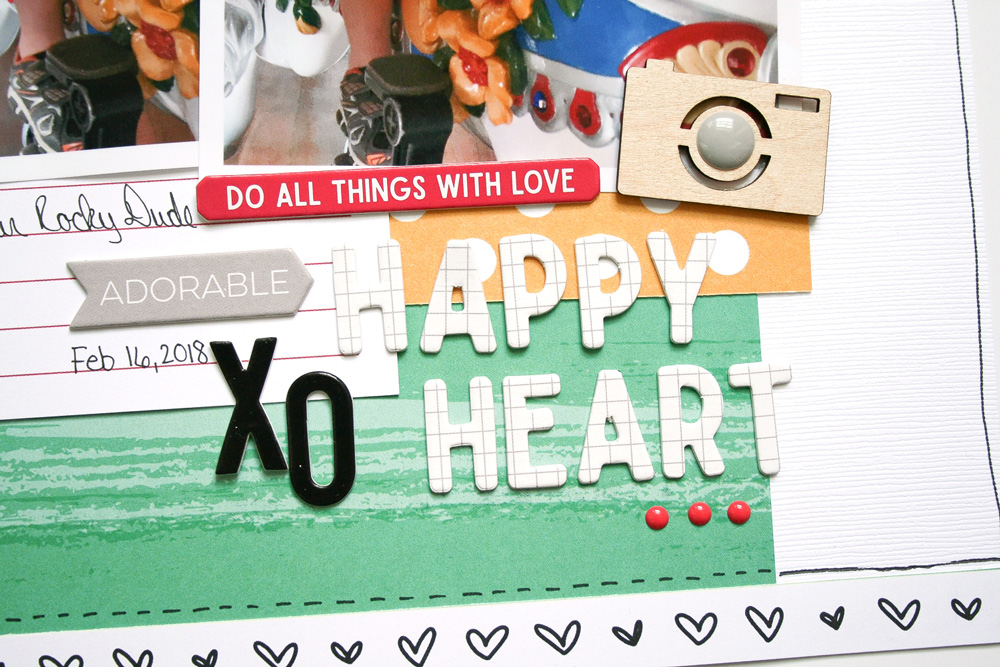
I pulled embellishments from the Live Laugh Love Wood Veneers, Title Builder Acrylic, and Heart of Gold Chipboard Stickers and stuck them down in, on, and around my photos. I also used some stars from the Shapes and Dots Puffy Stickers and die cuts from the March 2018 kit, which are part of tomorrow’s release! (Don’t you love a sneak peek?!)


A layout like this is the perfect excuse to stop hoarding those puffy alphabet stickers in your stash (and to buy the beautiful new cobalt blue ones coming to the shop tomorrow) and put them to use. Try adding a “character” list to one of your projects! You can use your alpha stickers to spell out the names of your family members, the members of a band or sports team you love, or you can do what I did and list friends who inspire you. Thanks for stopping by the blog today, and we hope to see you back tomorrow for release day!
 

March Design Team Sneak Peeks

We are just a couple of days away from our March reveal and we are so excited to be able to share these incredible sneak peeks of projects that our design team made using all the new products that will be available soon!

Get ready to pick up our March kit for our launch day special pricing of only $9.99 on Saturday, March 10th, at 8:00 am PST. After the 10th, our kits go back to their regular price of $11.99. Or, you can lock in the $9.99 price anytime by starting a subscription! And subscribers, don’t forget! You’ll be able to bundle anything from our shop (including the new add-ons) with your monthly kit for FREE (USA subscribers) or reduced (International) shipping!

This month we have a special SURPRISE:

We are so excited to be celebrating 11 amazing years with you guys this month and we have a special gift just for you! All orders shipped in March will receive a scratch ticket with a chance to win 10%, 20%, 30% off your next order or a special birthday box surprise—a box packed full of our favorite Elle’s Studio products!

PLUS! All our current and new kit subscribers in March will also receive this pen with their March kit!

Not a subscriber? We have just a few spots left were you can start with our February kit now! Or, wait until March 10th to sign up and start with our March kit! With a monthly subscription, you will be guaranteed a kit each month, lock in our launch day special price of $9.99 + shipping, and receive FREE (USA) or reduced (International) shipping on anything added to your box each month during our 24 hour bundling period (starting on the 10th at 8:00 am PST and ending on the 11th at 8:00 am PST). Along with more time to shop, our subscribers will also have access to special discounts on select items during the 24 hour bundling period! These discounted items can be found in our SALE section during bundling, and you must be logged into your kit subscriber account to see them. Quick note: Our kits and add-ons are available without a subscription each month, too.

Make sure you set your alarm and mark your calendar for Saturday, March 10th at 8:00 am PST! If you haven’t signed up for our newsletter, make sure you do to receive a reminder of when everything is available for sale!  We hope to see you there!

Digital Cut Fun with Amanda Baldwin

Hi creative friends!
 
Do you LOVE the awesome coordinating cut files in the Elle’s Studio store as much as I do?! I was so excited when I saw the February 2018 Cut Files— they’re so much fun, and the creative possibilities are just endless! Pardon my cheesy pun, but the love heart speech bubbles really spoke to my heart! Here’s what I came up with to inspire you:


Supplies | February 2018 Cut FilesHeart of Gold Chipboard Stickers, Hand Drawn Acrylic Hearts, Enamel DotsXOXO 6″ x 6″ Paper Stack, Family Fun 12″ x 12″ Paper Collection
 
Oh isn’t this sweet?! All the hearts, indeed! I am huge fan of repetition and pattern in design, so creating a variation of sizes in the same cuts was a great way to highlight the digital heart speech bubble files! To create more interest, I also used a solid white cardstock against that textural woodgrain pattern paper from the Family Fun 12″ x 12″ Paper Collection, which makes the white really pop!


I also foam mounted a couple of those heart speech bubbles for added dimension
For even more emphasis, I paper pieced the speech bubbles with solid colors from the XOXO 6″ x 6″ Paper Stack. This avoids your eye from being distracted by patterned papers, and maintains the focus on those files – which ultimately, directs you to my darling photograph!
 
To avoid being too ‘stark’, I embellished a few of the cuts with those fabulous Heart of Gold Chipboard Stickers, as well as some Enamel Dots. You’ll also spy some of the Hand Drawn Acrylic Hearts adorning my layout.


I use one of the smallest cuts to embellish my photo too!


Such a terrific result from just one element within the February 2018 Cut Files! I can’t wait to see what you’ll create with them!
 
Thanks for visiting!
 

February #EllesStudio Spottings on Instagram

We have been completely blown away by the quality of projects we have been seeing on Instagram using the #EllesStudio hashtag! We’re meeting so many new papercrafters who are using our product to document memories and plan their days. These six projects caught our eye this month:


On the left, @rachellowe___ blew us away with her use of the January 2018 Kit, XOXO 6″ x 6″ Paper Stack, Love You Die Cuts and Heart of Gold Chipboard Stickers on her color blocked layout. On the right, @kraftykattie made a perfect, colorful layout with the Family Fun Collection that we couldn’t love more!


Our 2018 Large Black Acrylic topped the opening page of @justaddcolor101 ‘s colorful planner, and we think it was the perfect addition! On the right, @mrsscrapandplan created an amazing wintery traveler’s notebook spread using our  January 2018 KitXOXO 6″ x 6″ Paper Stack, Hugs and Kisses Puffy Stickers, White Cardstock Alphabet Stickers and The Best Banner Stickers.


On the left, @paperandconchas topped each of her planner pages with the date, stamped with our Stanley Jr. Alphabet Stamps in both the outline and solid to create a unified look, and we LOVE it! On the right, @scrapperlisa13 created a beautiful double-page spread about a special day using the Live Laugh Love collection and pieces from our February 2018 Kit. Beautiful layout, Lisa!
 
Thank you so much to all of you ladies for sharing your projects with us this month! Please email us at info@shopellesstudio.com to claim your prize!
 
Have you created something with Elle’s Studio products lately? Upload your projects to Instagram using the hashtag #EllesStudio for a chance to be featured here on the ES blog next month! Until then, have fun creating!

Documenting a Heart of Gold with Wendy Antenucci

It’s really fabulous when a product dictates a story that you need to tell, and today, design team member Wendy Antenucci is with us to share how the Heart of Gold Chipboard Stickers inspired her to document a special boy in her life who also has a heart of gold. Let’s take a look at her heartwarming page:
 
It’s Wendy here today to share a sweet page about my little man which focused on the Heart of Gold Chipboard Stickers. I was so taken by these chipboard pieces—the sentiments were so sweet and I wanted to tell so many stories with them! Today’s story is a fresh story inspired by the carefree look on my son’s face that shows how pure his heart is, a true heart of gold.


Supplies | January 2018 Kit, February 2018 Kit, Wood Veneer Cameras, Heart of Gold Chipboard Stickers, Enamel Dots, All the Details Stamp, XOXO 6″ x 6″ Paper StackLive Laugh Love 12″ x 12″ Paper Collection
 
My design began by layering a few of the 3″ x 4″ tags from the January and February Kit behind my picture until I found the right color combinations that really made my pictures pop. To match the colors of the carousel, a splash of yellow and a bold piece of green from the Live Laugh Love 12″ x 12″ Paper Collection were the final touches to mat my photo and give my story a place to rest.


From this point I was able to then focus on the Heart of Gold Chipboard Stickers, beginning with running a line of hearts down the side of my photo, right by the days of the week tag from the February 2018 Kit to show that every day is filled with love for my son and and his precious heart.


The next piece that I wanted to add to my page was the “happy heart,” sentiment, which became my title. By adding the “adorable” arrow, it led your eyes into my title area. To draw your eyes further down the page, I added the red sentiment and a row of Enamel Dots for a punch of color.


One more punch of red at the top of the page, created from a fun sentiment trimmed from a 3″ x 4″ tag in the January Kit, a few splatterings of chipboard hearts from the Heart of Gold Chipboard Stickers and Enamel Dots completed the page. I really wanted to document my little boy at this time so I used the All the Details Stamp to add little phrases throughout my journaling.
 
I love that I was able to build a layout out of a two pieces of paper, a few tags, and the Heart of Gold Chipboard Stickers. Sometimes going simple can really make your story stand out!
 

A sneak peek of what is coming on March 10th!


Our March kit + coordinating add-ons reveal is almost here and we are so excited for you to see all the new products we’ll have in the shop – This month our kit + add-ons will have you ready to document all your everyday real life moments, and more! Plus, it will take you right into the month of April! March’s kit includes 3 – 4 x 6 inch tags, 18 – 3 x 4 inch tags, and 26 die cuts!

Get ready to pick up our March kit for our launch day special pricing of only $9.99 on Saturday, March 10th, at 8:00 am PST. After the 10th, our kits go back to their regular price of $11.99. Or, you can lock in the $9.99 price anytime by starting a subscription! And subscribers, don’t forget! You’ll be able to bundle anything from our shop (including the new add-ons) with your monthly kit for FREE (USA subscribers) or reduced (International) shipping!

And, this month we have a special SURPRISE:

We are so excited to be celebrating 11 amazing years with you guys this month and we have a special gift just for you! All orders shipped in March will receive a scratch ticket with a chance to win 10%, 20%, 30% off your next order or a special birthday box surprise—a box packed full of our favorite Elle’s Studio products!

PLUS! All our current and new kit subscribers in March will also receive this pen with their March kit!

Not a subscriber? We have just a few spots left were you can start with our February kit now! Or, wait until March 10th to sign up and start with our March kit! With a monthly subscription, you will be guaranteed a kit each month, lock in our launch day special price of $9.99 + shipping, and receive FREE (USA) or reduced (International) shipping on anything added to your box each month during our 24 hour bundling period (starting on the 10th at 8:00 am PST and ending on the 11th at 8:00 am PST). Along with more time to shop, our subscribers will also have access to special discounts on select items during the 24 hour bundling period! These discounted items can be found in our SALE section during bundling, and you must be logged into your kit subscriber account to see them. Quick note: Our kits and add-ons are available without a subscription each month, too.

Make sure you set your alarm and mark your calendar for Saturday, March 10th at 8:00 am PST! If you haven’t signed up for our newsletter, make sure you do to receive a reminder of when everything is available for sale!  We hope to see you there!

All the Details Stamping Tips with Laura Wilson

Laura Wilson loves stamping on her pocket page layouts, and today she’s sharing a soft and beautiful double-page spread, as well some awesome tips on how to make the most out of our latest 6″ x 8″ All the Details Stamp. We know you’ll love how she used this stamp!
 
Hi! I’m Laura and I’m excited to show you how I used the All the Details Stamp to create a scrapbook layout. Stamping is my FAVORITE technique for scrapbooking. I love that you can have one product with hundreds of ways to use it. I also love stamp sets with labels! I use labels on every single page, so having the ability to make as many labels and in whatever color I want is so great! The All the Details Stamp is so perfect for creating a variety of pages, titles, and other paper projects. I used the stamp set to create a pocket-page layout for my first week of 2018.


Supplies | February 2018 Kit, Counting Steps Journaling TagsFamily Fun 6″ x 6″ Paper StackAll the Details Stamp
 
At the top of every page in my weekly album, I add a label with the dates for the week. I used the rectangle label stamp with black ink to create my label. To create the journaling tag, I used the “adventures ahead” sentiment and pink ink to create a repeating pattern onto plain white cardstock. Stamping with the same stamp over and over is a fun way to make your own patterned journaling tags.


For me, my scrapbooks are all about documenting the details of my life. I have terrible memory, so remembering special events and dates is important. In my album, I love to add dates to my photos. I don’t always date every photo, but I like to add them to ones with people, my dog, and special memories so I don’t have to figure out the exact date again later. The label stamp in this set was a little large for the date stamp I have, but the “currently” stamp was perfect! I used the right side of the label stamp, leaving off the word “currently,” and stamped with blue and pink ink to make small date labels, stapling them to the photos. That stamp was so perfect for adding the date! It’s fun to use stamps in different ways by only using part of it.


Another fun way to use stamps is by using them to edit tags or embellishments that don’t work for what you need. I love the journaling tag from the February Kit that had the question marks and exclamation points at the top, but I didn’t have anything that exciting going on during this week in my album—plus it wasn’t working with this color scheme. However, the lines on that journaling tag were perfect for adding text to my page. I simply used the rectangle label again to make my own embellishment to cover up the question marks and exclamation points at the top of the journaling tag.


This stamp set was so fun to work with! I love that I was able to use it in so many different ways on this page. Do you love stamping too? If you’re new to stamping, I encourage you to try to think outside of the box with your stamps and use them in new ways! Try the repeating pattern, only using part of a stamp, and using them to change other products to match your page design!


A Lovely Layered Grid with Melissa Mann

We’re getting close to our March reveal, but we know that you could still eek out a few more projects with your February 2018 Kit and add-ons! Today we have Melissa Mann with us to share another of her fabulously layered layouts, which we know will inspire you to kill your kit before your next one arrives! Let’s take a look:
 
Hello, everyone! This is Melissa here with you today, and I’m bringing another project made with the February 2018 Kit and add-ons! It always amazes me just how far you can stretch one of these kits, and today I’m sharing a layout full of fun product to tell a story!


Supplies | February 2018 Kit, February Blank Label Stickers, The Best Banner Stickers, Dark Teal Cardstock Alphabet Stickers, White Cardstock Alphabet StickersAmpersand Wood Veneers, Wood Veneer Icons, Shapes and Dots Puffy StickersAll the Details Stamp, Family Fun 6″ x 6″ Paper Stack, Family Fun 12″ x 12″ Paper CollectionJune Digital Cut File
 
I really wanted to use some of the 3″ x 4″ journaling tags included in the February Kit, and that led to me creating a grid based layout—one of my absolute favorite designs. I decided on two groups of three tags each and loosely placed them next to each other. By that, I mean that I did not have an exact space between each card; I wanted a bit of whimsy and didn’t want it to be an exact “place” for each card.


I created lots of layers by backing the 3″ x 4″ tags with paper from the Family Fun 6″ x 6″ Paper Stack, vellum, and kraft card stock. Once I had my layers placed down, I started stitching everything to the base of the layout, which was created with patterned paper from the Family Fun 12″ x 12″ Paper Collection and a piece of white card stock that I spritzed with some mists.


After stitching the tags and photos down, I began adding more layering with February Blank Label Stickers, The Best Banner Stickerswhite and dark teal cardstock alphabet stickers, stamped sentiments using the All the Details Stamp, and Wood Veneer Icons. I also added the Shapes and Dots Puffy Stickers in the coordinating colors to the color blocked 3″ x 4″ tag from the February 2018 Kit.


The last thing I decided to do was to stamp the “all the details” and “remember this” from the All the Details Stamp in various places on my layout.
 
Thanks for stopping by the blog today! I hope you are enjoying creating with your February Kit and extras!
 

Documenting Bravery with Jess Forster

The Brave and Kind Acrylic pieces from our February release are the perfect size to use for a title, or as Jess Forster is showing us today, a beautiful story-starter. Let’s take a look at what she created, inspired by this new product!
 
Hands up if you’re a fan of embellishments? To me, embellishments are the perfect way to make a pocket page pop! When I saw the Brave Acrylic as part of Elle’s Studio February release, I was inspired to document the everyday bravery my daughter has shown over the last three years.


Supplies | January 2018 Kit, Brave AcrylicHugs and Kisses Puffy Stickers, White Puffy Alphabet StickersShapes and Dots Puffy Stickers


In my 6″ x 8″ pocket page spread, I wanted to highlight the Brave Acrylic and use it in my title. Although I could have recoloured the word using an oil based medium, I opted to keep it white and simply adhere it with some permanent adhesive to bottom of my full sized, 6″ x 8″ photo. The clean, white acrylic popped against the dark, negative space in my photo.


With the large “brave” word as my title, I also wanted to centre my journaling around this theme. Using a purple 4″ x 6″ tag from the January 2018 Kit, I wrote my thoughts and feelings on how Rowan faced her fears in order to develop her motor coordination as well as her flexibility in her willingness to try something new. This letter style journaling is straight from my heart and so meaningful to me. Not only was the Brave Acrylic a perfect title, it was also was a great story starter for my journaling.


Overall, I am so happy that I have another layout to add to my daughter’s album that reflects on how she has grown and developed. I hope this page inspires you to document a brave moment, period of time or activity in your life or about someone you love.
 
Thanks for looking!
 

All the Details Pocket Page with Susan Brochu

A great, versatile stamp set can be used for so many different projects, and our 6″ x 8″ All the Details Stamp is perfect for adding to layouts, creating your own embellishments, and the stamps are perfectly sized to fit in your pockets, too! Today Susan Brochu is showing us just how perfect this stamp is in use on a pocket page layout. Let’s see how she used it:
 
Hello everyone! It’s Susan here today to highlight the All the Details Stamp.  There are so many versatile words and phrases on this set, and the sentiments work equally well for everyday life and special occasions. I used the set in a variety of ways for my pocket page spread about Mother’s Day 2016.


Supplies | February Kit, Dark Purple Cardstock Alphabet StickersAll the Details Stamp
 
I started by making a title card with three of the stamps on the set.  I selected the 4″ x 6″ tag with the purple hearts from the February Kit, and then stamped “notes from” along with the Dark Purple Cardstock Alphabet Stickers to make my title card.  I sometimes find it easier to list some details about the photos instead of writing a long block of journaling, and so I added the 1-5 numbers from the stamp set to help me do just that.  My last touch on that tag was to add the date stamp with the line and then write in the date. I enjoy being able to personalize a card and the All the Details Stamp has plenty of options to help me!


I love to use labels on top of photos to give me a nice spot to write a few words, and the All the Details Stamp has some great options.  I stamped two of the rectangular labels onto white cardstock and cut them out. I stamped a sentiment (also from the set) on each of them and placed one on a photo and another on a 3″ x 4″ tag.


Now my next suggestion might cause some of you to cringe a little: don’t be afraid to cut your stamps!  It’s a little scary at first but as long as you have sharp scissors it’s very easy to do.  I really wanted to stamp something in the circle on one of the 3″ x 4″ tags from the February Kit, but the phrase I wanted to use was just a bit too long.  I cut it, rearranged the two pieces onto my acrylic block and stamped them into the circle—a perfect fit!


Don’t forget to use your stamps on your photos, too.  The “happiness found” stamp was the perfect sentiment to include on the photo of chocolate truffles.  I use a solvent-based ink like Staz-on for stamping on a photo’s slick surface, and I’ll usually practice first on extra photos I hold onto for just that purpose.


I hope you’ve seen how versatile the All the Details Stamp can be—this is definitely one I’ll be reaching for again and again!