Hello, everyone! It’s LeeAnne here with the latest sketch from Elle’s Studio, which highlights the new Play All Day Chipboard Stickers. Believe it or not, this is my first time using a sketch! Of course, I’ve been inspired by many layouts over the years and sometimes scrap-lift specific elements and techniques (which you’ll see here, too!) But following a map for creating a whole layout!? I was excited and a little bit nervous to take on this new-to-me challenge. Here’s a look at today’s sketch:
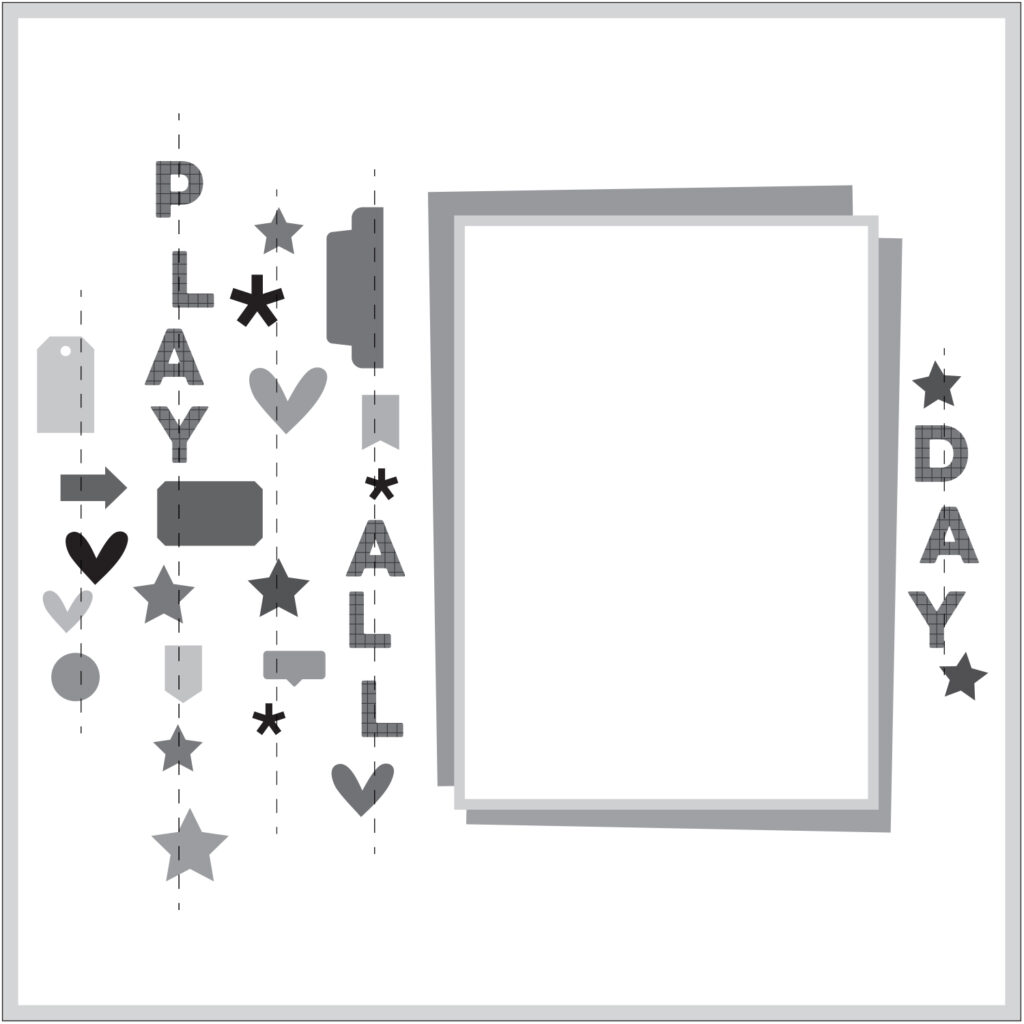
What excited me most about this sketch was the embellishment “confetti.” It’s just so fun seeing all those different shapes lined up. What I struggled with was the vertical orientation of the letters—so I turned the design 90 degrees! All’s fair in love and war and scrapbook sketches.
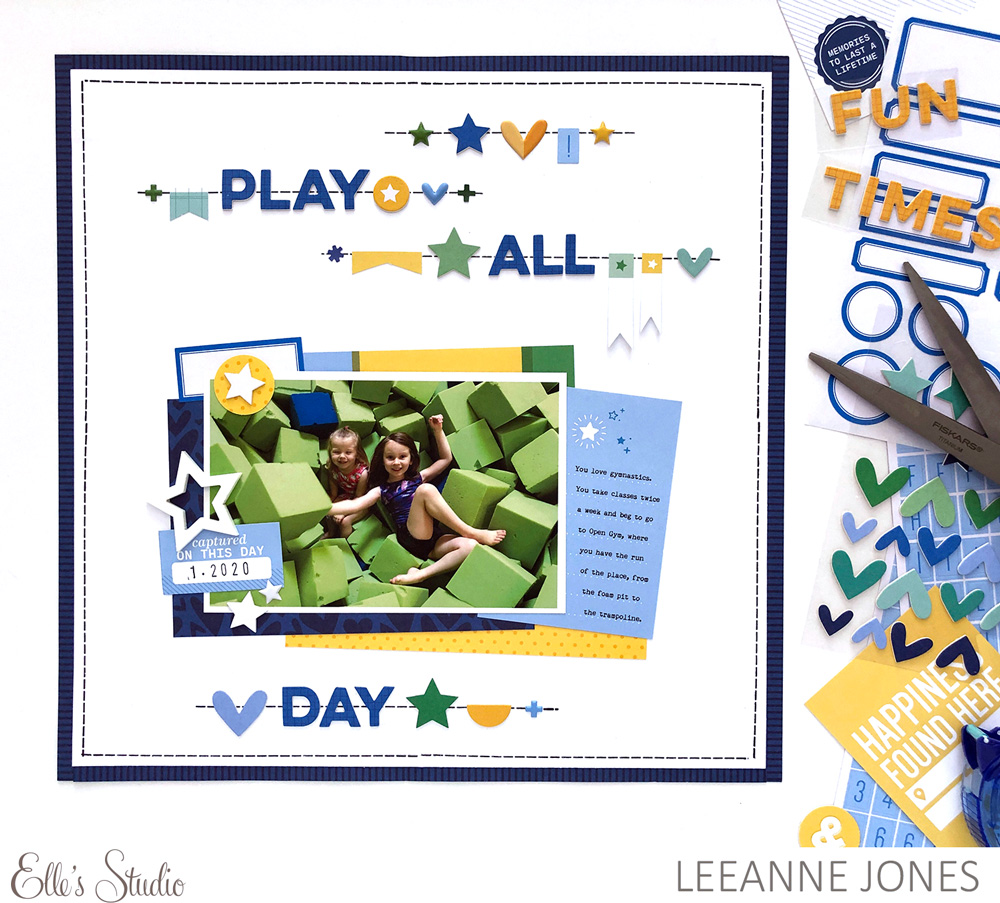
Supplies | March 2022 Kit, March Cut Files, March 2022 Labels, Cerulean Blue Cardstock Label Stickers, Jane Tile Alphabet Cardstock Stickers – Sky Blue, Jane Tile Alphabet Stickers – Navy, Heart and Star Chipboard Stickers – Cool, Play All Day Chipboard Stickers, Chipboard Circle Stickers, Puffy Heart and Star Stickers, Moss Green Puffy Alphabet Stickers, Tiny Shapes and Dots Puffy Stickers – Cool Tones, Tiny Shapes and Dots Puffy Stickers – Warm Tones, White Acrylic Stars, Love You Paper Stack, Home Sewn Stitches Stamp
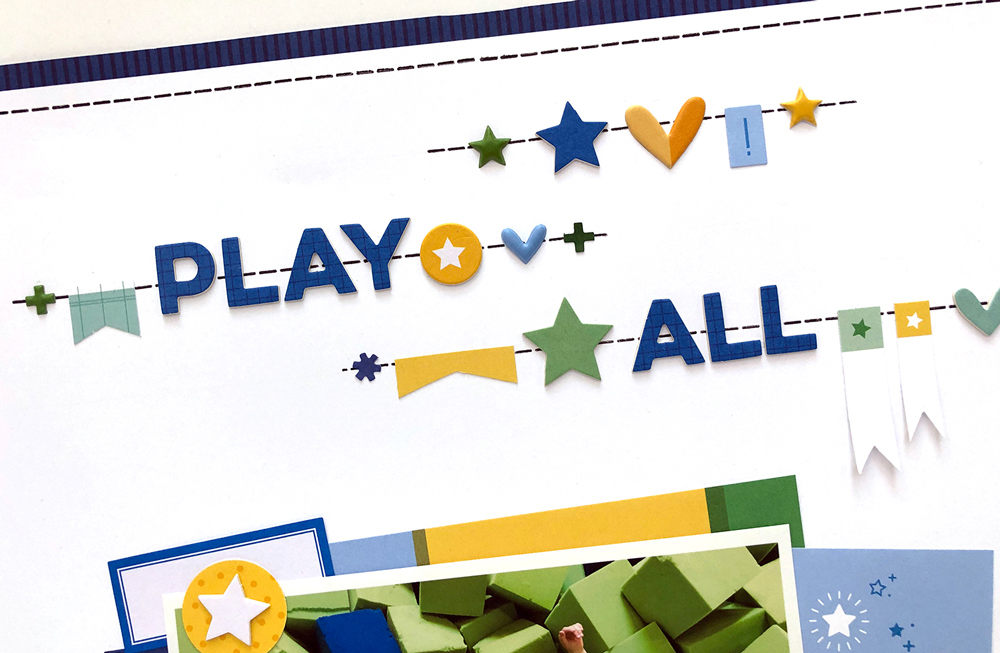
Because the “Play All Day” phrase is blue and the March 2022 Kit has a lot of great blues, greens, and yellows, I decided to make that my palette. I let it guide my photo selection, too, and luckily I had one of my kids in a giant green and blue foam pit! For the embellishment confetti, I used as many pieces from the March kit and add-ons as I could, including portions of the die cuts, many of the Heart and Star Chipboard Stickers, and even an exclamation mark from the Sky Blue Jane Tile Alphabet Cardstock Stickers. I also scrap-lifted a technique from fellow design team member Suzanna Lee: Turning labels into pennants. Genius!
To mat the photo, I used journaling tags from the March Kit as well as patterns from the Love You Paper Stack. Once I had my journaling in place, the right side of the cluster seemed heavy, so I added embellishments to the left of the photo only, including one of the Cerulean Blue Cardstock Label Stickers, a March 2022 Label, and one of the super-fun White Acrylic Stars. This portion of the design is significantly busier than the sketch, but I think it works.
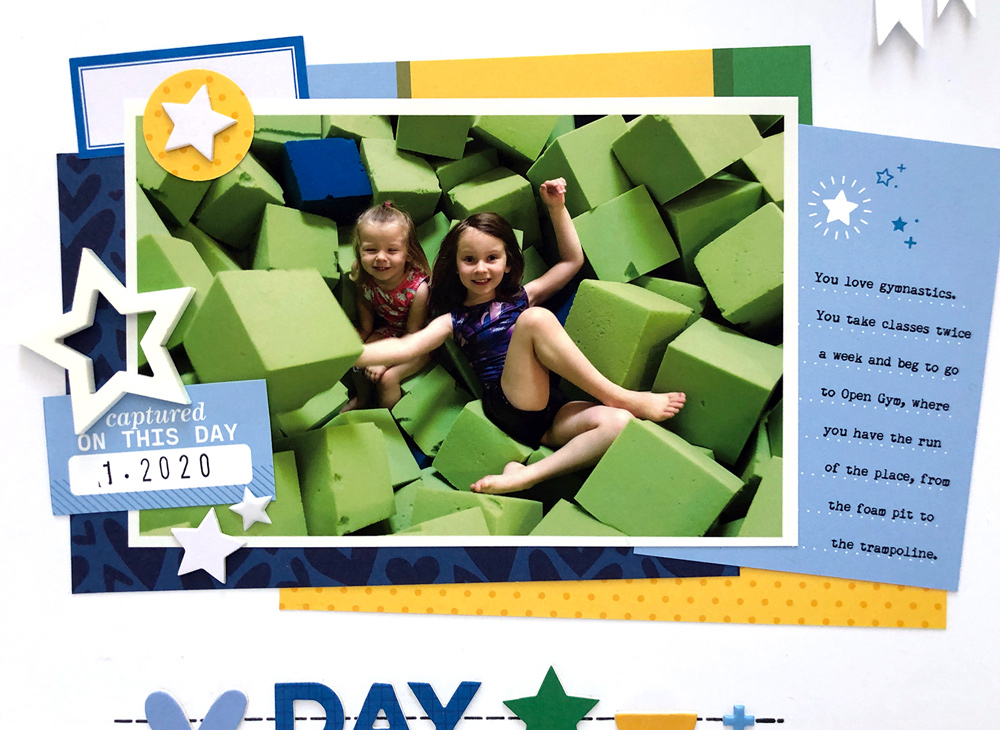
I’m pretty proud of my nearly-perfectly aligned journaling! While I can’t claim it works every time, my method is to meticulously measure the journaling tag and then kind of recreate the bones of it using InDesign software, aiming for the right line spacing. In this case, I even created an invisible rectangle with text-wrap to mimic the angle created by the overlapping photo, so that my words wouldn’t be covered. Then I sent the physical journal tag on its side through my photo printer as if it was a 4 x 6 inch photo and prayed to the crafting gods. You could achieve similar results using Word or Photoshop—or just add digital journaling to one of the March Printables!
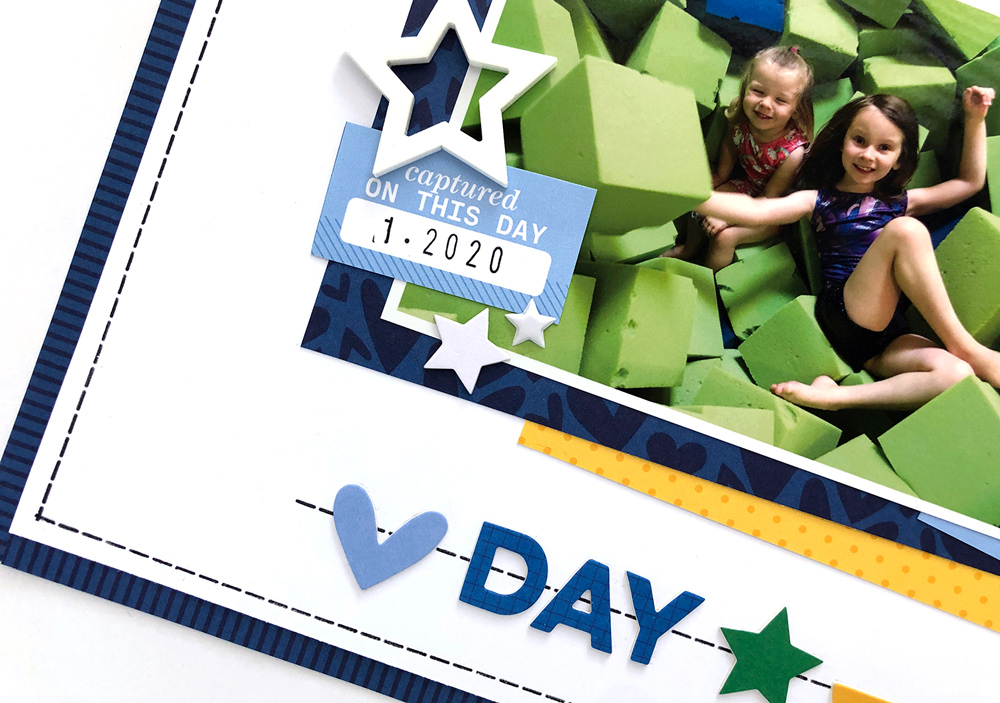
I really enjoy the look of embroidery on paper, but for this layout, I opted for the Home Sewn Stitches Stamp instead. With a flat stamped image, you don’t have to worry about stitching through the embellishments, or having them resting unevenly over the thread, and it totally looks like the real deal from a distance! Lastly, for the border of the layout, I pieced together the navy striped sheets from the Love You Paper Stack and added another round of stamped stitches for a nice, finished edge.
That’s it for now. I can’t wait to see how you use this sketch! Be sure to share on social media with the hashtag #ellesstudio or in our Elle’s Studio Facebook Group! Happy documenting!

