Do you have thousands of photos from your Disney adventure, but you’re not sure how to start documenting them? Grab our new Magical Memories collection and read the tips that Jess Forster is sharing with us below, along with a beautiful new pocket page spread!
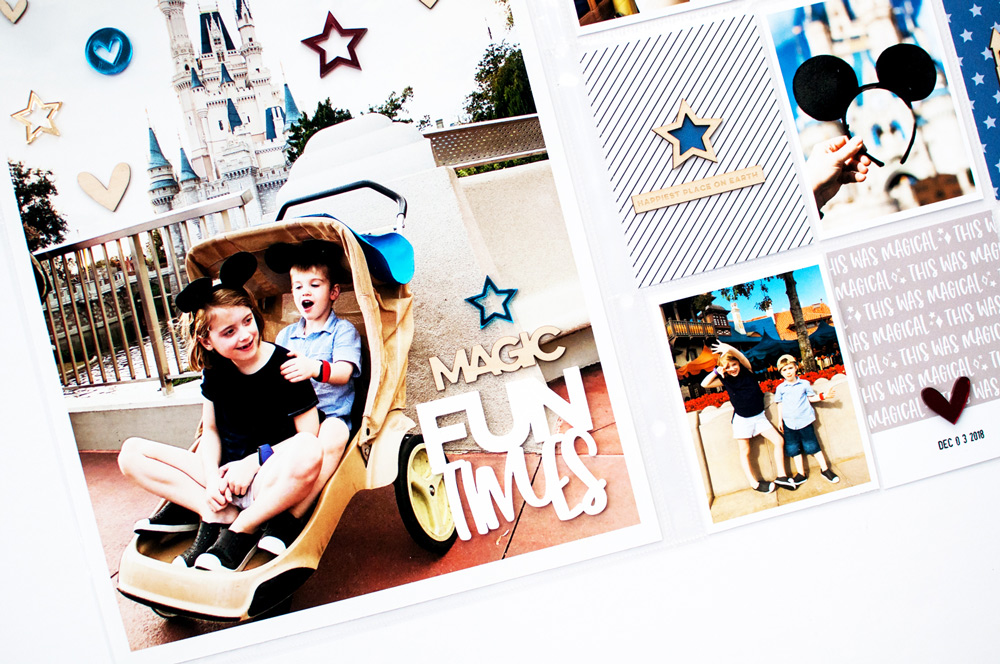
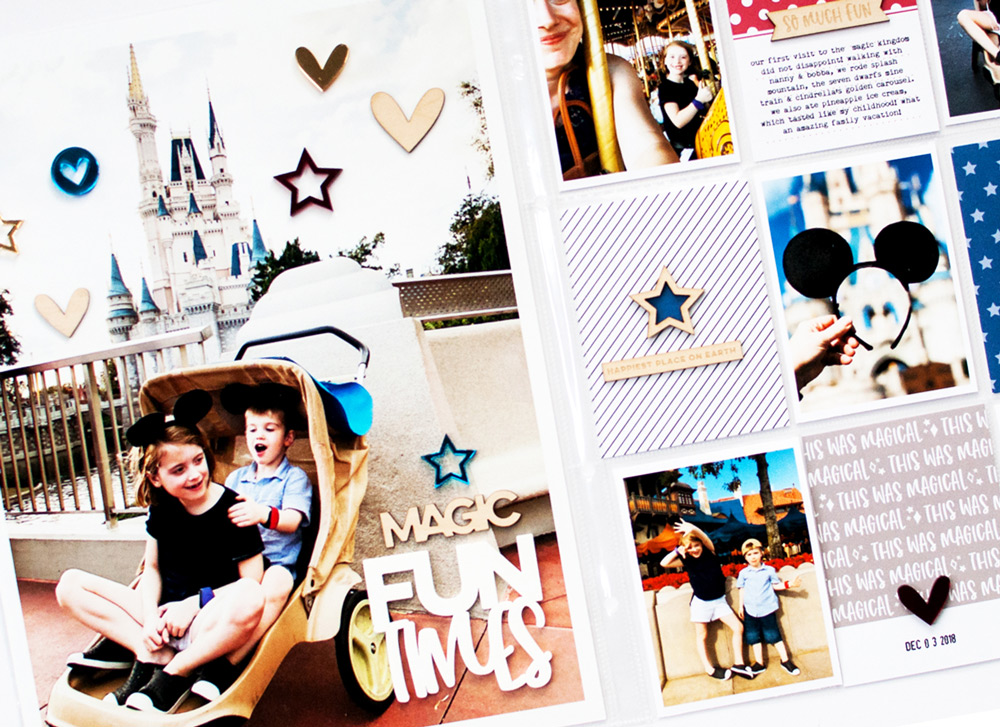
Hands up if you’re excited for the new Magical Memories release? Insert me, jumping and doing a happy dance… HA! Having just taken my kiddos to Disney World for the first time in December 2018, I was so excited to play with Elle’s new Disney-themed goodies and reliving our fun family vacation again. Here is a look at the pocket page that I created:
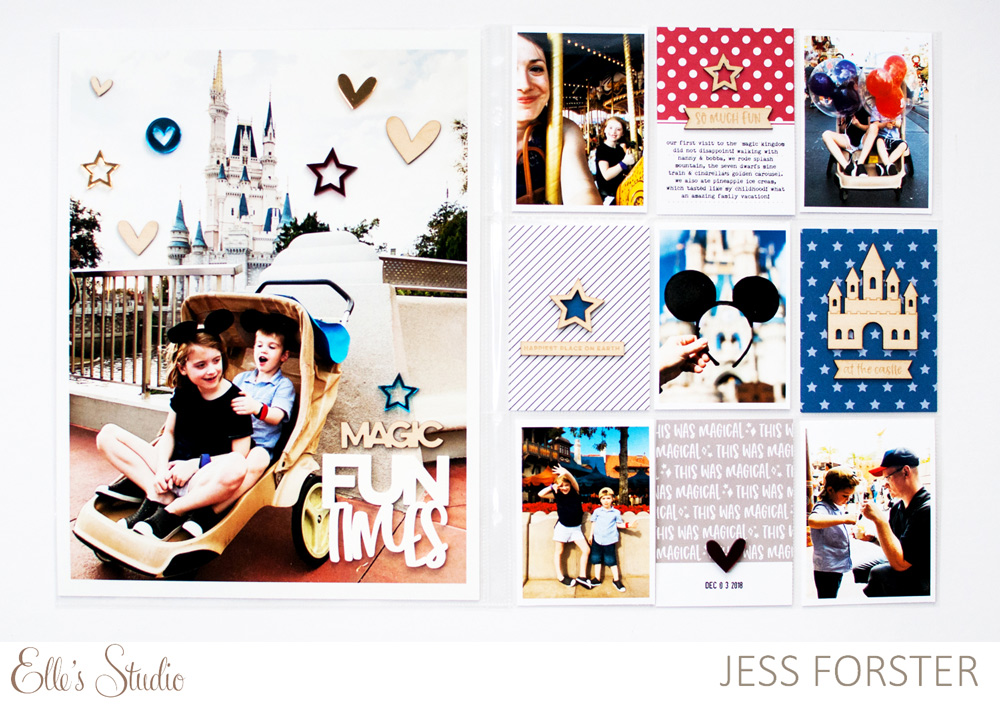
Supplies | Magical Memories Journaling Tags, Magical Memories At the Castle Wood Veneers, Magical Memories So Much Fun Wood Veneers, Magical Memories Acrylic Hearts and Stars, Magical Memories Fun Times Acrylic, Magical Memories 6 x 6 Paper Stack
In this 9 x 12 layout double page layout, I told the story of going to the Magic Kingdom for the first time with my kids. Although I took over one thousand photos during our trip, I printed out five of my favourites; these included four 3″ x 4″ pictures and one 9″ x 12″ enlarged photo. Specifically, I choose photos from our time in front of or around Cinderella’s castle. My kids still talk about the castle, so it was important to me to visually highlight this specific feature of our Disney adventure. I plan on documenting more of this Disney trip, but this was a good start by focusing on one activity.
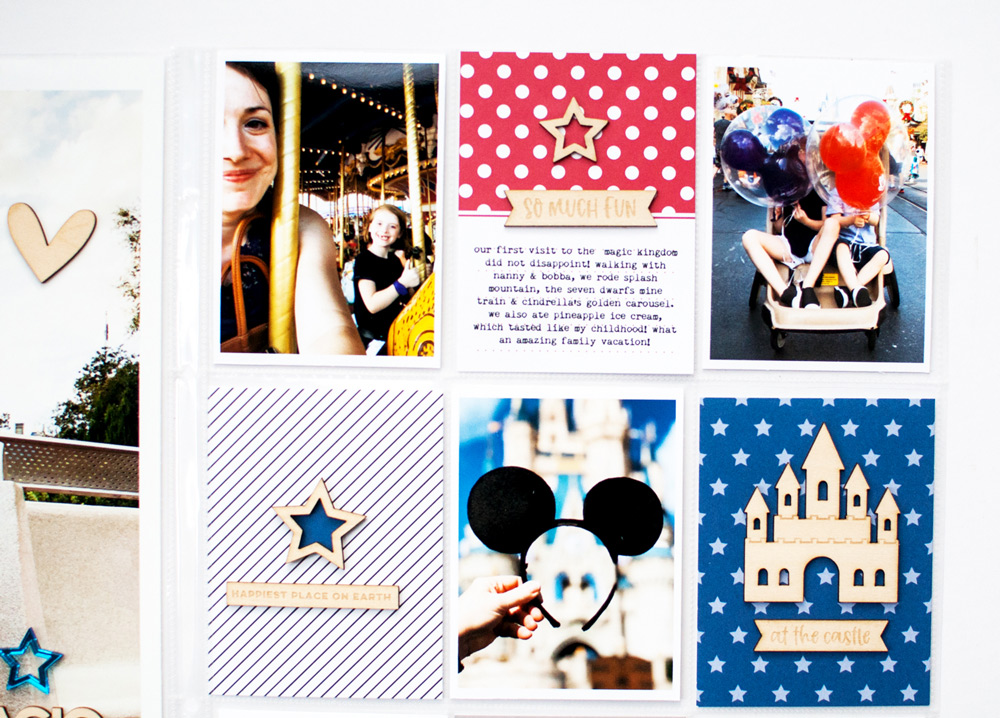
After printing my photos and placing them in a checkerboard AB pattern within the pockets, I decided on a color scheme. I looked to my photos for color inspiration and decided to go with a combination navy blue, red, grey and black. I love that Elle has a variety of colors to choose from in her Magical Memories 6 x 6 Paper Stack and Journaling Tags, both of which I used in my pockets. You could easily scrapbook a princess layout or a character meeting using a pink, purple and teal color scheme! Making a mental note for my next layout!
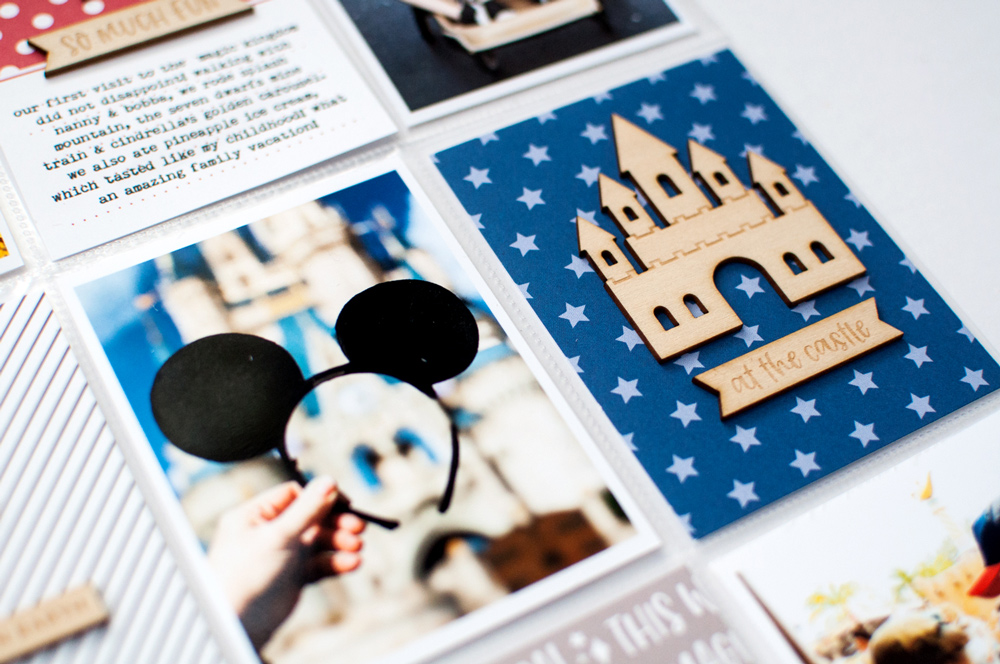
After typing up a few details of my story, I then embellished my photos and journaling cards. Specifically I combined the “magic” wood veneer from the So Much Fun Wood Veneers and Fun Times Acrylic to create a large, bold title that would stand out on my enlarged photo. I then embellished the rest of the photo using the Acrylic Hearts and Stars and wood veneer hearts from the At the Castle Wood Veneers to draw attention to Cinderella’s castle. Finally, I placed the At the Castle Wood Veneers on my journaling cards. As I said, our time around the castle, riding the Cinderella’s golden carousal was a really memorable experience that my kids still talk about today.
Not only are there lots new fun Elle’s Studio products to document your magical memories, I hope I have inspired you to start documenting your Disney adventures by grouping your photos by theme park or activity. If you are feeling stuck or overwhelmed as to where to start documenting, just ask your family what part of the trip they liked the most!
Thanks for looking!


Comments