We love our newest paper stack addition to the shop, the Springtime 6 x 6 Paper Stack! This lovely bundle of 6″ x 6″ patterned paper comes without adhesive, so you don’t have to worry about tearing off a clean edge! Let’s take a look at five different ideas on how you can make the most of this stack of spring time pattern and color!
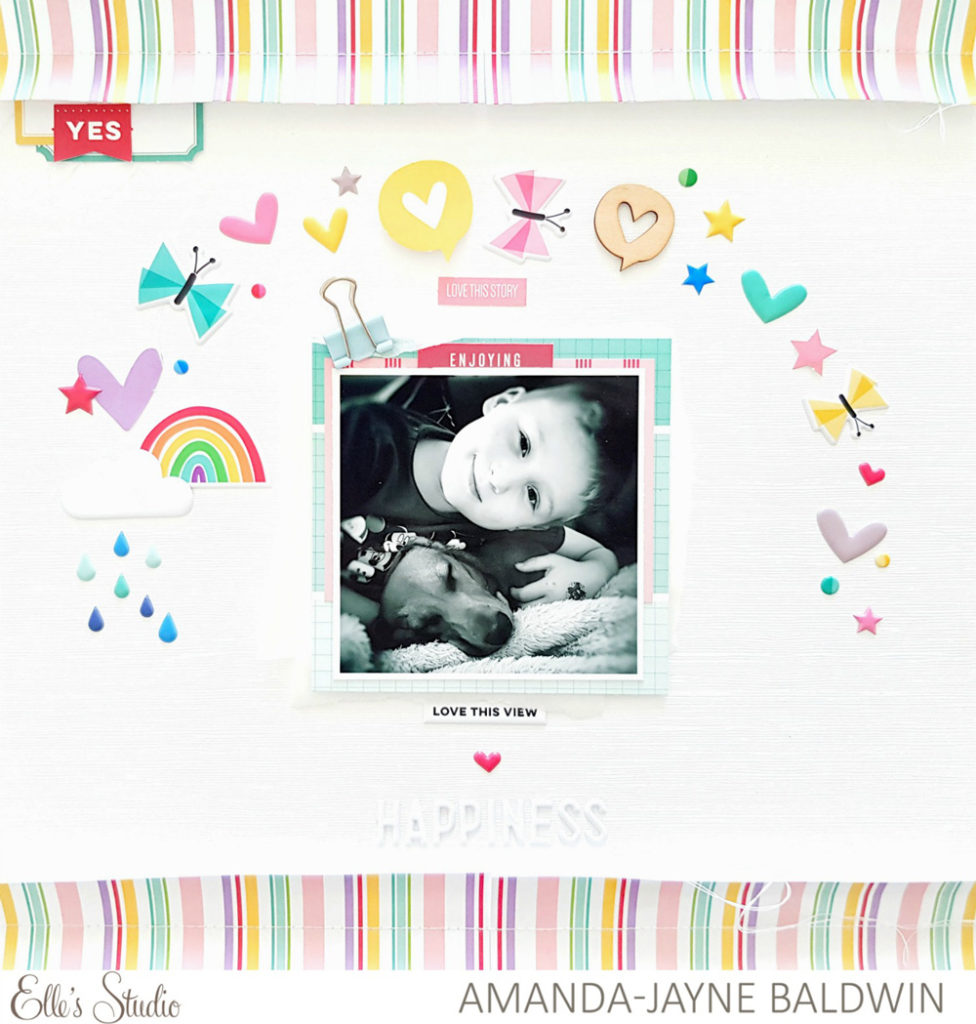
- Add a strip of pattern to the top and base of your layout, the way that Amanda Baldwin did here. Even though the paper sizes are 6″ squared, it’s easy to butt two pieces against each other to span the width of your layout. We especially love how Amanda added texture and dimension to the page by curling the edge of her paper!
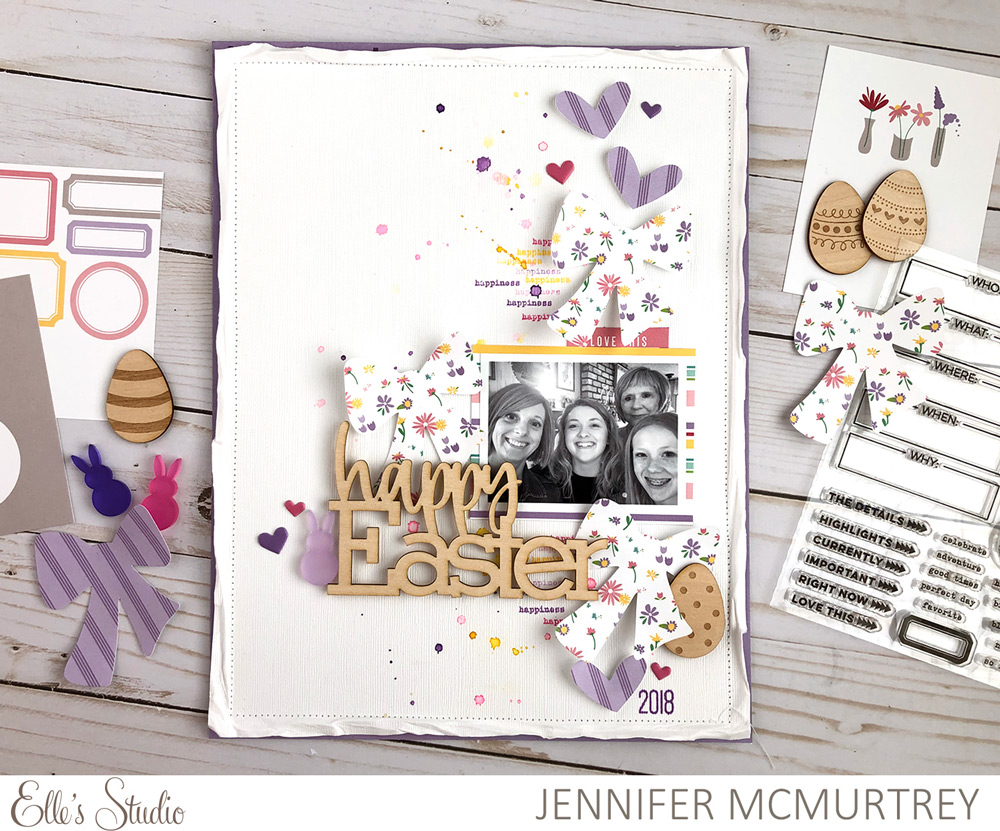
2. Die cut those pretty patterns, using our March 2019 digital cut file! We love the way that Jennifer McMurtrey added the big bows, taken from the bunny die cut, and hearts to her page in the Springtime Paper Stack patterns!
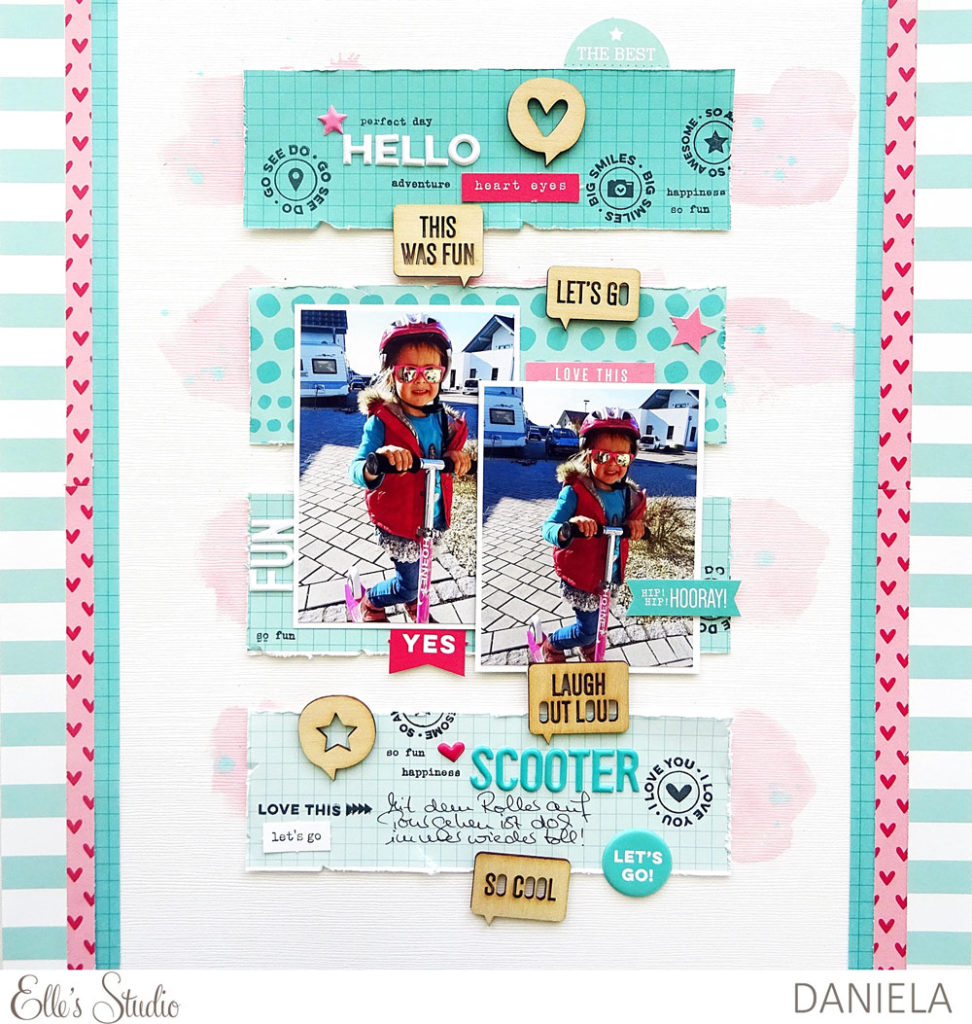
3. Cut apart your patterns! Daniela cut the ombre teal grid pattern into three separate pieces, keeping them separate on the background of her layout. She even added in the fun teal dot 4″ x 6″ tag from our March 2019 Kit to coordinate!
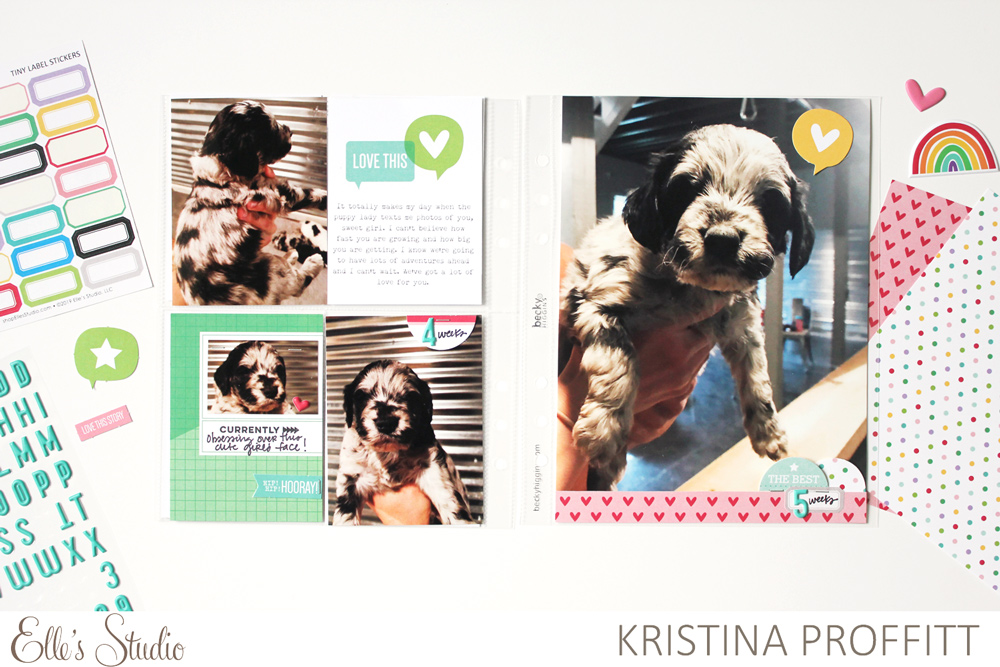
4. Add a border directly to your photo, the way that Kristina Proffitt did here using the pink and red heart pattern. It was the perfect addition to her sweet puppy photo, and gave her a shelf to add extra embellishment to the bottom corner.
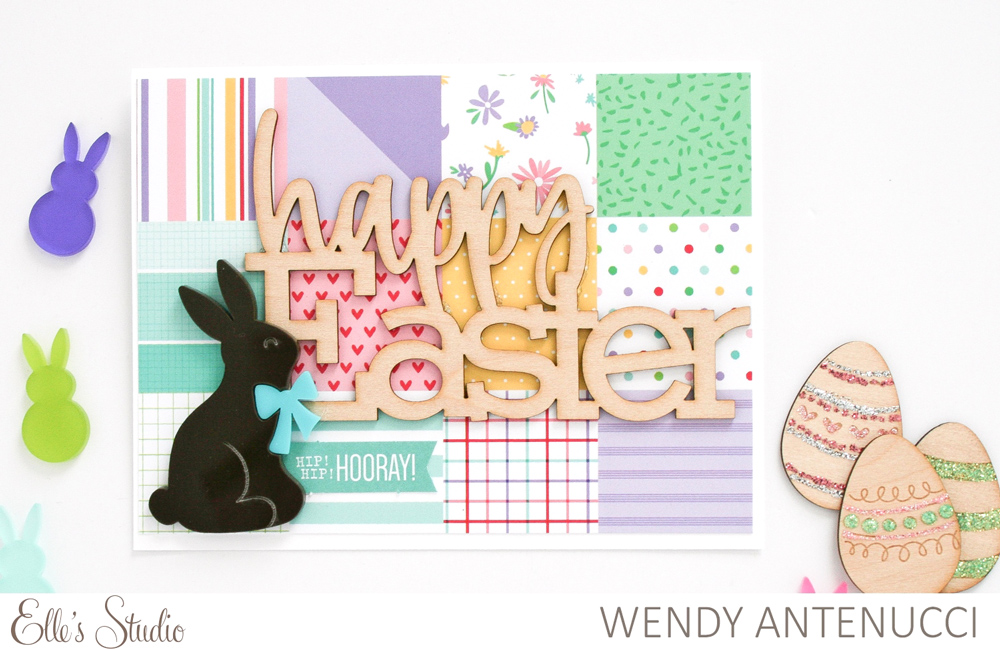
5. Use the pattern image on the Springtime Paper Stack packaging, the way that Wendy Antenucci did here to create her “happy Easter” card background! The small sized squares are perfect for cards and traveler’s notebooks, and you get to use each of the patterns at once without cutting into your sheets!
We want to see how YOU are using our Springtime 6 x 6 Paper Stack! Join us in our Elle’s Studio Facebook Group to share there with fellow ES fans, or on Instagram, using our hashtag #EllesStudio!
