Hey there, ES friends! It’s Meghann Andrew, and I’m excited to be back on the blog with you today! Much of our life is done in succession—tasks and chores, days and goals typically have a beginning, middle and end. Today, I decided to document a fun Easter activity in a three-step succession using the new Large Wood Veneer Numbers. Take a look at how it turned out! Creating it was as easy as one, two, three!
Supplies | March 2019 Kit, On This Day In March Journaling Tags, March Labels, Tiny Everyday Label Stickers, Spring Puffy Stickers, Large Wood Veneer Numbers, Wood Veneer Speech Bubbles, Little Acrylic Bunnies, Large Jane Alphabet Stamp – Solid, Large Jane Alphabet Stamp – Polka Dot, Large Jane Alphabet Stamp – Outline, Large Jane Alphabet Stamp – Stripes, Mini Dated Stamp, Large Jane Alphabet Metal Die, Large Jane Number Metal Die, Springtime 6 x 6 Paper Stack, Noteworthy 12″ x 12″ Paper Collection
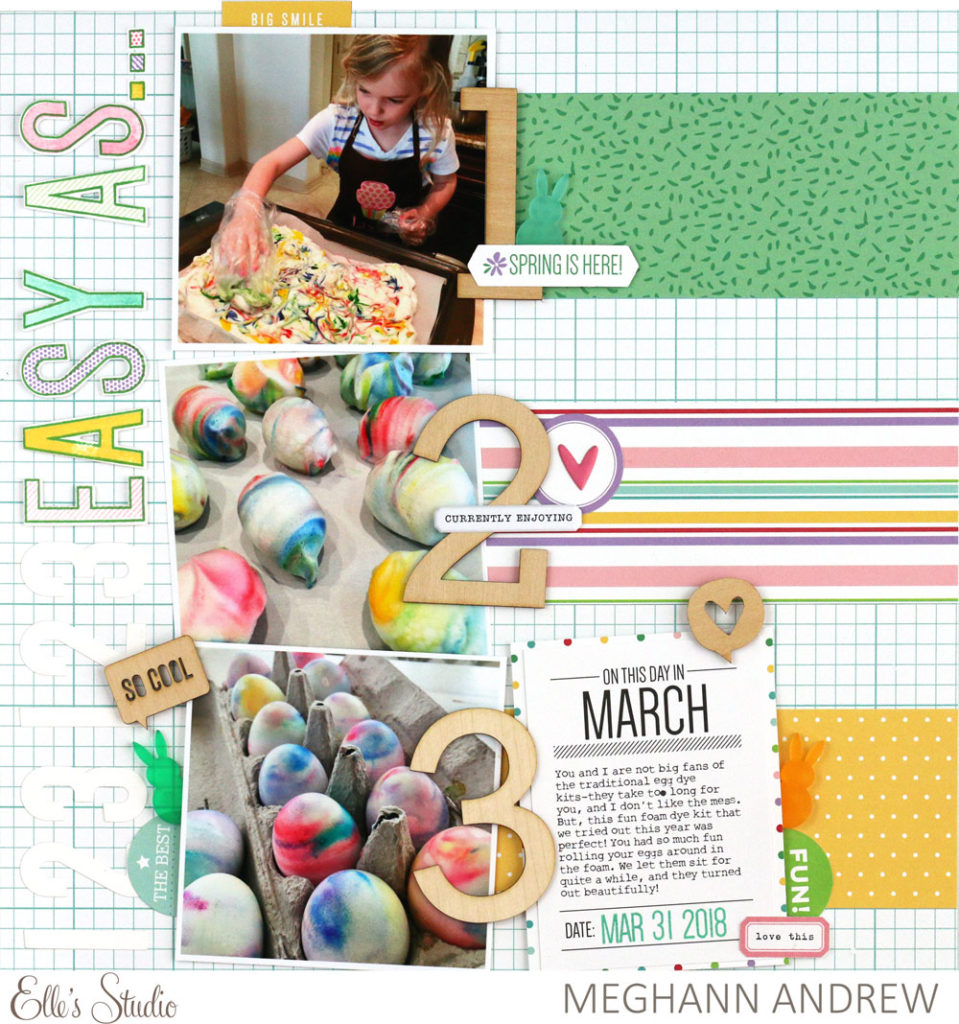
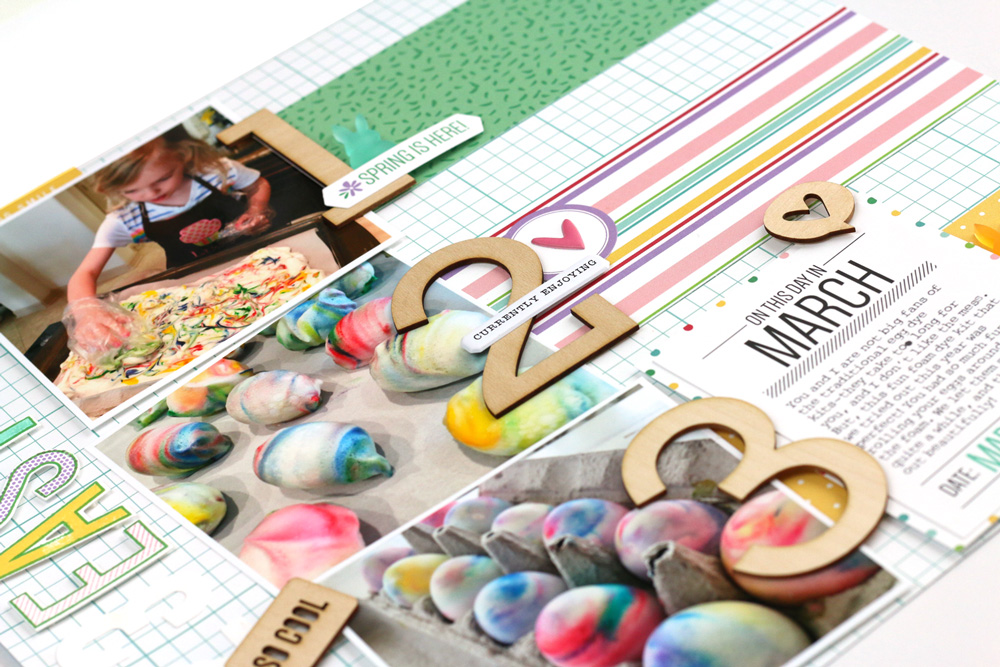
My daughter decorating Easter eggs last year was the perfect activity to document in succession on this 12″ x 12″ layout. I printed three photos at 4″ square, and ran them in a vertical line on the left side of my layout, leaving room to the left for my title, which I added using the Large Jane alphabet and numbers stamps and dies! I took the pretty pastel colors for my alphas from the colors in the Springtime 6 x 6 Paper Stack, and I cut 3″ wide pieces from three patterns in this stack to run from the right edge of the page to my photos.
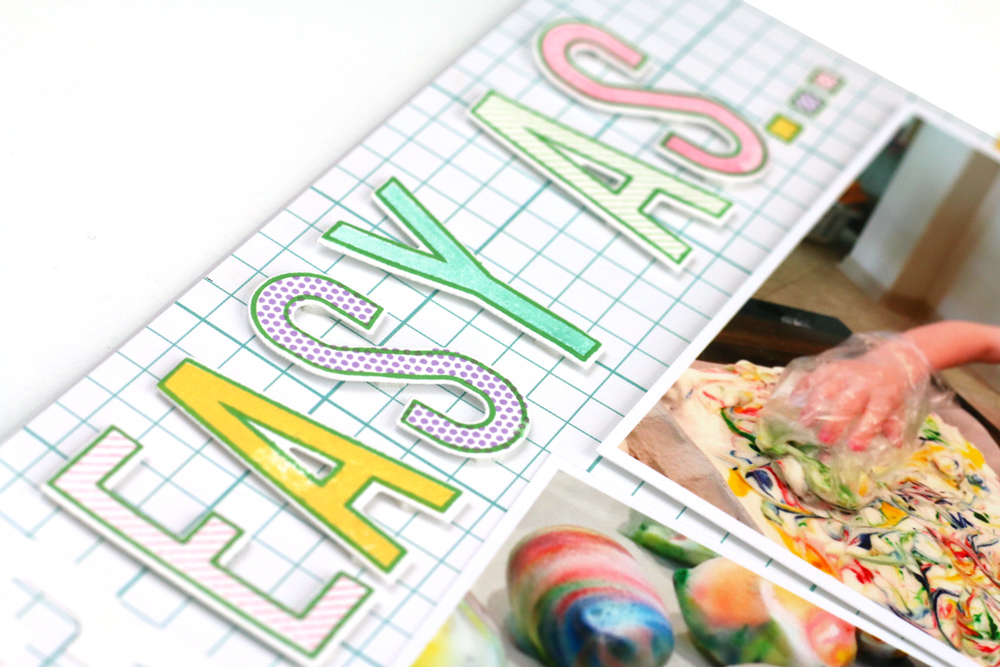
It was easy to come up with a title! I had three photos, so I used the numbers 1, 2 and 3 Large Wood Veneer Numbers. Using them made me think of the phrase, “as easy as one, two, three!” Once my base elements were adhered, it was time to embellish, and add my journaling.
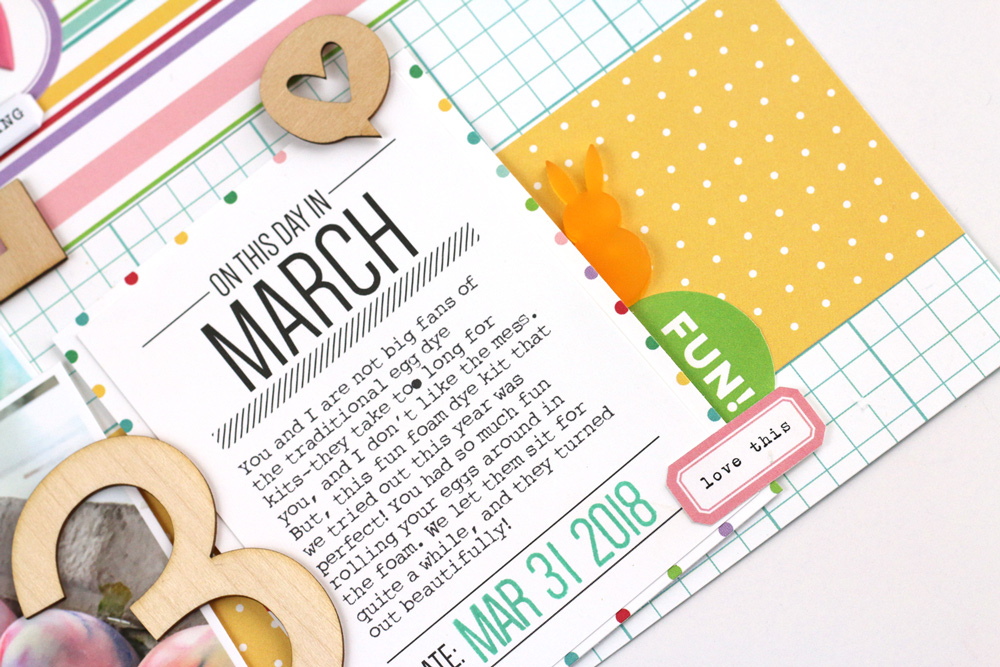
Using the On This Day In March Journaling Tag, I added my printed journaling, then backed with the colorful polka-dot pattern found on the Springtime 6 x 6 Paper Stack, to offset all of the color in my title. Adding the date to the base using the Mini Dated Stamp finished off that tag, but I wanted to add a few embellishments “peeking” out from it. The yellow Little Acrylic Bunny was a perfect addition, along with a die-cut from the March 2019 Kit and the “love this” Tiny Everyday Label Sticker. The heart Wood Veneer Speech Bubble finished off that bottom corner.
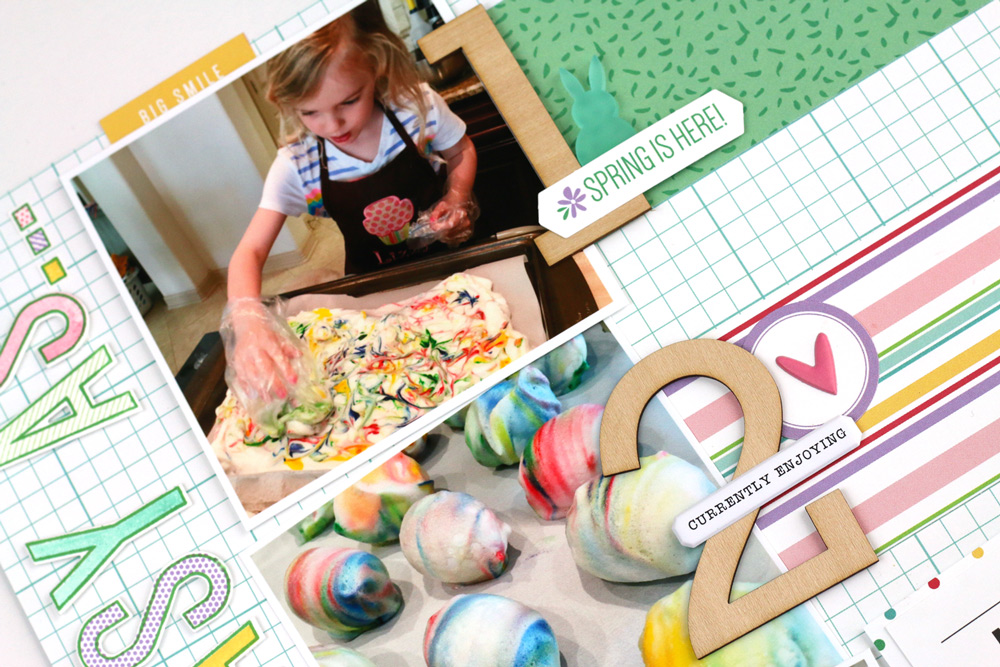
On numbers 1 and 2, I added die cuts from the March 2019 Kit, Spring Puffy Stickers and another Little Acrylic Bunny peeking out from behind my number. At the top of my first photo, I added the “big smile” March Label to add that pop of yellow to to the top of my page.
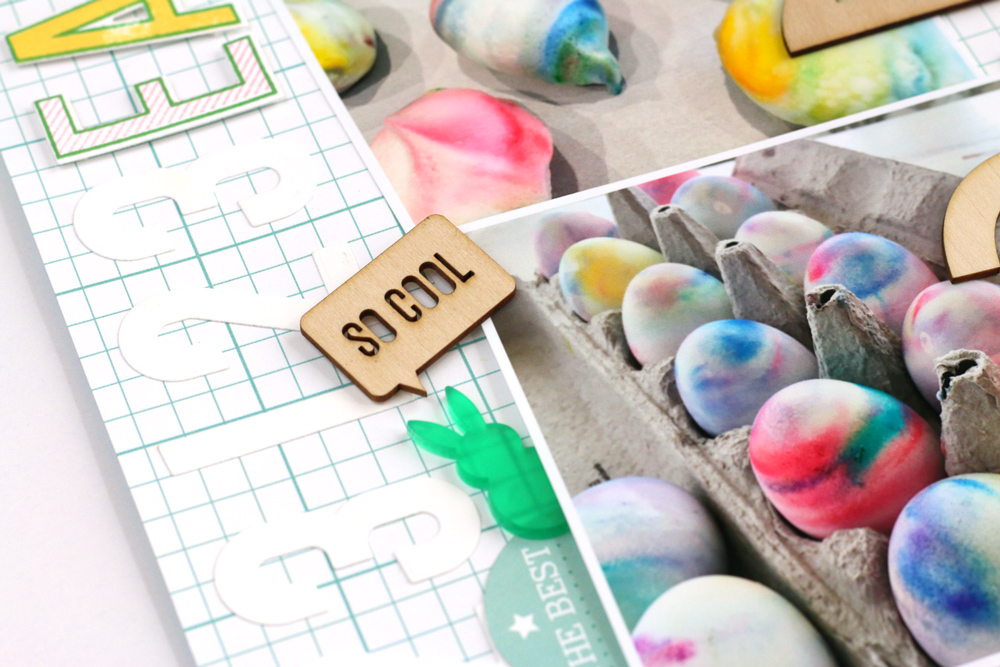
I love layering elements on my title, and I did that here with “the best” March 2019 Kit die cut, another peeking Little Acrylic Bunny and the “so cool” Wood Veneer Speech Bubble. I love the way that it looks against the 1, 2, and 3 numbers cut using the Large Jane Number Metal Die in smooth, white cardstock.
What moments in your life can you document in succession using these wonderful Large Wood Veneer Numbers? Whether it’s only three numbers, or twelve, on a layout or in a pocket, we’ve got you covered with the perfect product!

Show us how you’re using our Large Wood Veneer Numbers on a project by posting to Instagram using the hashtag #EllesStudio, or in our Elle’s Studio Facebook Group!
Comments