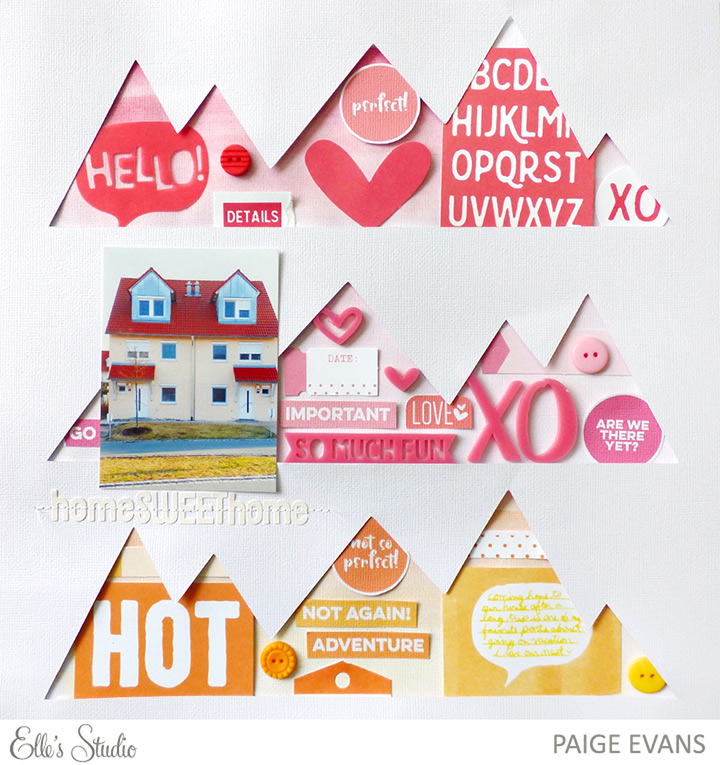
 Paige is sharing a step-by-step layout tutorial with us today using our exclusive August kit, XO acrylics, cut files, and printables! We are loving the fun layers and ombre effect this layout has – wait until you see the simple 5 step process she has laid out for us on how it all came together!
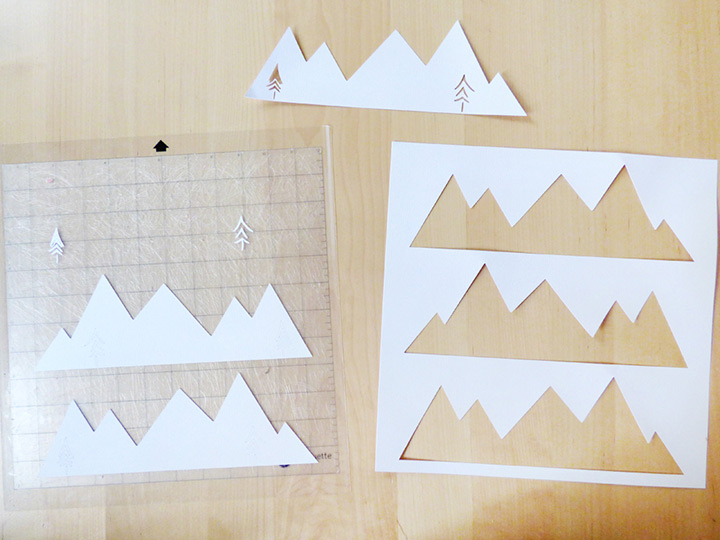 1. Cut three mountains (flip the middle one horizontally) from white cardstock, using the August Cut File.
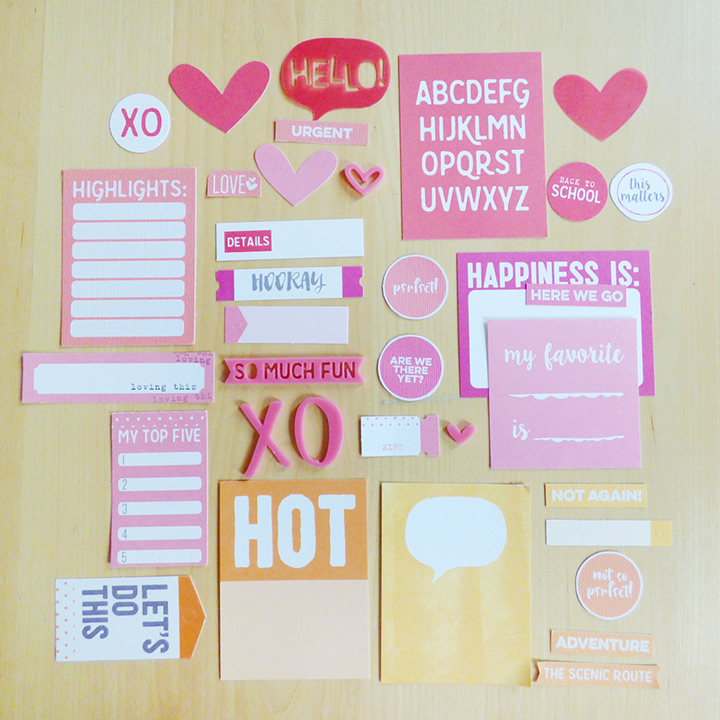 2. Print and trim the printables then arrange them along with the August kit contents, and XO acrylics, in red/pink/orange/yellow ombre.
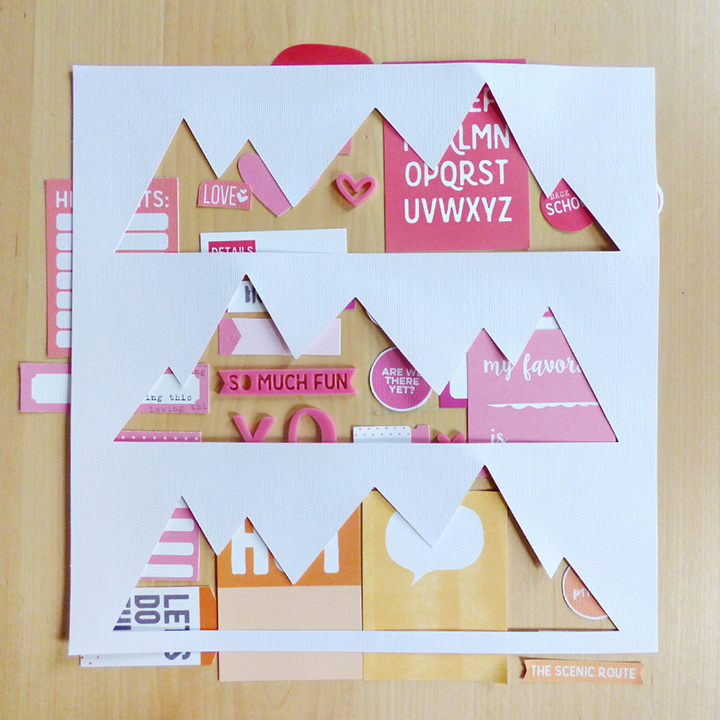 3. Place the mountain die cut page over the pieces to see how you like it.
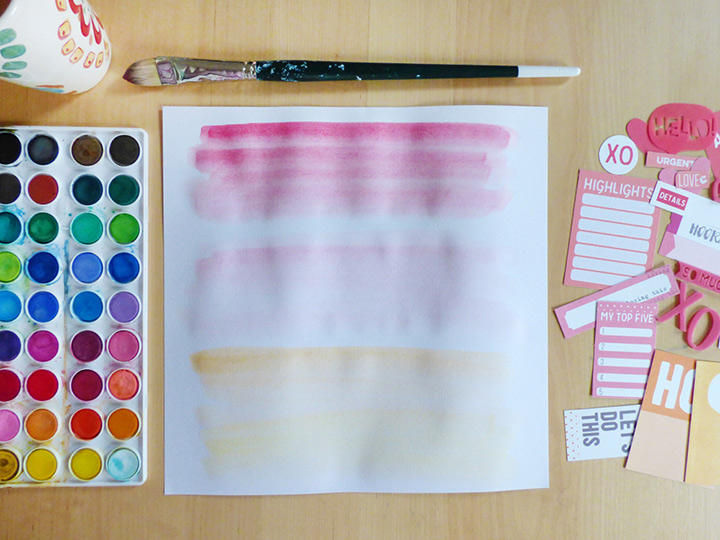 4. Watercolor red/pink/orange/yellow across another sheet of white cardstock and let it dry. Adhere all of the pieces in place then add the die cut page on top using foam dots.
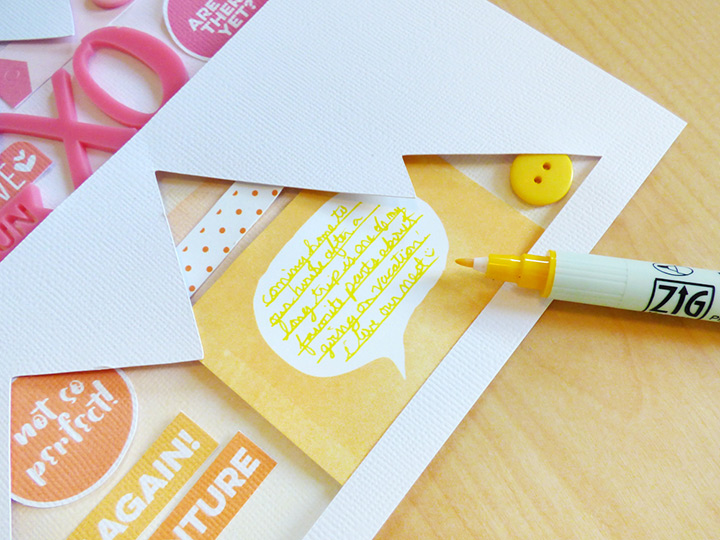 5. Add a photo and title then journal with a matching colored pen on a thought bubble card from the August kit.
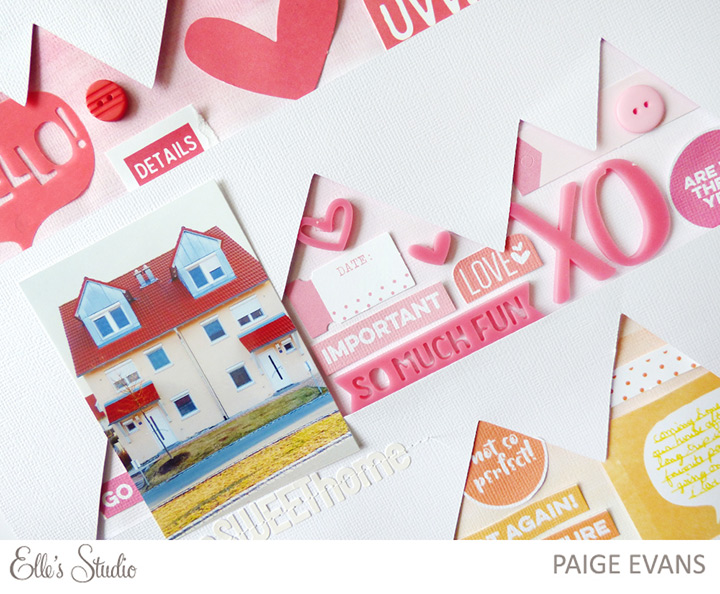 Products used: Exclusive August kit, XO acrylics, Here We Go printables, and August cut file.
What a fun way to use that cut file – we love it! We hope this layout inspires you today!

Comments