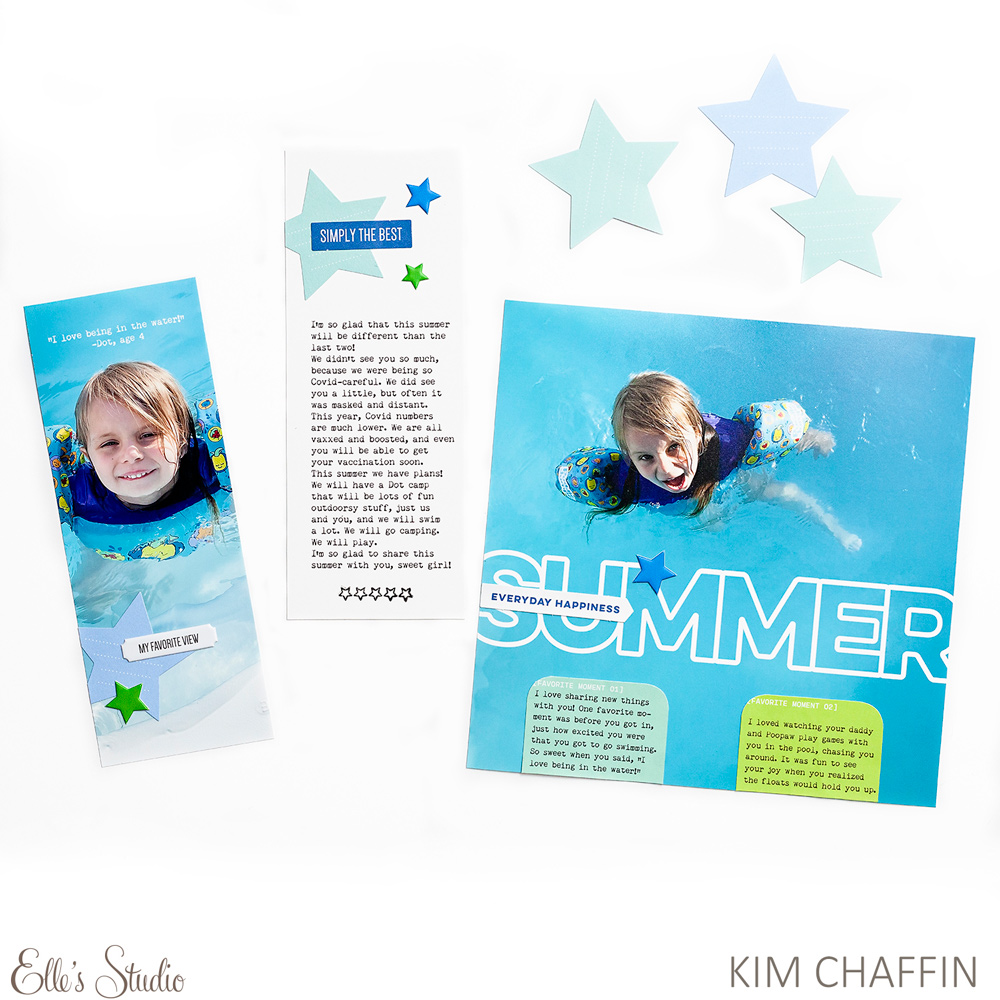
Hello, crafty friends!, It’s Kim Chaffin, and I’m so happy to be back with you to share a Tuesday Tutorial! I’d like to show you how I create a flip-out addition to my page when I want to add a bit of room for journaling or extra photographs. First, let’s look at the layout I’ve made!
Supplies | July 2022 Kit, July 2022 Cut Files, Star Notes Die Cuts, Puffy Star Stickers
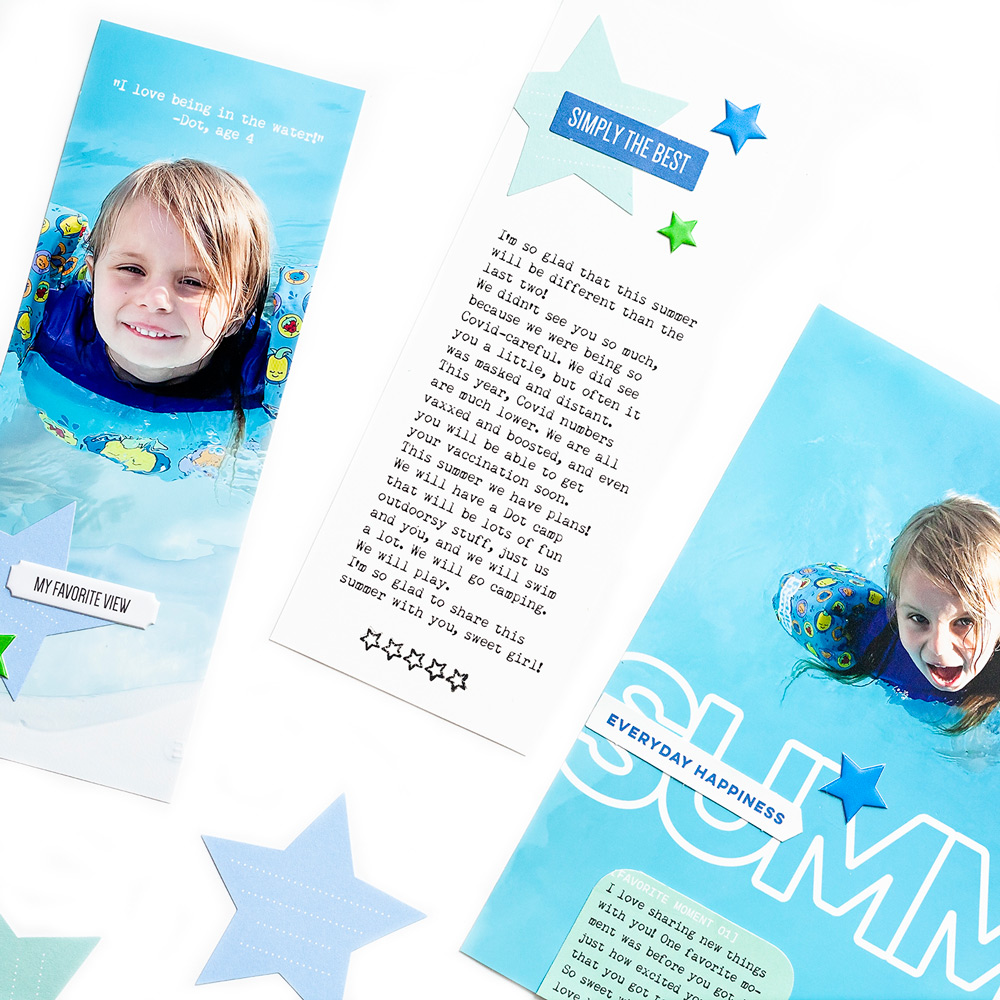
The large photo is 8″ x 8″, and I added a 3″ x 8″ flip-out addition to hold a strip of journaling and another photograph.
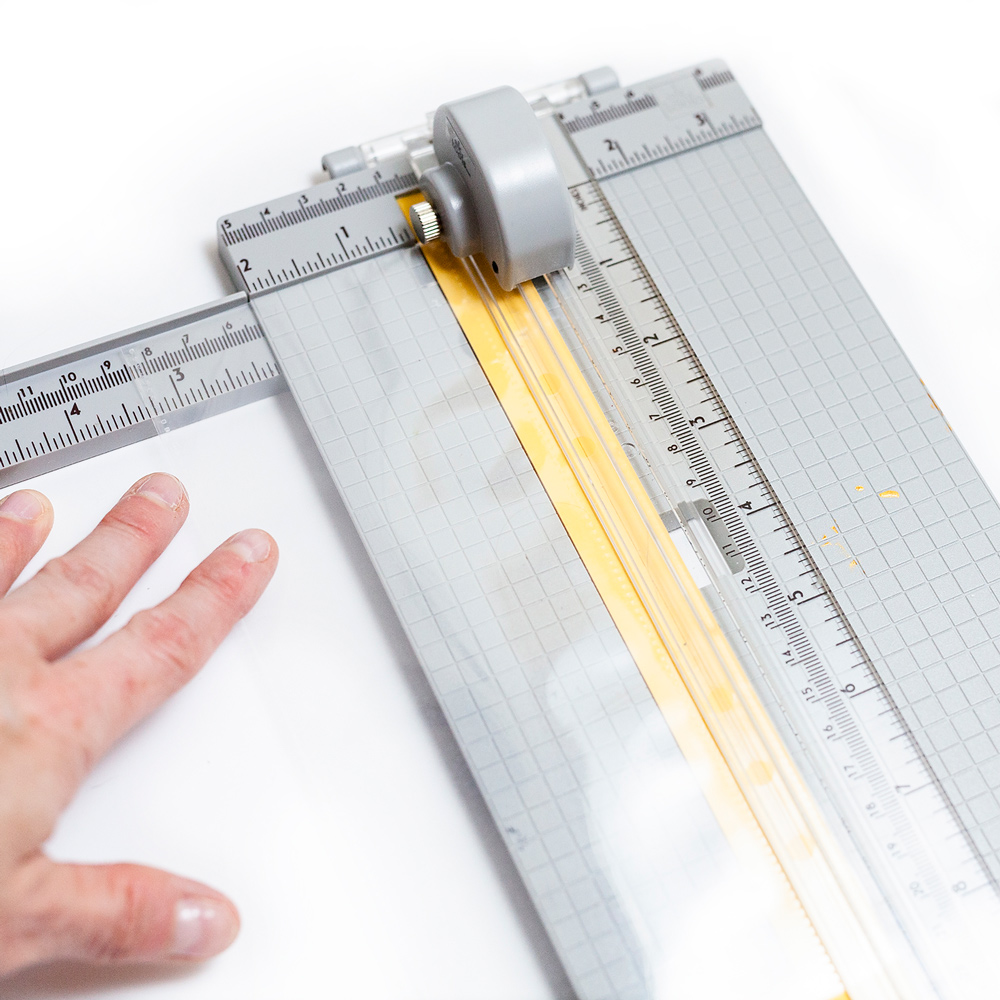
I used an 8″ x 8″ and a 3″ x 8″ page protector, but you can do this using whatever size works for your project. The first step is to trim the holes off of the smaller page protector. I just use my paper trimmer. Trim close to the fused edge without cutting into your photo pocket.
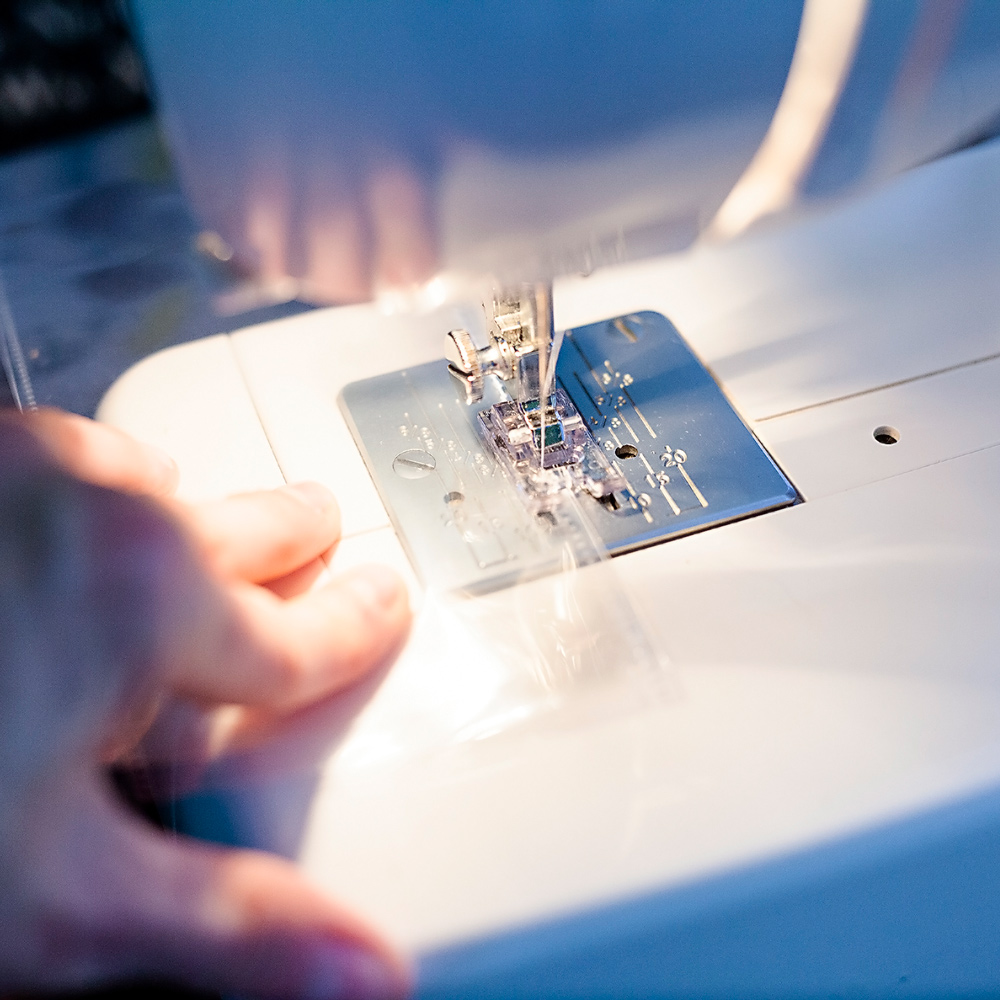
Next, you’ll sew the page protectors. Layer the two page protectors together with the smaller one on top, lining up the left sides. The holes on the larger page should be on the right side. You could reverse that if you want your flap to open on the right side of your page. Try to sew directly through the fused edge of both page protectors.
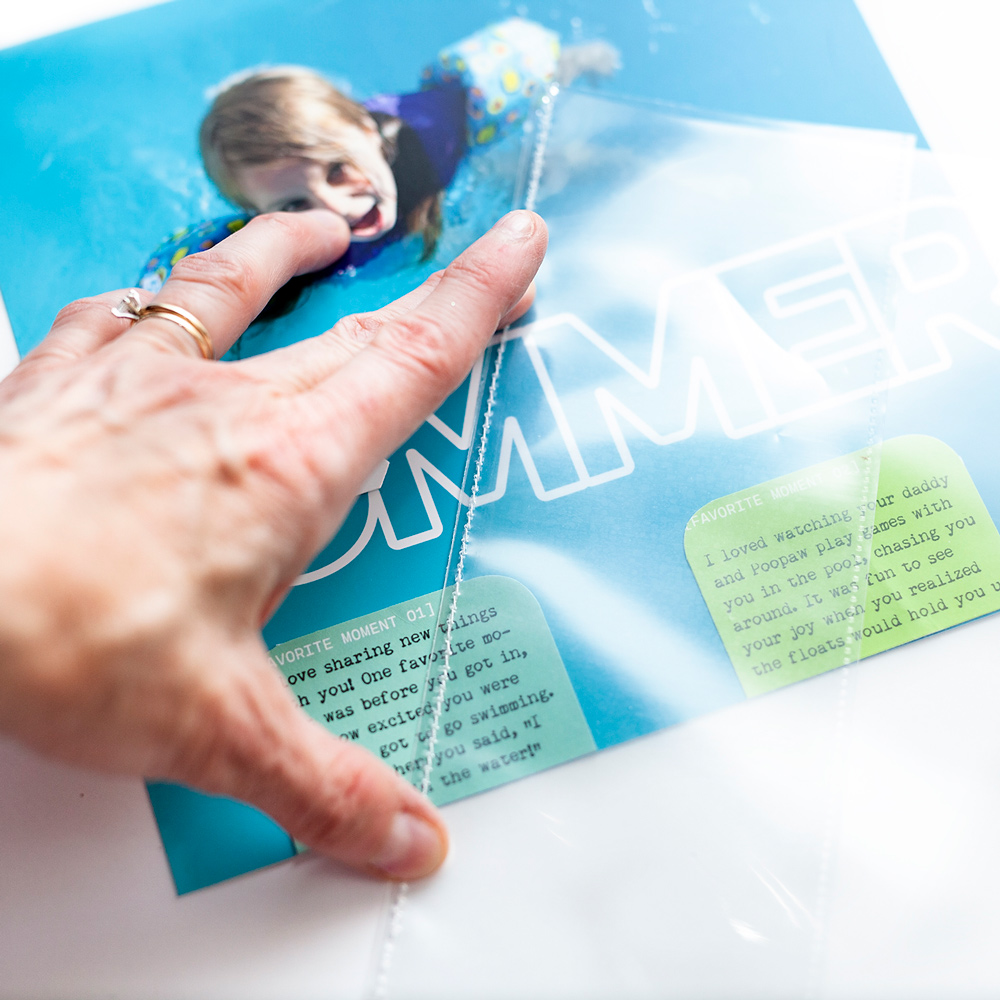
After sewing, simply trim the hanging threads, and it is ready to use!
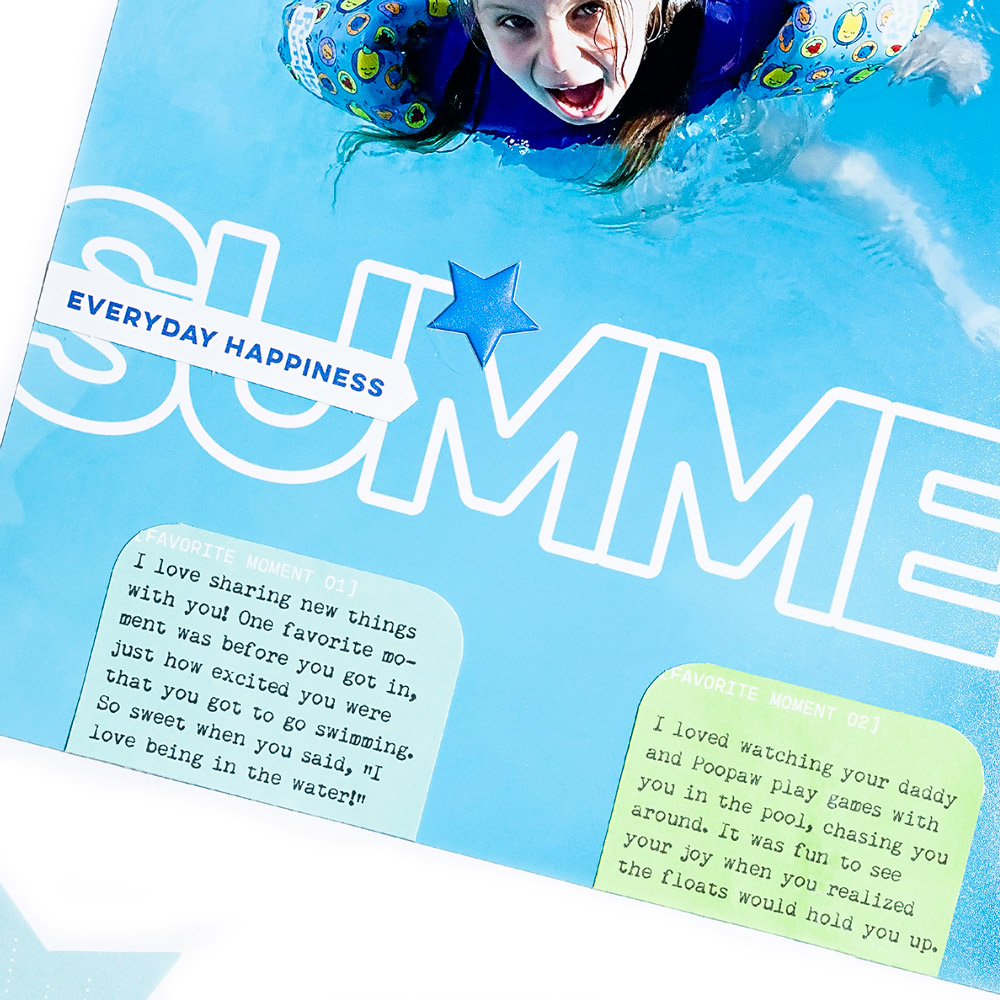
To create my layout, I added the “summer” July 2022 Cut File as a digital title, and I used a pocket tag from the July 2022 Kit trimmed in two to house a portion of my journaling. All that remained was to add a bit of embellishment, and my layout was done.
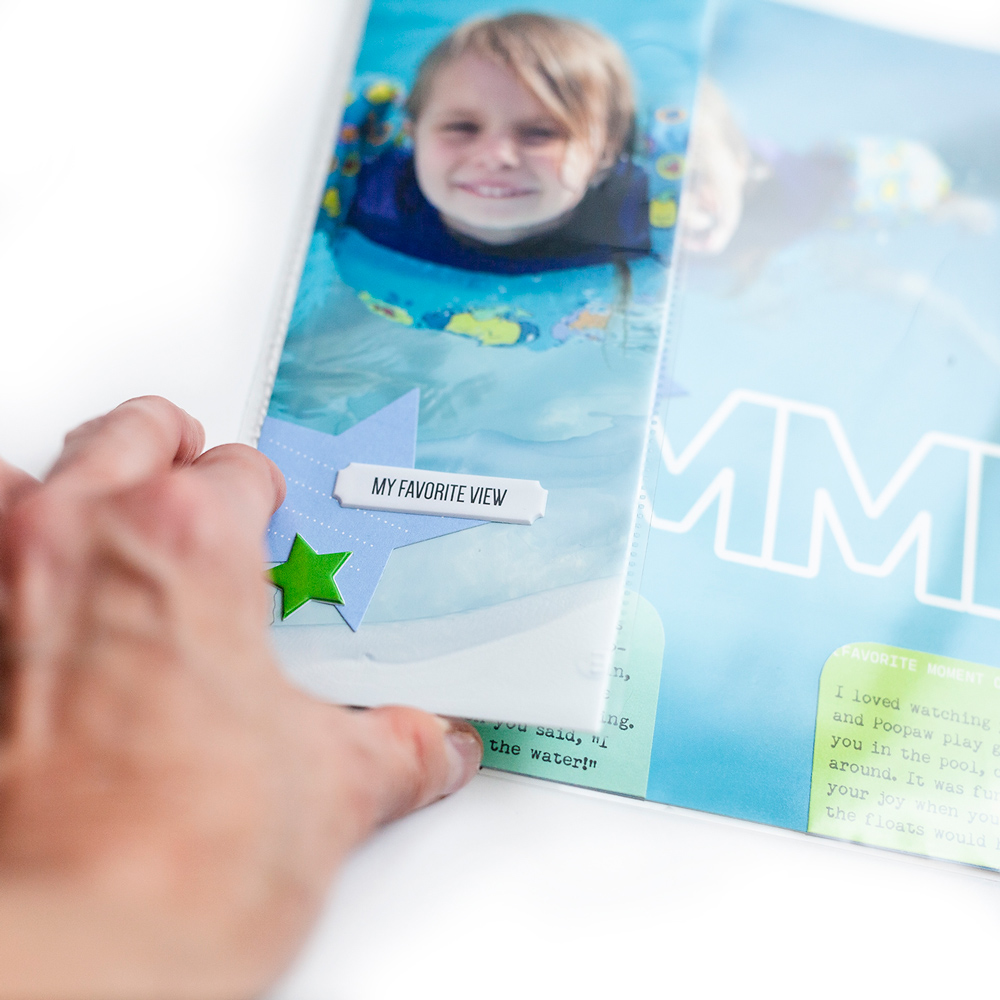
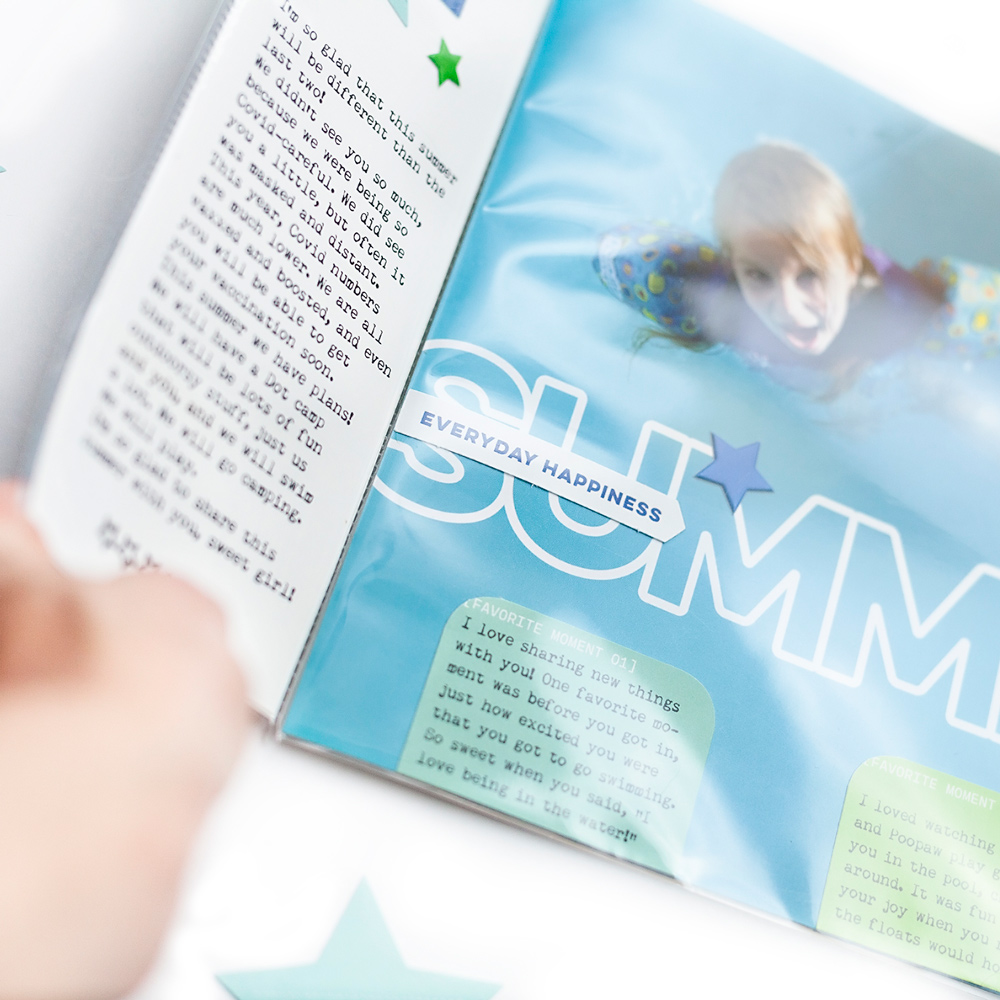
I inserted the completed layout into the page protectors, and now I have a fun flip-out that adds an interactive dimension to my page and extends the layout’s capacity! I’d love to see the way you create interactive elements using the July 2022 kit and extras! Be sure to share your projects with us in our Facebook Group and on Instagram using the #EllesStudio hashtag!
