Hello, crafty friends! It’s Kim, and I’m happy to be back on the blog today sharing one of my favorite things! Though I do like to use cut files to create die cuts, I really love to use Elle’s Studio monthly cut files in creative ways as digital files. I’d love to show you a couple of variations I’ve used with the February 2022 Cut Files on a scrapbook layout that documents three things I love about my husband.

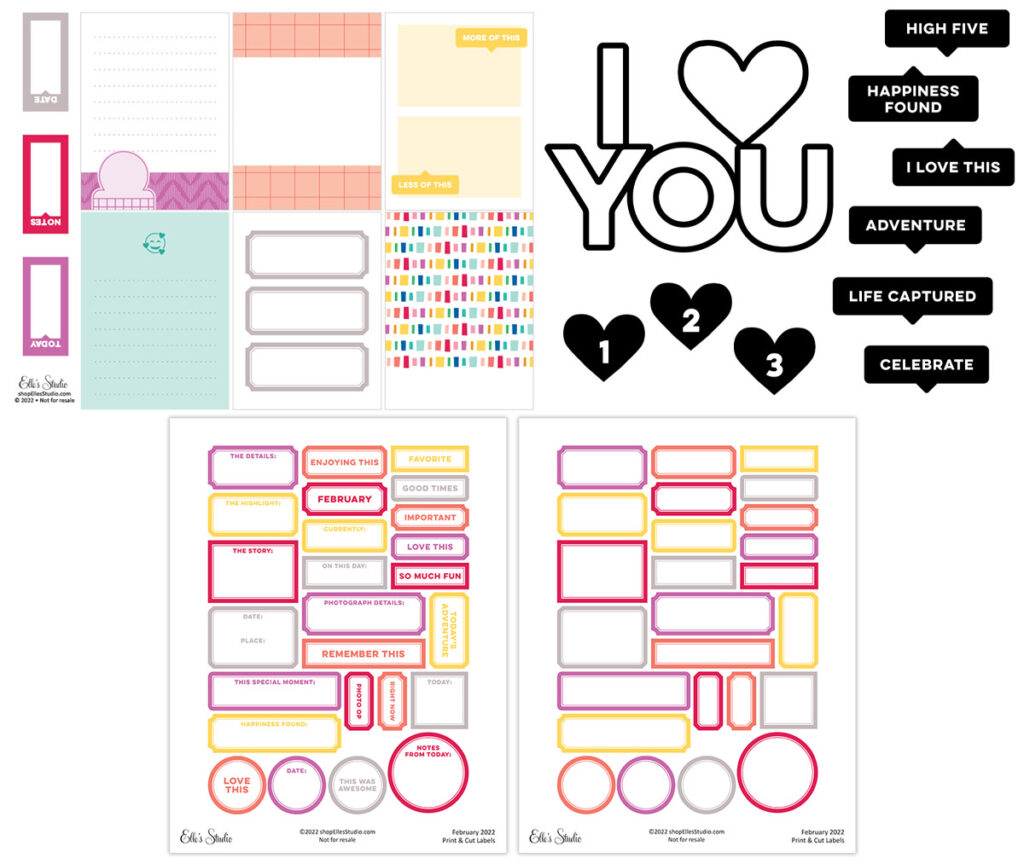
Supplies | February 2022 Kit, February 2022 Cut Files, February 2022 Printables, Love Chipboard Stickers
This layout involves a minimal understanding of Photoshop, but the techniques I’ve used, such as layer masks and clipping masks are not difficult, and a quick google search should point you to many tutorials to explain the way to use these tools if you haven’t done this before. I’m also happy to answer questions in the comments section. I’m confident that these effects could be achieved using other photo editing software as well, but I have the most familiarity with Photoshop.
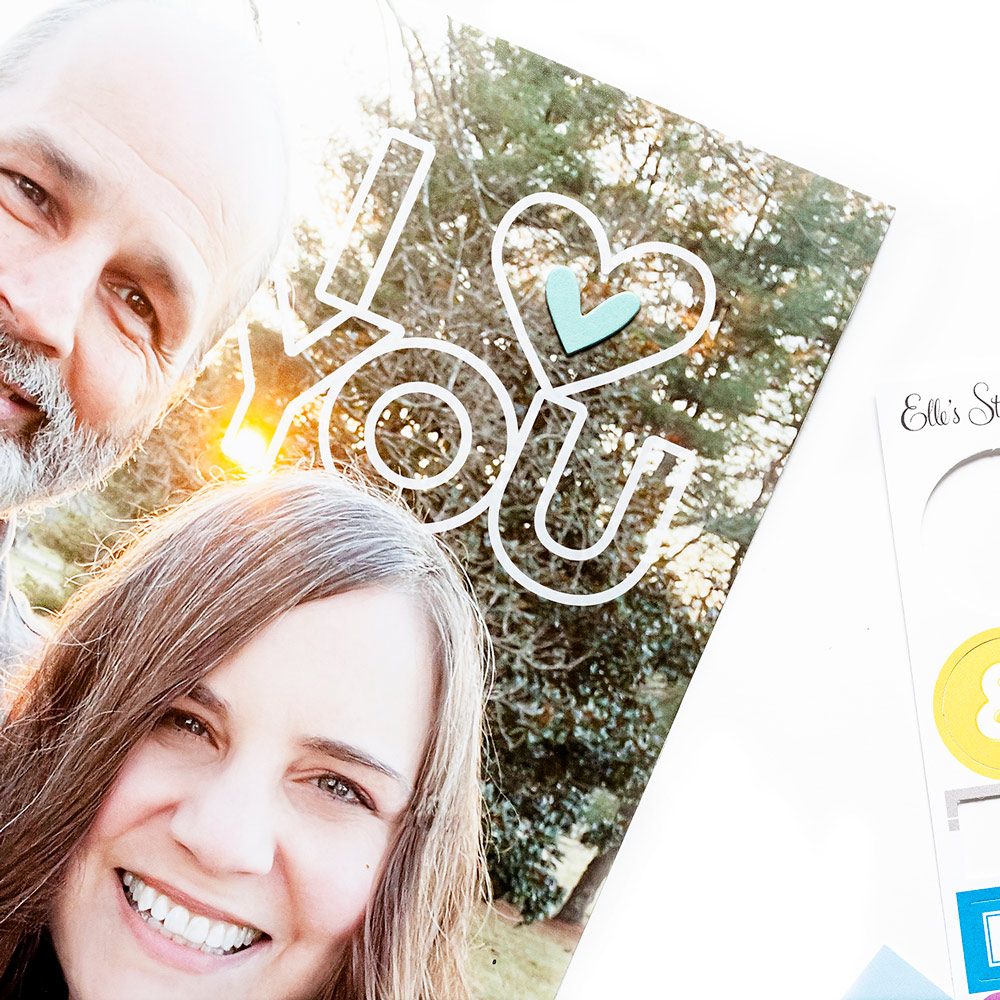
I created my title using the “I Love You” cut file. I simply opened the PNG file in Photoshop and layered it over my photo. I chose the background above and beside our heads. In Photoshop, I converted the file to white. There are several ways you could do this. The paint bucket tool is probably the easiest. I put the opacity at 50%, which gives it the look of digital vellum, allowing the background to show through a bit.

If you look close, you’ll see that I made it appear that the cut file goes behind our heads. The way I achieved this look was to add a layer mask to the cut file. Then using a brush set to black, I zoomed in and carefully painted the file off anywhere that it overlapped our heads.

I wanted to use the numbered heart files to share three things I love about my husband. I placed each heart toward the lower portion of the photo, being careful to leave space near each heart for my journaling. I wanted the hearts to look like patterned paper. To achieve this I opened three of the February 2022 Printable pocket tags that had patterns I liked.
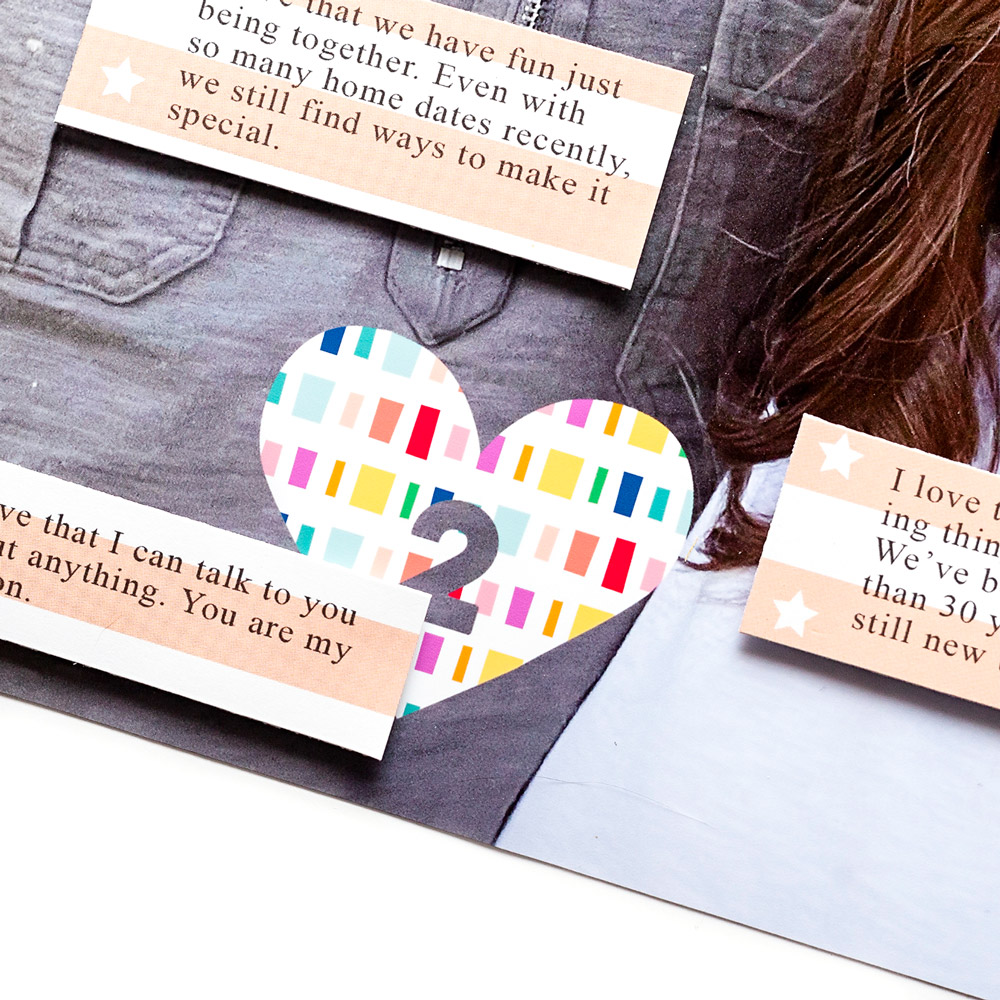
I layered a pocket tag directly over each numbered heart cut file. With the digital pocket tag selected, I went to the layers tab in Photoshop and scrolled down to click “create clipping mask”. At this point, you should see the shape of the cut file underneath with the pattern of the printable on top. You can move the pocket tag around until you get the portion of print where you like it best. Next, I flattened my layout and printed it at the desired size. For me, that was 9 x 12. I printed my journaling in three sections onto a pocket tag from the February Kit. Then I cut the tag into three strips, and I adhered them near the numbered files. A date stamp and a Love Chipboard Sticker heart finished the layout.
How are you using the Elle’s Studio digital files?

Our February digital files are perfect for helping you to customize your project, and our monthly kit subscribers get our printables, cut files and print and cut labels for FREE each month! Learn more about subscribing and get your own stash of digital files to add to your library by clicking HERE today!