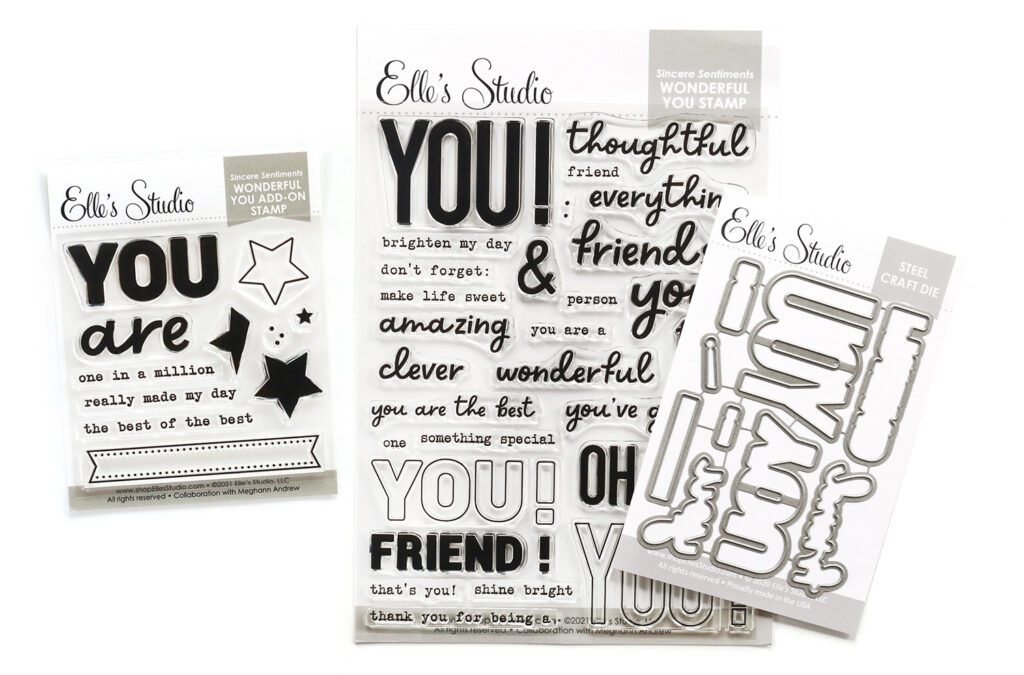
Hello there, Elle’s Studio friends! It’s Meghann Andrew here, and I’m so happy to be on the blog with you today sharing an important reminder: there is only ONE MONTH to go until Valentine’s Day! Let’s get a jump-start today on our Valentine creating with our cardmaking line, Sincere Sentiments! I’m going to show you how you can create two beautiful and simple cards using our Wonderful You collection along with a few new add-ons from our January release!
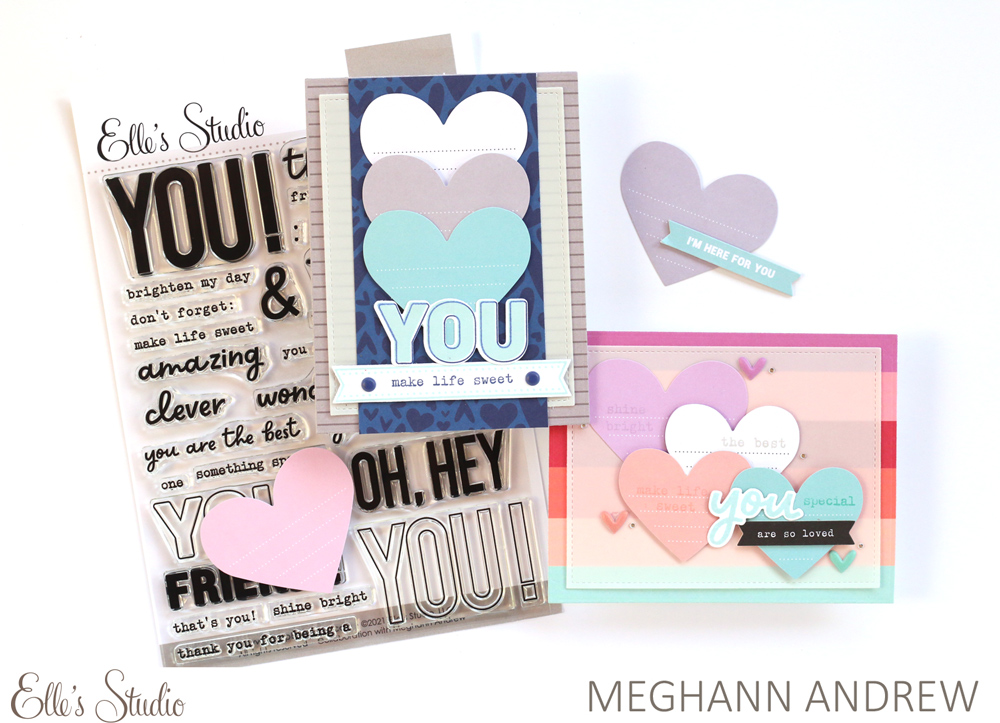
Supplies | Love Notes Die Cuts, Sincere Sentiments Wonderful You Chipboard Banners, Tiny Shapes & Dots Puffy Stickers – Warm Tones, Tiny Shapes & Dots Puffy Stickers – Cool Tones, Love You Paper Stack, Sincere Sentiments Wonderful You Stamp, Sincere Sentiments Wonderful You Add-On Stamp, Sincere Sentiments Wonderful You Metal Die, Banners Metal Die, Layered Card Metal Die
Whether masculine or feminine, our Wonderful You collection is perfect for creating Valentines with a different look and feel every time! Let me show you this soft and pretty card that I created first:
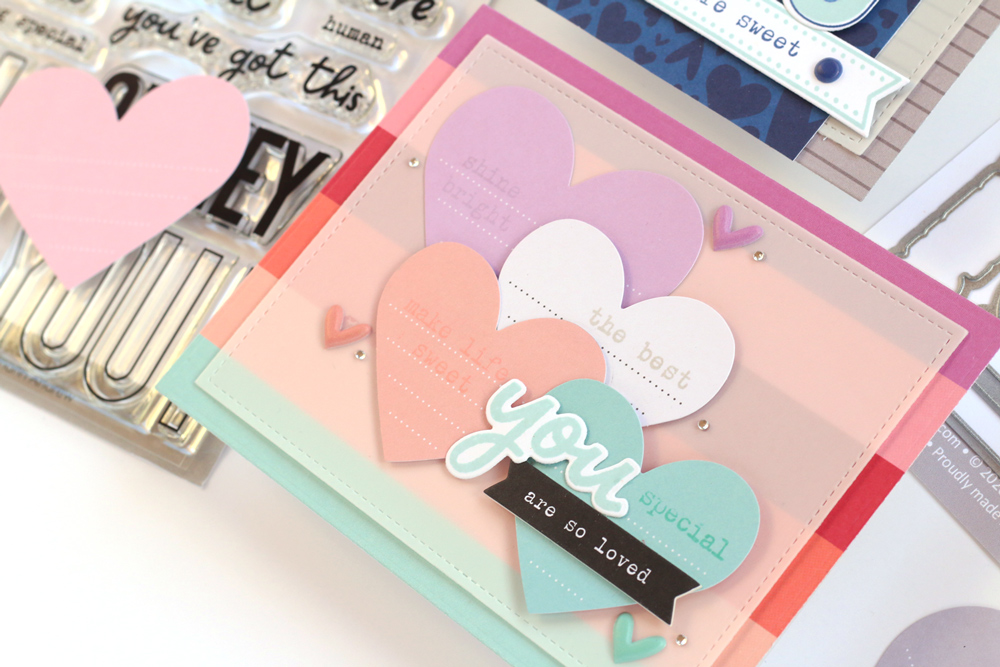
I started off this card with my favorite striped pattern from the new Love You Paper Stack, choosing only the top 6 hues to create a warm background. Want to know how to take a pattern from bold and beautiful to soft and subtle? Add vellum to the top! I used the Layered Card Metal Die to added a vellum stitched-edge layer over the top of the stripe to help my next layer stand out. I didn’t adhere it just yet—keep reading to find out how I hid my adhesive.
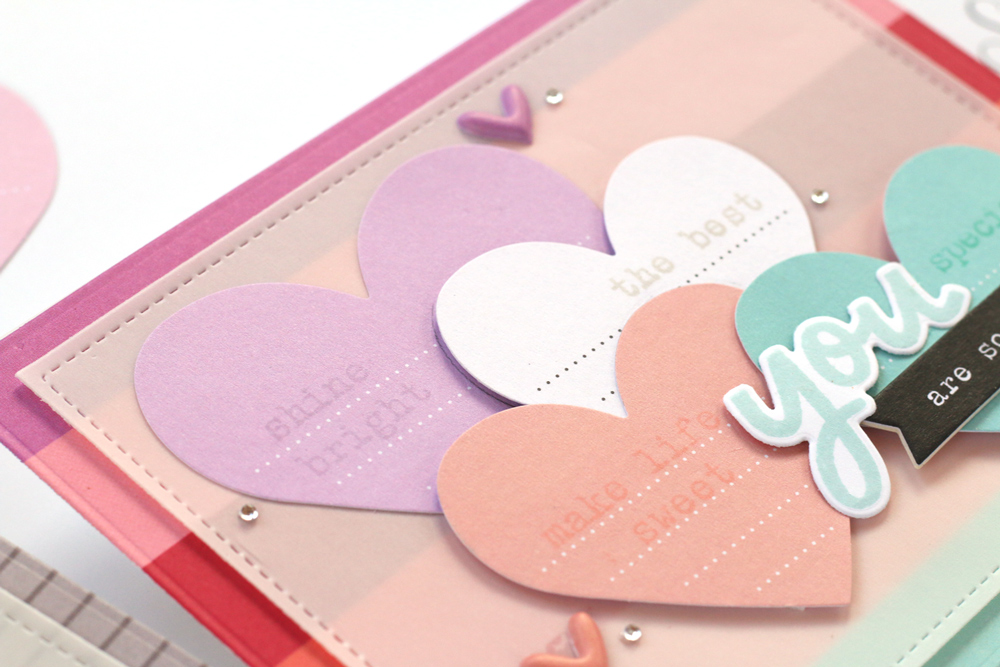
The new Love Notes Die Cuts come with wonderful heart die cut journaling pieces, and instead of journaling, I decided to arrange several that matched the colors in the striped paper in a diagonal across my card. To add another subtle touch, and even more LOVE to this card, I stamped phrases from the Wonderful You Stamp on each heart in a coordinating color, giving the words a shadow effect. I then adhered the hearts to the vellum using regular adhesive and dimensional foam adhesive. To adhere my vellum panel to the patterned paper, I turned the panel over and placed adhesive liberally underneath of the heart die cuts.
To finish off the card, I paired the script “you,” stamped using the Wonderful You Stamp and cut with the coordinating Metal Die with the “are so loved” Wonderful You Chipboard Banner. That pop of black adds contrast against the soft colors and helps the sentiment to stand out. A few puffy heart stickers, (with adhesive sticky dots underneath of them to add more adhesive to the vellum panel), and tiny gems added just the right amount of sparkle to complete the card.
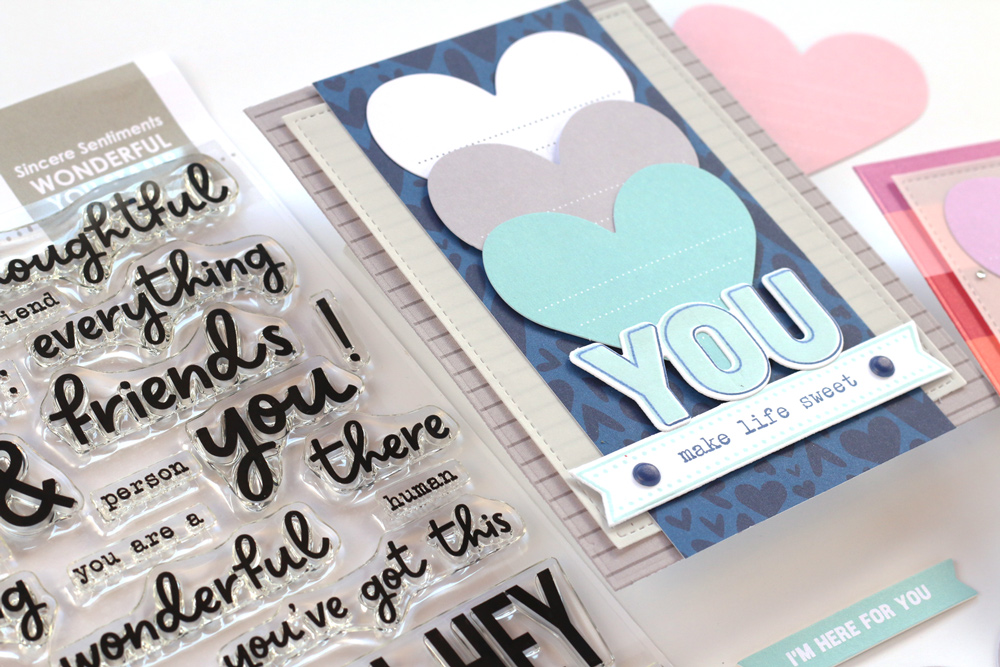
My next card took a more masculine approach, but still included a cascade of hearts! This time, I selected cooler hues, and began by layering patterns from the Love You Paper Stack with another vellum panel cut with the Layered Card Metal Die. Because of its simplicity, I used a lot of dimensional adhesive here—underneath the vellum panel and under my gray and teal hearts.
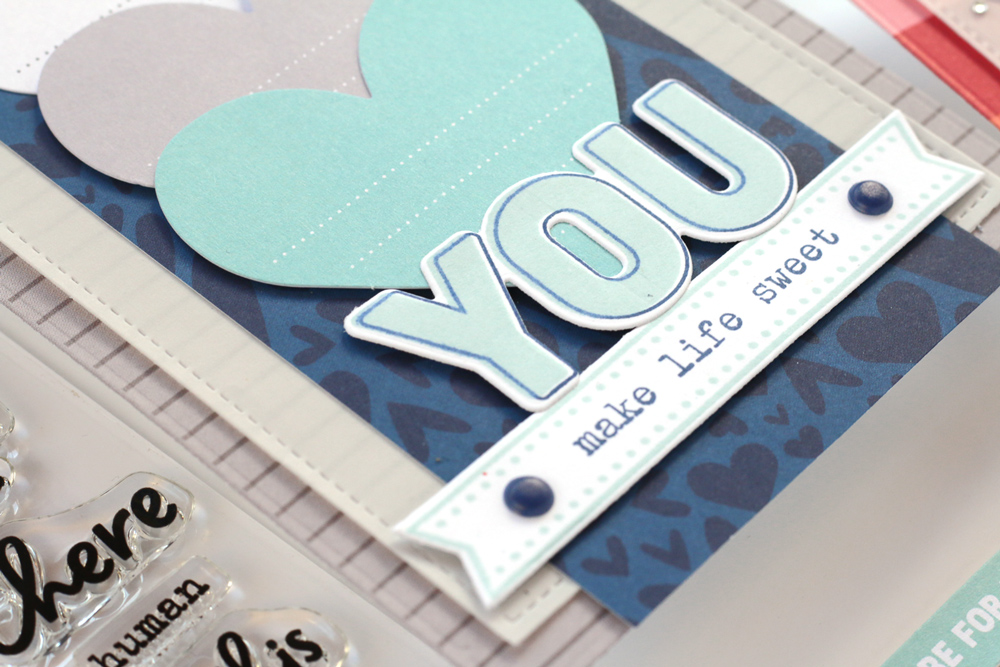
My sentiment “you” was double-stamped with the Wonderful You Stamp in navy and a pale teal, then die cut with the coordinating Wonderful You Metal Die. To add a “shelf” for this word to sit on, I stamped the dotted banner from the Wonderful You Add-On Stamp, and added “make life sweet” from the Wonderful You Stamp and cut it with the coordinating Banners Metal Die. To keep embellishment at a minimum, I simply added two navy dots from the Tiny Shapes & Dots Puffy Stickers to look like nailheads on the banner.
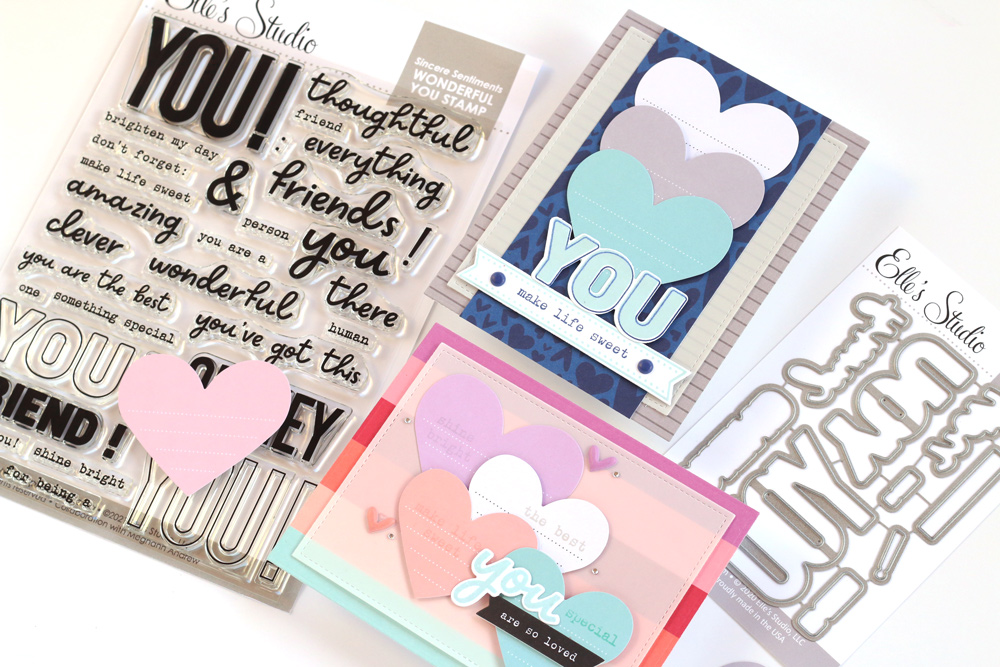
If you have the Wonderful You collection on hand, and your January 2022 kit and add-ons on the way, have fun and play with these products that pair so perfectly together to create beautiful Valentines for those you love this year!
Thanks so much for stopping by, and don’t forget to share what YOU create with us using the #EllesStudio hashtag on Instagram, or on the discussion board in our Facebook Group!

