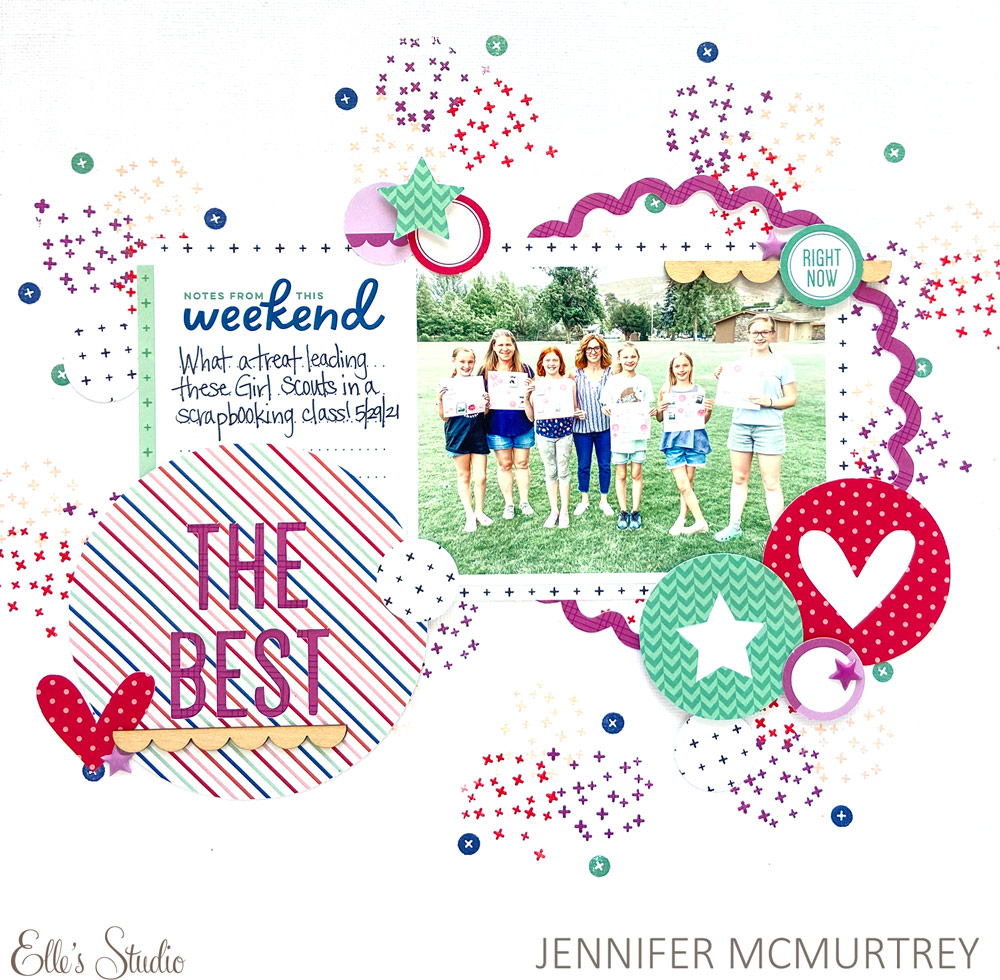
Hello friends! It’s Jen today with a project focusing on something I think we all adore… scrapbooking! Last weekend I had the opportunity to share my love of crafting with a local Girl Scout troop, and we had a lovely time creating a layout together. Originally, it was just going to be the girls who participated, but the mothers joined in as well. It was such a wonderful way to spend the afternoon.
This project utilizes several of the May 2021 Cut Files along with the From Sketch to Finish Vol. 6 Stamp, which are both amazing.
Supplies | May 2021 Kit, May 2021 Cut Files, Tiny Shapes and Dots Puffy Stickers – Warm Tones, Wood Veneer Borders, Good Times Paper Stack, Fun with Borders Stamp, From Sketch to Finish Vol. 6 Stamp
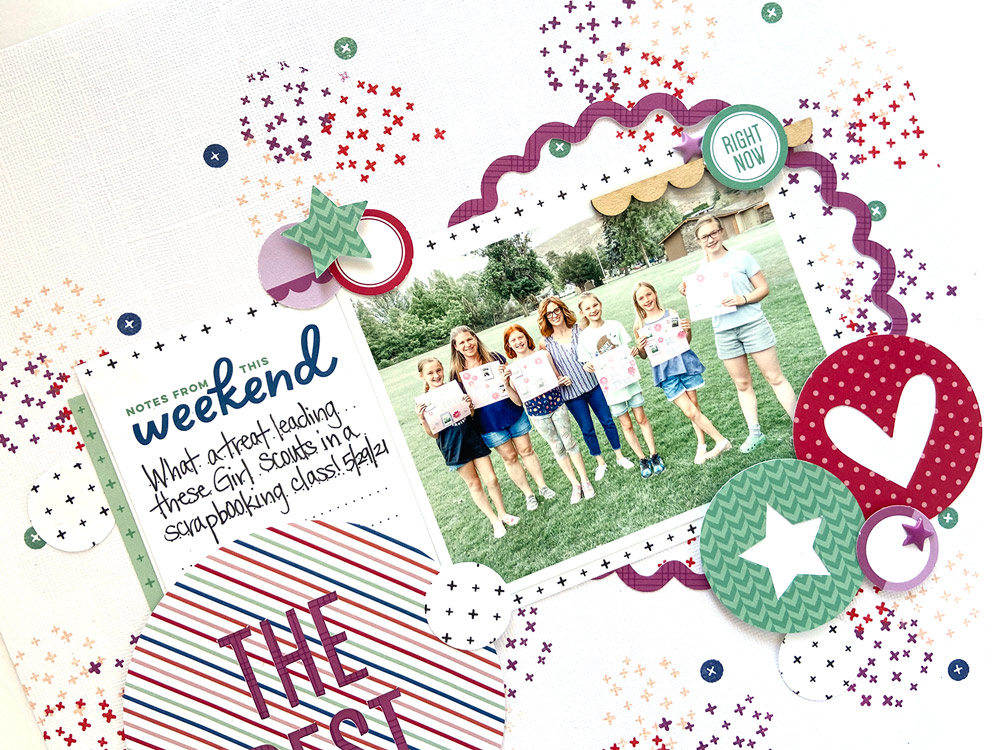
To create the background, I used the plus sign cluster from the From Sketch to Finish Vol. 6 Stamp in several colors. I created several clusters in red, pink, and purple; and followed that with green and blue circles.
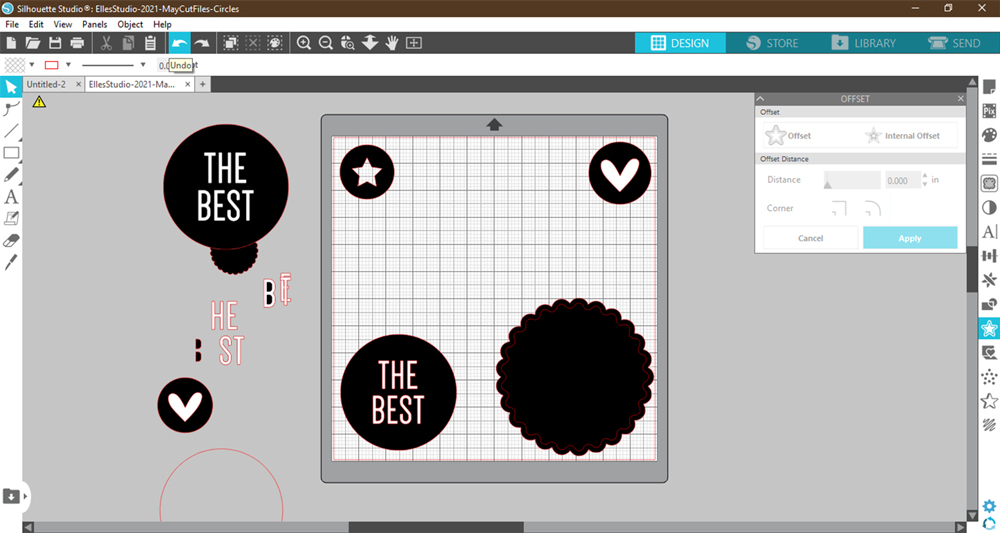
Next, I isolated three of the May 2021 Cut Files, adjusted the sizes, and cut them with my Silhouette using the Good Times Paper Stack.
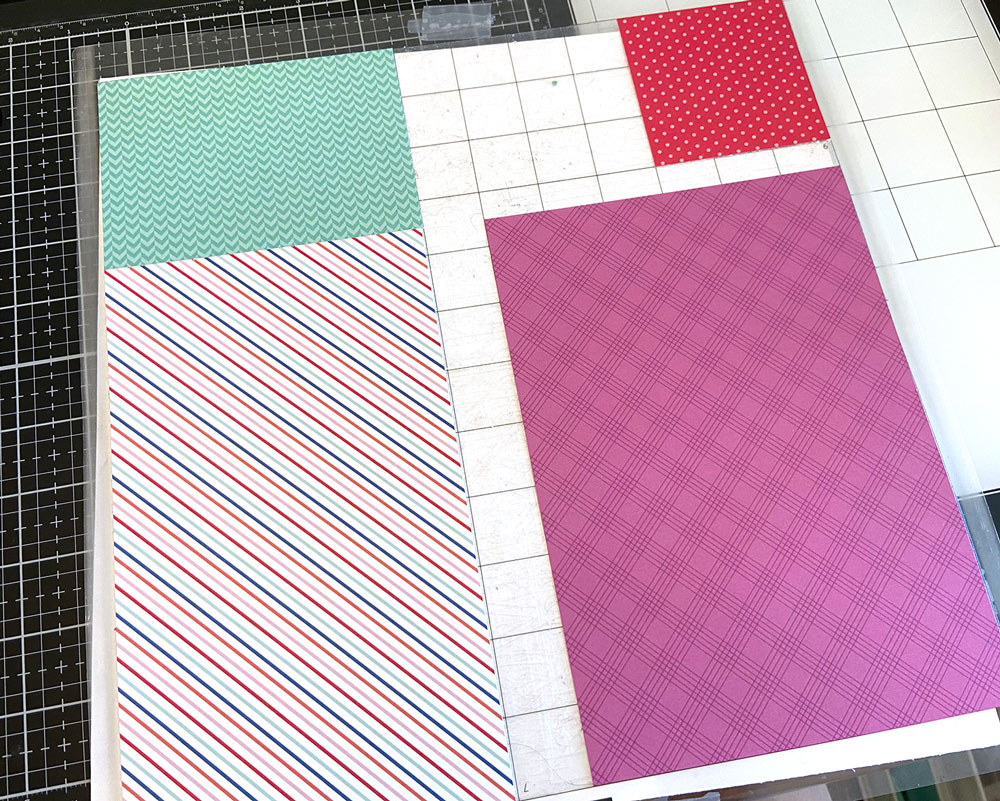
It was easy to create each of them simultaneously by cutting the patterned papers down to size and placing them on the mat accordingly before sending them through the Silhouette.
With each of the cut files ready to use, I began placing everything on the layout starting with the scalloped circle, photo, and journaling tag. I love having the option to change the digital files to suit my needs and created the wavy circle by using the offset function. It is fun to see what I can do and challenge myself to learn new things.
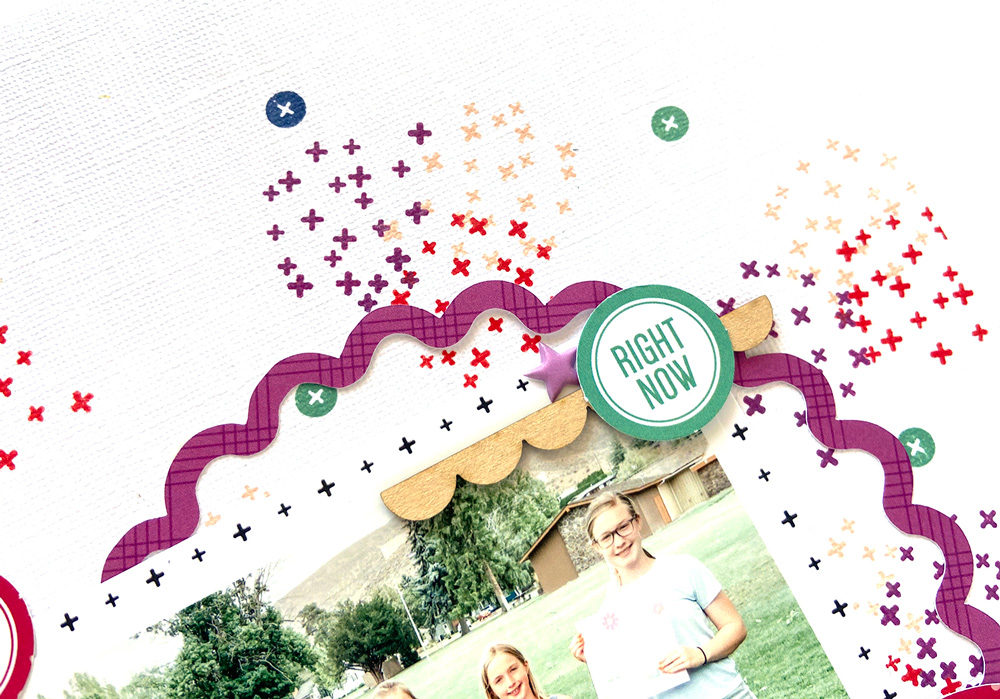
Rather than use the digital files to create more circles, I used a one-inch punch to make the smaller shapes and layered them with die cuts from the May Kit.
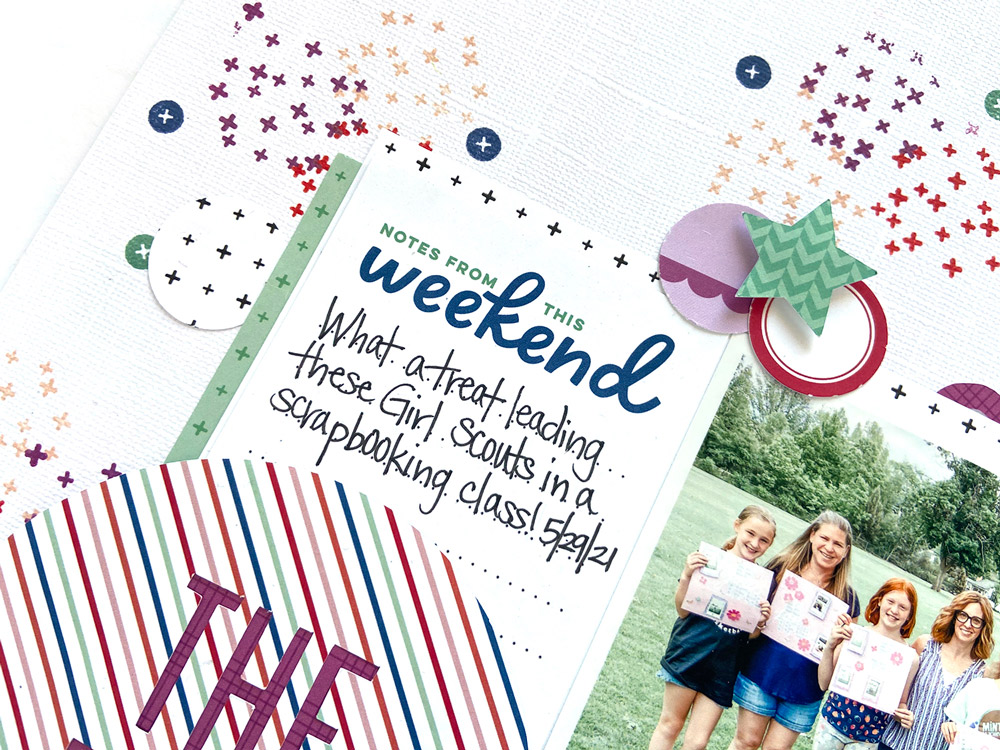
To complete the project, I used the Tiny Shapes and Dots Puffy Stickers and Wood Veneer Borders to add more color and dimension.
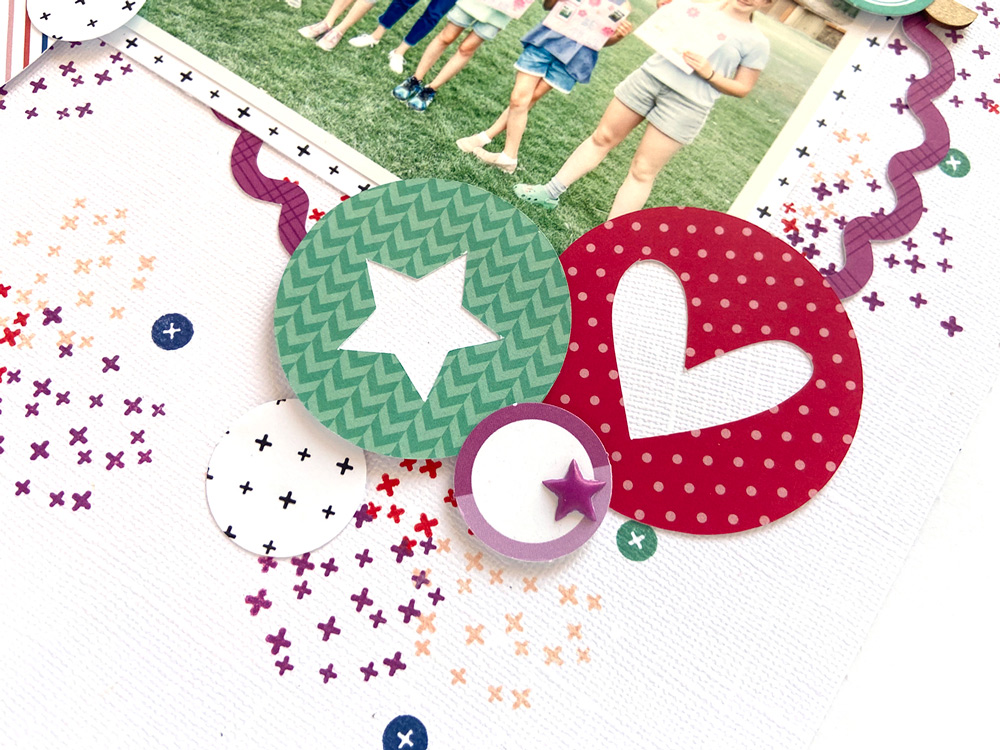
Using the digital files is a great way to stretch your product and create unique elements on projects. I love having the ability to use them over and over again.
Thank you so much for stopping by today!

Show us how you’ve used our May Cut Files on your projects! Share on Instagram using the hashtag #EllesStudio, or join us in our Facebook Group, where you can share your work with other ES fans!
