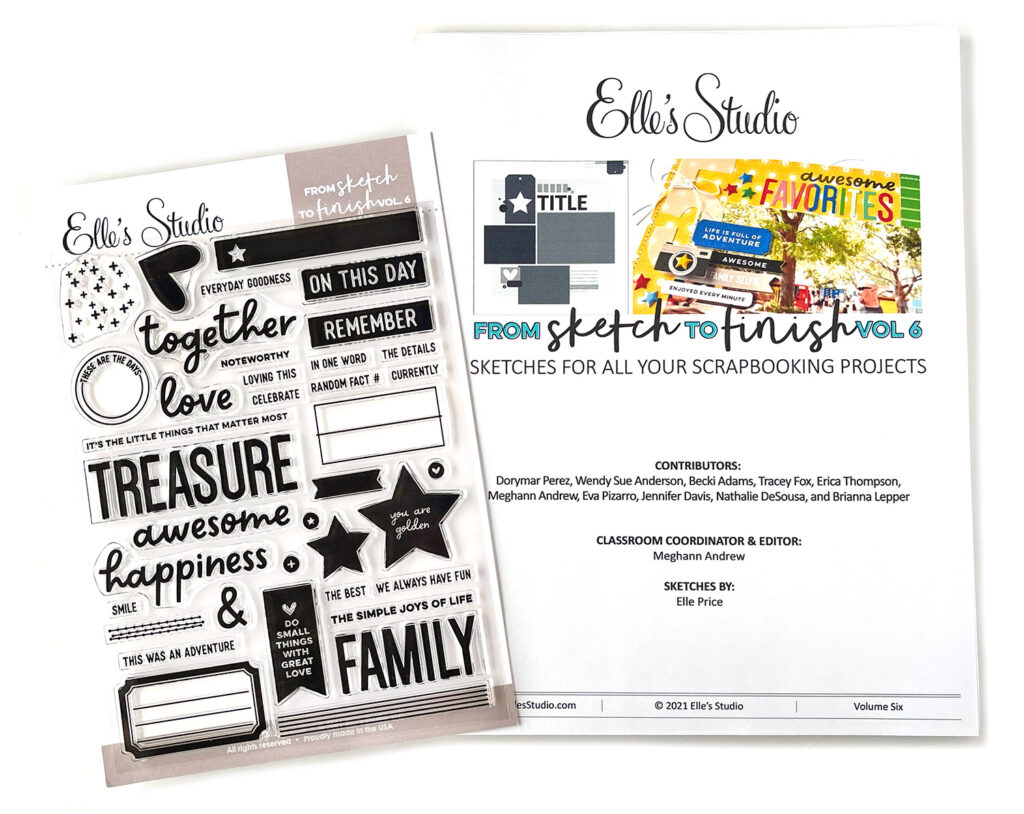
Now that our newest sketch class, From Sketch to Finish Vol. 6, has been released, we’re sharing how our design team has been inspired by it over the next few weeks! Today, we’re kicking this fun new blog feature off with TWO of our team members, Nicole Kerr and Melissa Mann, who are sharing different takes on sketch 9 from the class! Let’s take a look at what they created!
Hello everyone! It’s Nicole here and today I’m super excited to be sharing a project using sketch 9 from From Sketch to Finish Vol. 6. These sketches are so good and this is definitely one of my favs! I absolutely love working with sketches and I love how versatile they can be to not only give a jumping off point for layouts, but also travelers notebook pages. For this sketch, I transformed it to use on a TN layout as opposed to a scrapbook page as originally intended:
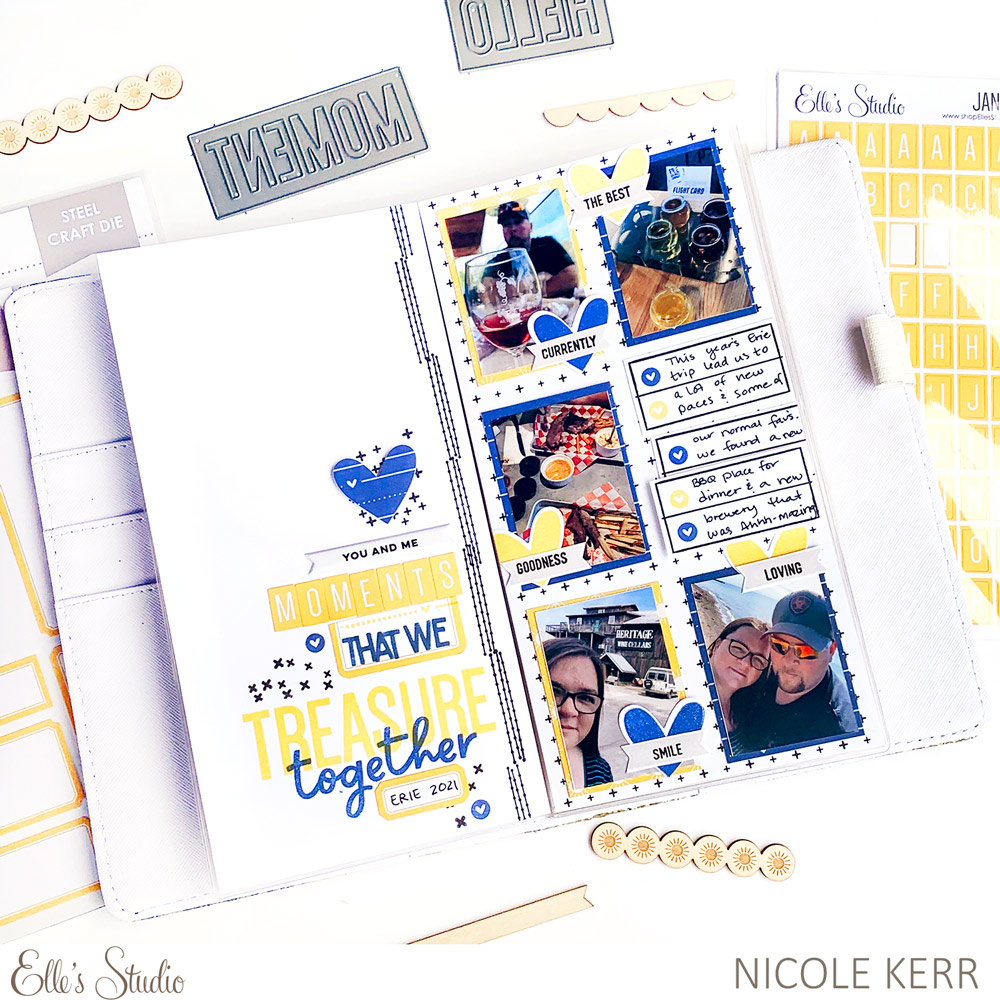
Supplies | Yellow Cardstock Label Stickers, Jane Tile Alphabet Cardstock Stickers – Yellow, Puffy Banners and Border Stickers, Good Times Paper Stack, From Sketch to Finish Vol. 6 Stamp, Fun with Borders Stamp, Stanley Jr. Alphabet Stamp, Knockout Words Metal Die
When I look at this sketch, I see three main components. First, the large title that is right aligned. Second, I see two vertical lines of stamping. Lastly, the square photo spots. When I laid out my notebook pages, I made sure that these three elements were prominent.
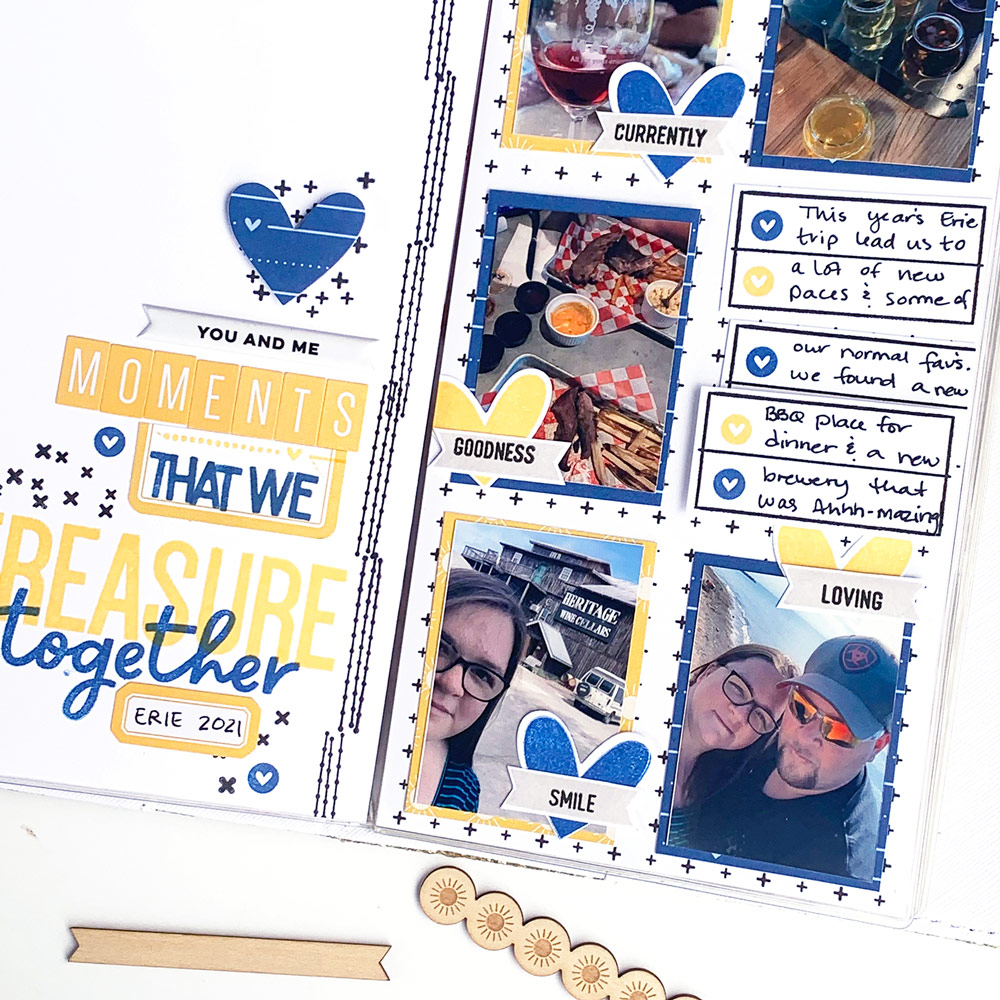
The title was easy to carryover on the left side of the spread, accenting that right alignment with vertical stamping. The right side of my spread I used for the square photos and a journaling spot. Because a TN is smaller than a traditional layout, I used the numbered spaces provided in the sketch for my journaling, which I added using the From Sketch to Finish Vol. 6 Stamp. Instead of using the stars with numbers to tie the two areas together, I kept the same theme with hearts, but used descriptive words on the banners that described the photos that they were on. This sketch was easy to use in my traveler’s notebook, and I can’t wait to try out the others using this format, too!

This is Melissa here with you today and I’m excited to be on the blog with Nicole to share our take on sketch 9 from From Sketch to Finish Vol. 6. As soon as I saw this sketch, I knew that it would be a great one to lift. I loved the grid design and the long title!
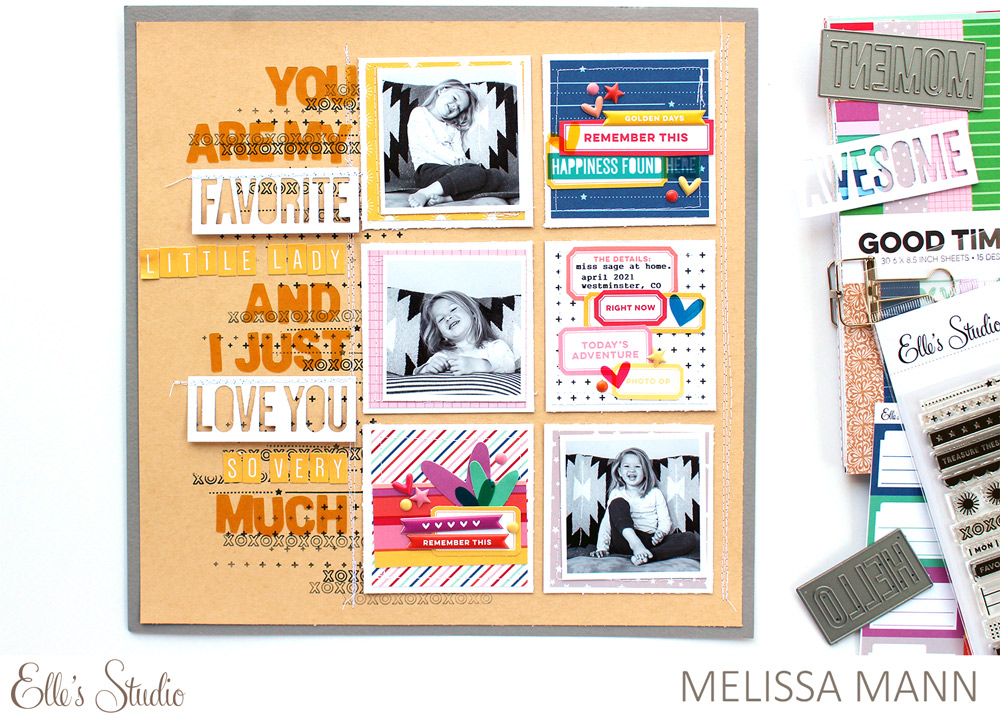
Supplies | May 2021 Kit, Yellow Cardstock Label Stickers, Jane Tile Alphabet Cardstock Stickers – Yellow, Treasure This Vellum Stickers, Yellow Parker Acetate Alphabet Stickers, Acetate Heart Stickers, Puffy Banners and Border Stickers, Tiny Shapes and Dots Puffy Stickers – Warm Tones, Good Times Paper Stack, Fun with Borders Stamp, Knockout Words Metal Die
I stamped some of the borders from the new Fun with Borders Stamp down the length of my layout. I knew I wanted to layer my title on top of the stamped borders. I created the grid of boxes to the right hand side using patterned paper from the Good Times Paper Stack.
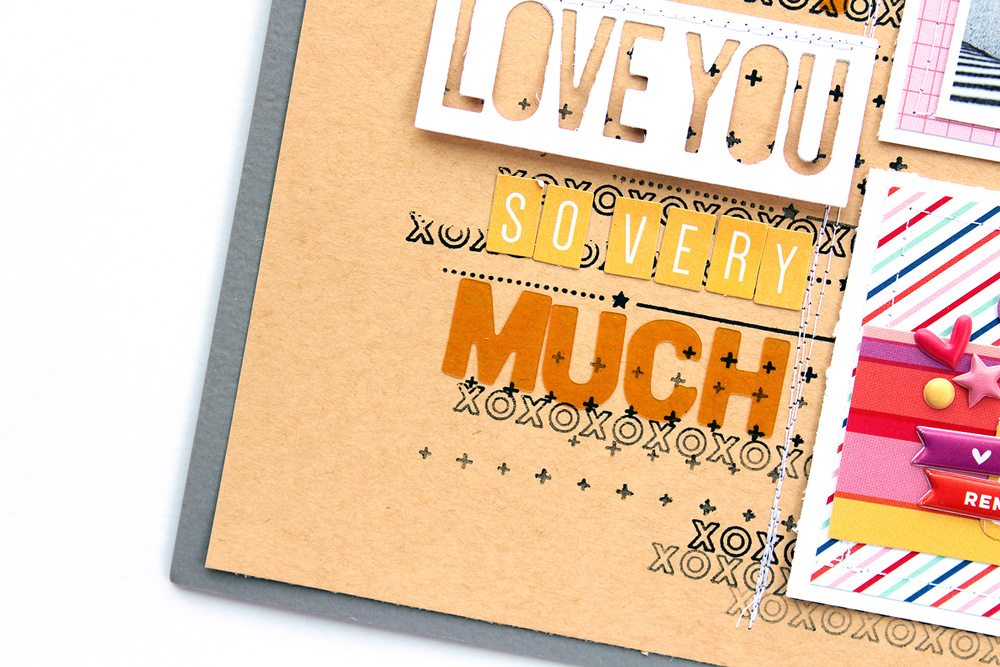
Once I had all the boxes layered down, I placed my photos and various embellishments such as the Yellow Cardstock Label Stickers, Puffy Banners and Border Stickers, and Acetate Heart Stickers. Once I had all of this adhered down, I worked on my title to the left of my grid. I used various alphabet stickers and the new Knockout Words Metal Die to create my title. It was so much fun using all of the different fonts and different sized stickers to create this lengthy title! We can’t wait to see what you have created using the new From Sketch to Finish Vol. 6 class! Thanks for joining us today!

Want to create using this sketch just like Melissa and Nicole did? You can find this class now available in our shop with the exclusive 6 x 8 inch stamp, or as a digital download only!
We can’t wait to see what YOU create! Share how any of our new sketches in the class inspire you to create by posting your project in our Elle’s Studio Facebook Group or by posting on Instagram using the hashtag #EllesStudio!