
Hey there, friends, and welcome to day three of Stamp Week here on the Elle’s Studio blog! Yesterday, Katarina Prevendarova shared inspiration using our largest alphabet, Jane, and today, we’re shifting to our newest alphabet, Parker! Jennie McGarvey is here to show us how she made it POP on a new traveler’s notebook spread! Let’s take a look!
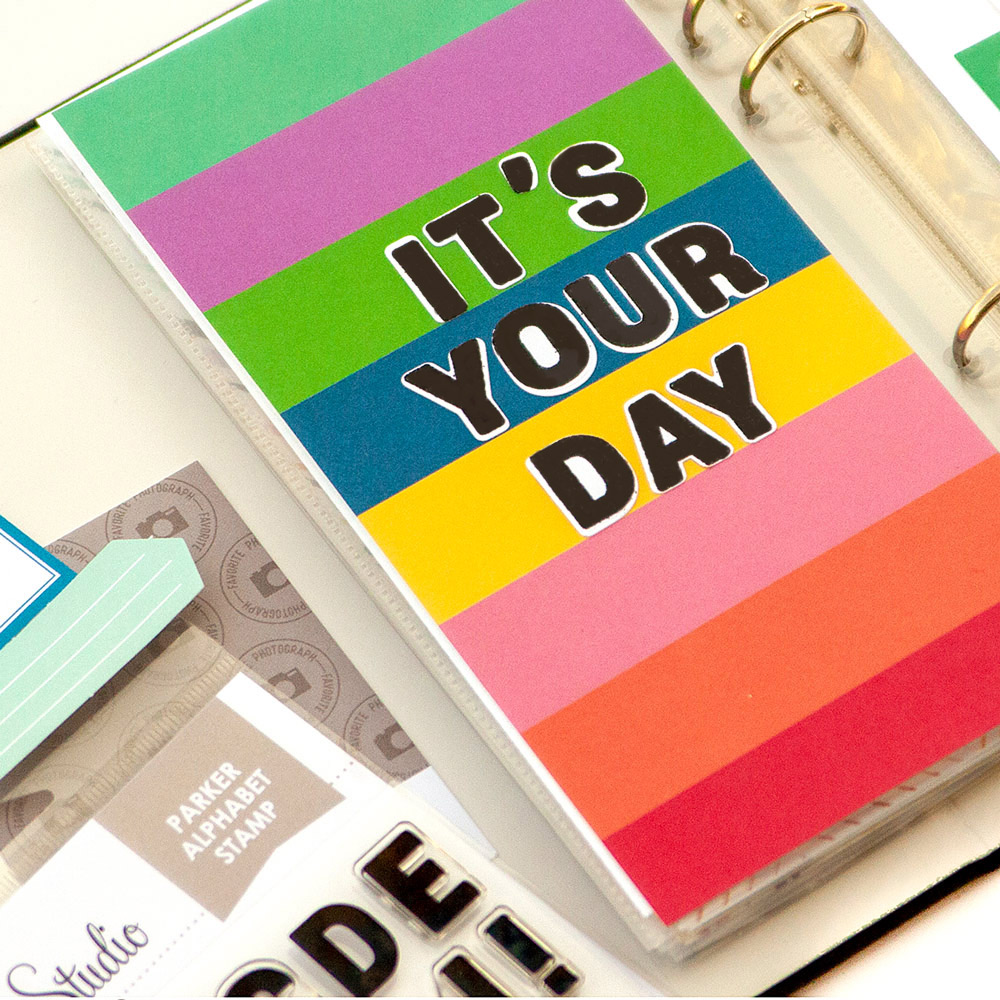
Hello! It’s Jennie McGarvey here with you to talk about one of my favorite things: alphabet stamps! Elle’s Studio has my favorite alphabet stamps—they are always well-loved in my crafty space! I use them in my memory planner, planner, and in my other projects. If you saw my blog post last month, you know that I like to challenge myself. I choose things I’m not 100% sure how I will use or are not something I am completely comfortable doing. That is what I’m doing for this project with the Parker Alphabet Stamp. Typically, I’m more comfortable using alphabet stamps in my planner or memory planner. So, this month, I decided to try it on a traveler’s notebook layout. Then, I took it a step further by heat embossing both the title and the “18” numbers.
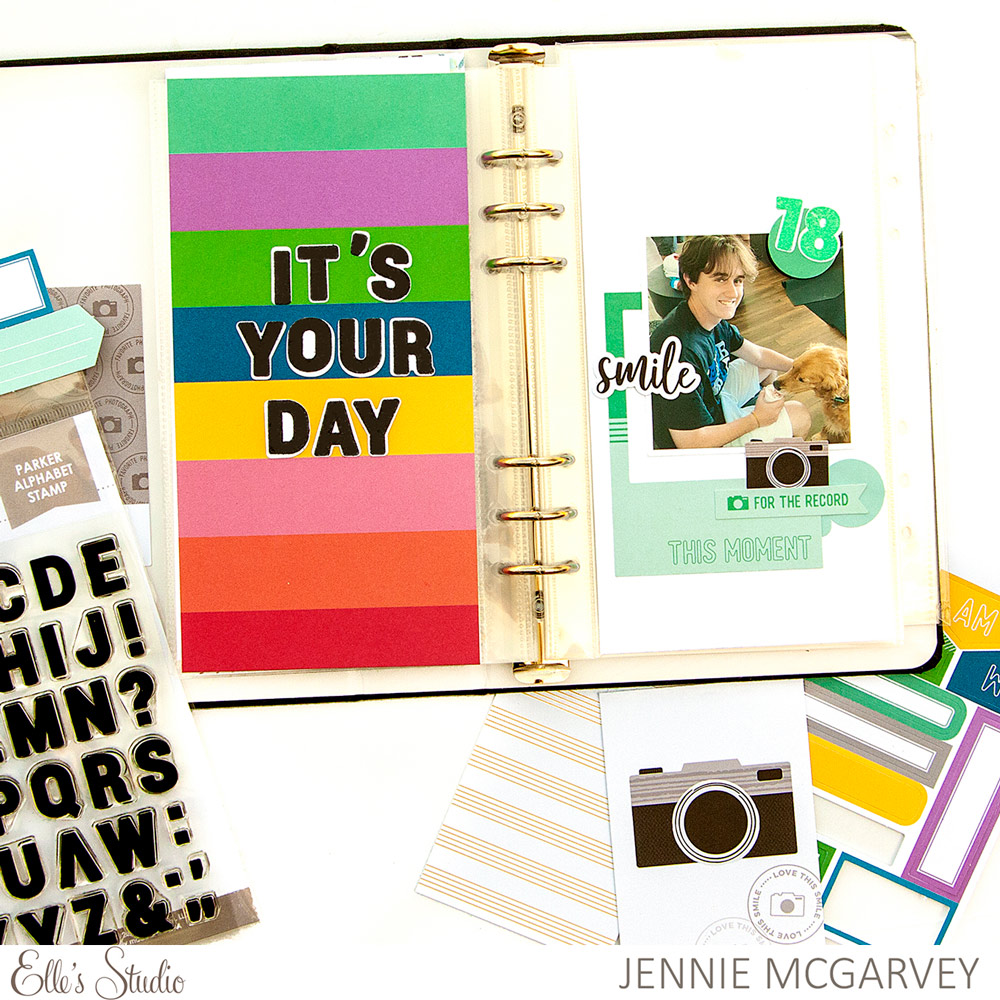
SUPPLIES: Smile Cardstock Die Cuts, Celebrate 6 x 8.5 inch Paper Stack, Parker Alphabet Stamp, Parker Number Stamp, Parker Alphabet Metal Die, Parker Number Metal Die
You can see that I used both the Parker Alphabet Stamp AND the Parker Number Stamp—I couldn’t help it! And, I’m still on a birthday kick! I guess once you start it’s hard to stop. I loved all of the birthday-themed products released in March, so I got used to creating birthday projects. In all seriousness though, I had an 18th birthday celebrated in April, so using the Parker Alphabet and Parker Number Stamp was perfect.
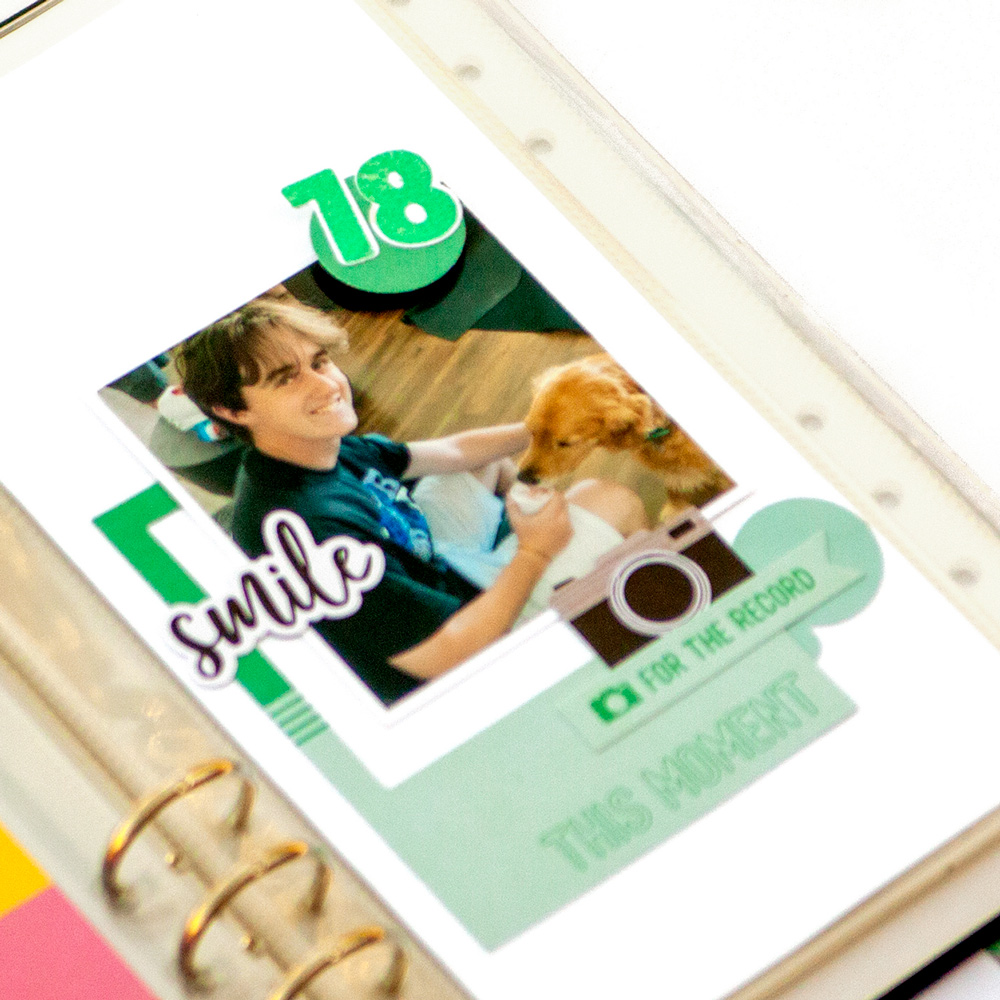
I knew that using a stamped “18” was going to be one of my embellishment clusters. However, I needed a little more than just the stamps to make them stand out. A simple circle punched from the Celebrate Paper Stack patterned paper, using the same striped paper on the left-hand side of the spread, did the trick. I could have added more, but I kept it simple instead.
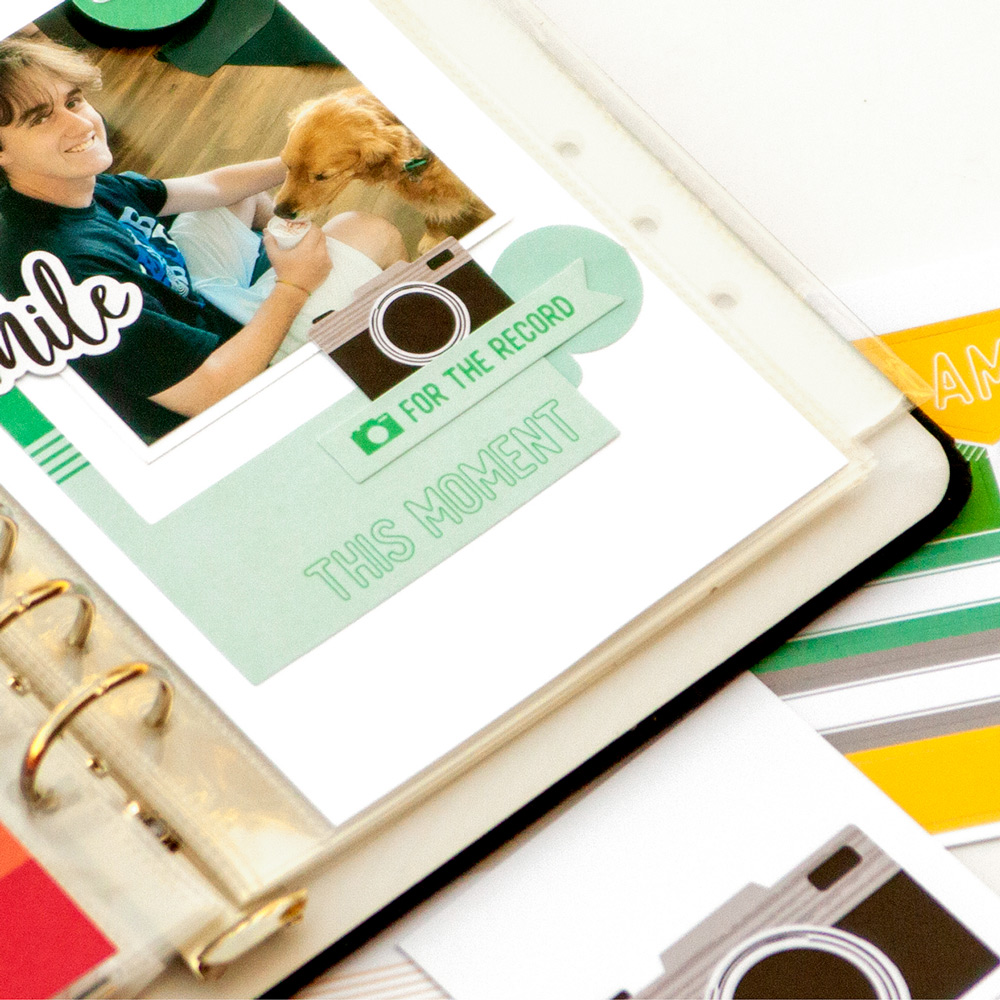
Obviously, we’re here to talk about alphabet stamps, but that is not the only thing I included in this birthday-themed layout. I had to layer a few die cuts, like the frame and camera from the Smile Cardstock Die Cuts to create the second focal point for this page. Now, for the third point in the visual triangle, I kept it very simple with only the smile die cut word. I wanted it to beautify but not compete.
We’d love to see how you’re using Elle’s Studio alphabet stamps in your projects, so share with us in the Elle’s Studio Facebook Group so I can learn a tip or two from you for using alphabet stamps in my projects!
