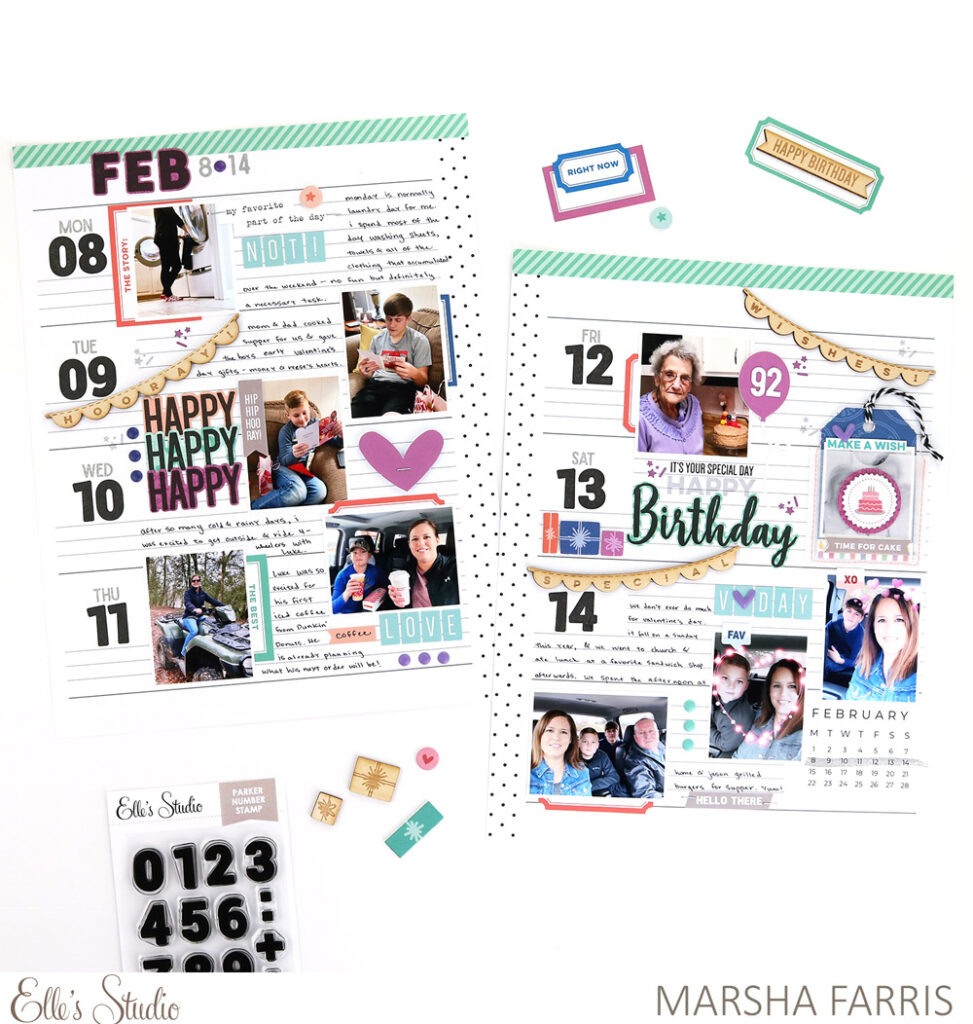
Hey, Elle’s Studio friends! This is Marsha, and I’m excited to be here sharing a layout in my memory planner. For my project today, I documented a week of celebrations, and the March kit and add-ons were perfect for it!
Supplies | March 2021 Kit, March 2021 Print and Cut Labels, March 2021 Labels, Jane Tile Alphabet Cardstock Stickers – Light Teal, Happy Birthday Chipboard Stickers, White Puffy Alphabet Stickers, Tiny Shapes and Dots Puffy Stickers – Cool Tones, Hooray Wood Veneer Banners, Celebrate 6 x 8.5 inch Paper Stack, Make a Wish Stamp, Parker Alphabet Stamp, Parker Number Stamp, Make a Wish Metal Die, Parker Alphabet Metal Die
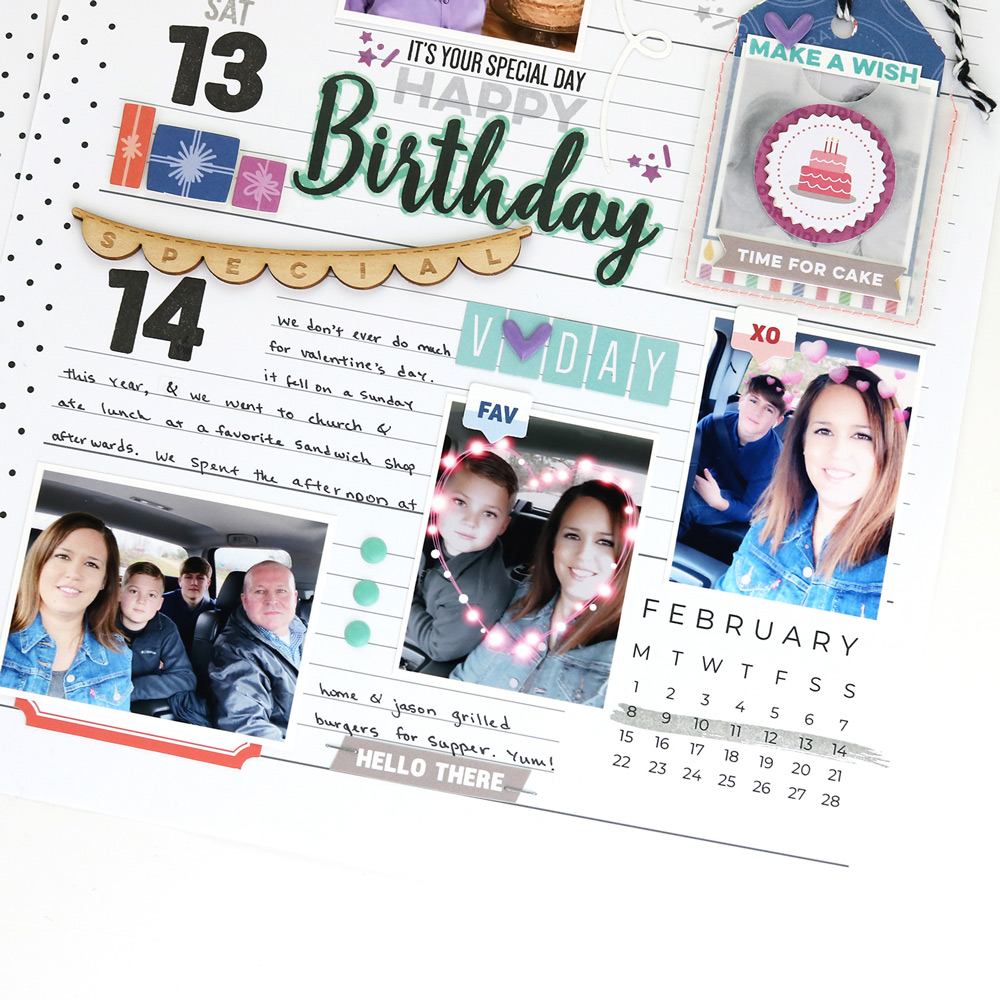
I began my memory planner layout by printing an undated weekly 8.5″ x 11″ template I purchased from Etsy. I prefer an undated planners so that I can customize the dates with different stamps and ink colors. For this week in February, I stamped the month and dates using the Parker Alphabet Stamp and Parker Number Stamp and cut out the month using the Parker Alphabet Metal Die. I love the bold font of these new stamps! I stamped the days of the week using the Monthly & Daily Tab Stamp, a subscriber exclusive in January, and light gray ink. A trimmed diagonal-striped patterned paper from the Celebrate Paper Stack added to the edge of both pages, framed the spread and added a bit of color to the top of the pages. Then, I printed my photos and arranged them according to the dates they were taken.
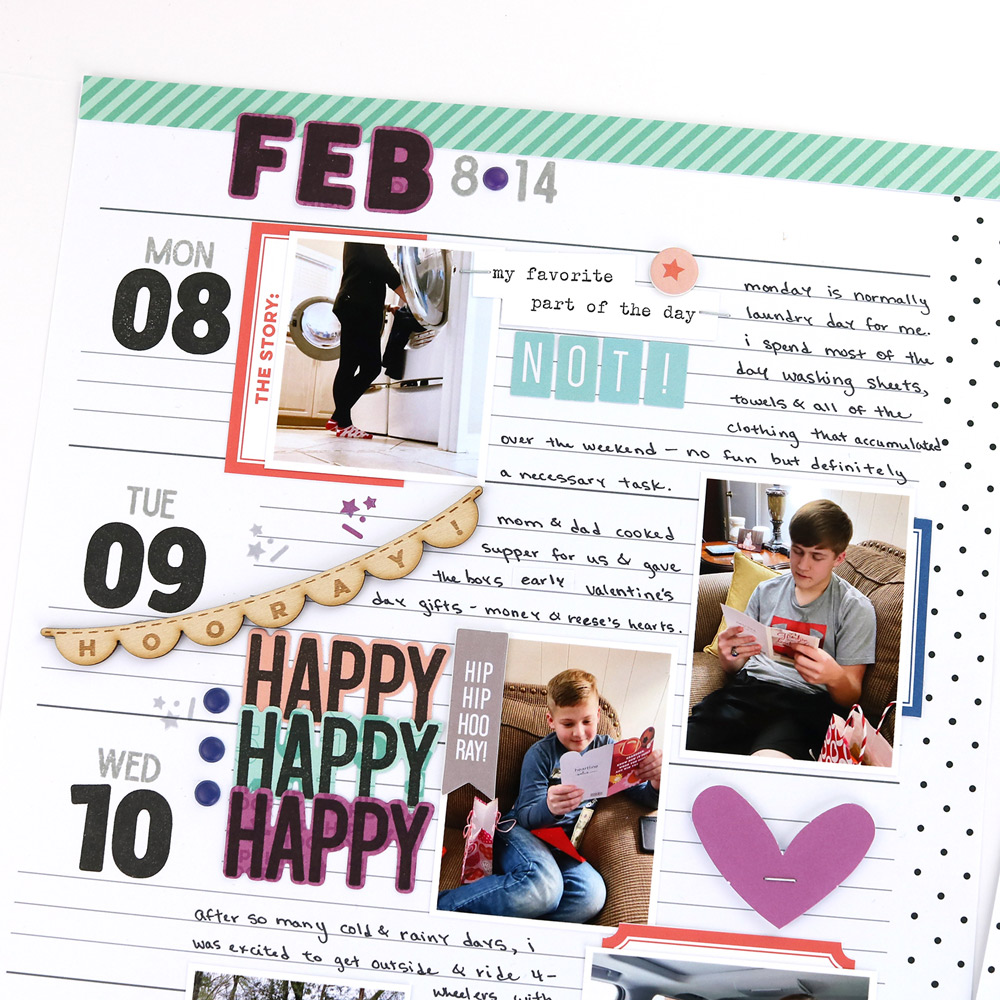
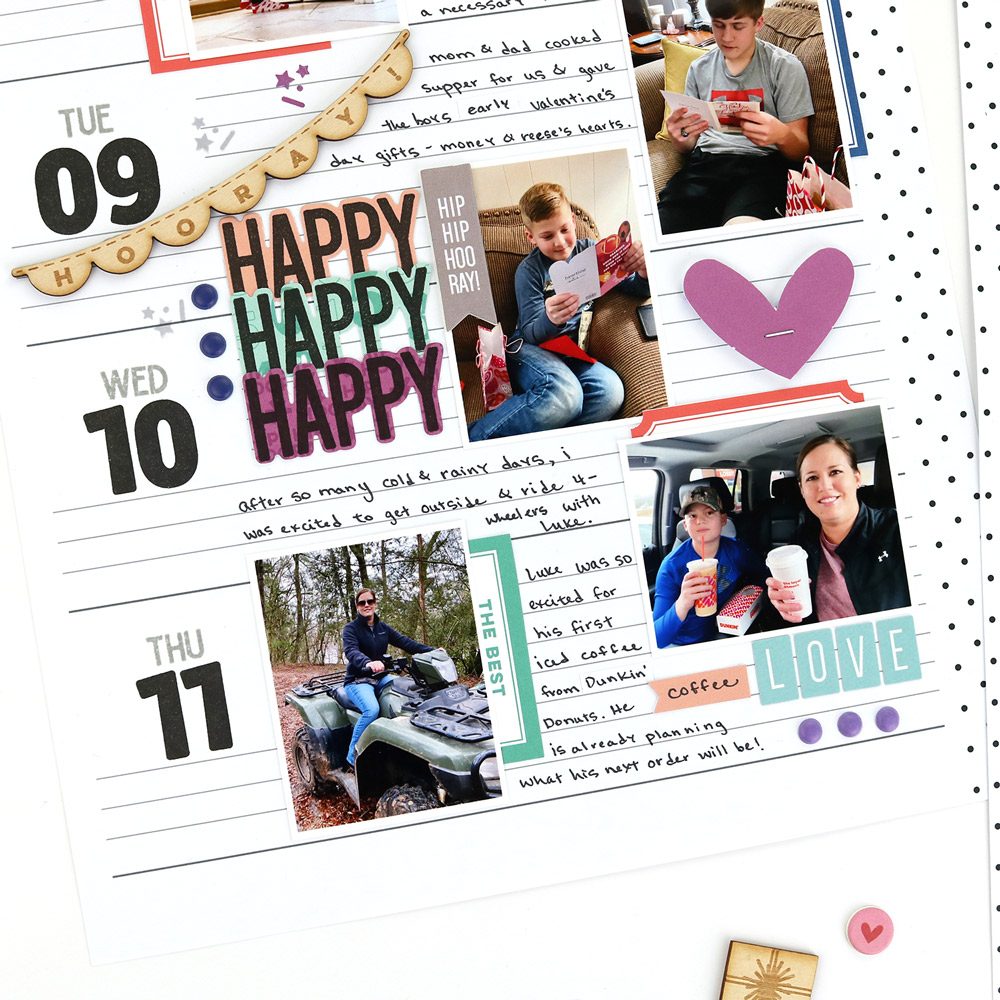
Next came the fun part: the embellishing! I added the Hooray Wood Veneer Banners and Happy Birthday Chipboard Stickers to a few areas of the spread. Labels are one of my most used embellishments, and I added a variety of them from the March Kit, March Print and Cut Labels, and March 2021 Labels. The new light teal Jane Tile Alphabet Cardstock Stickers were perfect for highlighting a few words on the pages.
I stamped the small confetti from the Make a Wish Stamp directly on the pages and onto a few of the patterned papers from the Celebrate Paper Stack. I also used the Make a Wish Metal Die to cut out some of the stamped words.
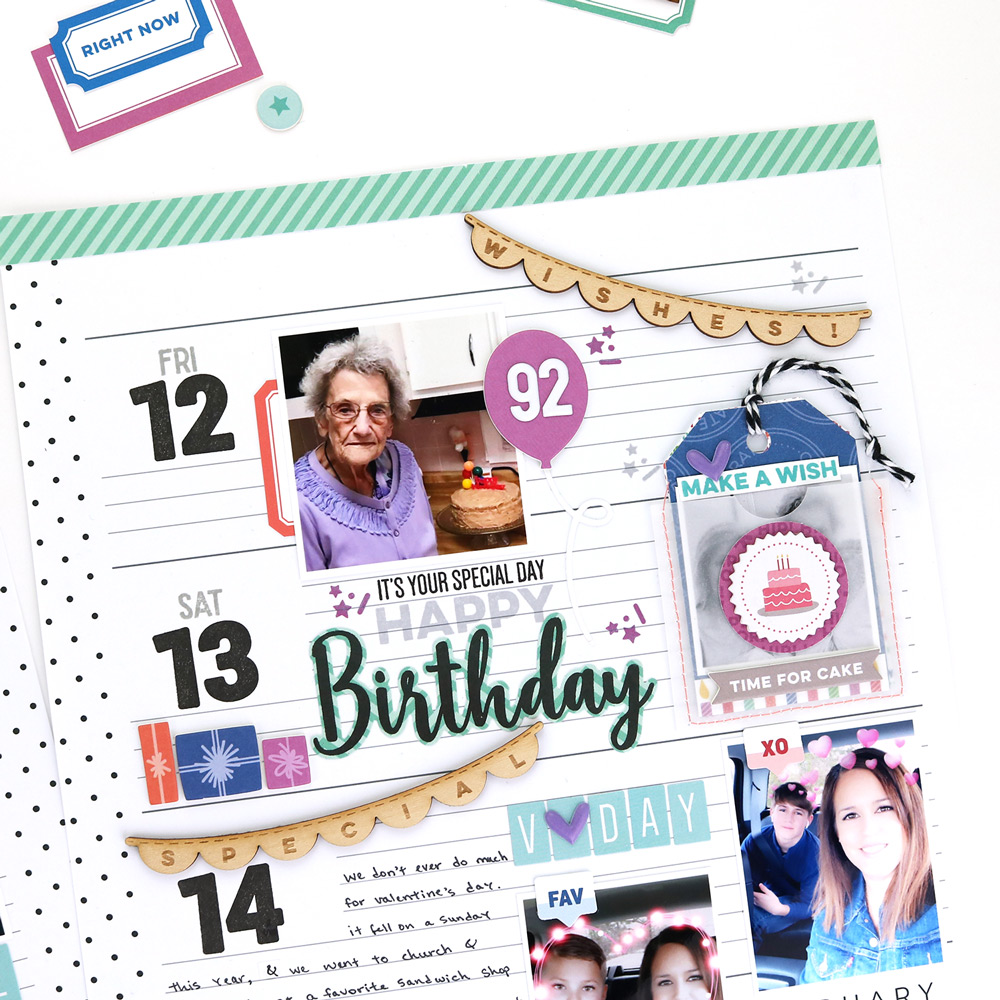
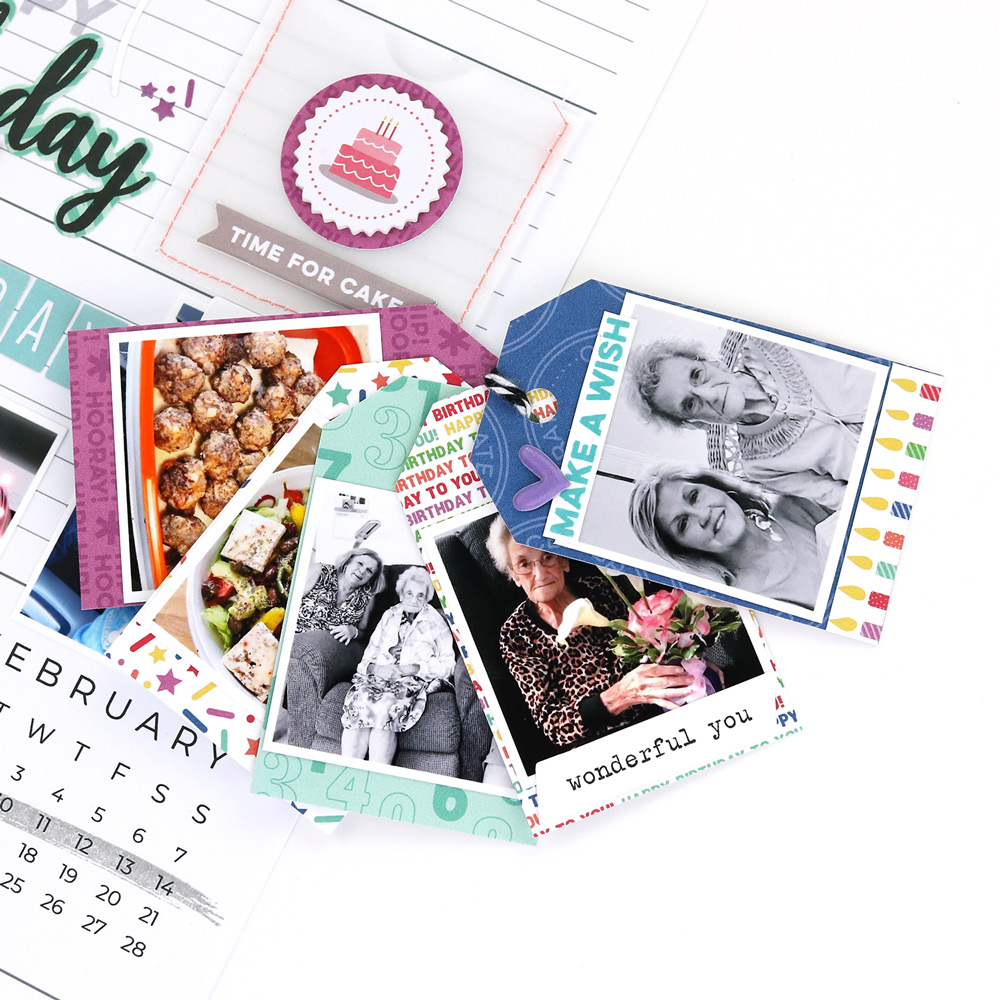
For documenting my grandmother’s birthday, I created a vellum stitched pocket to hold a little tag album. I created the tags by trimming a variety of patterned papers from the Celebrate Paper Stack into tag shapes. Then, I embellished them with die cuts from the March Kit and stamping using the Make a Wish Stamp. I used a piece of black and white baker’s twine from my stash to hold the tags together. I love that I was able to include so many photos from the day in this little tag album!
One of the last steps in my memory planning is filling in each day with my journaling. I try to make sure I include the little details I will enjoy looking back on in years to come. As a final finishing touch, I added the Tiny Shapes and Dots Puffy Stickers to several areas on the spread. I love how my layout turned out using these awesome Elle’s Studio products!
I hope I have given you some ideas using the March kit and extras in your memory planner! I can’t wait to see what you create!

Do you love to record memories in a planner, along with your to-do lists? Share how you use our products in your planner by posting it in our Elle’s Studio Facebook Group, or in an Instagram post using the hashtag #EllesStudio!