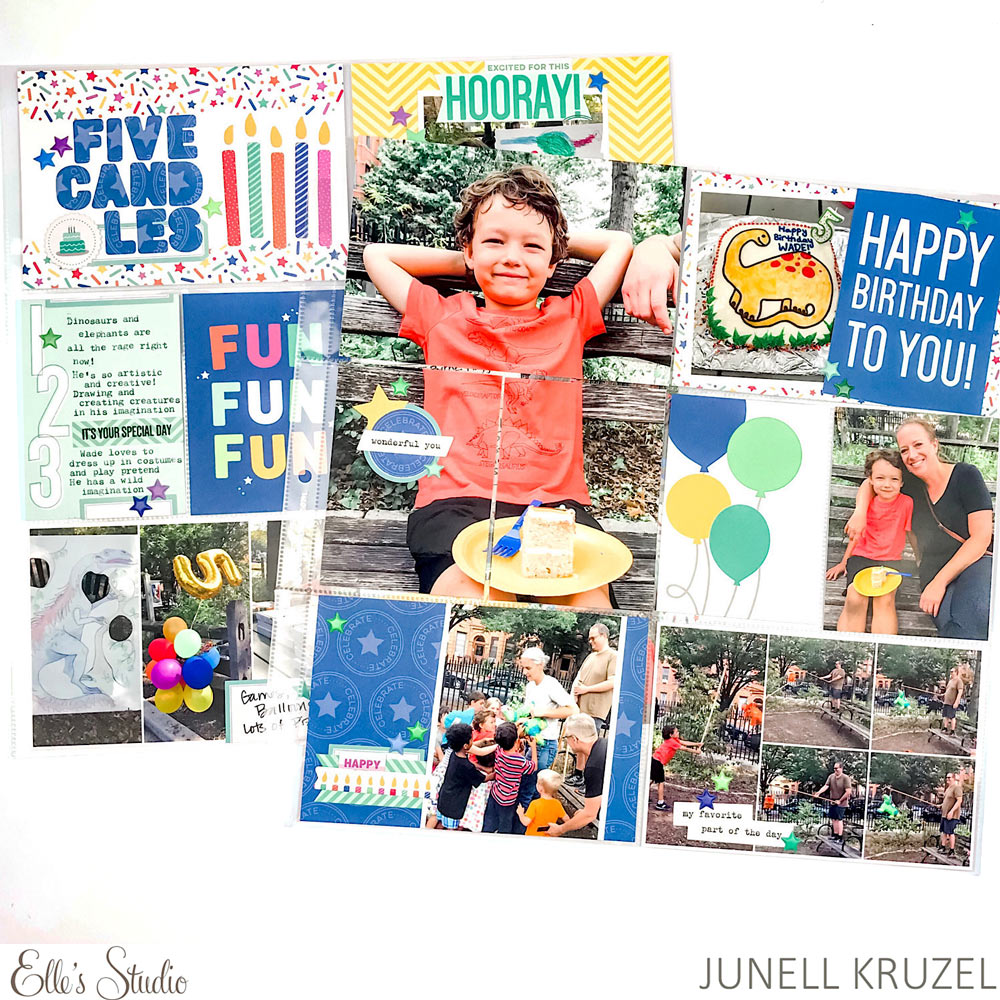
Hello, friends! It’s Junell here today to share my March project with you, and it’s a fun, festive one! The March 2021 kit and extras were perfect for documenting my nephew’s 5th birthday party! I had a ton of pictures so I created a two-page pocket style spread to include as much as I possibly could.
Supplies | March 2021 Kit, Happy Birthday Journaling Tags, Light Teal Cardstock Label Stickers, Happy Birthday Chipboard Stickers, Tiny Shapes and Dots Puffy Stickers – Cool Tones, Celebrate 6 x 8.5 inch Paper Stack, Make a Wish Stamp, Happy Birthday Metal Die, Parker Alphabet Metal Die
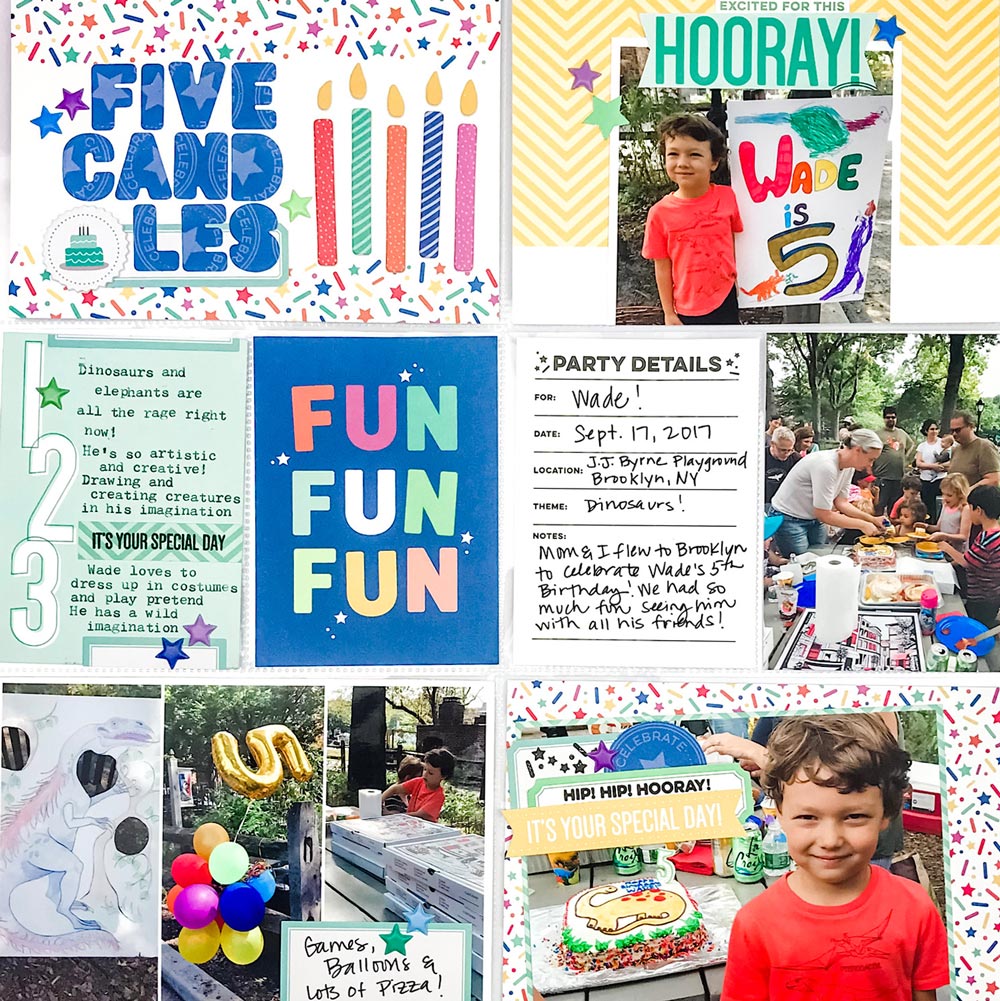
I included journaling tags from the March Kit and also used a card from the Happy Birthday Journaling Tags. I typed up some fun tid-bits about my nephew’s interests and personality at this age on the “1, 2, 3” tag from the March Kit and then hand wrote the party details on the “party details” tag from the Happy Birthday Journaling Tags. I also had a ton of pictures I wanted to include, so I used the PicFrame app to create a collage in one of the 4″ x 6″ spots. I did the same with a spot on the right side, too.

When making pocket pages, I usually always place my title card on the top left spot. I used a 4″ x 6″ tag from the March 2021 Kit and the Parker Alphabet Metal Die to create my title tag along with five of the candles from the Happy Birthday Chipboard Stickers. These candles are so fun and festive!
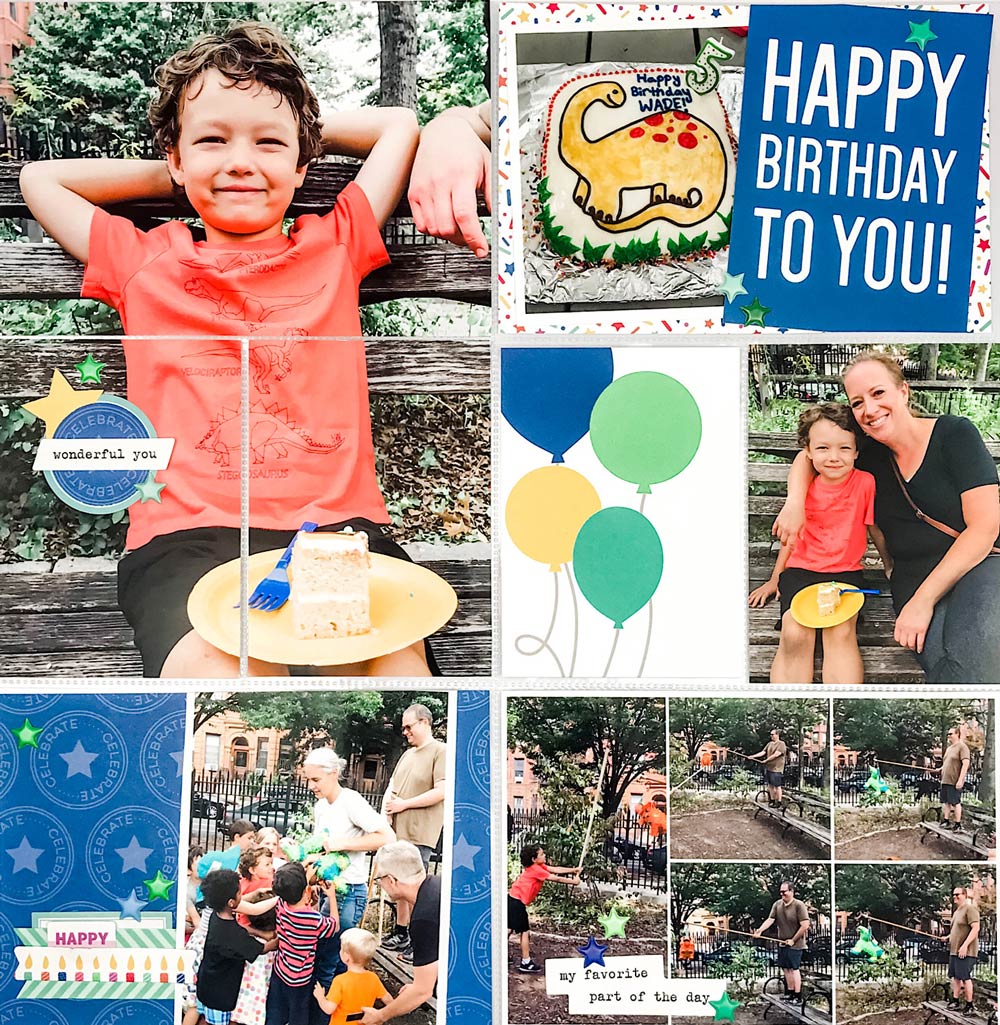
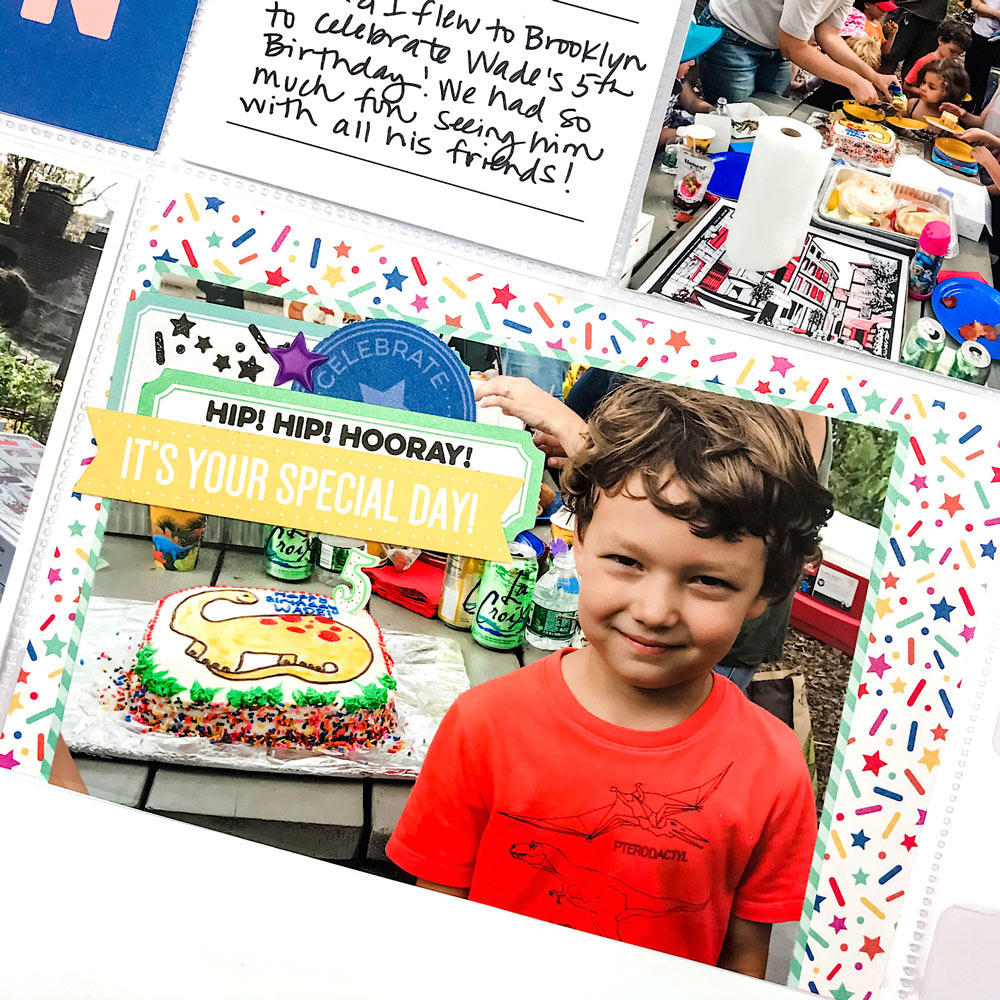
There was one picture that I absolutely loved from the hundreds I took that I wanted to be the focal point of my entire spread. I printed that picture at 6″ x 8″. Because I was using pocket pages, I had to be very strategic about where I placed the picture. I oriented it towards the top of the page, because if I had put it at the bottom of the page, I would have to make a cut right down the center of his face, and I didn’t want to do that. When placed at the top, there is nothing distracting from his cute face!
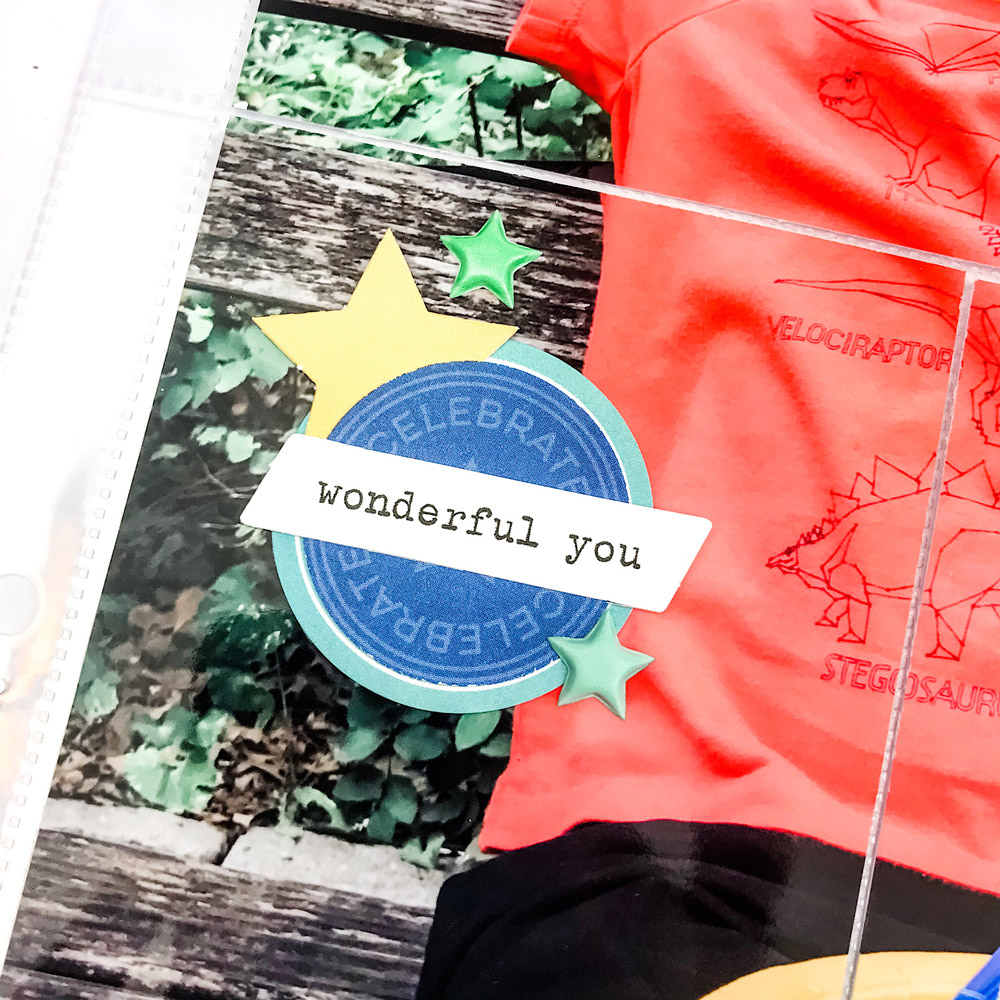
I created an embellishment cluster right in the empty space of the large photo using the die cuts from the March Kit. I also used a 1.25″ circle punch to punch out one of the “celebrate” circles from the blue paper in the Celebrate Paper Stack and backed it with a circular label from the Light Teal Cardstock Label Stickers. No cluster is complete without a sprinkling of puffy stars! I used several colors from the Tiny Shapes and Dots Puffy Stickers in the cool tones.
I like to create little, mini layouts on the 4″ x 6″ spots. I placed this picture at an angle to give it a more festive, whimsical look and embellished it with more die cuts from the March Kit. I included a stamp from the Make a Wish Stamp to finish it off.
We all have those birthday pictures just sitting there waiting to be documented and the March Kit and extras are so perfect for getting those layouts completed. I can’t wait to see what you create!

Be sure to Pin your favorite projects found here on the blog to help you create with before your March kit and add-ons arrive, and join our Elle’s Studio Facebook Group for more inspiration and ideas from our team and fellow Elle’s Studio fans!