Hey, Elle’s Studio friends! This is Marsha, and I’m excited to be sharing my first post in the new year using the beautiful January 2021 kit and add-ons! I love all of the love-themed products in this month’s release and wanted to use them on a spread documenting a photo of my sons.
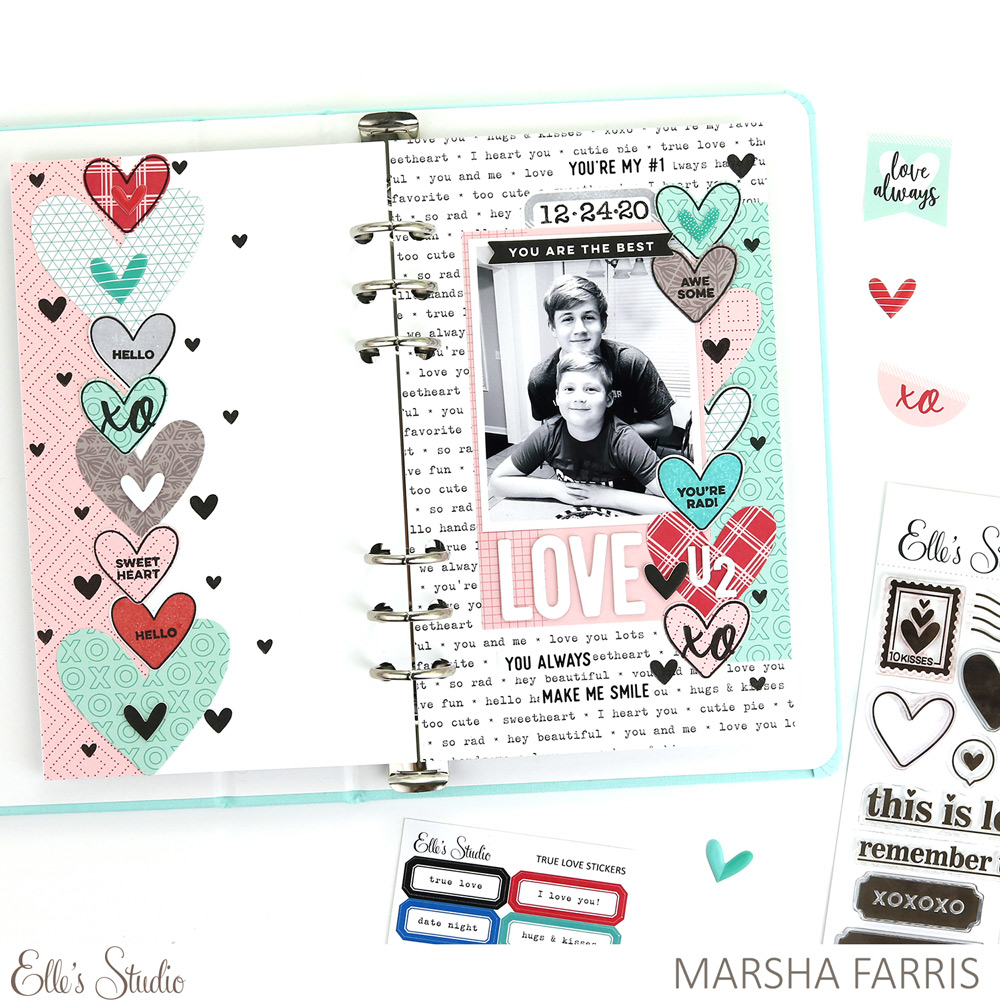
Supplies | January 2021 Kit, True Love Stickers, Love You Chipboard Stickers, White Puffy Alphabet Stickers, Puffy Heart Stickers, XOXO 6 x 8.5 Inch Paper Stack, Hugs and Kisses Stamp, Hazel Alphabet Stamp, Collected Stamp, My Heart Metal Die, Everyday Tabs Vol. 2 Metal Die
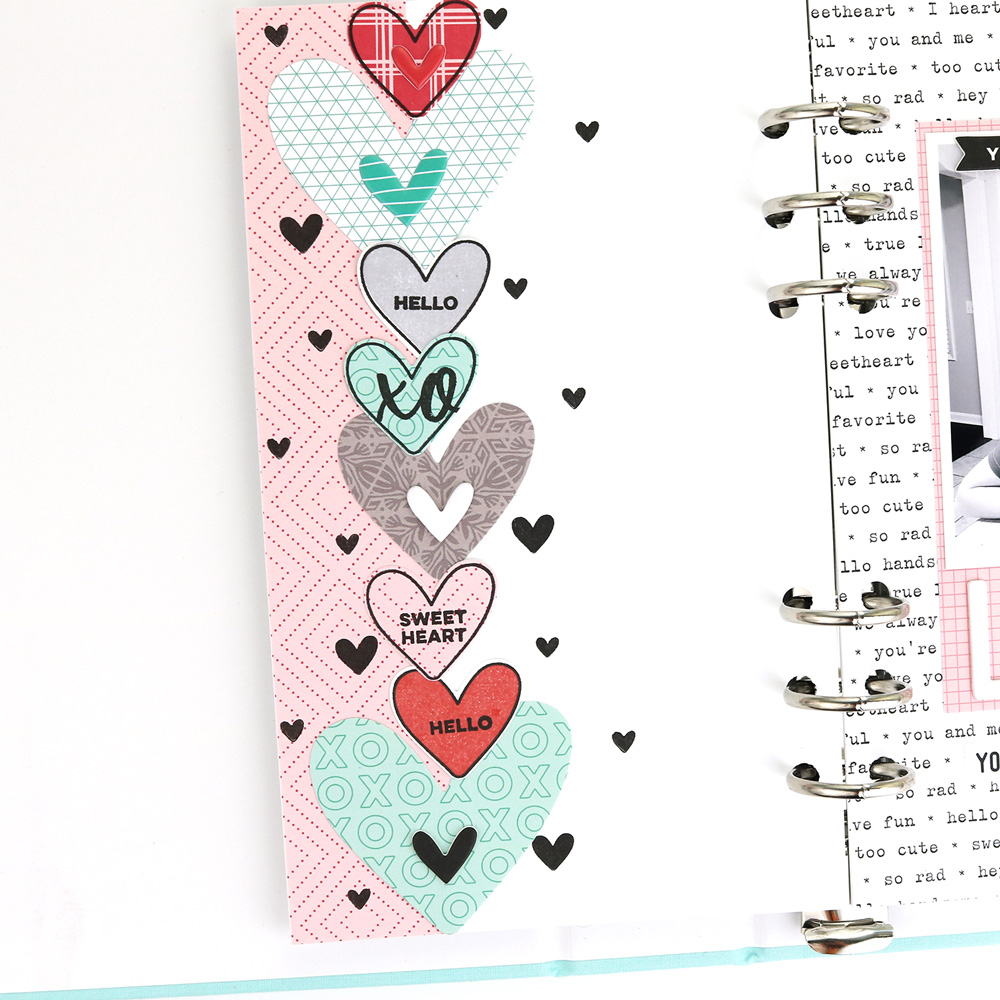
The Hugs and Kisses Stamp was a favorite from this release, because it includes such a great mix of icons, words, and phrases. I also love that it coordinates with the My Heart Metal Die, making it really easy to create your own embellishments. To begin the layout, I stamped a few of the heart outlines from the Hugs and Kisses Stamp onto cardstock and filled them in with the solid heart stamp using different ink colors. I stamped more of the heart outlines onto papers from the XOXO Paper Stack. Next, I stamped a variety of words and phrases onto each heart using black ink. To complete these embellishments, I cut out all of the hearts using the My Heart Metal Die, also cutting out a few larger hearts from the patterned paper to give more variation in heart size on the spread. Then, I trimmed a strip of pink patterned paper from the XOXO Paper Stack and adhered it to the edge of my white cardstock background. I arranged the die cut hearts along the strip of patterned paper, creating a fun column of hearts. To add a little more detail to the page, I stamped some of the smaller hearts from the set onto the background with black ink. I added stickers to the center of a few of the hearts using the Love You Chipboard Stickers and Puffy Heart Stickers.
On the right side of the spread, I chose to use a patterned paper from the XOXO Paper Stack as my background and added a small strip of another paper from the stack along the edge of the page. I layered my photo onto a trimmed journaling tag from the January Kit. I stamped a tab and the date using the Collected Stamp and Hazel Alphabet Stamp, then cut out the tab with the Everyday Tabs Vol. 2 Metal Die and adhered it above my photo.
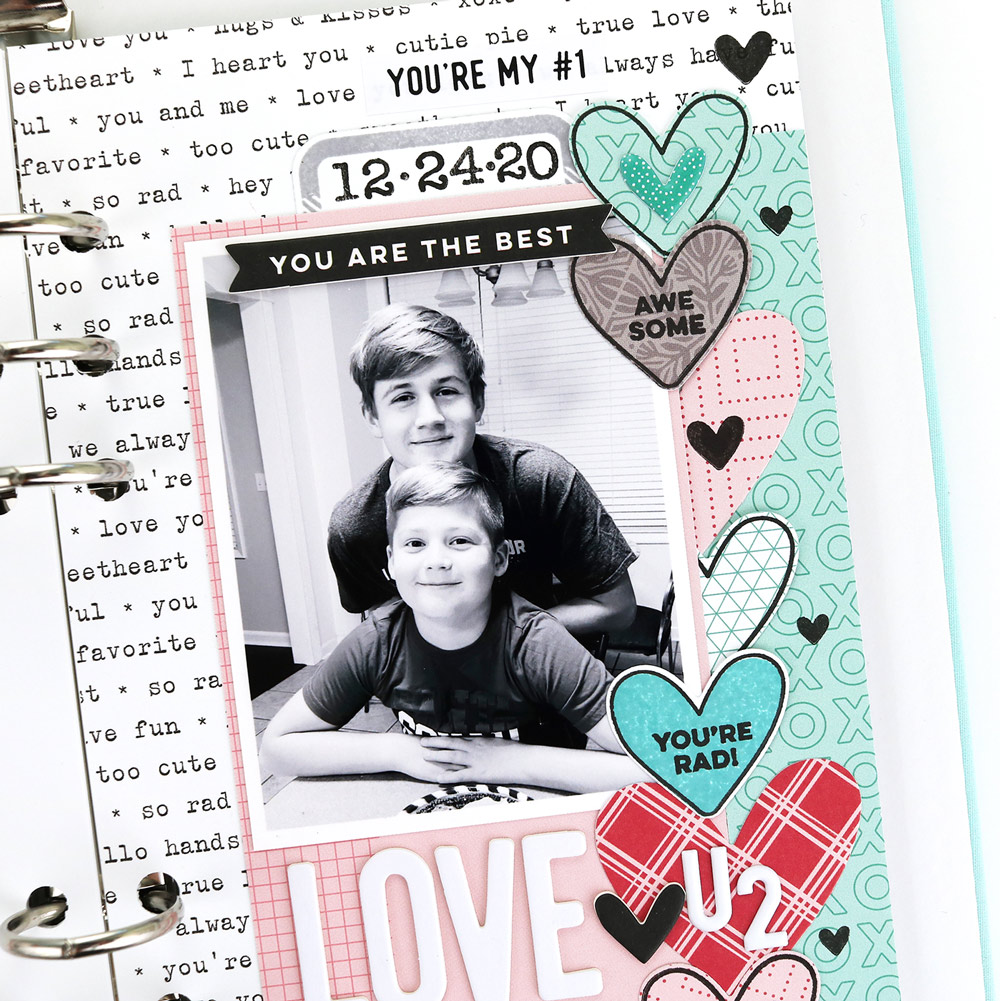
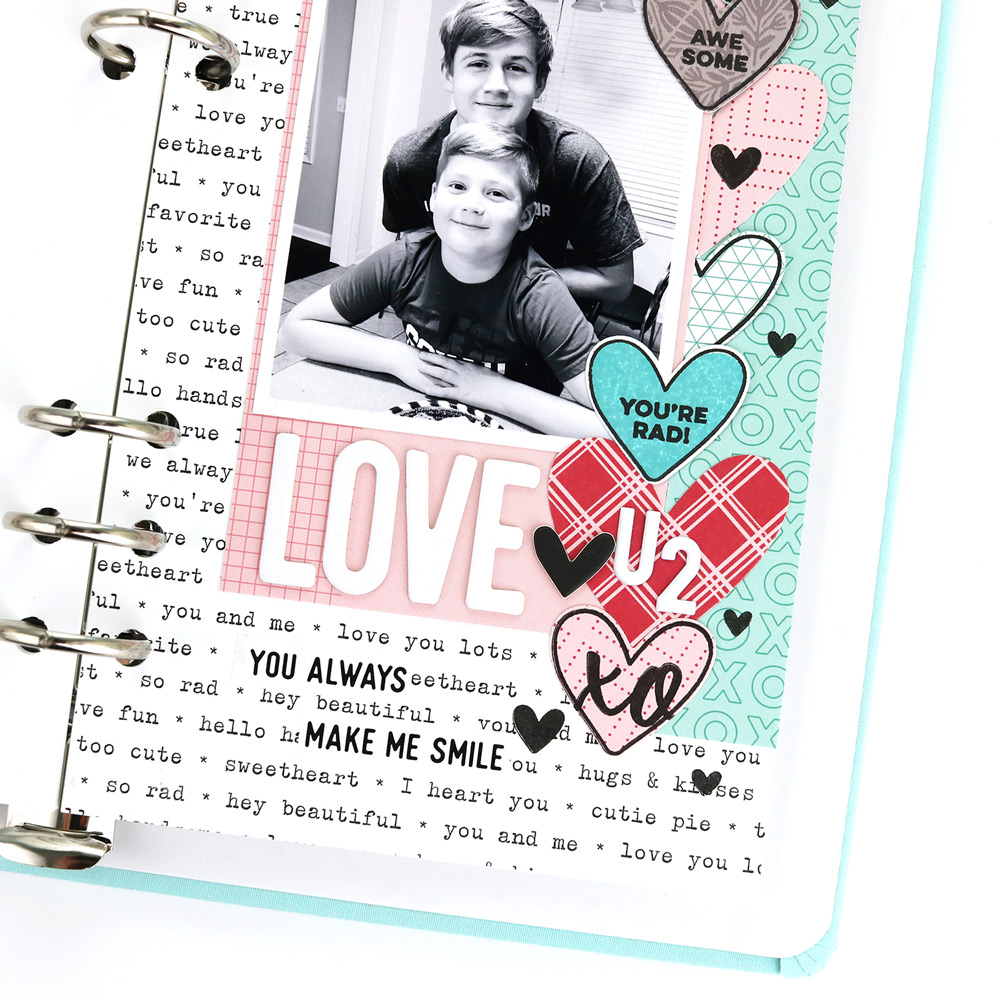
Mirroring the column of hearts on the other page, I arranged the die cut hearts along the edge of my photo and added a few stickers from the Love You Chipboard and Puffy Heart Stickers. I combined the Love You Chipboard Stickers and White Puffy Alphabet Stickers to create my title. A few phrase stickers from the True Love Stickers were perfect for adding a bit of interest to the page above and below the photo. For a finishing touch, I stamped more hearts from the Hugs and Kisses Stamp with black ink.
This layout came together beautifully using the January kit and add-ons.
I hope I’ve given you some ideas for using the Hugs and Kisses Stamp to create some projects featuring your loved ones or some lovely moments! Thanks so much for stopping by today!

Show us how you are using our new Hugs and Kisses Stamp on your projects! Post to the Elle’s Studio Facebook Group, a great space to get inspiration from other Elle’s Studio fans, or on Instagram using the hashtag #EllesStudio!