We are so excited you are joining us today for day one of Halloween Week here on the Elle’s Studio blog! Halloween is such a fun holiday, with so many creative possibilities—from costumes to decorations… and papercrafting! This week you’ll find five different posts to inspire you: from treats to layouts. Today we’re kicking off the week with design team member Amy Jo Vanden Brink and some amazing treats!
Hello! I’m so excited to be back on the blog today to share how I’m preparing for the most fun holiday of the year: Halloween! I love the great color combinations that go along with Halloween! For my project today, I chose to create treat boxes to hand out at our Halloween party. These can be made for pre-wrapped treats as well.

Supplies | October 2020 Kit, Jewel Journaling Tags, October Labels, Autumn Tiny Shapes and Dots Puffy Stickers, Candy Corn Puffy Alphabet Stickers, Acetate Stars, Halloween Acrylic Treats, Autumn Days 6 x 8.5 Inch Paper Stack
Other | Cellophane bags, ribbon, brads, Scotch Tape, 1/8″ hole punch
To make the boxes, I simply folded the paper three times, with the final seam the two ends of the paper taped together at the back. I put scoring marks at 1.25 inches, then at 3 inches, another 1.25 inches (and depending on how accurate I was with the measuring) again at 3, if needed. This should give you a very small tab to tape to the other end of your paper after folding.
Before I folded & taped them closed, I punched a hole at the top center of one of the larger panels so that I could attach name tags to the box. Then, I taped down the side seam to create a box that was open at both ends.
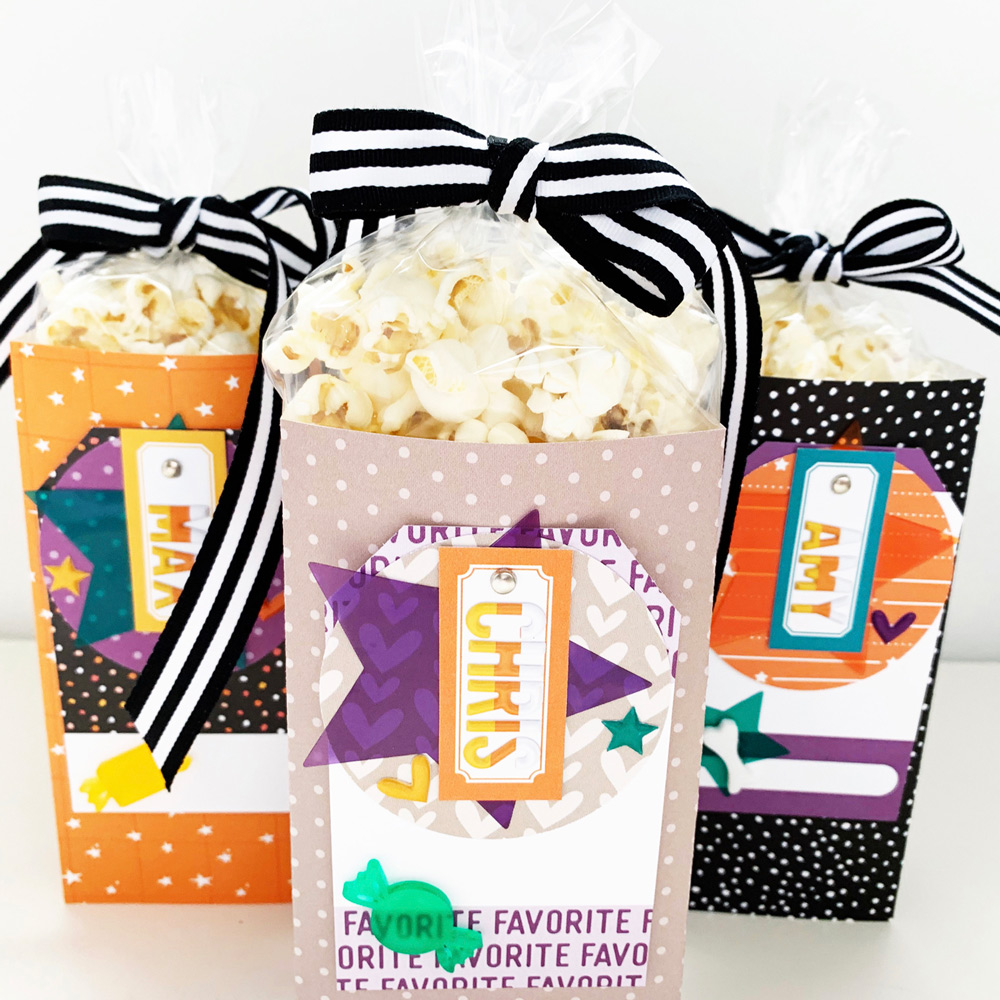
I constructed the tags separately and hole punched them all at once so that I could attach them with a brad at the top of each bag. To make them all match, I followed a little formula and layered them in the following order, bottom to top: journaling tags from the October 2020 Kit and Jewel Journaling Tags, cut into a tag shape at the top and trimmed down on the sides about an inch; 2.5 inch circle of Autumn Days 6 x 8.5 Inch Paper Stack paper; Acetate Star; October Label; name spelled with Candy Corn Puffy Alphabet Stickers.
I added extra embellishments with the Autumn Tiny Shapes and Dots Puffy Stickers and the cute little Halloween Acrylic Treats. I used adhesive to keep all the layers together, then I hole-punched them and used a brad to attach them to the boxes. To keep the whole set looking cohesive, I tried to stick with my purple, turquoise, orange and yellow color scheme, with the grey and black as neutrals.
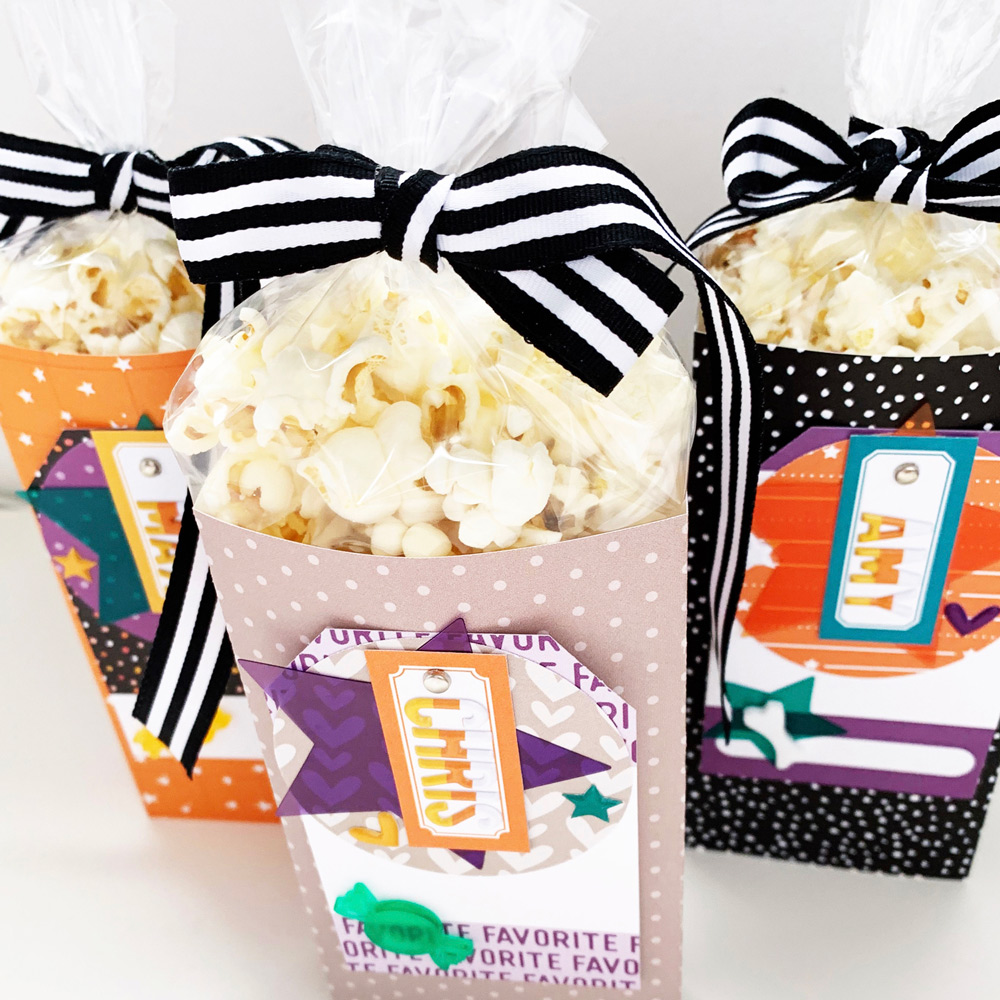
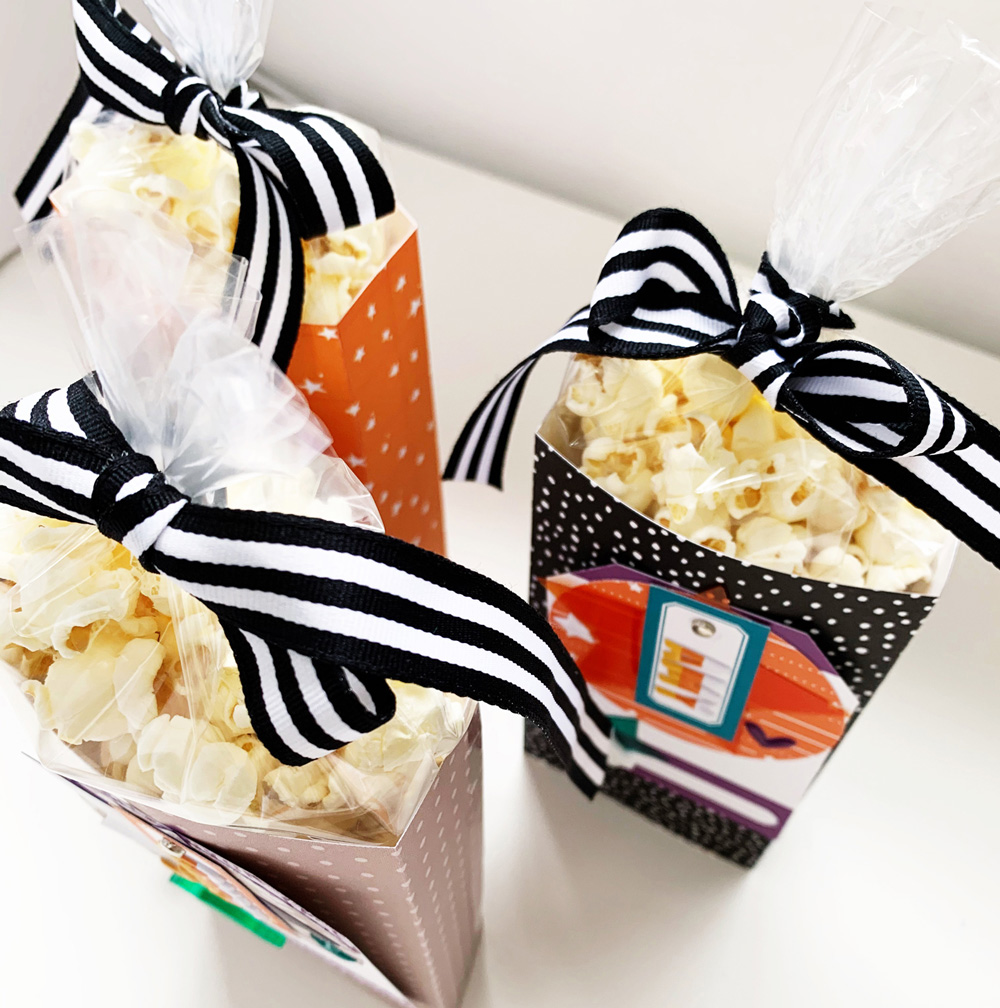
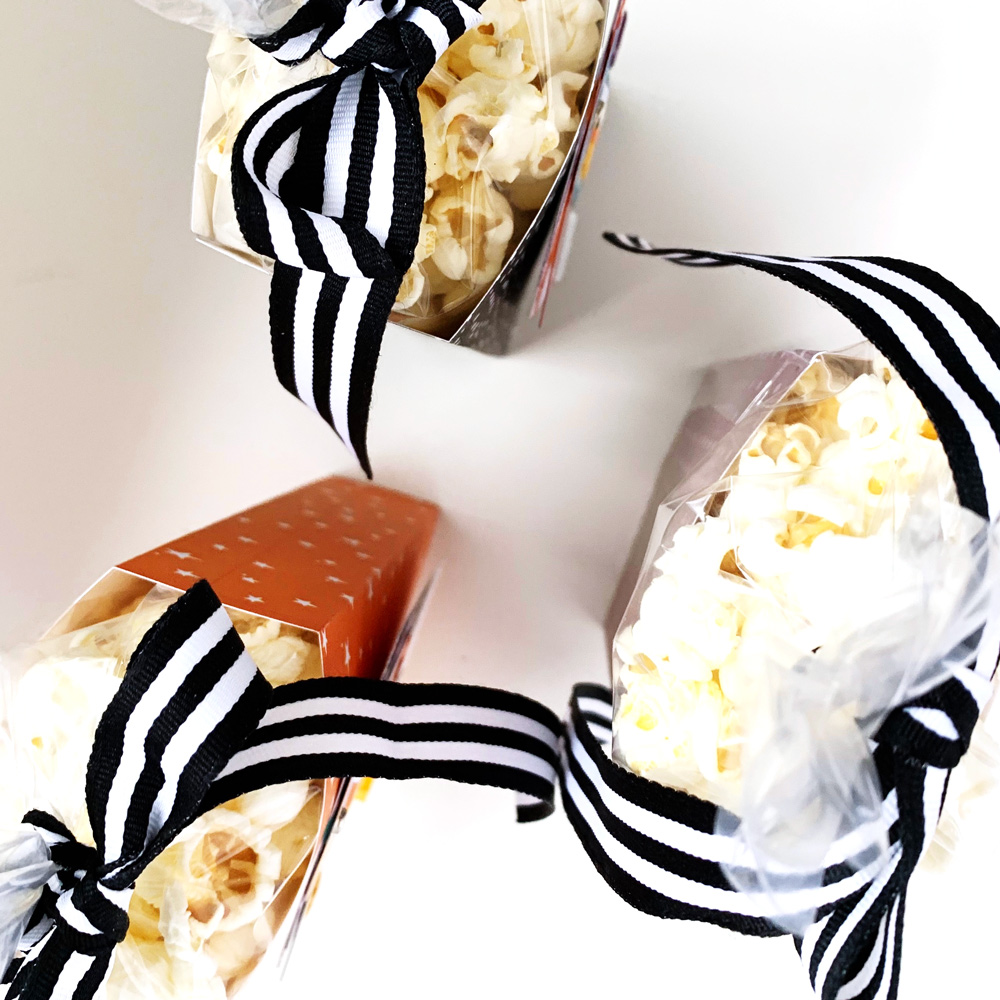
The cellophane bags were taped into the boxes on the bottom seam of the bag, about a half inch from the bottom, then filled with popcorn and tied with a black and white striped ribbon. My family has been begging to dig into the snacks already, so hopefully they will make it to the party in a couple of weeks, but if they don’t, I’ll just refill them!
This was an easy way to use some great patterned papers that have a very festive look and great impact on your holiday table! I hope I inspired you to dig into your supplies to make your Halloween festive!

Create this craft to share treats this Halloween and share with us! Post an image on Instagram using the hashtag #EllesStudio, or post in our Elle’s Studio Facebook Group!