Hi Elle Studio Friends! Today I am going to share how I interpreted today’s scrapbook layout sketch into my traveler’s notebook using the September kit and extras. This is a great example of using a sketch to inspire rather than following it exactly.
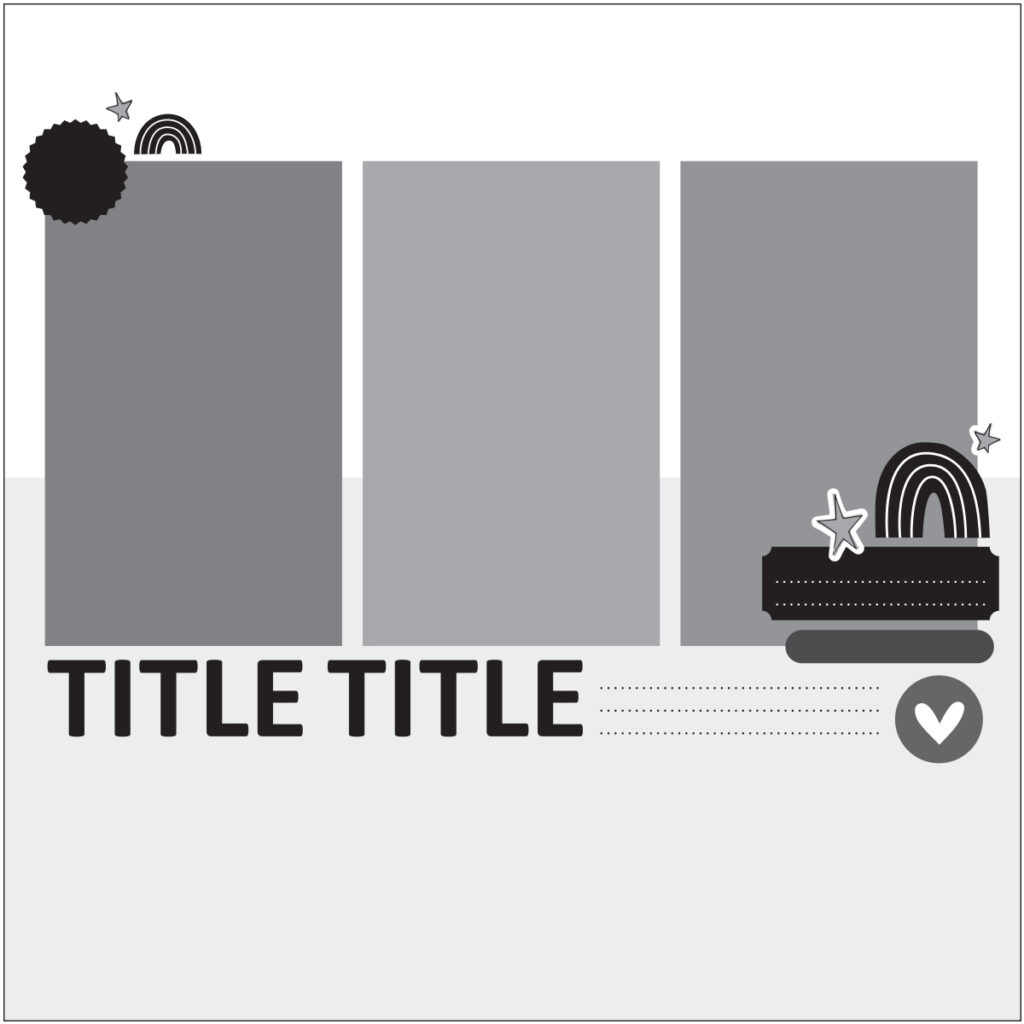
Here is the final sketch for the month:
And here is my traveler’s notebook spread:
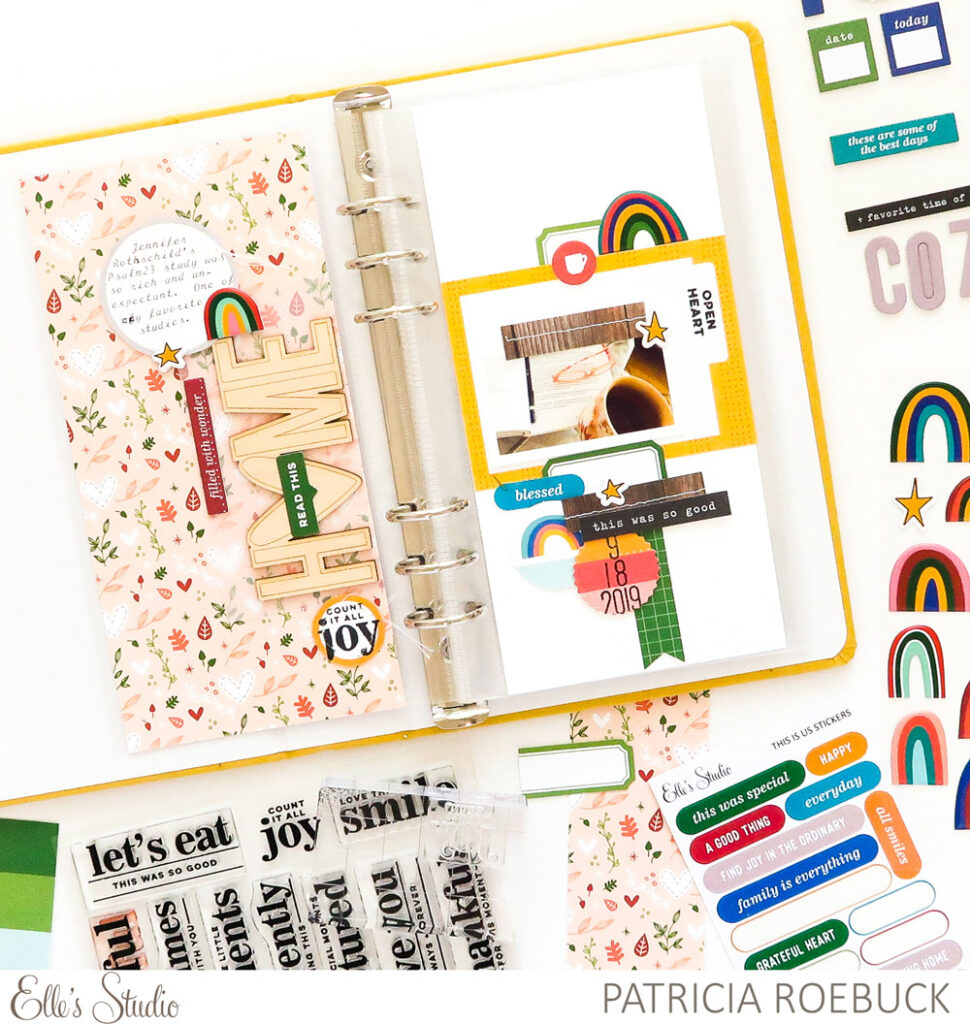
Supplies | September 2020 Kit, September Print and Cut Labels, This is Us Stickers, Cozy Chipboard Stickers, Icon Chipboard Stickers, Autumn Rainbow Puffy Stickers, Home Wood Veneer, Autumn Days 6 x 8.5 Inch Paper Stack, Grateful Stamp, My Heart Stamp, Mini Dated Stamp
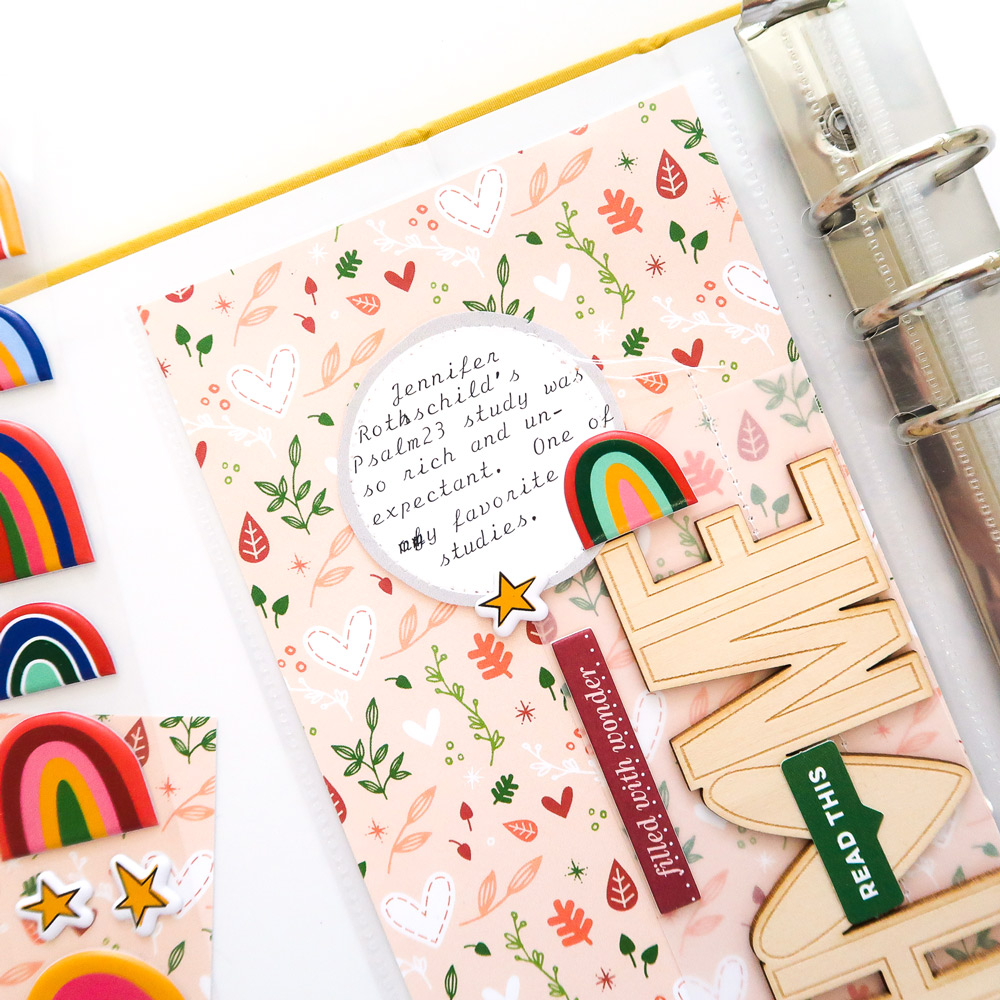
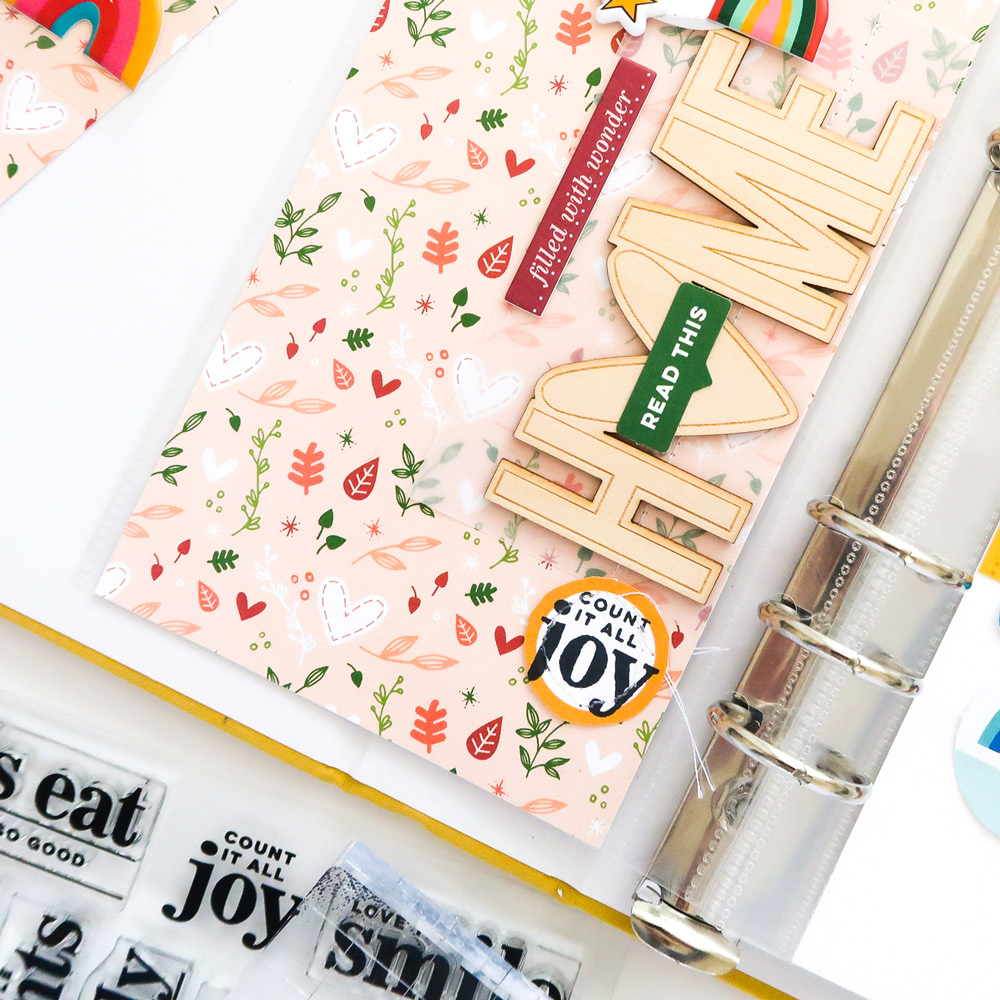
The first thing that caught my eye was the large title at the bottom. That inspired me to make my title vertical instead of horizontal using the Home Wood Veneer. I added a little bit of vellum under it to create a bit of softness. The little clusters on the sketch inspired me to add around my title including my journaling. I downloaded and printed the September Print and Cut Labels to type my journaling onto. To create repetition and contrast, I used a smaller label to add stamping with the new Grateful Stamp to adhere at the bottom. Then, I finished that side with a September Kit die cut, a Cozy Chipboard Stickers, and Autumn Rainbow Puffy Stickers.
Since the left side I used the new Autumn Days Paper Stack pattern paper as a background, I used white cardstock background for the right side to give the eye rest with some white space. Inspired by the three rectangles on the sketch, I used a kit tag placed horizontally instead of vertically to create a mat for my photo. I trimmed pieces of the new Autumn Days Paper Stack in the woodgrain pattern, adding machine stitching to create consistency with the stitching I had done on the print and cut labels on the left. I adhered one by the photo and one in a cluster at the bottom.
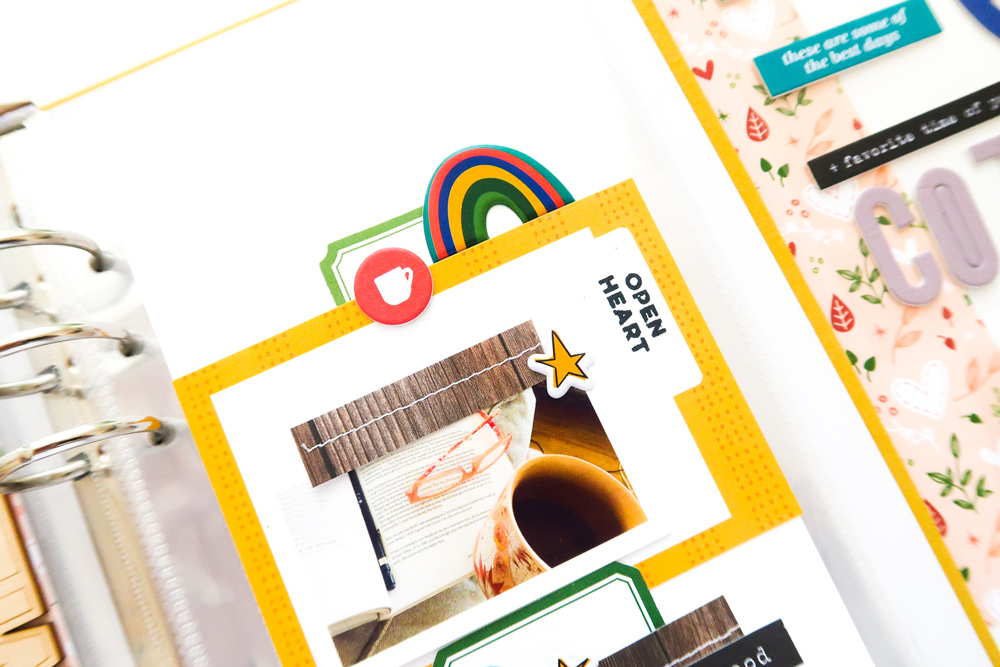
Instead of repeating the rectangles in the sketch, I used the clusters created with the September Kit tag and die cuts, Autumn Days Paper Stack, This is Us Stickers, Cozy Chipboard Stickers, Autumn Rainbow Puffy Stickers and an Icon Chipboard Sticker in its place. As I placed them, I balanced the colors from the left side, and also kept the rainbows and stars from the sketch. To finish, I added the My Heart Stamp sentiment on the tag, and used the Mini Dated Stamp directly on the Cozy Chipboard circle.
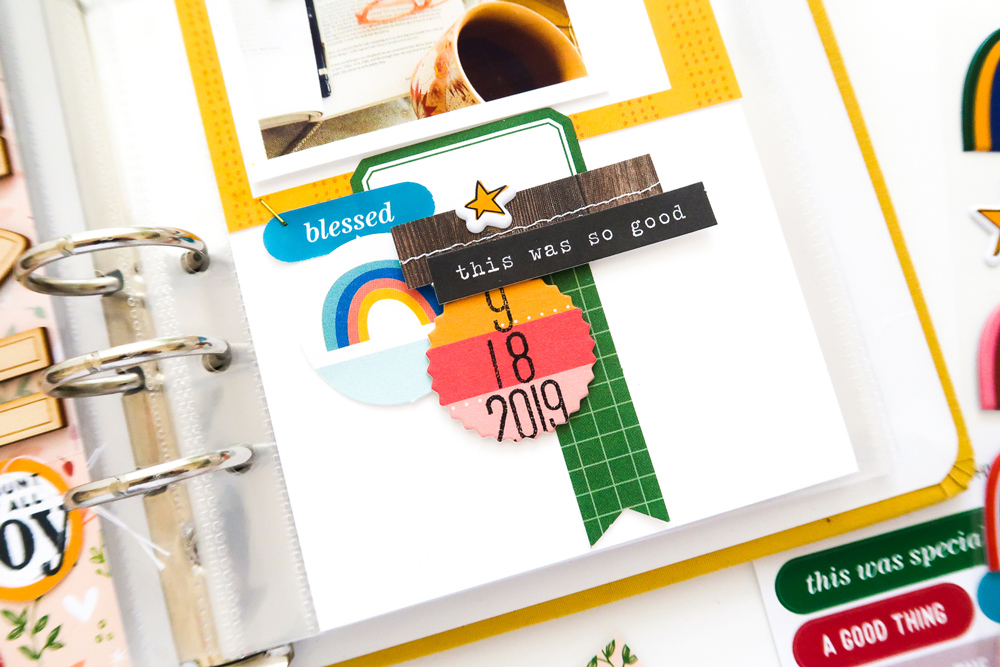
While you can still see how the original sketch inspired my interpretation, turning it and incorporating the clusters for the rectangles really made it my own and shows that you can get so much use from just one sketch! I hope you give creating with this sketch a try!

Show us how you interpret today’s sketch by sharing your project with us! Post on Instagram using the hashtag #EllesStudio, or in our Elle’s Studio Facebook Group! We can’t wait to see how it inspires you!
