Design team member Kristina Proffitt is a self-proclaimed “simple scrapper,” yet she is always looking for ways to mix up the way that she uses her embellishments. Today she’s here to share a few different ideas for adding our new Chipboard Star Stickers to your project, and we know you’ll love the easy ideas that she’s come up with! Let’s take a look.
Hi friends! It’s Kristina here and today I wanted to share with you one of the ways that I love to use any and all kinds of chipboard stickers. Chipboard stickers are some of my most favorite embellishments (maybe you can relate!) and so I was really excited to see the super cute Chipboard Star Stickers in our June release! I love versatile embellishments and while I’ve never been a “reinvent the wheel” or “do the most creative thing with embellishments” I do love utilizing embellishments in new, simple ways that can create different functions and looks on a layout.
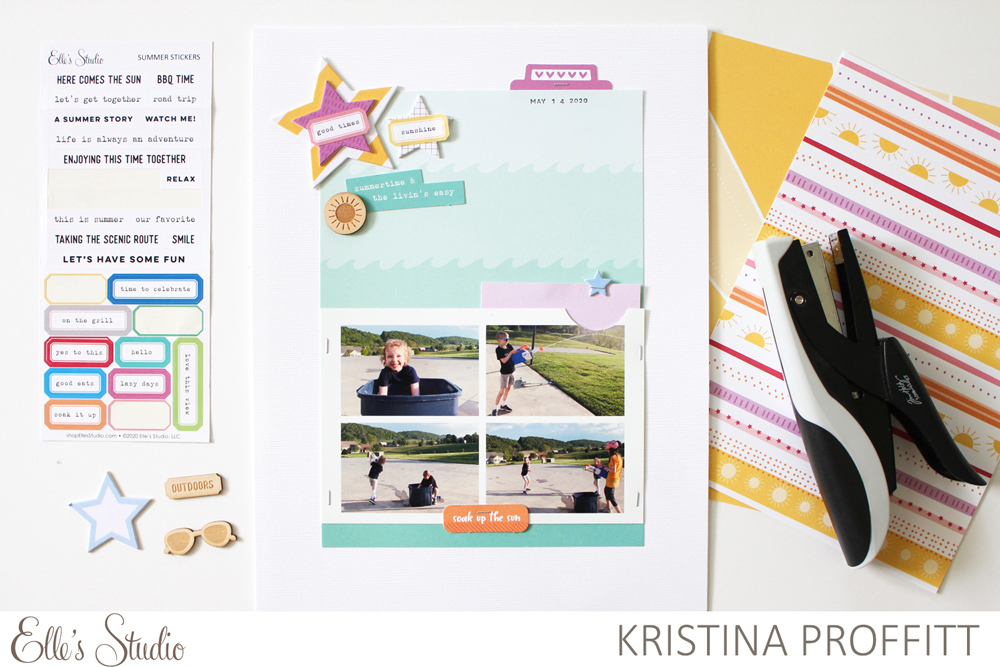
Supplies | June 2020 Kit, Summer Stickers, Chipboard Star Stickers, Summer Wood Veneers, Summer Fun 6 x 8.5 Inch Paper Stack
For this layout, I did three different things with the Chipboard Star Stickers and I wanted to show you just how easy it is to take a simple embellishment and create a new function or look to it even if you’re like me and a pretty simple scrapbooker.
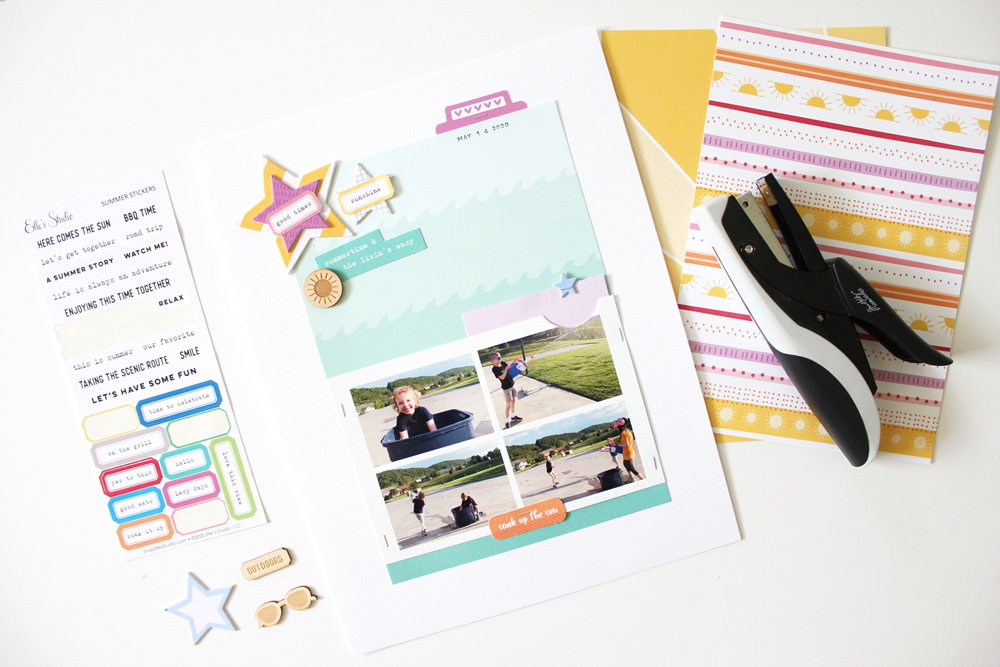
I created this layout on an 8.5″ x 11″ piece of white cardstock. After I decided which photos I wanted to use (and printed them out on a single 4″ x 6″ photo sheet using a digital photo template) I selected the wave patterned paper from the Summer Fun Paper Stack. It was perfect for these photos of a super fun water gun fight! I simply adhered the patterned paper onto the cardstock and then adhered my photo on top of that patterned paper, making sure not to adhere ALL of the photo because I wanted to slip a simple 3″ x 4″ journaling tag behind the photo.
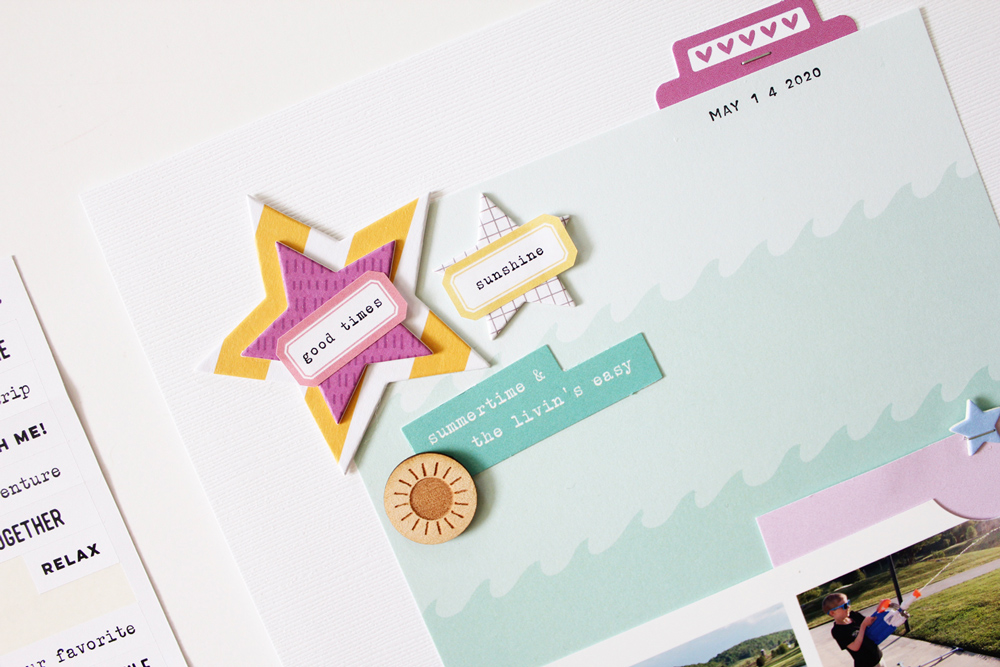
01 | The first thing I did with the Chipboard Star Stickers is layer them. I love the look of them alone, but stack them and you get a super cute and unique embellishment! There are so many different colors and patterns on the sheet that the ideas and looks that you can come up with are really endless. I love the striped yellow Chipboard Star Sticker with the orchid star layered on top. So easy and fun, right? Layer your embellishments!
02 | The second thing that I did with the Chipboard Star Stickers was adding the Summer Stickers to the top of them. How fun do they look with the simple Summer Sticker label on top? So fun, right?! You can do more than just layer the same embellishment on top of one another – you can layer OTHER embellishments like flat stickers on top of your chipboard embellishments, too. I told you this was simple, but cute!
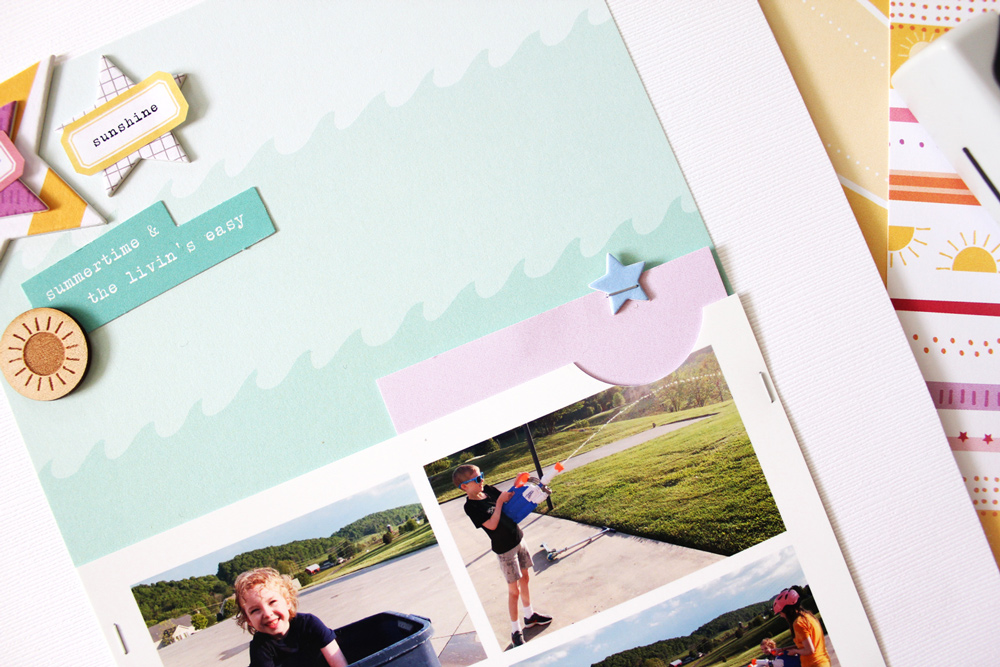
03 | The last way that I used the Chipboard Star Stickers was to create a pull for the journaling tag that I tucked behind my photo. I used the small blue Chipboard Star Sticker and stapled it with my tiny attacher to create a pull tab for the card. It’s sturdy enough to grab to pull the tag out, and I love the look and repetition it gives the layout!

After making sure the tag could fit perfectly behind the photo and I attached the chipboard star pull, I wrote my journaling on the tag, slipped it behind the photo and then used my tiny attacher to secure the sides of the photograph.
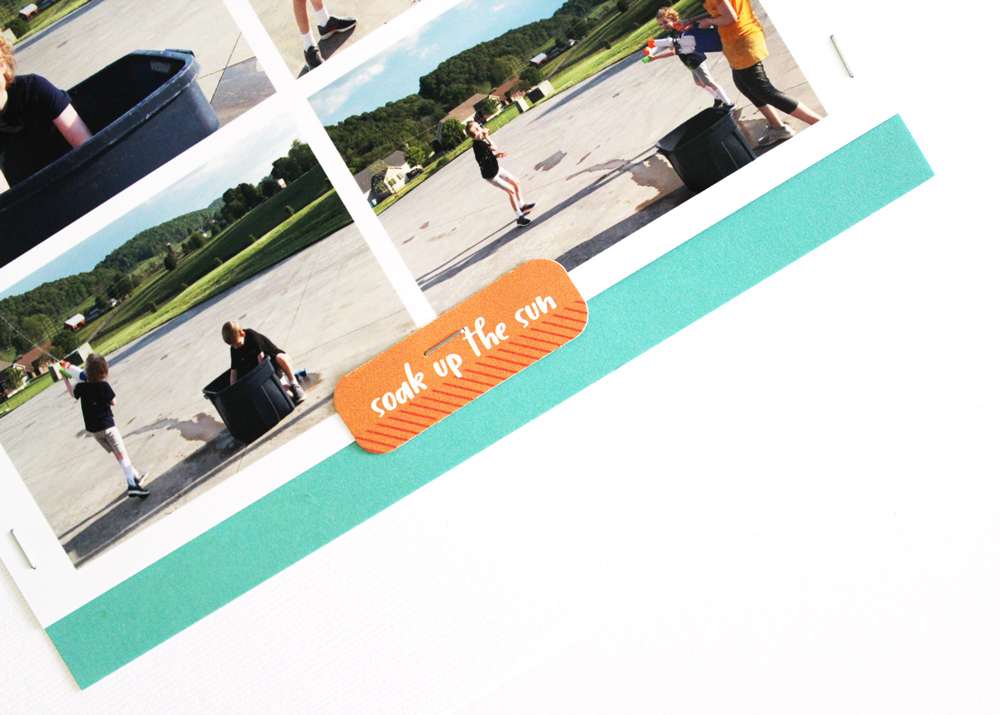
To finish my layout, I took more June embellishments and June 2020 Kit die cuts and placed them around the stars at the top. I also adhered the orchid heart tab underneath the patterned paper at the top of the page and stapled the cute “soak up the sun” die cut at the bottom of the photo.
I love how simple this layout is, but yet how fun and summery it is, too! Finding new ways to incorporate and use your embellishments doesn’t have to be hard and you don’t have to reinvent the wheel or spend hours trying to do something new – you can make a simple, yet cool impact by layering embellishments and using them in creative, uncomplicated ways. That’s the kind of memory keeping that I love: it fits my busy Mama lifestyle, but still is fun and turns out super cute!
I hope you pull out some of your own embellishments today and see how you can utilize them in a different way that is simple, but allows a bit of creative freedom to come up with new ways to display them on your projects. It may not be AS fun as a crazy water gun fight in the driveway, but it’s close!

Show us how you’re adding your Chipboard Star Stickers to your projects! Share in our Elle’s Studio Facebook Group, or on Instagram using the hashtag #EllesStudio!