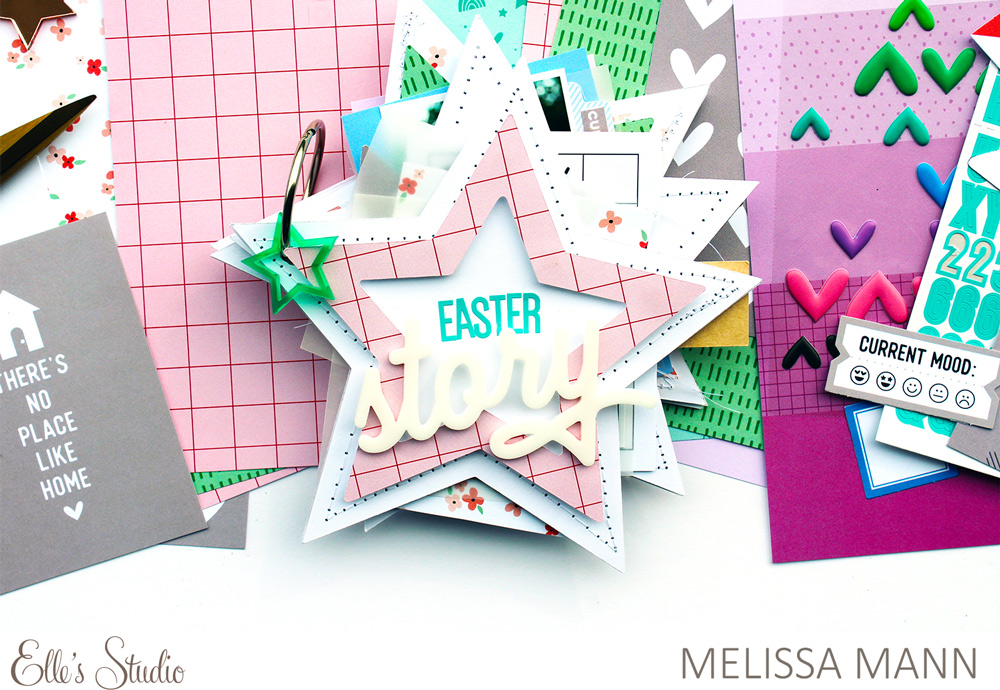
Today we are excited to show you another creative possibility using our monthly digitals—a gorgeous mini album created by design team member Melissa Mann! Let’s take a look at how she made an Easter album so special by bringing a shaped design to its pages!
Hello! This is Melissa with you today and my project is all about the digital products that were offered this month! I don’t know about you, but Elle’s digital product releases each month are always a huge hit for me! And this month was no exception with the star cut files. I used these a bunch this month on various projects and really put them to good use for this new mini book.
Supplies | May 2020 Kit, May 2020 Cut Files, May 2020 Print and Cut Labels, Icon Chipboard Stickers, Cerulean Blue Puffy Alphabet Stickers, Puffy Heart Stickers, Hello Sunshine Wood Veneer, Story Acrylic, Acrylic Stars, Jane Alphabet Stickers — Teal, Flourish 6 x 8.5 Paper Stack
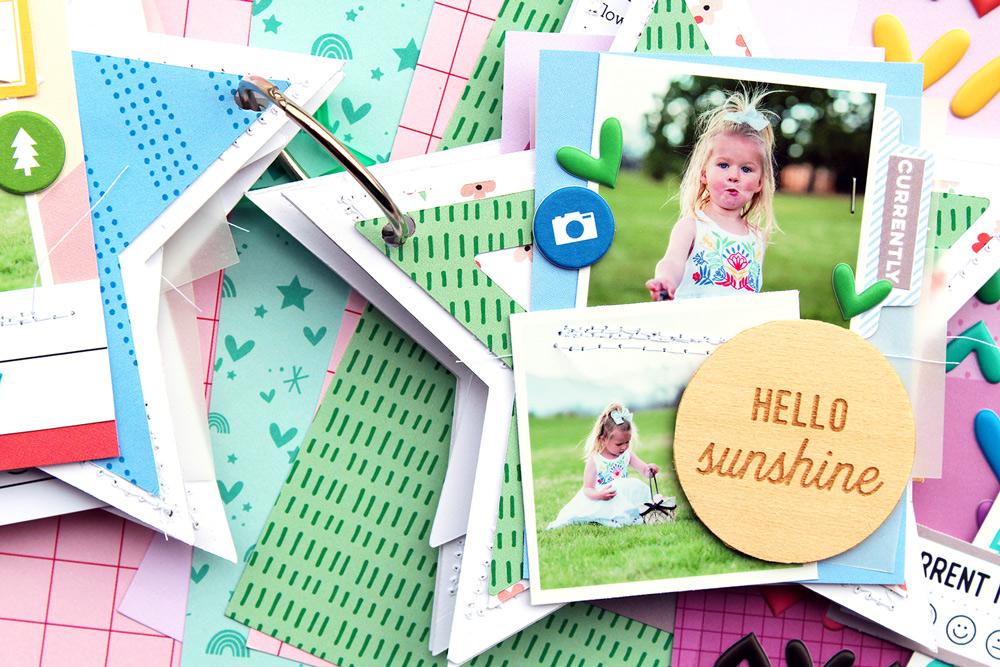
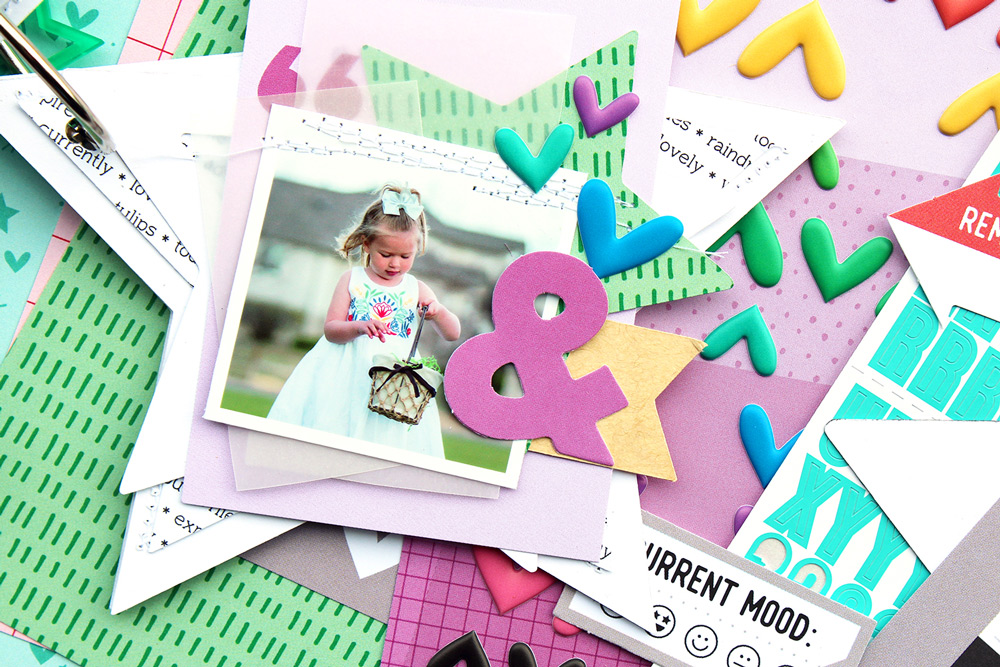
My brother shared some really beautiful photos he took of my niece at Easter and I knew when I saw them that I was going to want to put some of my favorites into a small mini album.
When I saw the star included in the May 2020 Cut Files, I immediately wanted to make a star shaped mini book. It’s always a fun touch to have a shaped album! I took one of the stars and modified the size of it in Silhouette Studio software and cut one star out. I used this as my stencil to cut four chipboard stars. I then used that same size star and cut out eight more stars from white cardstock paper and adhered these to each side of the chipboard stars to create my album. I also stitched down the stars using my sewing machine as some added reinforcement to hold the pages together. Because I didn’t want the backside of the stitching to show, I cut out four more stars with patterned paper from the Flourish 6 x 8.5 Paper Stack. I cut these just a tad smaller than the white background stars and glued them down.

I always, always construct my mini albums the same way. I construct my base pages first, then place my photos down which are usually layered with some more papers and vellum. In this book, I had some smaller stars that I also layered up underneath. I used a 3″ x 4″ journaling tag from the May 2020 Kit, and layered the stars, vellum, and photo on top. I stitched it down and left the threads long to create some texture in the album.

Once my pages were put together, I then add all the fun embellishments: stickers, acrylic pieces, other die cut pieces, stamps, veneer, and chipboard. Remember to always make your products work for YOU. I loved the Hello Sunshine Wood Veneer but it just wasn’t working in my album, so I decided to cut the “rays” off the middle circular piece and then used that circular piece on one of my pages.
Do you use the digital products that are offered each month? Remember that the GREAT thing about the digital products is that they can be used over and over again! They are a great investment if you know you are going to make a suite of cards using the same element or a mini book that will use the same shape over and over again!
We love to see how you are using the digital products! Make sure to share them with us on Instagram using the hashtag #EllesStudio and in our Elle’s Studio Facebook Group!