Repetition is one of the principles of design that brings any page together by creating similar shapes, colors or other elements that our brain can easily process. Today, design team member Stacie Watson is sharing how she used repetition and her Noted Vol. 2 Stamp to create a quick, but beautiful pocket page spread. Let’s take a look!
Hey hey y’all! It’s Stacie back with you today to share a new pocket page spread. Maybe just like you, I am behind on my 2019 and 2020 albums. One thing I’ve learned over the years when it comes to scrapbooking (in any form) is that sometimes, easy is key. There are a lot of times I want to work on something, but don’t have hours on end to spend in my craft room. This is where easy and repetition go together, using the Noted Vol. 2 Stamp and a selection of Elle’s Studio puffy alphabet stickers!
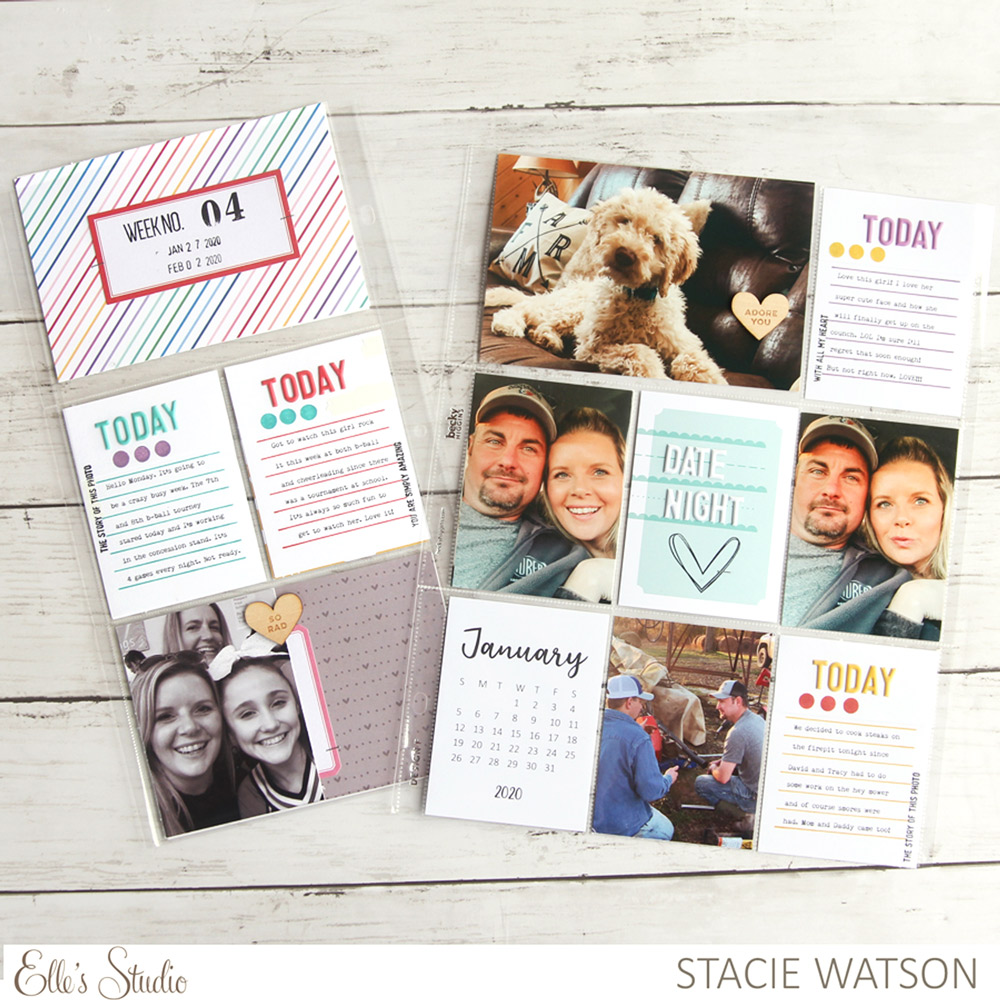
Supplies | February 2020 Kit, 2020 Calendars, Die Cut Labels, Red Puffy Alphabet Stickers, Fuchsia Puffy Alphabet Stickers, Teal Puffy Alphabet Stickers, White Puffy Alphabet Stickers, Yellow Puffy Alphabet Stickers, Wood Veneer Sweethearts, Love Is 6 x 8.5 Paper Stack, Noted Vol. 2 Stamp, Mini Days of the Week Stamp, Months of the Year Stamp, Love You Lots Stamp
Going into this spread, I knew that I wanted to keep it simple and get it done. Using the Noted Vol. 2 Stamp was the perfect way to keep it simple and get it done! With the Noted Vol. 2 Stamp there are several different journaling options to choose from, but in the end though I decided to go with the simple straight-lined stamp.
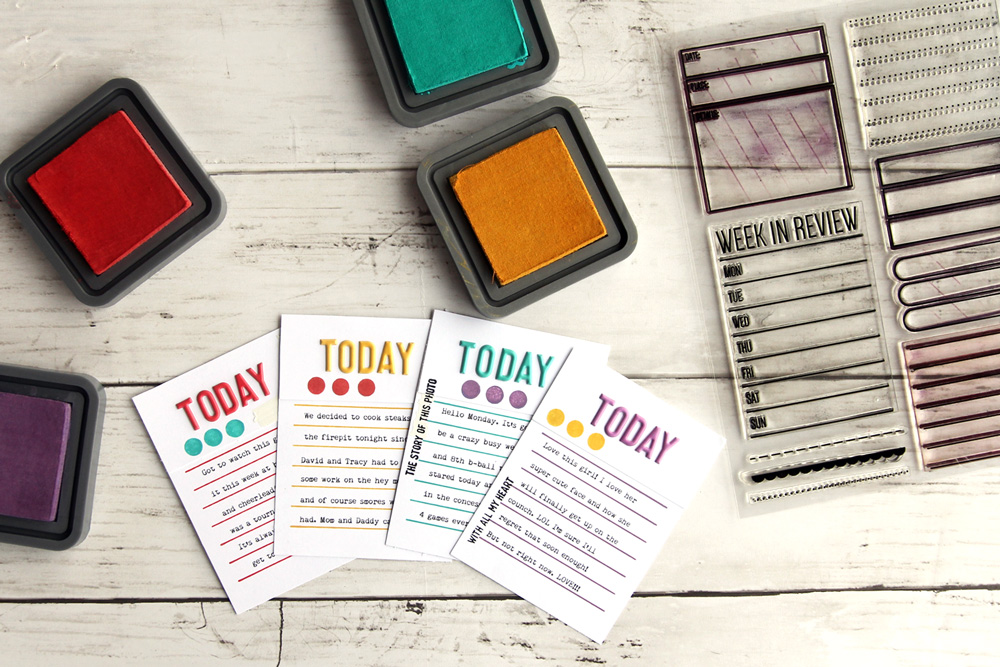
I loved the colorful, striped paper in the Love Is 6 x 8.5 Paper Stack and knew that I wanted to use that as my title card for the spread. From there, I printed out the photos I wanted to use so I would know how many journaling tags I needed to create. Making the journaling tags was super simple and I love how they turned out! I chose some inks to match the colors in the striped paper from Love Is 6 x 8.5 Paper Stack and cut down white cardstock to a 3″ x 4″. I am not a fan of my handwriting and most of the time I print out my journaling. Keeping that in mind, I knew that I wanted the stamp to be in the same spot on all the journaling tags (to keep from having to measure multiply times when I set up my layer in Photoshop). To make sure it was in the same exact place on all four tags I used my Tim Holtz Stamp Platform. It took me less than five minutes to stamp out the tags in different colors.
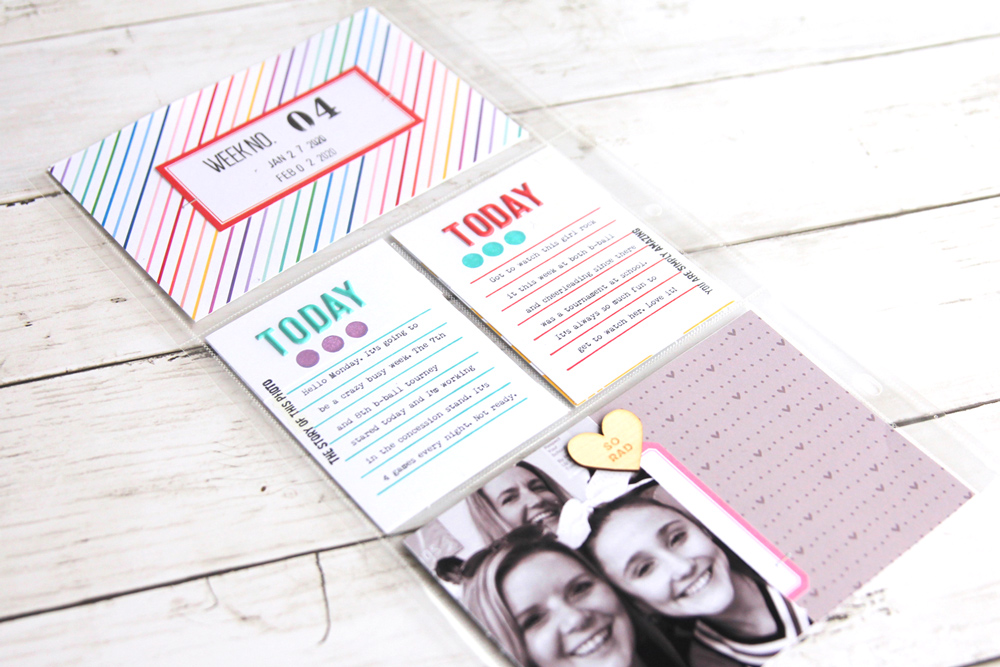
After the tags were all stamped, I set up my blank layer in Photoshop, typed out and printed my journaling. Since they were all stamped in the same spot on the same size paper I only had to set this up once. I then added the puffy alphabet sticker “today” word to the top of each tag in the coordinating color of the Noted Vol. 2 Stamp lines.
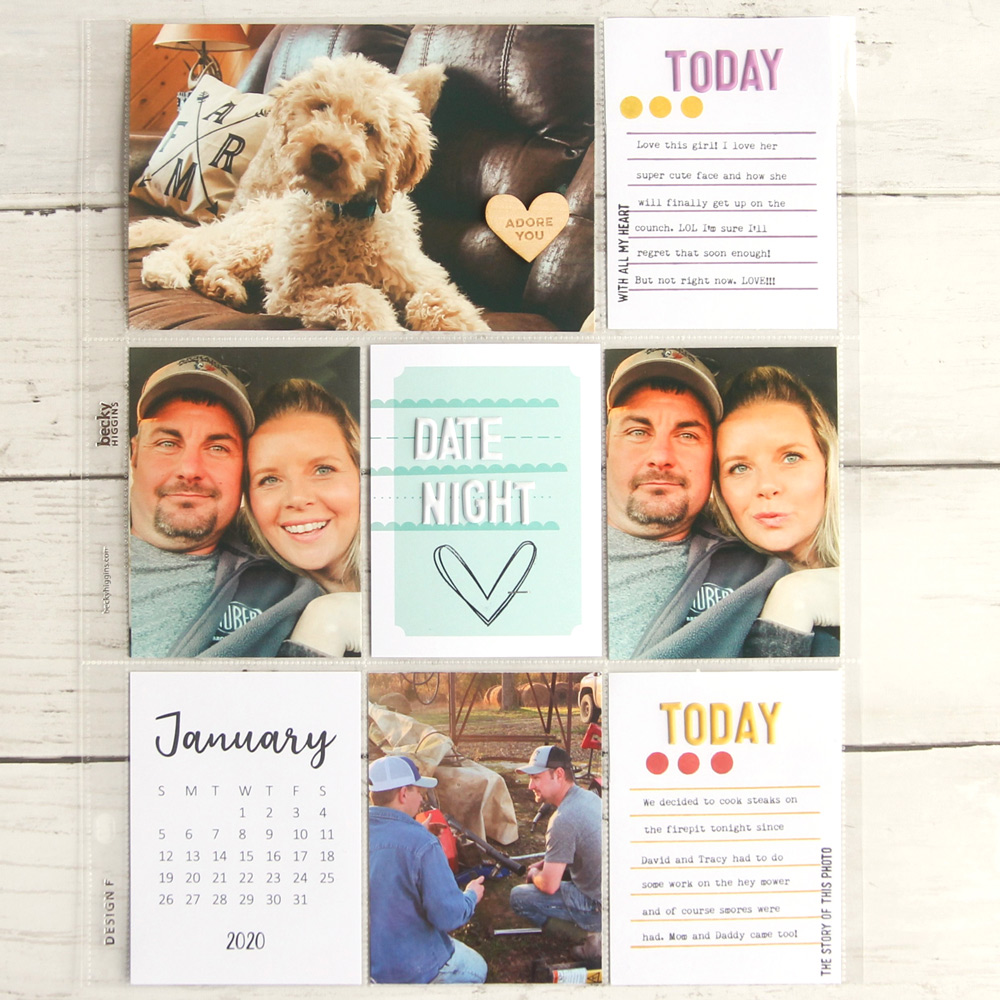
Of course, no page is complete without some embellishments! Sticking with the same colors from the striped paper in the Love Is 6 x 8.5 Paper Stack and ink colors that were used, I added the small circle stamp from the Months of the Year Stamp. To add a little contrast, I stamped a different phrase stamp from the Love You Lots Stamp on each of the tags in black.
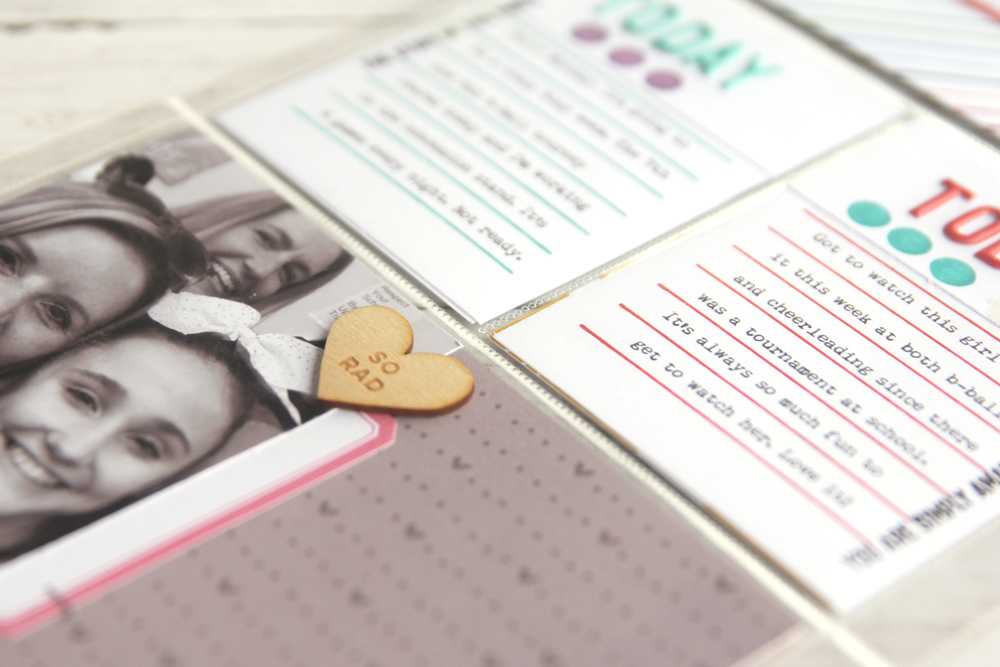
Once the journaling tags were completed, I added the rest of my embellishments to the page. I included Die Cut Labels and the Wood Veneer Sweethearts. I’m happy with how quickly the spread came together and the overall look of it. I also like knowing that since I have the Noted Vol. 2 Stamp, I can easily recreate this look or use one of the other stamps to make a similar spread look completely different.
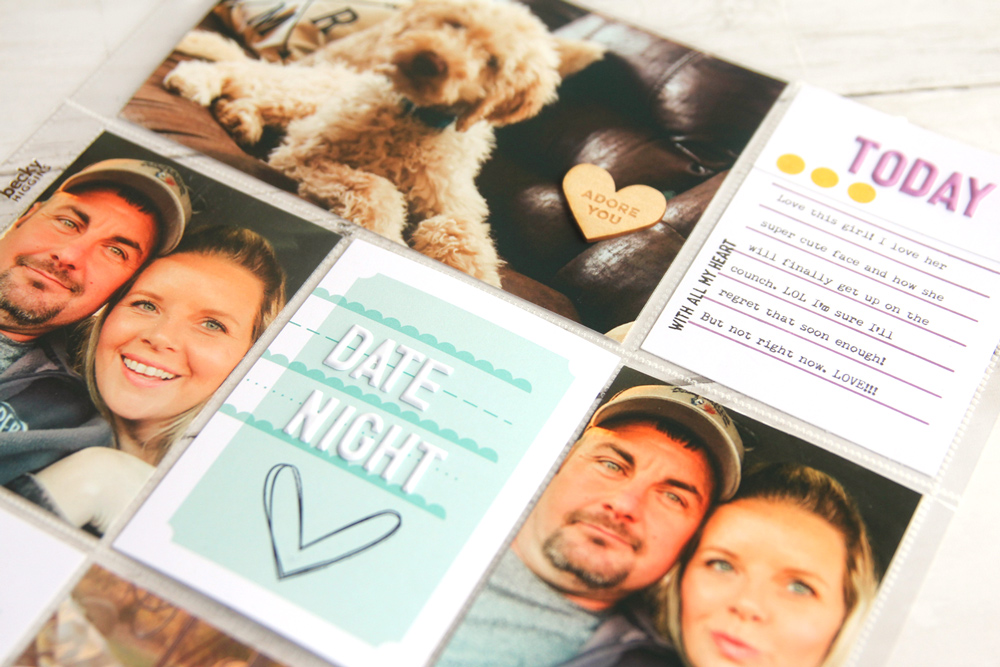
I hope this inspires you to keep your process simple and easy, and for you to use your Noted Vol. 2 Stamp to create some journaling tags of your own! I can’t wait to see what you come up with!

Show us how you’re using your Noted Vol. 2 Stamp to create custom journaling tags! Share on Instagram using the hashtag #EllesStudio or in our Elle’s Studio Facebook Group!
